TL;DR
- Stims function as healing charges that replenish at Meditation Points
- Starting with only 2 charges, upgrades are found in special containers across planets
- Koboh contains the most Stim upgrades with 7 unique locations
- Advanced puzzle-solving and combat skills required for later upgrades
- Strategic Stim usage crucial for surviving boss encounters and exploration
Mastering the Stim healing system is essential for Cal Kestis’s survival throughout his galactic journey. These medical charges operate similarly to Estus Flasks in Souls-like titles, providing immediate health restoration when activated.
When you initiate a Stim, BD-1 administers medical treatment to Cal, consuming one charge in the process. These charges only regenerate when you utilize Meditation Points (the game’s equivalent of bonfires), though this action also respawns all defeated enemies in the area.
Your adventure begins with a limited capacity of just two Stim charges. As you explore diverse worlds, you’ll discover additional charges by accessing specialized containers marked with distinct visual indicators.
Coruscant Stim Upgrades
Undercity Meats – Positioned adjacent to the fast travel location. This container is protected by an aggressive Security Droid that employs powerful chokehold attacks.
This will likely be the first Stim upgrade you’ll find in Star Wars Jedi: Survivor.
Rambler’s Reach: Pyloon’s Saloon – Accumulate 10 Priorite Shards and purchase the Mysterious Keycode from merchant Doma. This acquisition grants access to a secured storage room containing the valuable upgrade.
Basalt Forest: Basalt Rift – From the fast travel marker, maintain a leftward trajectory while ascending the inclined pathway. Beyond this section, you’ll confront a Mogu (identified as a Jungle Wampa). After defeating this creature, scale the vegetation-covered walls. Circumnavigate the geological structure to locate this concealed container.
Rumor: High Republic Chamber in the Valley – Upon completing the Forest Array mission objective and returning to Koboh, consult with Toa to receive the Rumor: High Republic Chamber in the Valley sidequest. This generates an objective indicator on your navigation display, directing you toward the Chamber of Clarity. Successfully navigating the temple’s puzzles and reaching its summit rewards you with the Fellowship perk, providing BD-1 with an additional Stim charge. While this offers supplementary healing capacity, we recommend prioritizing more impactful passive abilities. Discover optimal perk selections in our comprehensive perk locations and best perks guide.
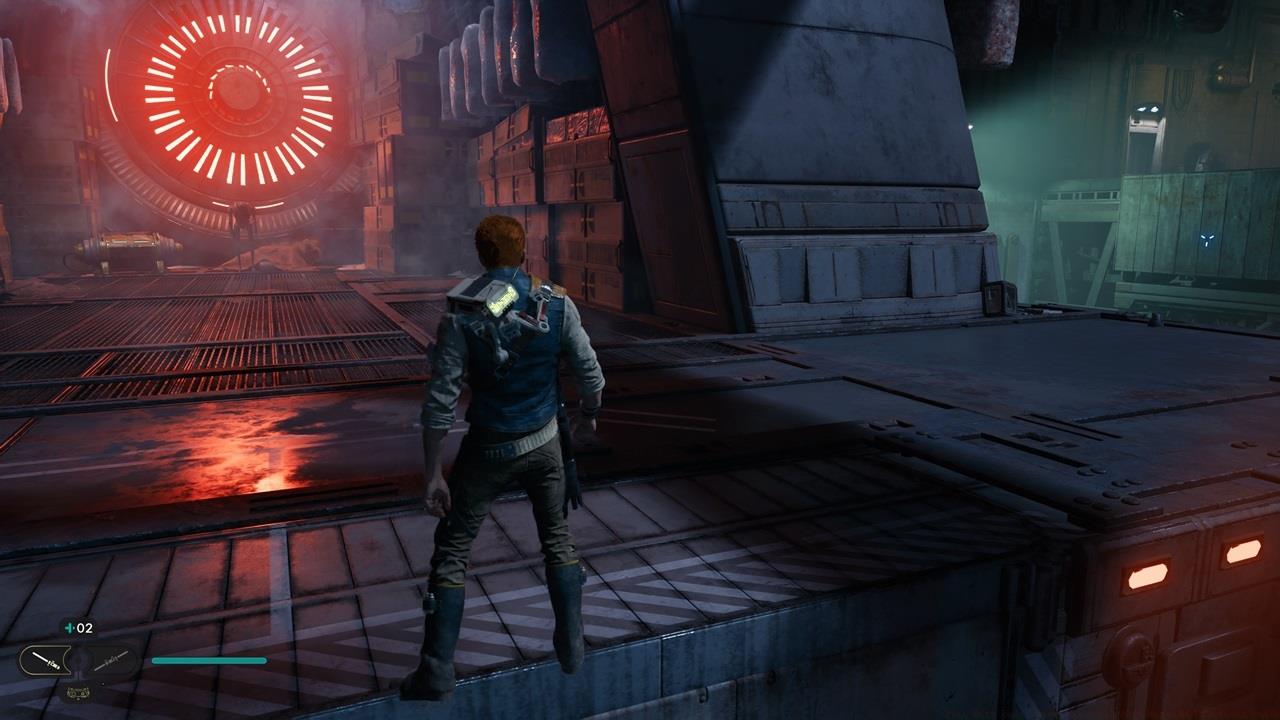
Mountain Observatory: Observatory Understructure – During the campaign’s later stages, you can obtain this crucial upgrade. While ascending the Observatory, you’ll face Urgost, Fist of Rayvis, a formidable miniboss encounter.
After overcoming this adversary, proceed through a corridor featuring a partially opened doorway. Locate the apparatus that manipulates floating balloons/grapple anchors. Adjust this mechanism to elevate the floating balloon. Subsequently, engage the grapple function and reorient your perspective. You should identify an alternative ledge housing several Stormtroopers alongside the Stim container.


From left to right: Doma’s Shop; Basalt Rift; Chamber of Clarity; Observatory Understructure.
Dredger Gorge: Derelict Dam – As you advance further, you’ll obtain intelligence from Mosey regarding the Gorocco Matriarch. However, acquiring the Lift and Slam ability is prerequisite. Once you successfully defeat this powerful creature, the container becomes accessible. Additional details available in our Legendary Beasts/Legendary Enemies guide.
Gorge Crash Site and Viscid Bog – After securing the Lift and Slam capability, pursue the Mire Terror, another Legendary adversary. This requires elevating the metallic barrier at Gorge Crash Site (immediately adjacent to Koboh’s initial fast travel location). Descend via the elevator completely. Then, to your port side, you can raise stone platforms to access the Mire Terror combat arena (featuring dual Mogu opponents). Claim the Stim reward upon victory.
Foothill Falls – Access Foothill Falls via the narrow mountain passage behind Rambler’s Reach Outposts. There, encounter Skoova (the aquatic specimen collector). A Relter will also be visible nearby. Glide across the opposing canyon to identify a small structure. Employ your Force abilities to dismantle the metallic obstructions and neutralize hostile forces.
Next, investigate the descending pathway to summon a Nekko mount. While mounted on the Nekko, execute a double-jump combined with wall-running to reach the elevated platform. Then, command BD-1 to interface with the terminal, generating a Roller Mine. Position yourself at the platform’s edge, then utilize Force Pull on the Roller Mine. Target the aperture in the shack’s roofing to detonate the obstructive residue. Multiple attempts may be necessary, but persistence will grant access to the interior Stim container.


From left to right: Path to Gorocco Matriarch; Mire Terror battle; Foothill Falls Roller Mine.
Narkis Desert: Sheltered Hollow – You’ll access this region during main story progression. Following a cinematic sequence featuring Cal and Merrin’s intimate moment, the container becomes visible within the tunnel passage.
Pilgrim’s Path: Crypt of Uhrma – This specific Stim enhancement is particularly easy to overlook. While the Crypt of Uhrma is part of the primary narrative, the wall-mounted puzzle mechanisms may prove confusing. The essential clue resides atop a spire where you’ll discover the elevator returning to the crypt level.
Regarding the solution, apply Force Pull to the illuminated blocks as depicted in the accompanying visual. This location contains additional valuable resources, including a Force Echo recording, an Aquarium Fish specimen, and a demanding confrontation with the Sutaban Alpha, categorized among the game’s Legendary Beasts/Legendary Enemies.


Left: Sheltered Hollow; Right: Crypt of Uhrma puzzle solution.
Abandoned Foundry: Automated Forge – From the fast travel location, proceed rightward (presuming you’ve activated the shortcut passage). You’ll observe the massive centrifuge apparatus with a central platform. To starboard, you’ll detect electrified metallic grating.
Beyond this barrier, multiple ziplines facilitate traversal, complemented by sections demanding wall-running proficiency. Upon reaching the distant structure, you’ll notice the container positioned on an upper ledge. The objective involves scaling the opposing ledge, then utilizing the zipline for crossing. Execute a double jump immediately before contacting the electrified segment and ride the zipline to the destination.
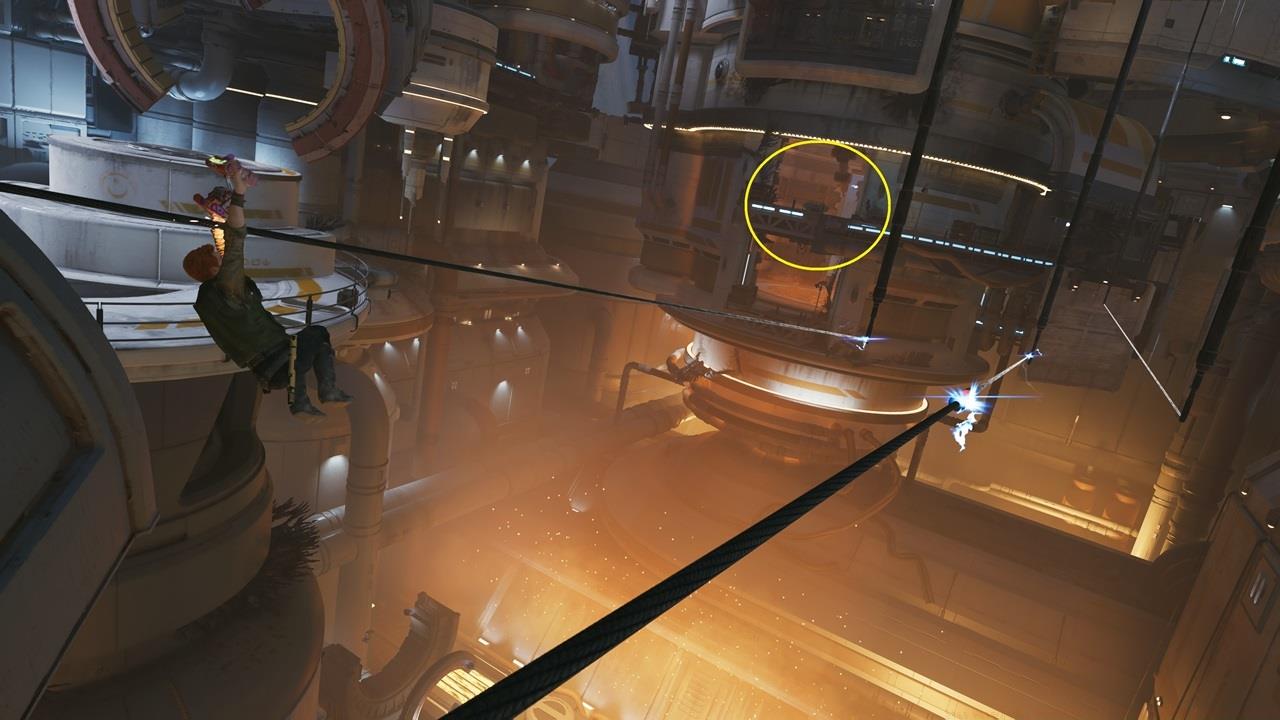
Get across the ziplines and wall run to reach the distant building. You can grab the Stim canister from there.
Mastering Stim deployment requires strategic foresight beyond simple collection. These medical resources become increasingly vital during extended exploration sequences and demanding boss confrontations where sustained survivability determines success.
Combat Healing Priority: Reserve Stim usage for genuine emergency situations rather than minor health depletion. During intense engagements, create distance from adversaries before activating healing to avoid interruption.
Resource Conservation Techniques: Before engaging Meditation Points, exhaust your remaining health pool through calculated risk-taking, then utilize the full heal upon resting to maximize efficiency.
Progression Planning: Prioritize Stim upgrades during early to mid-game exploration. The additional charges significantly enhance your endurance during challenging late-game segments where combat intensity escalates dramatically.
For comprehensive gameplay optimization, consult our BF6 Class Selection Guide to understand how different playstyles impact resource management approaches.
Action Checklist
- Complete Coruscant’s Undercity Meats upgrade early for immediate benefit
- Collect 10 Priorite Shards for Pyloon’s Saloon access
- Solve Crypt of Uhrma puzzle on Jedha using Force Pull on illuminated blocks
- Defeat Legendary Enemies (Gorocco Matriarch, Mire Terror) after acquiring Lift and Slam ability
- Navigate Automated Forge ziplines with precise timing to avoid electrocution
- Complete High Republic Chamber sidequest for Fellowship perk Stim
No reproduction without permission:SeeYouSoon Game Club » Star Wars Jedi: Survivor – All Stim Upgrade Locations Guide Complete guide to finding all Stim upgrades across every planet in Star Wars Jedi: Survivor