TL;DR
- Firecrackers provide critical stun effects against beast-type bosses like Gyoubu and Blazing Bull
- Early acquisition requires navigating Ashina Outskirts to find the Memorial Mob merchant
- Purchase Robert’s Firecrackers for 500 sen and install via the Sculptor
- Master timing for maximum enemy distraction and animation interruption
- Combine with other early prosthetics like Flame Vent for maximum effectiveness
Mastering the Firecracker prosthetic tool provides a significant tactical advantage during Sekiro’s most challenging encounters. This explosive device creates disorienting bursts that temporarily stun enemies, creating precious openings for devastating counterattacks.
The Shinobi Prosthetic represents one of Sekiro’s most innovative gameplay mechanics, transforming Wolf’s combat capabilities beyond traditional swordplay. This specialized arm attachment enables both mobility through grappling and offensive versatility through various tool attachments, drawing inspiration from FromSoftware’s signature weapon diversity seen in Bloodborne’s Trick Weapons and Dark Souls’ extensive arsenal.
Strategic prosthetic deployment becomes particularly crucial during early-game progression when facing formidable bosses that would otherwise overwhelm unprepared players. The Firecracker specifically excels against aggressive animal-type enemies and mounted combatants who rely on relentless assault patterns.
Common acquisition mistakes include discovering the Firecracker merchant after battling Gyoubu Oniwa, significantly increasing fight difficulty. Proactive players should prioritize obtaining this tool before engaging major bosses to maximize combat effectiveness.
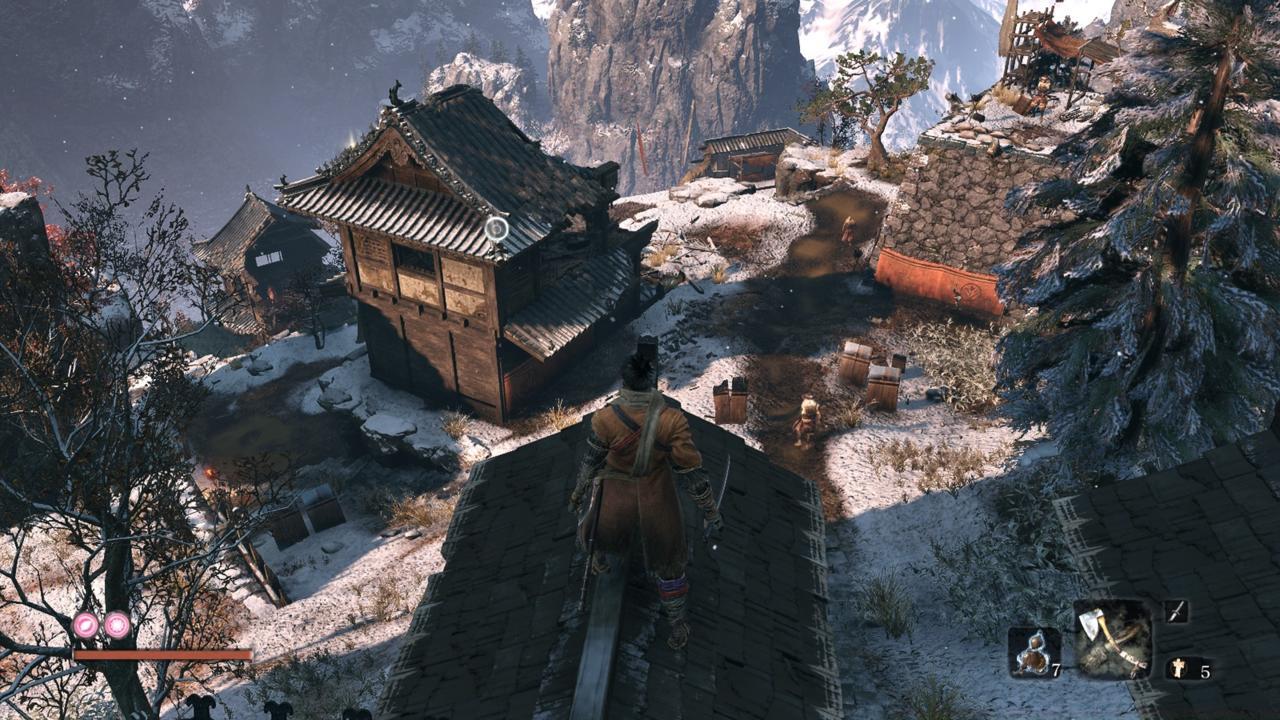
Navigating to the first Memorial Mob merchant requires precise route knowledge through Ashina Outskirts. These specialized vendors operate in high-casualty zones, offering unique items unavailable through standard merchants.
The critical merchant location resides within Outskirts Wall – Gate Path, specifically in the area following the samurai mini-boss encounter. This transitional zone introduces new environmental challenges including patrolling enemies and interactive NPCs with side quest potential.
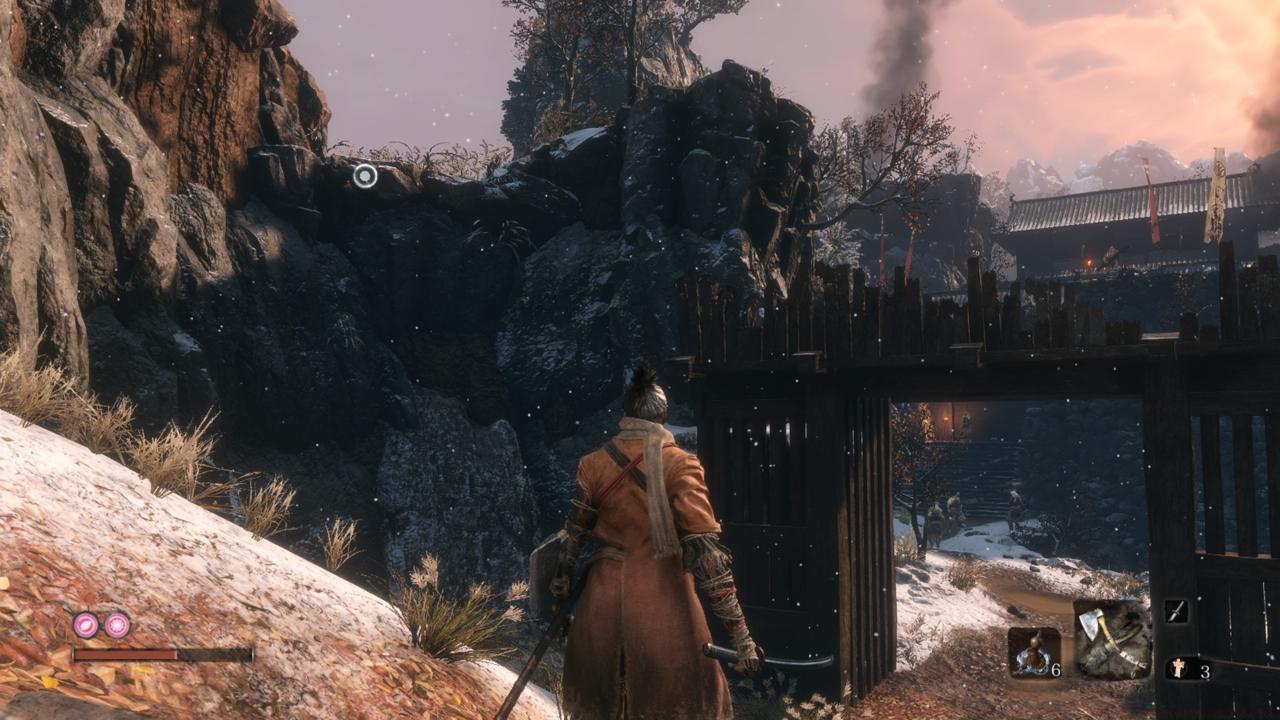
From the destroyed dwelling housing the mistaken-identity woman, proceed forward until encountering a gated area with ascending staircases. A cannon-wielding enemy occupies the upper platform, providing both threat and navigational landmark.
Before passing through the gate, scan leftward to identify grapple points leading upward. These initial anchor points provide access to the stone tower structure housing your target merchant.
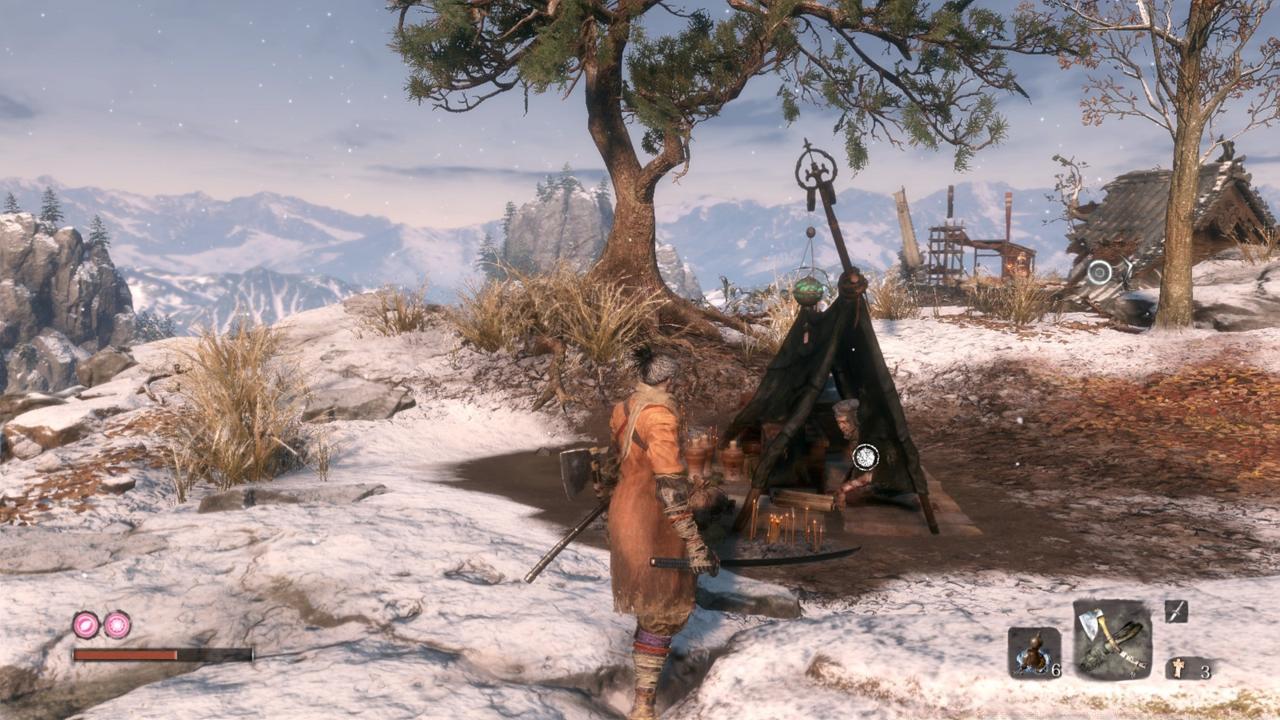
Pro navigation tip: The tower requires multiple consecutive grapple maneuvers. Maintain upward visual scanning to identify subsequent grapple targets, eventually reaching the summit where the Memorial Mob merchant awaits.
The Memorial Mob merchant stocks Robert’s Firecrackers, the foundational component for your Loaded Firecracker prosthetic. This 500 sen investment represents substantial early-game currency, requiring deliberate financial planning.
Currency protection strategies include purchasing Light Money Purses whenever possible, as contained funds remain secure upon death. This approach prevents significant sen loss during the inevitable learning curve encounters.
Once financial requirements are met, return to the Dilapidated Temple and consult the Sculptor for prosthetic installation. This transformation process converts Robert’s Firecrackers into the functional Loaded Firecracker tool.
Advanced players should simultaneously acquire the Flame Vent and Shinobi Axe prosthetics during this expedition. The Flame Vent proves exceptionally effective against the Chained Ogre, while the Axe provides shield-breaking capabilities against certain enemy types.
For comprehensive Sekiro mastery, consult our Complete Guide covering advanced combat techniques and progression strategies.
The Loaded Firecracker’s primary combat function involves creating temporary enemy disorientation, interrupting attack animations and creating vulnerability windows. This proves particularly devastating against aggressive opponents who rely on continuous assault patterns.
Optimal deployment timing occurs during enemy wind-up animations, effectively canceling powerful attacks that would otherwise connect. Against beast-type enemies, the explosive effect triggers instinctive fear responses, prolonging the stun duration.
Strategic combination with other prosthetics creates powerful synergy effects. For instance, following a Firecracker stun with Flame Vent application maximizes damage against vulnerable targets.
Weapon art integration represents advanced Firecracker application. After creating an opening, immediately follow with high-damage Combat Arts or prosthetic combinations for maximum efficiency.
For specialized loadout optimization, our Weapons Unlock guide provides detailed information on optimal tool combinations for various combat scenarios.
Common deployment errors include using Firecrackers against enemies already in hyper-armor states or wasting the tool on distant opponents outside effective range.
Mastering prosthetic tools represents just one aspect of Sekiro’s deep combat system. Explore our Class Guide for insights into character build optimization and playstyle specialization.
Action Checklist
- Navigate to Ashina Outskirts – Outskirts Wall Gate Path
- Locate stone tower using grapple points left of cannon gate
- Purchase Robert’s Firecrackers for 500 sen
- Return to Sculptor for prosthetic installation
- Practice timing against early enemies to master interruption windows
No reproduction without permission:SeeYouSoon Game Club » Sekiro Firecrackers Prosthetic Guide: Where To Find The Shinobi Tool Master Sekiro's Firecracker prosthetic early to dominate beast bosses and gain crucial combat advantages