TL;DR
- RE4 features 5 critical progression points: 3 soft locks and 2 hard locks
- Always maintain backup saves before major boss fights and environmental transitions
- Complete all treasure hunts and Merchant requests before advancing past soft locks
- The Clock Tower elevator triggers the Castle hard lock – explore thoroughly before riding
- Strategic planning prevents missing 15+ treasures and multiple challenge opportunities
Navigating Resident Evil 4’s campaign requires careful attention to its progression system, particularly the critical junctures where backtracking becomes impossible. These strategic choke points demand preparation to avoid missing valuable resources and completion opportunities.
The game structures its soft lock and hard lock mechanisms to control player movement between its three major zones. A soft lock restricts access to specific sub-areas while permitting exploration within the current zone. Conversely, a hard lock permanently seals entire previous zones, making thorough preparation absolutely essential before advancing.
Strategic save management proves crucial for optimal progression. Maintain at least two rotating manual saves before approaching any potential point of no return. This approach provides insurance against missed collectibles while allowing you to experiment with different strategies for challenging encounters.
The Village area contains two critical progression points that significantly impact your ability to collect resources and complete side objectives.

Once you cross the bridge that leads to the Villa encounter, you won’t be able to turn back.
Crossing the Villa bridge represents the campaign’s first major zone transition. Before proceeding, ensure you’ve completed all Merchant requests, collected every Village treasure, and upgraded your weapons sufficiently for the upcoming Castle challenges.
The Castle presents multiple progression barriers that can trap unprepared players, potentially causing them to miss significant rewards and progression opportunities.
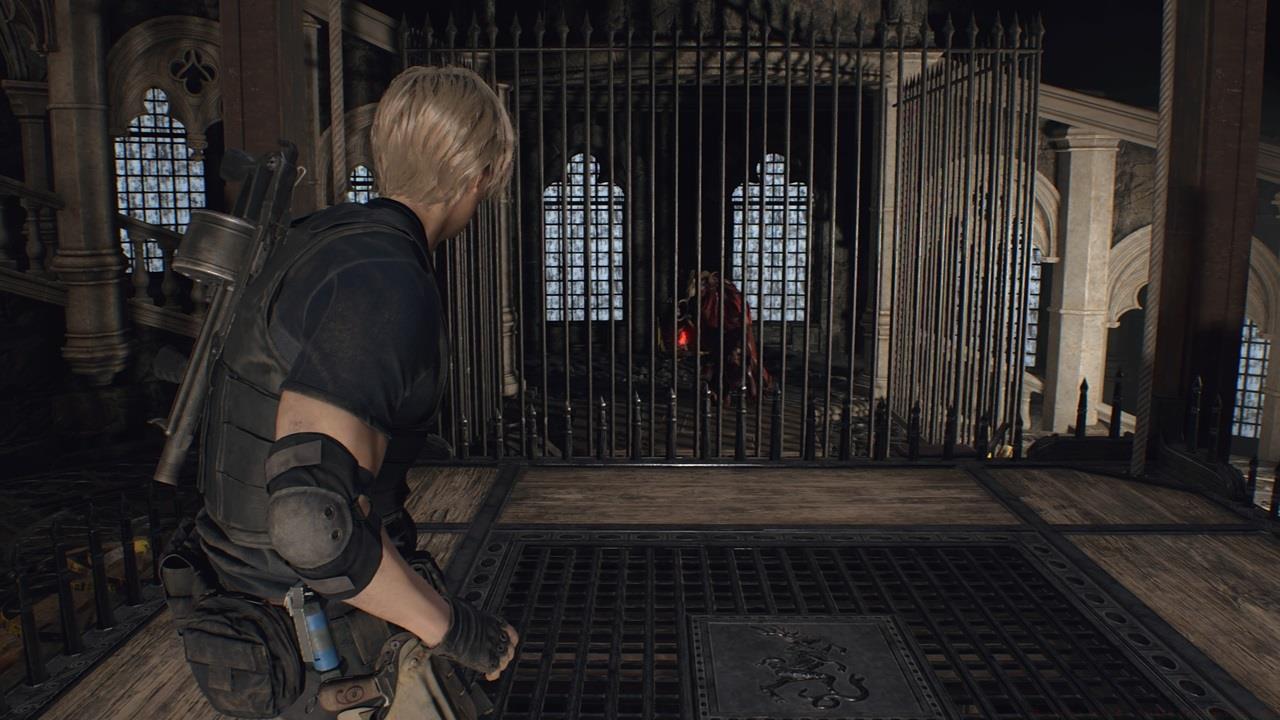
If you ride the elevator in the Clock Tower, you won’t be able to return to the main Castle area.
The Clock Tower elevator decision demands careful consideration. Before ascending, thoroughly search the Castle for missing treasures, complete remaining Merchant requests, and ensure your weapon loadout is optimized for the final Island segment.
Seasoned players develop specific techniques to maximize their progression efficiency while minimizing the risk of missing critical content at these irreversible junctures.
Implement a systematic treasure collection approach by zone. The Village contains 18 possible treasures, the Castle houses 32, and the Island features 15. Missing zone transitions can cost you thousands of pesetas in unrecoverable loot.
Challenge completion requires foresight, particularly for time-sensitive objectives like the mine cart protection. These cannot be revisited once passed, making strategic save management an essential skill for completionists.
Weapon upgrade planning should align with these progression points. The Castle hard lock makes the Striker shotgun and Rifle particularly valuable investments, while the Island segment benefits from fully upgraded handguns and the TMP.
For comprehensive gameplay guidance beyond progression management, consult our Complete Guide for additional strategic insights.
Action Checklist
- Create dedicated manual saves before each major boss fight and environmental transition
- Complete all Merchant requests in current zone before advancing
- Thoroughly search for all treasures using maps from the Weapons Unlock guide for optimal resource gathering
- Upgrade key weapons appropriate for upcoming zones before hard locks
- Verify challenge completion status for current zone before irreversible transitions
No reproduction without permission:SeeYouSoon Game Club » Resident Evil 4 – Points Of No Return Guide Master Resident Evil 4's critical progression points with strategic save management and treasure collection tips