TL;DR
- Master the wave-drop technique for precise, rapid landings while maintaining optimal speed
- Strategic landing zones balance loot quality with player density – avoid high-traffic areas unless skilled
- Wingsuit redeployment enables tactical repositioning from elevated positions during combat
- Zombie-infested areas offer high-tier gear but require careful risk-reward assessment
- Vehicle usage demands tactical awareness to avoid becoming an easy target for experienced players
GameSpot may receive revenue from affiliate and advertising partnerships for sharing this content and from purchases through links.
Call of Duty: Black Ops 4 represents a significant evolution in the franchise’s approach to multiplayer engagement. While traditional multiplayer modes maintain their presence, the complete omission of a single-player campaign signals a strategic pivot toward sustained online experiences. The introduction of Blackout, a comprehensive battle royale experience, accommodates 100 participants in intense survival scenarios. Veterans of popular titles like Fortnite and PUBG will recognize familiar mechanics, but Blackout incorporates distinct Call of Duty elements that demand adaptation.
For dedicated Call of Duty enthusiasts, Blackout’s pacing presents a substantial departure from the rapid-fire engagements typical of standard multiplayer matches. Achieving victory requires abandoning established tactics that previously guaranteed success. Even battle-hardened veterans from other battle royale titles must acclimate to Black Ops 4’s proprietary systems and nuanced mechanics.
This comprehensive guide delivers essential strategic insights for Blackout newcomers and veterans alike. If you participated in the beta testing phase, certain concepts may seem familiar, but developer Treyarch has implemented numerous adjustments and enhancements since that period. Ongoing updates continue to introduce new features, including the Black Market progression system and seasonal events like the Halloween-themed content.
If Blackout’s mechanics remain unclear, consult our detailed mode explanation article. For broader context about Black Ops 4’s complete feature set, explore our comprehensive game overview. Players curious about comparative analysis between Blackout, Fortnite, and PUBG should reference our in-depth comparison analysis. Additional Black Ops 4 tactical guides will be published in the near future.
We welcome community engagement regarding Blackout experiences. Have you discovered strategic insights not covered in this guide? Share your expertise in the commentary section below.
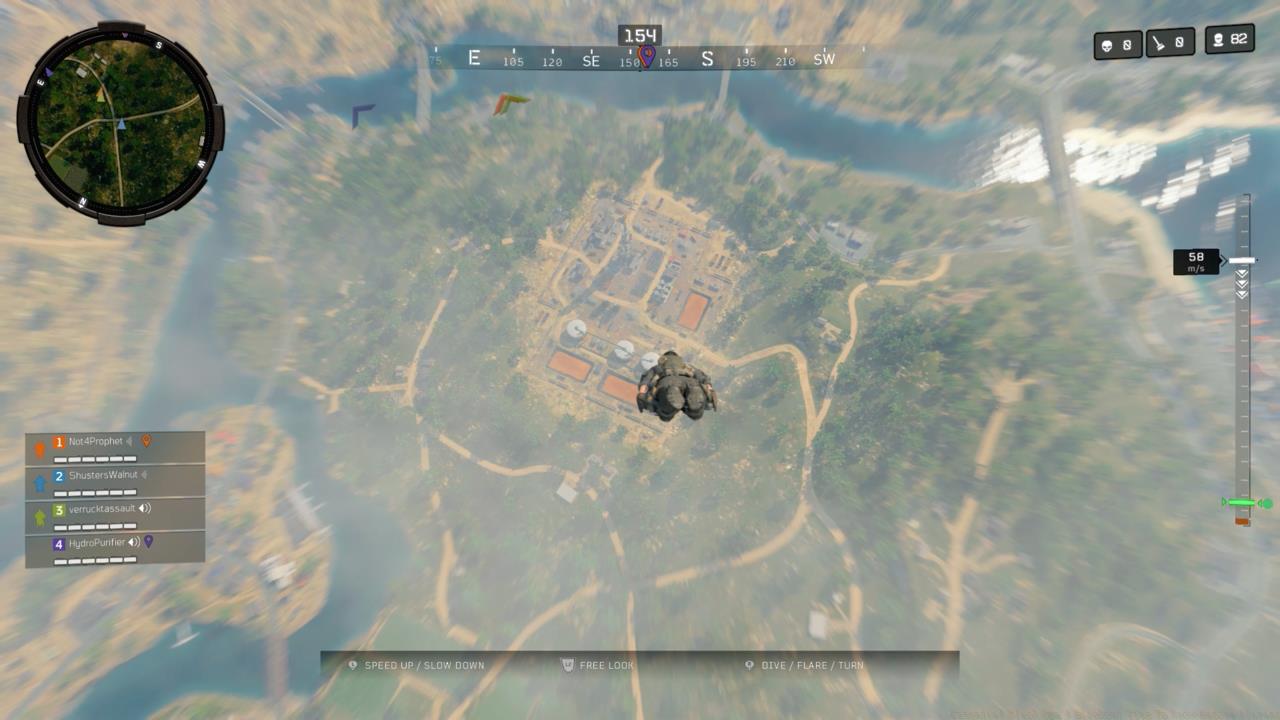
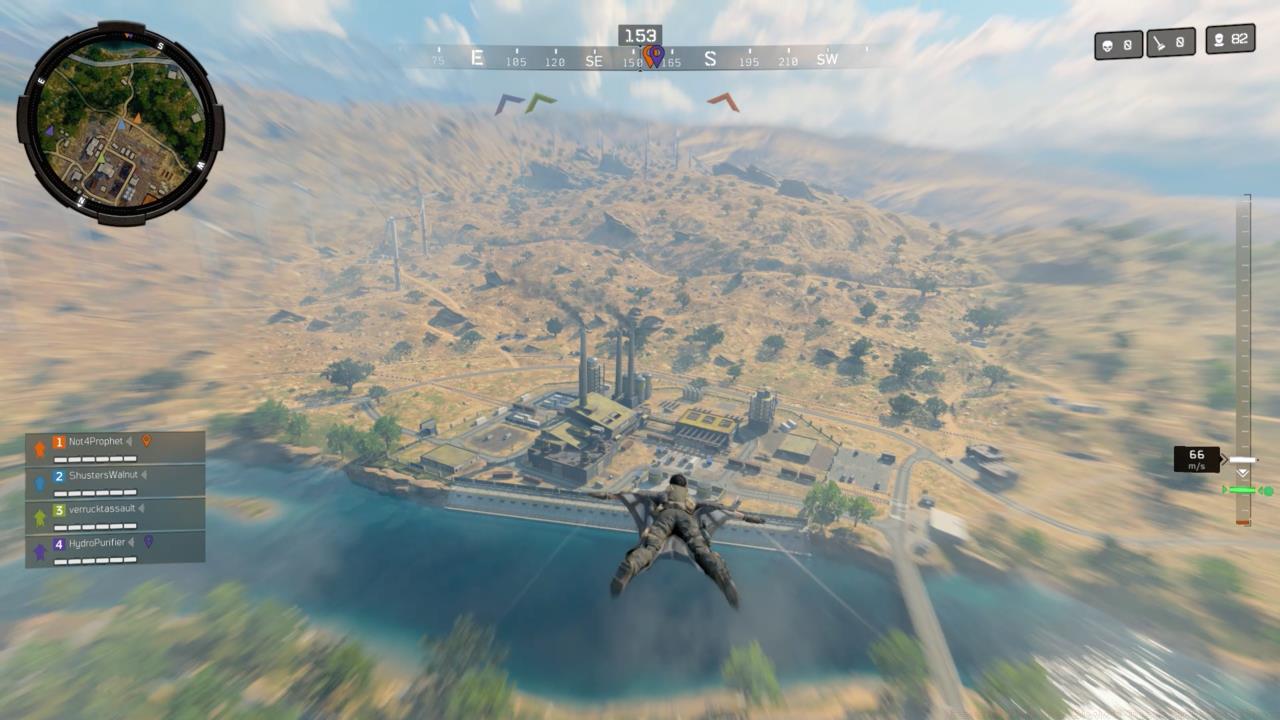
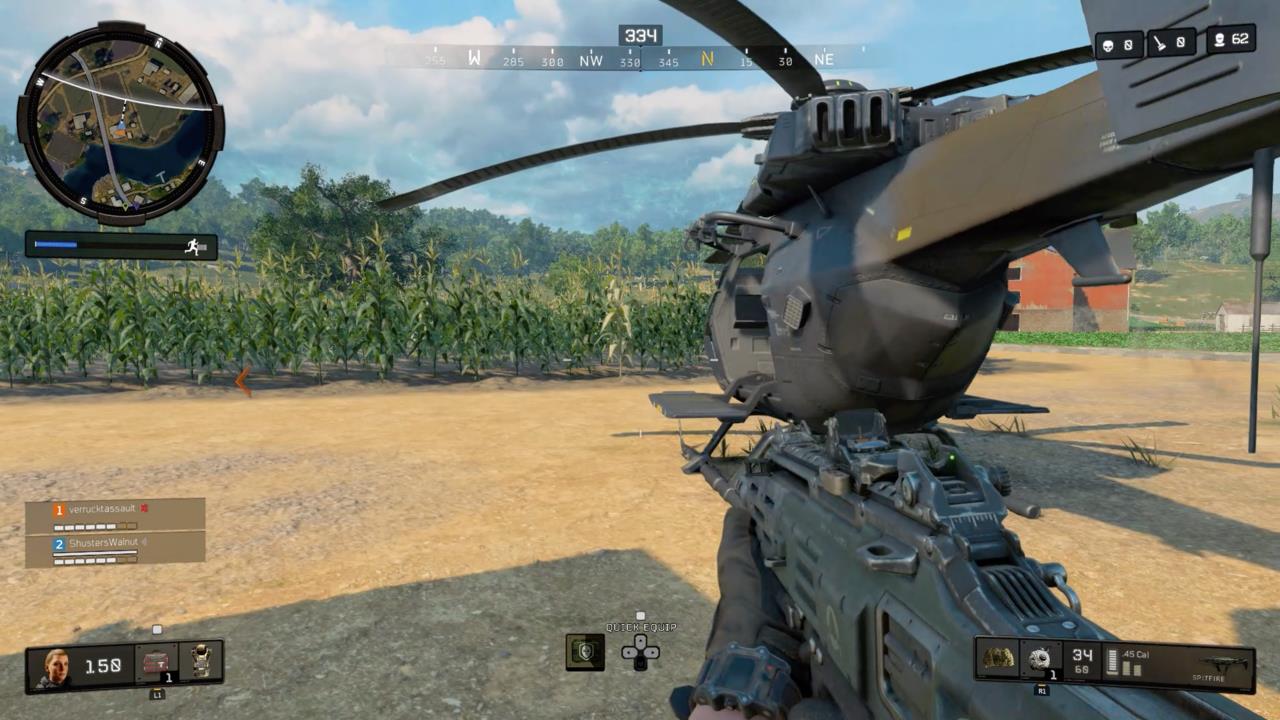
Securing early ground positioning represents a critical skill for Blackout dominance. Matches commence with helicopter insertion across the expansive island terrain. Unlike conventional battle royale descent mechanics, Blackout employs a sophisticated speed-distance tradeoff system for precision landing. Upon helicopter departure, initiate immediate vertical descent. Maximum velocity achievement is indicated by your character’s arm retraction animation. The interface’s right margin displays both meters-per-second velocity metrics and directional arrow indicators. Target triple downward triangle achievement before implementing oscillating, wave-patterned flight trajectories toward your designated landing area.
Remote landing locations involve substantial risk assessment, though unmarked small settlements can present greater hazards than established urban centers. If opposing squads secure prior landing positions, your escape routes become severely limited. Larger designated areas typically attract increased player concentration but offer more structural diversity for exploration. Securing isolated structures for initial equipment acquisition becomes more feasible in these environments. The Turbine location exemplifies this principle with its multiple warehouse facilities. However, specific high-profile destinations like Firing Range and Nuketown Island consistently draw exceptional player volumes. Avoid these locations unless you possess exceptional combat proficiency.
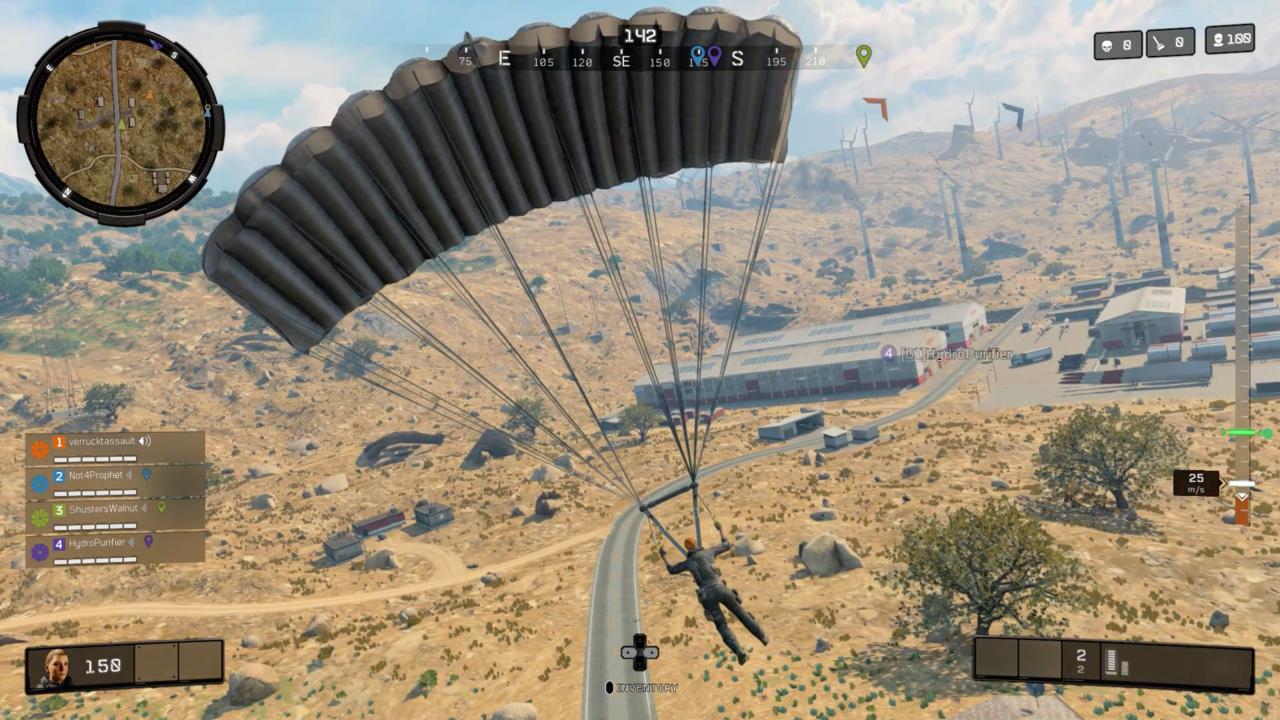
Initial helicopter egress utilizes wingsuit deployment for controlled descent. Many players overlook the tactical advantage of mid-match wingsuit reactivation. This capability proves invaluable when executing rapid disengagement from elevated positions like the Dam or Lighthouse structures. Emergency redeployment becomes crucial when tactical situations deteriorate rapidly. Reactivate your wingsuit by sprinting followed by sustained jump button engagement.
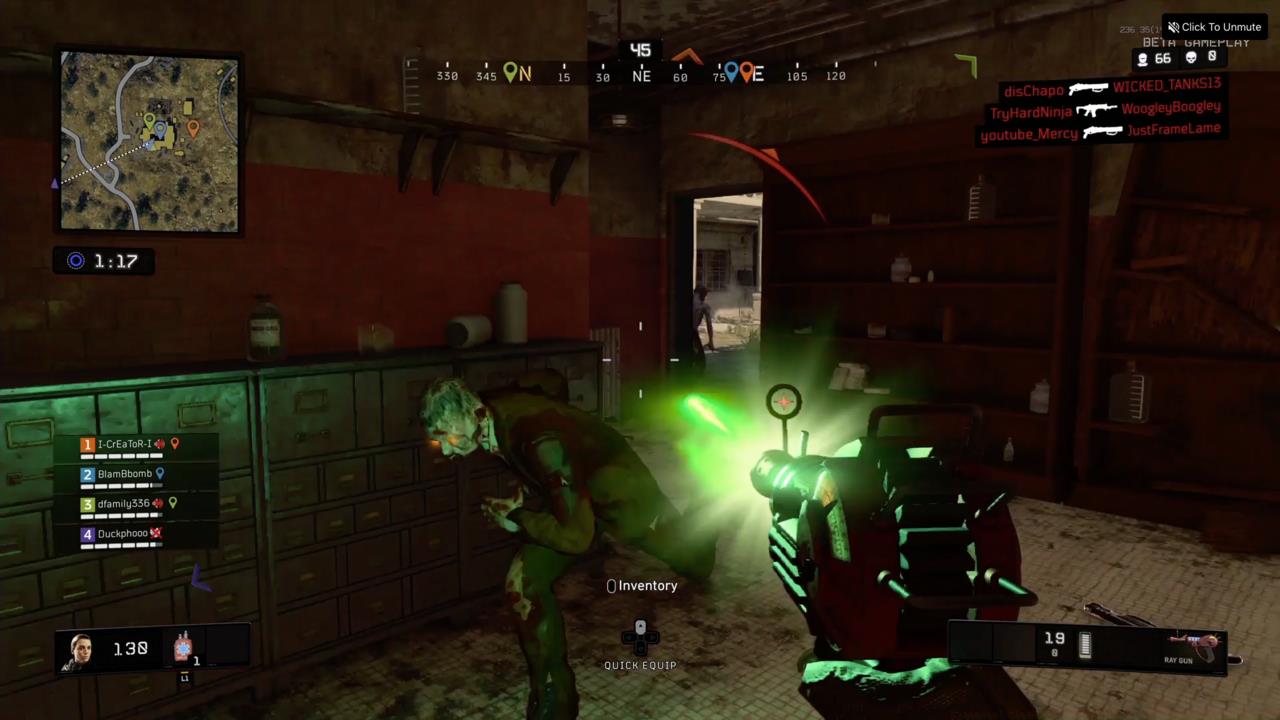
Venturing into zombie-controlled territories, including Asylum and the mysterious light beam locations scattered across the map, provides access to superior weaponry and enhanced protective gear. These areas present potential encounters with specialized zombie variants; eliminating these threats yields exceptional rewards. However, the accompanying auditory signature of combat frequently attracts unwanted attention from nearby opponents. Alternatively, if direct zombie engagement seems unappealing, consider establishing ambush positions targeting teams attempting to secure zombie-looted equipment, then appropriating their acquired resources.
Advanced players should recognize that zombie areas function as natural player funnels. The audible gunfire and visual indicators create predictable player movement patterns that skilled operatives can exploit. When approaching these locations, always prioritize elevated positioning with clear sightlines to multiple entry points. Time your engagements carefully – the ideal moment occurs when other teams have depleted their resources fighting zombies but haven’t yet secured the high-value loot.
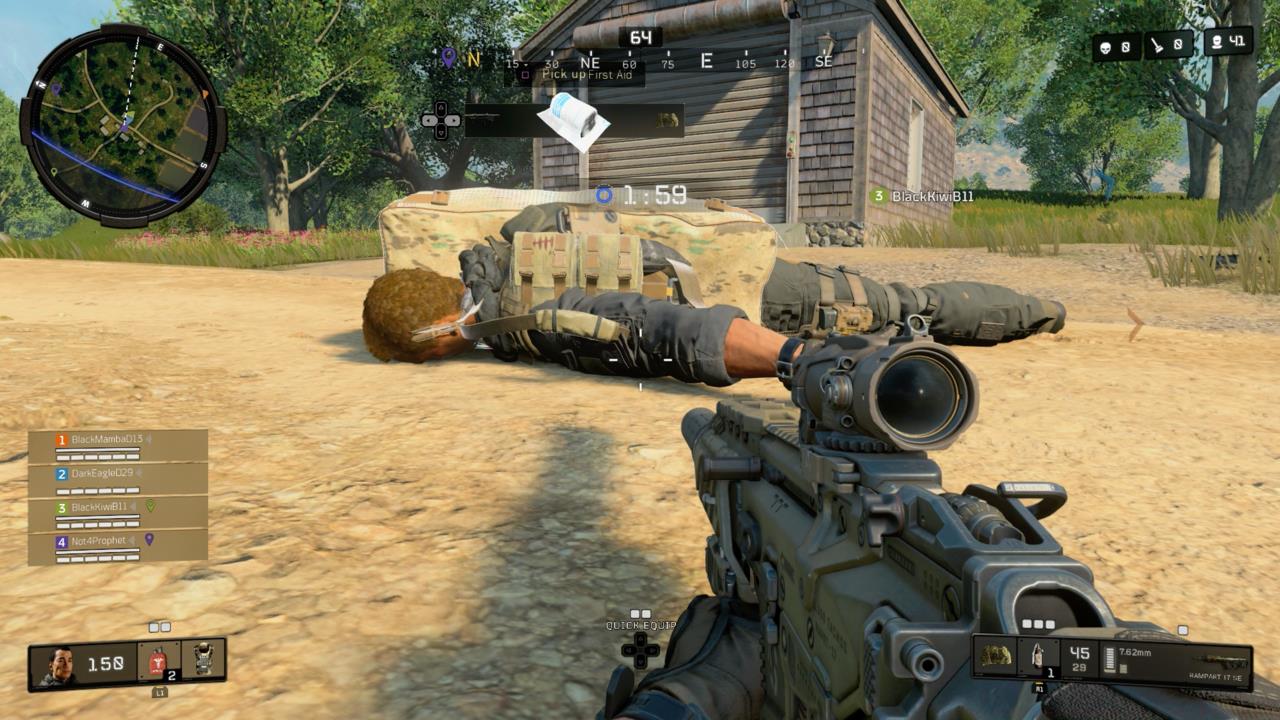
The risk-reward calculation for zombie areas changes dramatically based on circle positioning and remaining player count. Early-game zombie engagements offer substantial rewards with manageable risk, while mid-to-late game encounters often reveal your position to too many opponents. Consider carrying suppressed weaponry specifically for these engagements to minimize audio signatures. The weapons selection principles from other tactical shooters apply here – prioritize versatility over specialization when looting zombie areas.
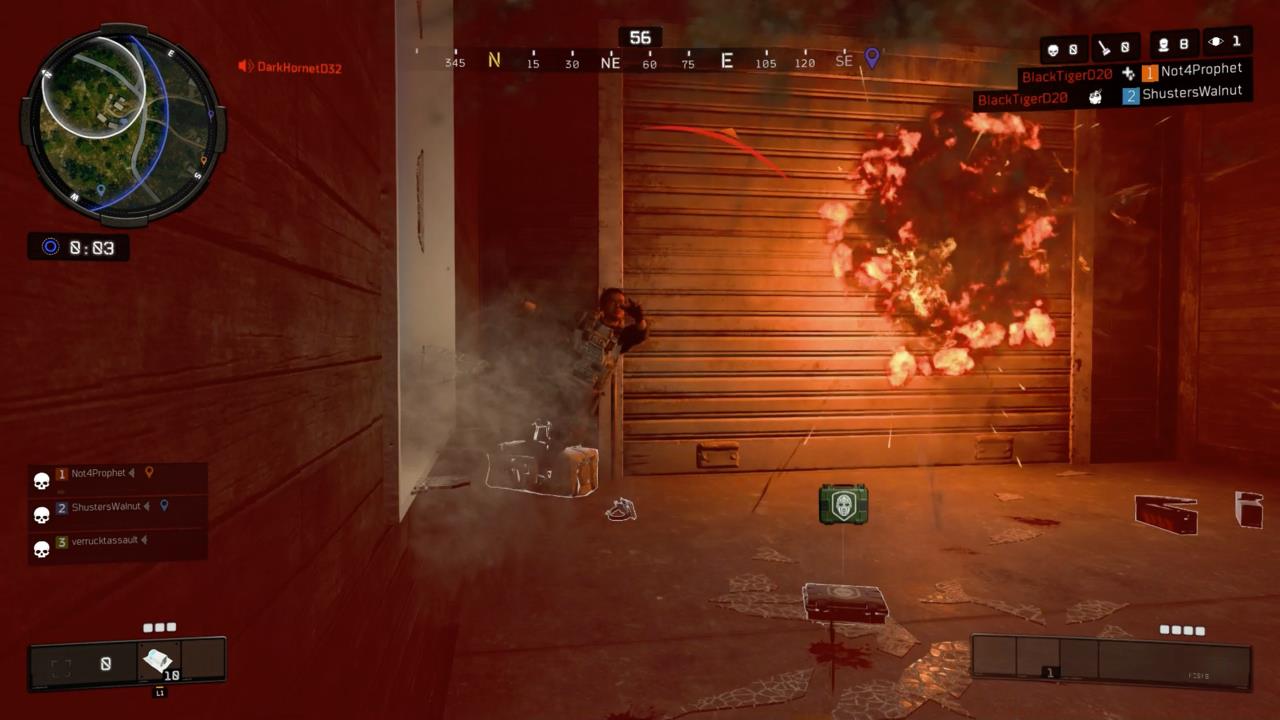
Final circle positioning demands sophisticated tactical decision-making. While structures offer apparent security, they frequently become death traps during endgame scenarios. Buildings attract grenade spam, tactical equipment, and focused team attention. Unless you possess a Trophy System for explosive defense, prioritize natural cover and elevated terrain positions. The defensive principles outlined in our complete tactical guide apply particularly well to Blackout’s final moments.
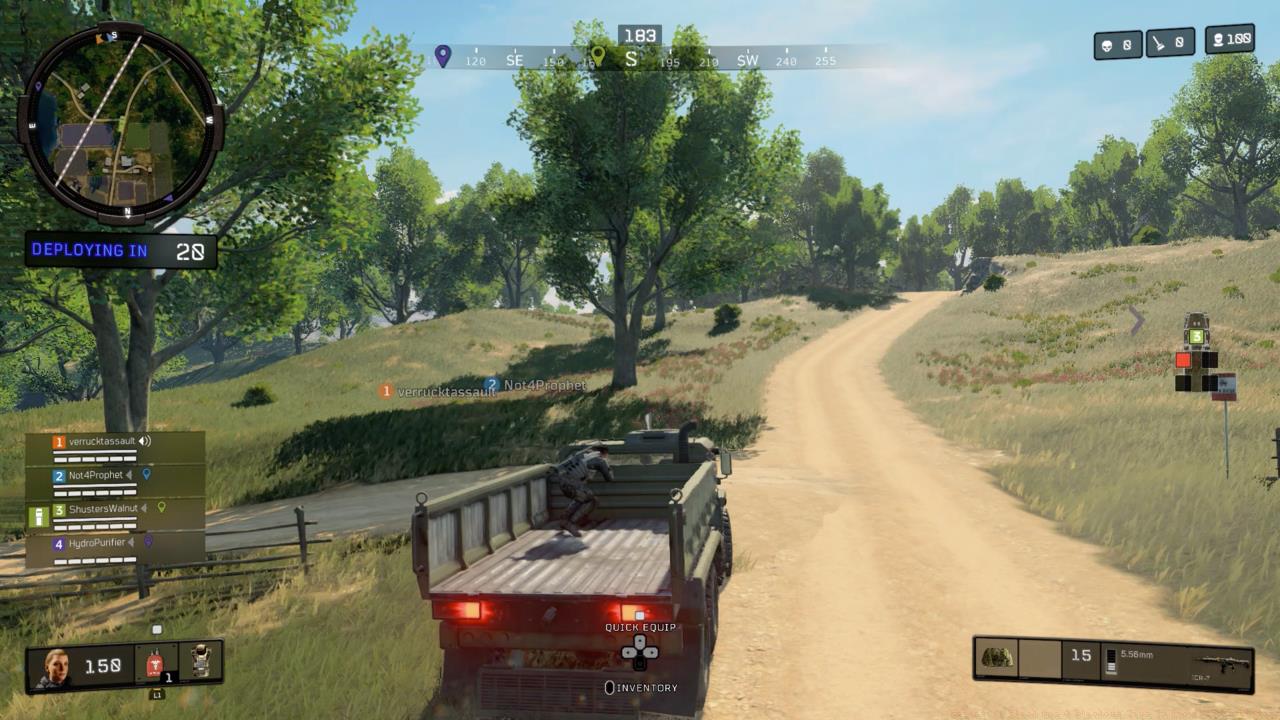
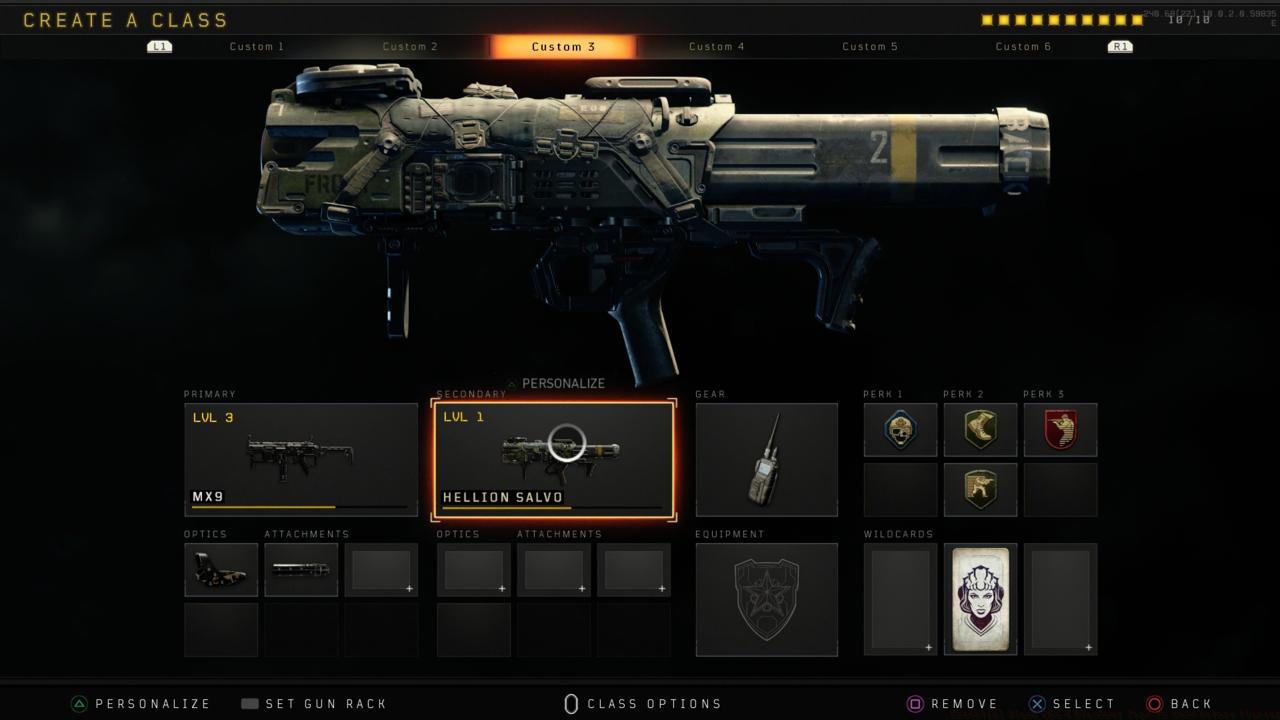
Vehicle implementation requires careful strategic consideration. While offering rapid map traversal, they generate significant auditory signatures and make you vulnerable to specialized anti-vehicle weaponry. The Hellion Salvo rocket launcher represents a particular threat that experienced players frequently carry into late-game scenarios. Use vehicles primarily for early-to-mid game positioning, but abandon them as circles constrict and player density increases.
Specialist weapon integration provides tactical advantages that can determine engagement outcomes. These unique tools function differently than standard armaments and require specific deployment strategies. Understanding cooldown mechanics, effective ranges, and situational appropriateness becomes crucial for maximizing their combat effectiveness.
Helicopter locations represent high-value mobility assets but come with substantial risk profiles. Their auditory signature makes stealthy approach impossible, and they attract player attention across substantial distances. Deploy helicopters for rapid circle repositioning or emergency extraction, but never for final circle approaches. The class specialization knowledge translates well to understanding which specialist weapons complement your playstyle in Blackout.
Advanced movement techniques separate competent players from elite operatives. Slide-canceling, jump-shotting, and drop-shotting techniques from standard multiplayer translate effectively to Blackout engagements. However, the slower pacing requires more deliberate movement decisions – excessive agility can reveal your position unnecessarily.
Solo Training mode provides an invaluable environment for mastering Blackout’s unique mechanics without competitive pressure. Use this mode to practice advanced landing techniques, test weapon effectiveness at various ranges, and memorize high-value loot locations. The training area replicates major points of interest from the main map, allowing focused skill development in controlled conditions.
Standard multiplayer sessions offer complementary skill development opportunities. The fast-paced engagements sharpen reflexes, improve accuracy, and reinforce weapon handling skills that directly transfer to Blackout combat scenarios. Focus on mastering 2-3 primary weapons to develop muscle memory and predictable engagement outcomes.
Progressive skill optimization involves systematic improvement across multiple domains: landing precision, loot acquisition efficiency, engagement decision-making, and final circle positioning. Track your performance metrics across multiple matches to identify specific areas requiring development. Average players improve randomly; elite players identify weaknesses and target them deliberately.
Advanced tactical development requires understanding player behavior patterns. Most opponents follow predictable routes between high-value locations. By mapping these patterns and establishing ambush positions, you can secure eliminations with minimal risk. This strategic approach separates consistent performers from occasional victors.
Action Checklist
- Practice the wave-drop landing technique in Solo Training until you can consistently hit your target zone within 5 seconds of ideal timing
- Identify and memorize 3-4 medium-traffic landing zones that balance loot quality with survival probability
- Master wingsuit redeployment from at least 5 different elevated positions on the map
- Develop zombie area engagement protocols based on circle phase and available equipment
- Create vehicle usage decision matrix considering circle size, player count, and available anti-vehicle countermeasures
No reproduction without permission:SeeYouSoon Game Club » Essential Black Ops 4 Blackout Tips To Know Before Playing Master Black Ops 4's Blackout mode with advanced strategies, landing techniques, and combat optimization tips