TL;DR
- Shooting Galleries offer unlimited ammo challenges with specific weapon requirements
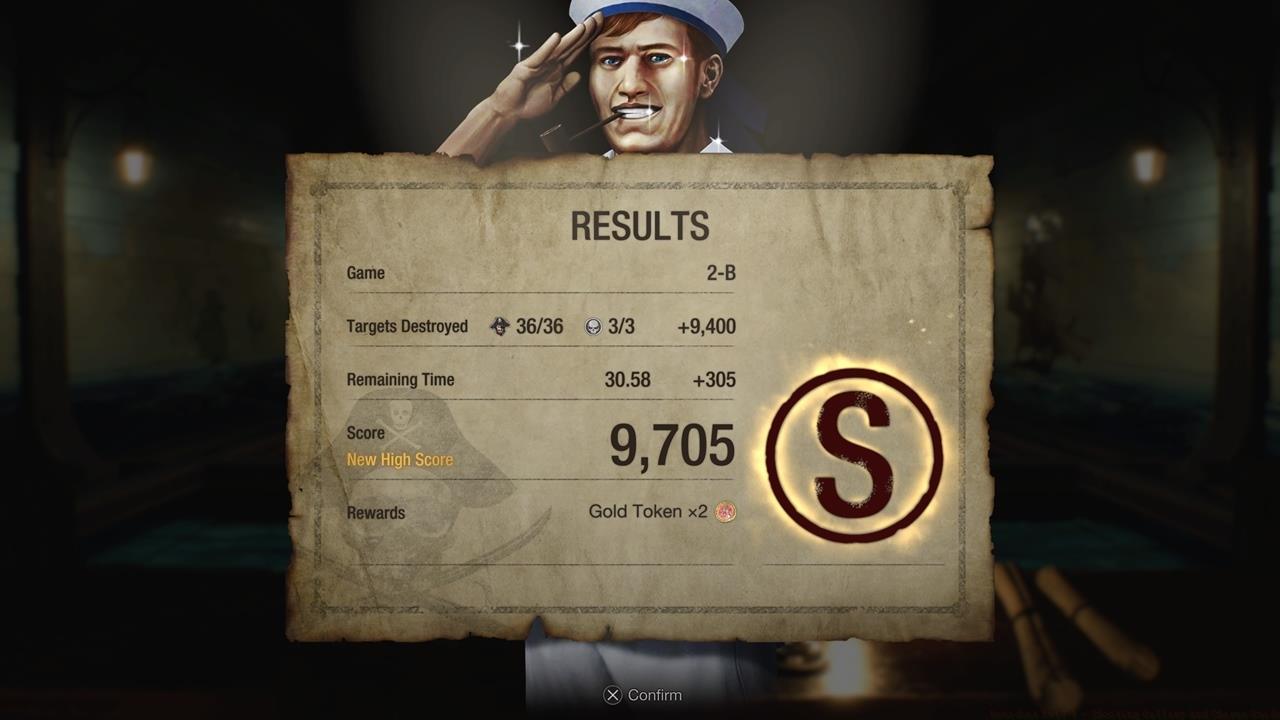
- Destroy skull targets for bonus points and avoid civilian penalties (-500 points)
- Gold Tokens unlock exclusive Charms that provide permanent gameplay benefits
- Bonus rounds activate with remaining time, offering additional token opportunities
- Strategic weapon switching and dynamite targeting dramatically improve scores
Unlock the full potential of Resident Evil 4’s Shooting Gallery minigames to maximize your rewards and enhance your gameplay experience. These specialized challenges provide unique opportunities that directly impact your main campaign progression.
Throughout your journey in Resident Evil 4, you’ll encounter Shooting Gallery facilities positioned strategically near Merchant locations. These dedicated activity zones are accessible via distinctive elevators adjacent to the Merchant’s hub. Each gallery presents three distinct challenges requiring mastery of specific weapon combinations. Successfully completing these trials earns you valuable tokens exchangeable for exclusive Charms that offer permanent advantages during your campaign.
The Shooting Gallery mechanics operate on specialized rules separate from normal gameplay. Understanding these systems is crucial for optimizing your performance:
- Each challenge mandates particular firearms, sometimes requiring rapid switching between weapons like transitioning from the TMP for distant targets to the shotgun for clustered enemies
- Unlimited ammunition is provided exclusively for gallery use, preserving your exploration resources
- Primary objectives involve eliminating enemy cutouts (pirates, dogs, etc.) within strict time limits while targeting bonus skull markers
- Strategic dynamite targeting can clear multiple hostiles simultaneously when you hit explosives attached to cutouts
- Civilians randomly appear as distractions – hitting them incurs significant point deductions (-500)
- Previous challenges remain accessible even after discovering new gallery locations
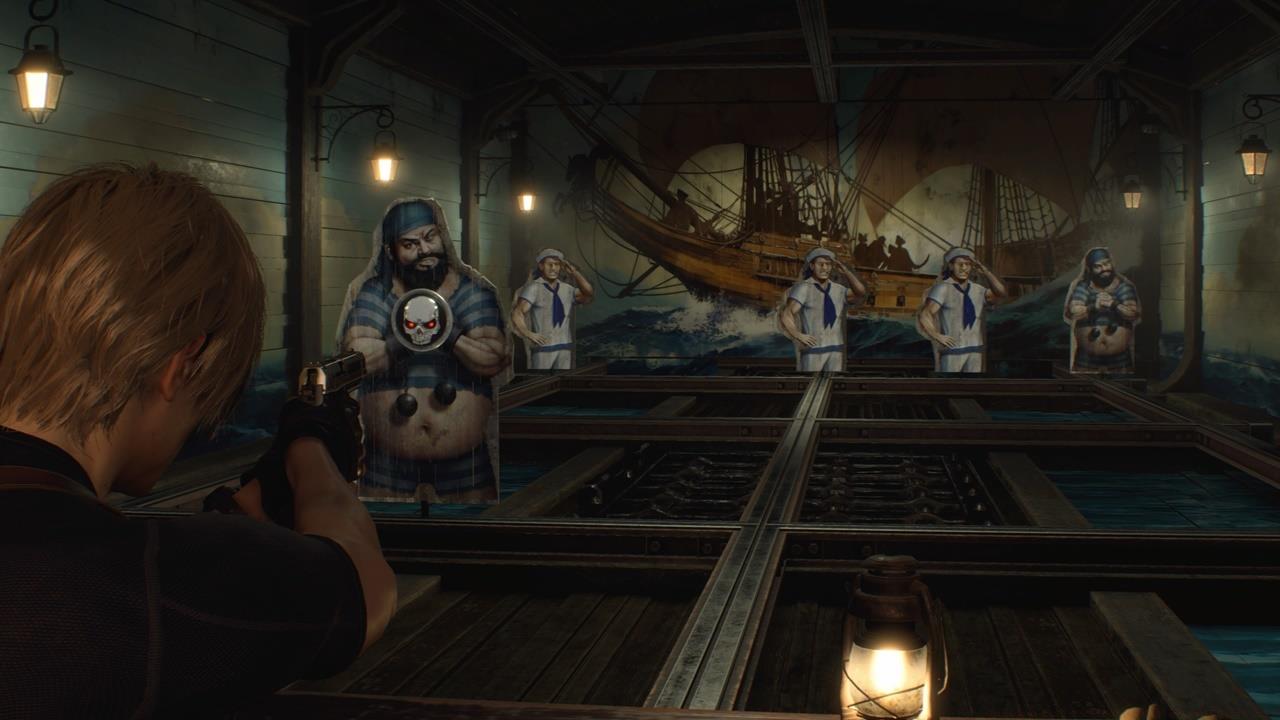
Precision targeting skull markers eliminates threats while boosting your score, but accidental civilian hits carry heavy penalties.
Elevate your Shooting Gallery performance with professional targeting methodologies and strategic planning. Advanced players consistently achieve maximum scores by implementing systematic approaches to each challenge scenario.
Mastering weapon transitions represents the most critical skill for high-level performance. When presented with multiple firearms, develop muscle memory for swift equipment changes. For instance, when facing mixed formations of scattered and grouped enemies, immediately switch from precision weapons to area-effect options like shotguns. This technique alone can improve completion times by 15-20%.
Target prioritization follows a clear hierarchy: dynamite-equipped enemies first (for chain reactions), then skull-marked targets (bonus points), followed by standard hostiles. Civilian avoidance requires constant peripheral awareness – their appearance patterns often follow predictable sequences after the first minute of each challenge.
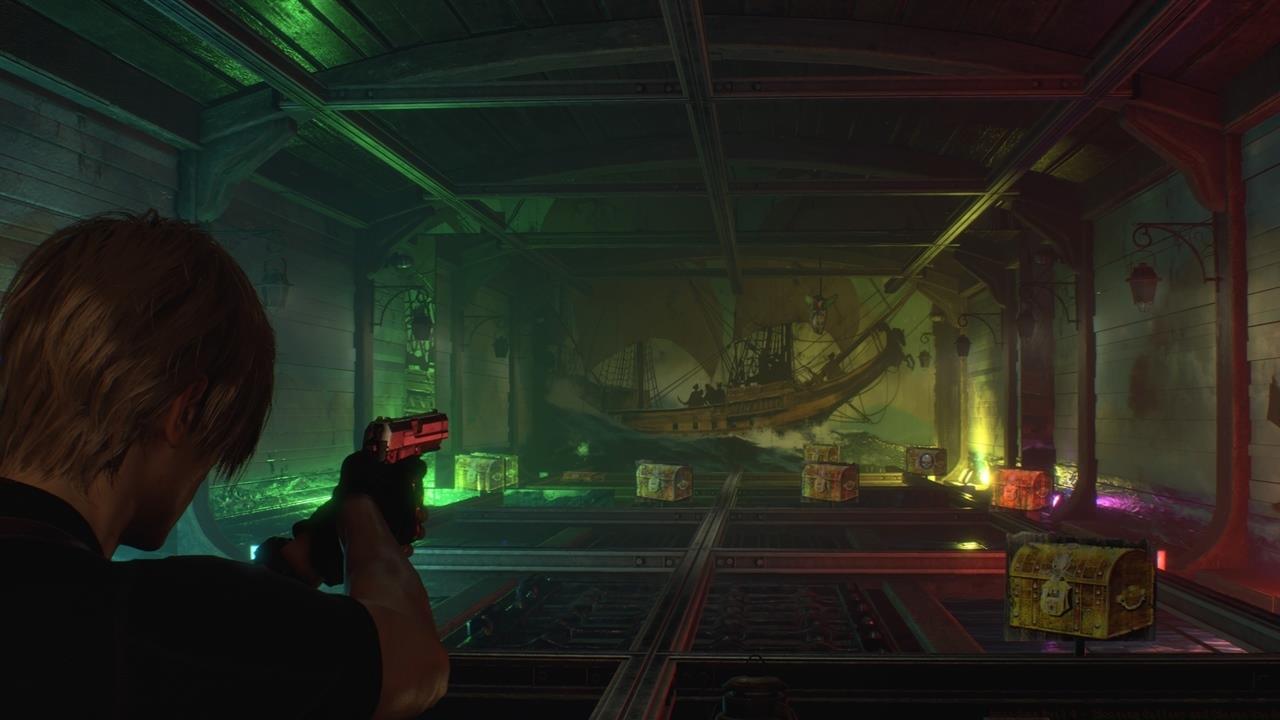
Bonus rounds activate when you complete primary objectives with remaining time, offering limited windows to acquire additional tokens through precision shooting.
Bonus round optimization requires understanding the activation trigger: you must destroy all primary targets with sufficient time remaining. During these precious seconds, focus first on stationary chests (higher value) before addressing airborne objects. Skull targets still present during bonus phases offer multiplied point values.
Achieving perfect scores requires destroying all standard and skull targets while preserving enough time to activate the lucrative bonus phase.
The true value of Shooting Gallery mastery manifests through the exclusive Charm rewards system. These collectible items provide persistent gameplay enhancements that significantly impact your resource management and combat effectiveness.
Gold Tokens earned through gallery challenges serve as currency for the Merchant’s special Charm gacha machine. Each pull costs three tokens and guarantees one random Charm, with probabilities favoring common variants over rare ones. Dedicated players should budget approximately 45-60 tokens to acquire a complete collection.
Charms deliver tangible benefits when attached to your attache case. Effects range from increased ammunition crafting yields to discounted merchant services. Rare Charms like the Striker or Leon with Rocket Launcher provide substantially greater advantages than common variants.
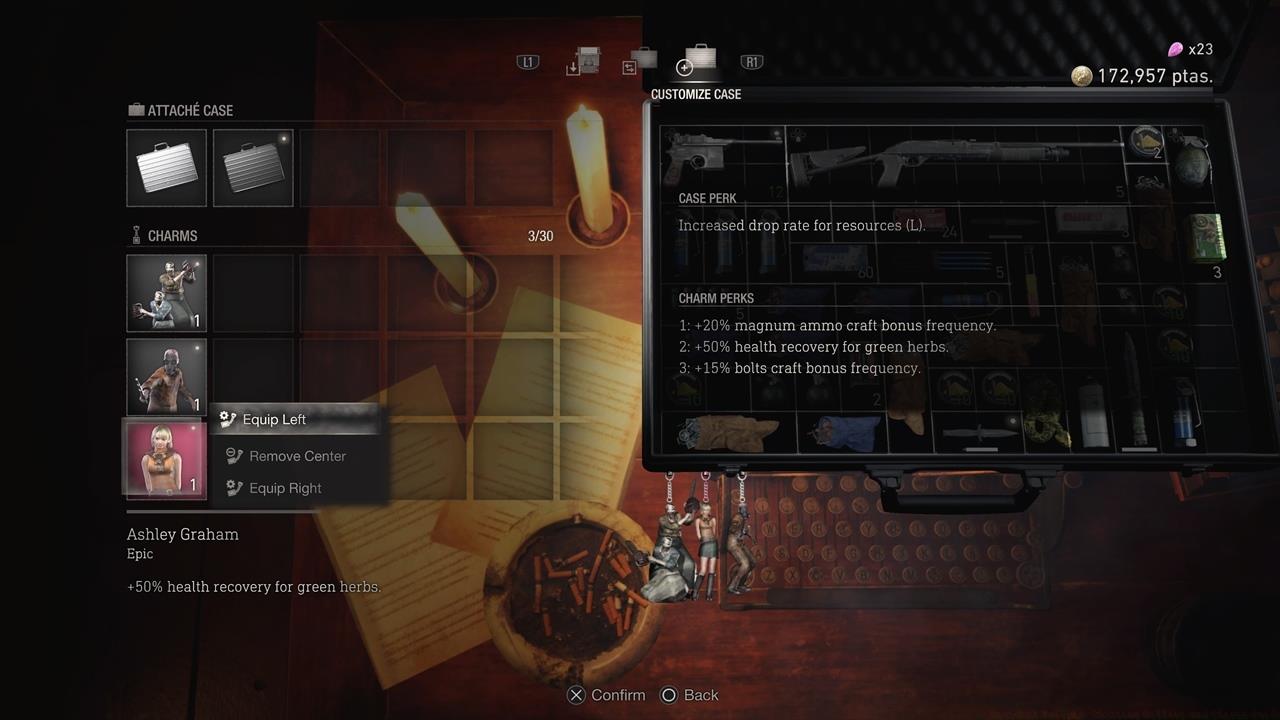
Access the case customization interface through any Typewriter to strategically equip Charms that complement your current playstyle and resource needs.
Strategic Charm equipping requires analyzing your current campaign situation. If ammunition scarcity is your primary concern, prioritize Charms that boost crafting yields. When preparing for major encounters, equip defensive or resource conservation Charms. The system allows three simultaneous active effects, enabling synergistic combinations.
Professional Resident Evil 4 players employ specific methodologies to minimize time investment while maximizing Shooting Gallery returns. These advanced techniques separate casual participants from dedicated optimizers.
Avoid the most common beginner mistakes: reckless shooting that hits civilians, inefficient weapon switching delays, and ignoring dynamite chain reaction opportunities. These errors typically cost players 20-30% of their potential scores.
Time management follows a simple principle: complete primary objectives with 8-10 seconds remaining to ensure bonus round activation. Practice sessions focusing solely on speed rather than accuracy can improve your timing dramatically within 3-4 attempts.
Progression planning should integrate Shooting Gallery sessions between major campaign segments. The ideal approach involves completing available challenges after acquiring new weapons but before proceeding to next areas. This ensures you benefit from Charm advantages during challenging sections.
For players seeking comprehensive gameplay optimization, our Complete Guide offers additional strategic frameworks applicable across multiple game systems.
Action Checklist
- Locate Shooting Gallery elevators near Merchant hubs in each major zone
- Master weapon switching patterns for each challenge’s specific firearm combinations
- Prioritize dynamite targets first, then skull markers, avoiding civilians
- Achieve primary objectives with 8+ seconds remaining to activate bonus rounds
- Exchange Gold Tokens for Charms and equip strategically based on current needs
No reproduction without permission:SeeYouSoon Game Club » Resident Evil 4 – Shooting Gallery And Charms Guide Master Resident Evil 4's Shooting Gallery challenges to earn exclusive Charms and Gold Tokens with expert strategies