TL;DR
- Unlock mining by completing scrapyard crane construction to access Eufaula Salvage Abandoned Ruins
- Gather copper, tin, artifacts for museum bonuses, and rare components like engines and coils
- Use pickhammer on brown dirt, jetpack for navigation, and scanner to locate valuable items efficiently
- Progress to lower floors for better resources and use elevators on odd floors for quick access
- Manage energy with snacks, avoid fall damage, and return before midnight to prevent penalties
Mining represents one of the most crucial economic activities in My Time at Sandrock, providing essential materials for construction, crafting, and progression. This comprehensive guide will transform you from novice miner to seasoned excavation expert.
While surface scrap provides basic materials, the truly valuable resources lie buried within the ruins of pre-calamity civilization. After three centuries of abandonment, these former commercial centers and office complexes have become mineral-rich excavation sites. Proper preparation involves gathering your pickhammer, stocking adequate provisions, and planning your descent carefully. Remember that returning to your bed before midnight remains mandatory to avoid exhaustion penalties.
Mining is a key aspect of life in Sandrock.
Multiple mining locations become available throughout your Sandrock journey. Initial access unlocks after you’ve constructed the crane systems for the scrapyard. Once operational, you can safely descend into the Eufaula Salvage Abandoned Ruins using the elevator system. Critical safety note: My Time at Sandrock implements realistic fall damage mechanics, and attempting to bypass established access points often results in character death with associated penalties.
Additional ruins progressively unlock as you advance through narrative quests. For players focused on resource accumulation, balancing mining expeditions with community assistance proves essential, as helping townsfolk frequently reveals new excavation opportunities.
Underground exploration delivers multiple significant advantages beyond basic material gathering. Primarily, it serves as the primary source for essential metals including copper and tin ore. During excavation, you’ll discover artifact fragments that can be reconstructed at the local museum. Consistent donations trigger progressively valuable rewards through the museum’s patronage system. Additionally, exclusive components such as propulsion coils and combustion engines appear exclusively within mine environments. While these specialized parts may not provide immediate utility, strategic stockpiling ensures readiness for future crafting requirements.
Strategic mining involves understanding which resources provide the best return on your time investment. Copper ore becomes essential for early-game electrical components, while tin serves as the foundation for bronze alloy production. Artifact collection not only benefits the museum but also unlocks permanent stat bonuses and special crafting recipes.
Advanced miners should prioritize locating data discs alongside rare components, as these enable crucial workshop upgrades at the research center. Each mining session should target specific resource types based on current project requirements rather than engaging in indiscriminate excavation.
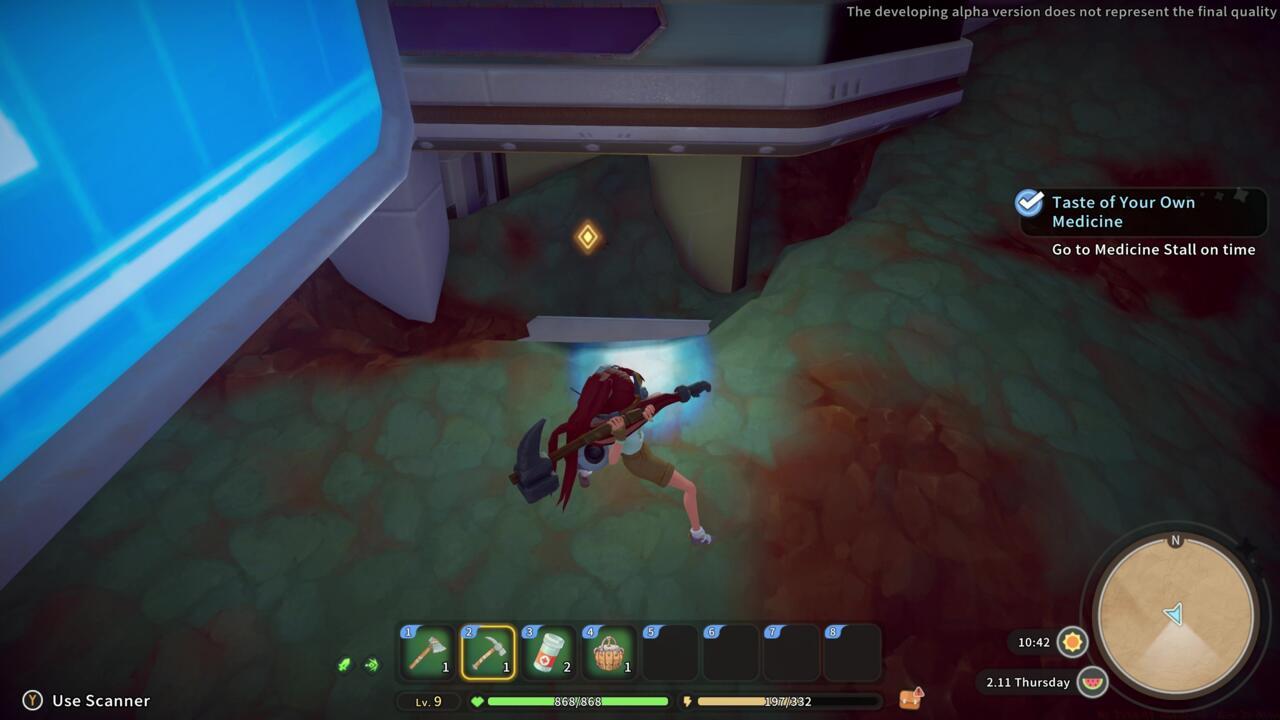
Primary excavation relies on your trusty pickhammer. Since these mines occupy ancient futuristic structures, identifying mineable material becomes straightforward: focus on earthen deposits. Typically, brown-colored terrain yields to your tool’s impact. The mining mechanics allow directional digging—simply aim and execute your swing in the desired excavation direction.
When navigation challenges arise, remember you’ve been provided with a versatile jetpack featuring unlimited ascent capability. This becomes particularly valuable in vertically-designed mine sections where reaching elevated platforms would otherwise prove impossible. Master alternating between mining and brief flight periods to conserve stamina.
Managing your energy is important when working in the mines.
Your technological toolkit includes an essential resource detection scanner. Although its interface temporarily obscures portions of your HUD, it precisely identifies concealed doorways and premium equipment locations. Unless your strategy involves comprehensive area clearance, the scanner dramatically reduces unnecessary labor by directing you exclusively toward valuable targets. Proper scanner usage eliminates random digging and optimizes your efficiency per energy point spent.
Expert miners develop rhythm patterns combining 3-4 pickhammer swings with brief scanner checks. This technique prevents missing hidden passages while maintaining steady excavation progress. Additionally, learning to interpret scanner signal strength helps distinguish between common and rare resource deposits before committing to lengthy digging operations.
Strategic advancement through mine levels significantly impacts your resource acquisition efficiency. Deeper subterranean layers contain superior materials, with elevator systems on alternating floors providing rapid descent options. For instance, the initial mine’s lower sectors begin yielding tin ore, which transforms into bronze—a fundamental material for tool enhancements and advanced machinery.
Progression planning should prioritize reaching elevator checkpoints quickly during initial explorations. Each elevator activation creates permanent fast travel points, dramatically reducing future access time to premium mining zones. The game’s progression system ensures that higher-level resources only appear in appropriately deep sections, creating natural incentive for vertical advancement.
Seasoned excavators recommend dedicating specific sessions to pure progression versus resource farming. During progression runs, focus on locating and activating elevators while gathering only immediately necessary materials. Return later with enhanced tools for efficient resource collection from previously unlocked depths.
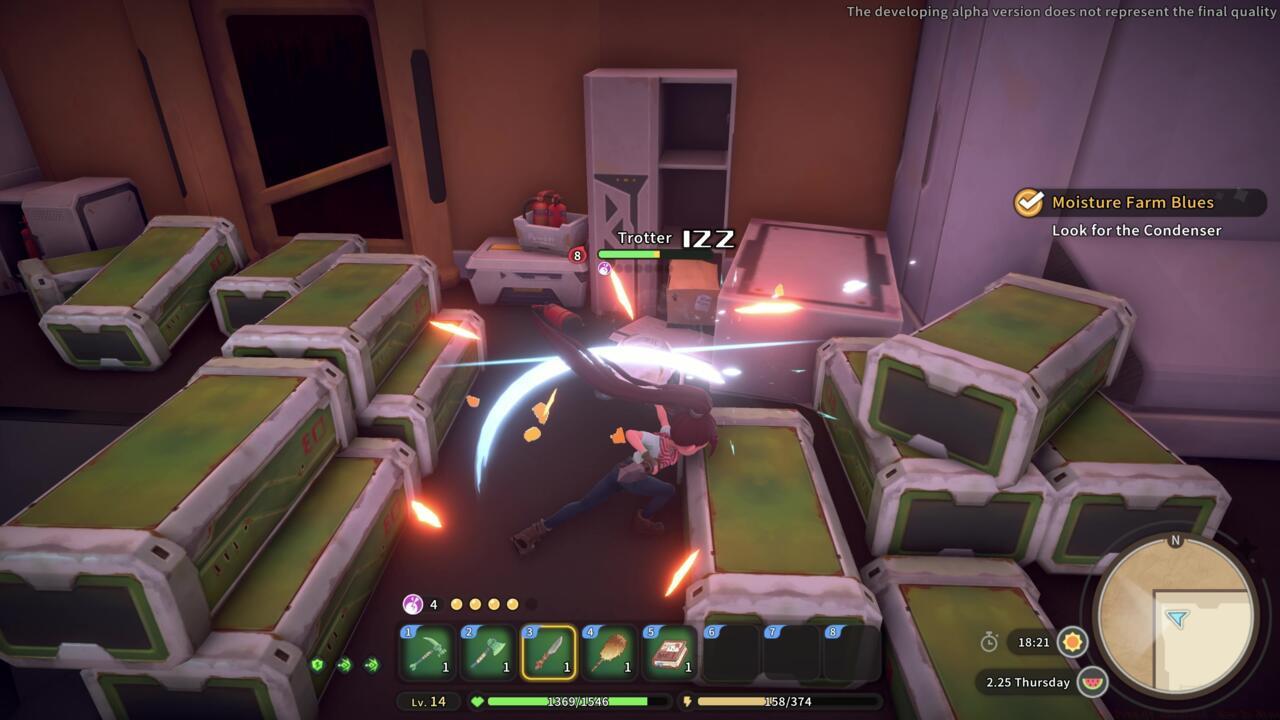
Successful mining operations balance aggressive resource gathering with careful risk management. Always monitor your character’s energy levels and carry sufficient nutrition sources. Dried sandberries and cooked scorpions provide excellent energy-to-weight ratios for extended expeditions.
Common beginner mistakes include underestimating travel time back to the surface and over-investing in low-yield upper layers. Advanced players should coordinate mining trips with seasonal weather patterns, as sandstorms can both hinder visibility and reveal previously buried entrances.
Time management proves crucial—plan to conclude mining activities by approximately 10:00 PM to ensure safe return before the midnight deadline. Establishing a routine of morning commissions, afternoon mining, and evening processing creates sustainable long-term progression.
For comprehensive gameplay strategies beyond mining, consult our Complete Guide covering all aspects of Sandrock life. Weapon enthusiasts should reference our detailed Weapons Unlock guide for combat preparation, while our Class Guide helps optimize your character build for specific playstyles.
Action Checklist
- Complete scrapyard crane construction to unlock Eufaula Salvage Abandoned Ruins
- Stockpile 5-10 high-energy foods before descending
- Practice jetpack navigation in safe areas before complex mines
- Use scanner every 3-4 digs to optimize resource detection
- Focus on reaching elevator checkpoints on odd-numbered floors
- Establish artifact donation routine for museum reward progression
No reproduction without permission:SeeYouSoon Game Club » My Time At Sandrock: How To Mine Master mining in My Time at Sandrock with expert strategies, artifact collection, and resource optimization techniques