TL;DR
- Start in Rocky Desert biome for balanced resources and beginner-friendly terrain
- Master keyboard shortcuts and World Grid building for efficient factory construction
- Plan production lines with future expansion in mind using calculator tools
- Prioritize Blade Runners and power management for smooth progression
- Use labeling systems and organized layouts to maintain factory clarity
GameSpot may receive revenue from affiliate and advertising partnerships for sharing this content and from purchases through links.
Satisfactory transforms what should be mundane logistics management into an immersive first-person factory-building experience. Unlike traditional strategy games where you view operations from above, this game places you directly on the factory floor, allowing you to interact with every conveyor belt, machine, and production line personally. The tactile nature of watching resources move through your creation and physically grabbing items from belts creates unparalleled engagement with industrial processes.
The game’s title perfectly captures its core objective: constructing factories that provide deep satisfaction through efficient, well-organized production systems. While the learning curve can be steep initially, mastering foundational concepts early will transform frustrating moments into rewarding achievements. These essential strategies will help you build a solid foundation for your industrial empire.

Biome selection significantly impacts your early game experience. While Grass Fields offers picturesque landscapes, the Rocky Desert provides superior strategic advantages with its diverse resource distribution and manageable terrain. This biome contains abundant iron, copper, and coal deposits within reasonable proximity, reducing initial transportation challenges. Avoid the temptation of Dune Desert starts, as scarce water sources and aggressive wildlife create unnecessary early-game hurdles that can derail your progress.
Strategic exploration before establishing your permanent base pays substantial dividends. Identify clusters of essential resources—particularly coal for power generation and iron/copper for basic production—to minimize long-distance logistics in the critical early phases. Consider potential expansion routes and future factory locations during your initial scouting missions.
Common beginner mistake: rushing to build permanent structures before completing thorough resource mapping. This often leads to inefficient factory layouts requiring costly relocation later. Spend 15-20 minutes exploring surrounding areas, noting resource node locations and potential choke points for future expansion.
Control scheme optimization dramatically affects your building efficiency and overall enjoyment. While Satisfactory supports console controllers, the precision and speed afforded by mouse and keyboard create a significantly smoother experience. The extensive hotkey system enables rapid construction and management that controller inputs simply cannot match.
Master these essential keyboard commands to accelerate your factory development:
The World Grid building system represents one of Satisfactory’s most powerful yet underutilized features. By holding Ctrl during construction, you align foundations and buildings to a universal grid, ensuring future expansion connects seamlessly. This prevents the frustrating misalignment issues that plague manually placed structures and saves countless hours of reconstruction later.
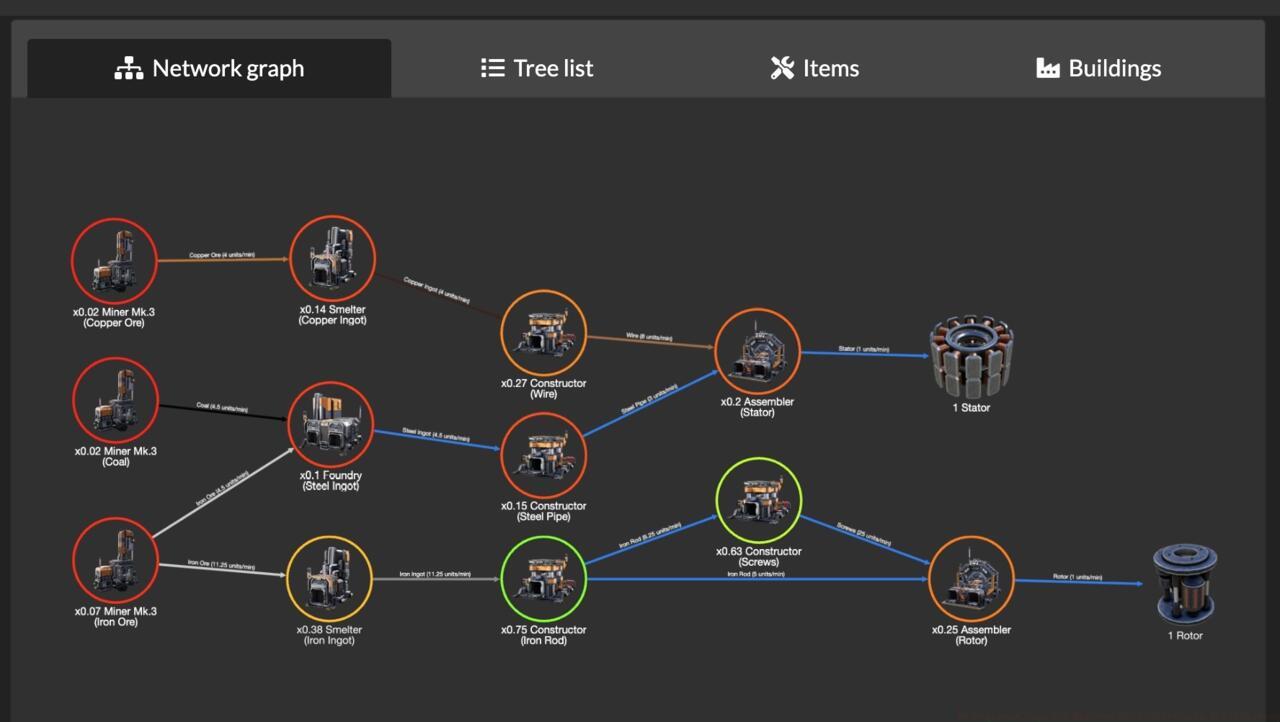
Advanced tip: Combine World Grid alignment with the satisfactory calculator tool to pre-plan entire production complexes. This mathematical approach ensures optimal machine ratios and prevents bottlenecks before construction begins, similar to how strategic planning in our Complete Guide emphasizes preparation for success.
Many players overlook the resource scanner’s full potential. Beyond simple resource detection, holding C allows selective scanning for specific materials, dramatically reducing search time when hunting for rare resources like sulfur or quartz deposits.
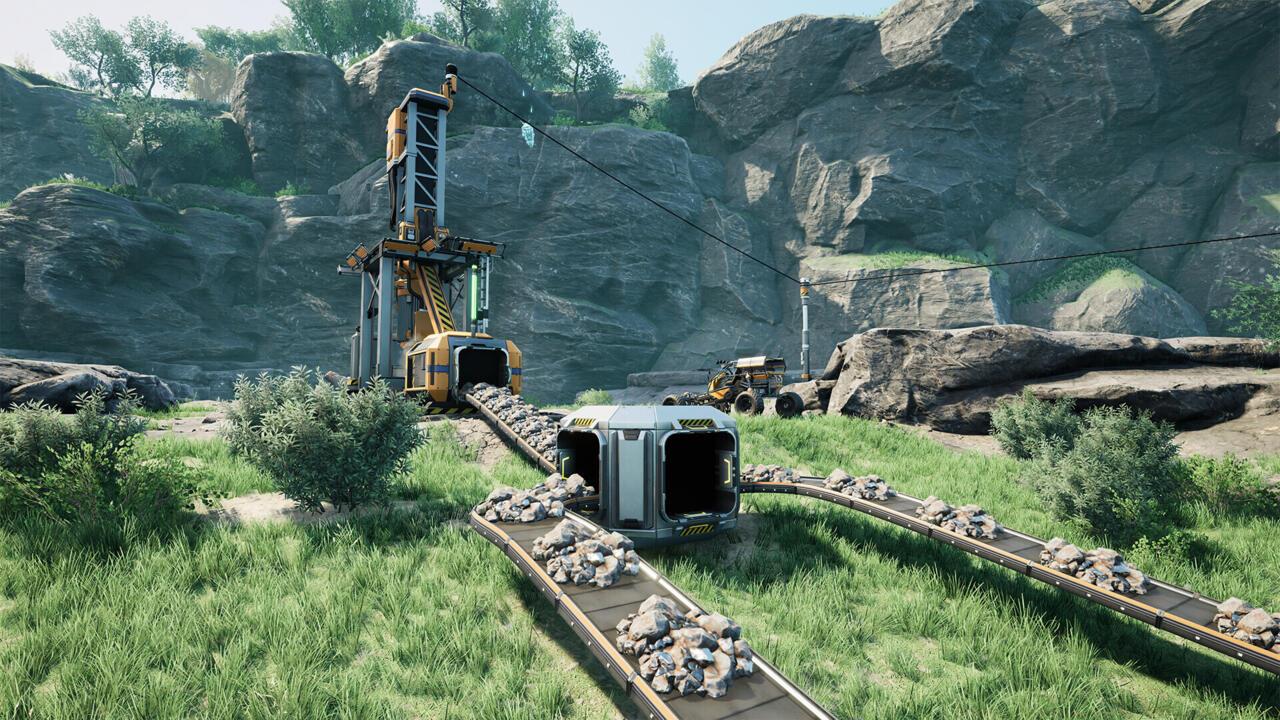
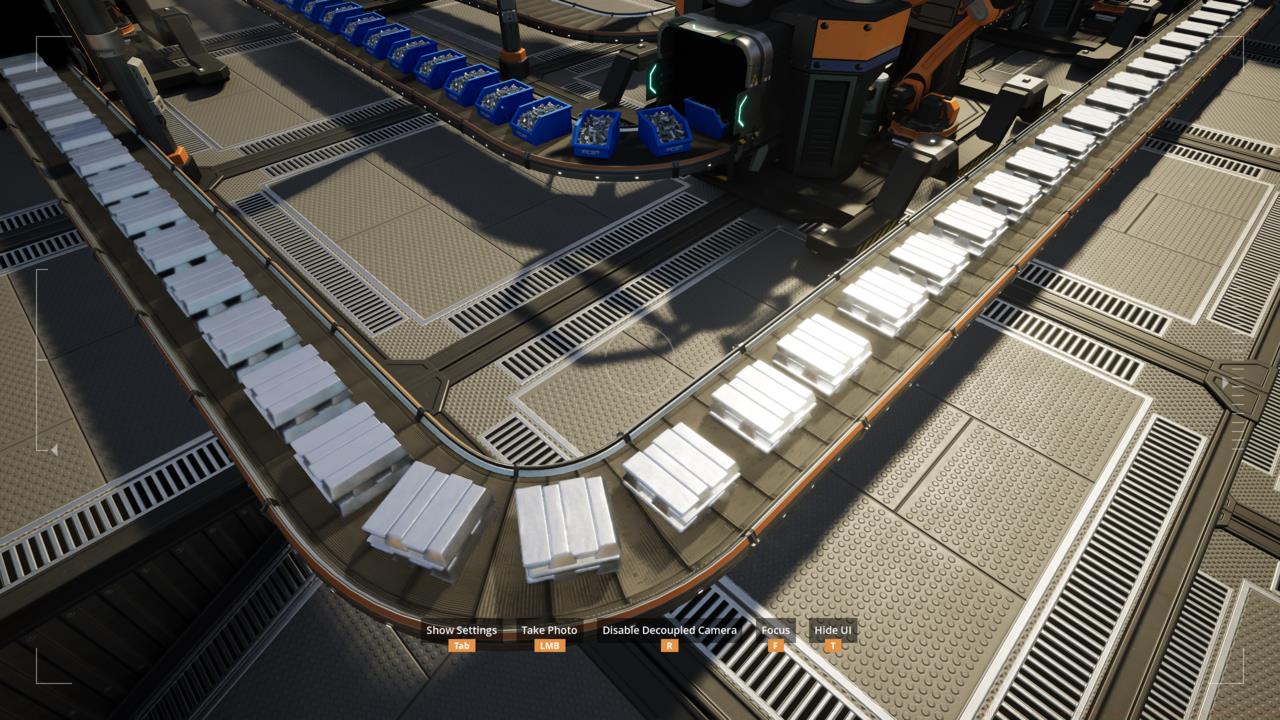
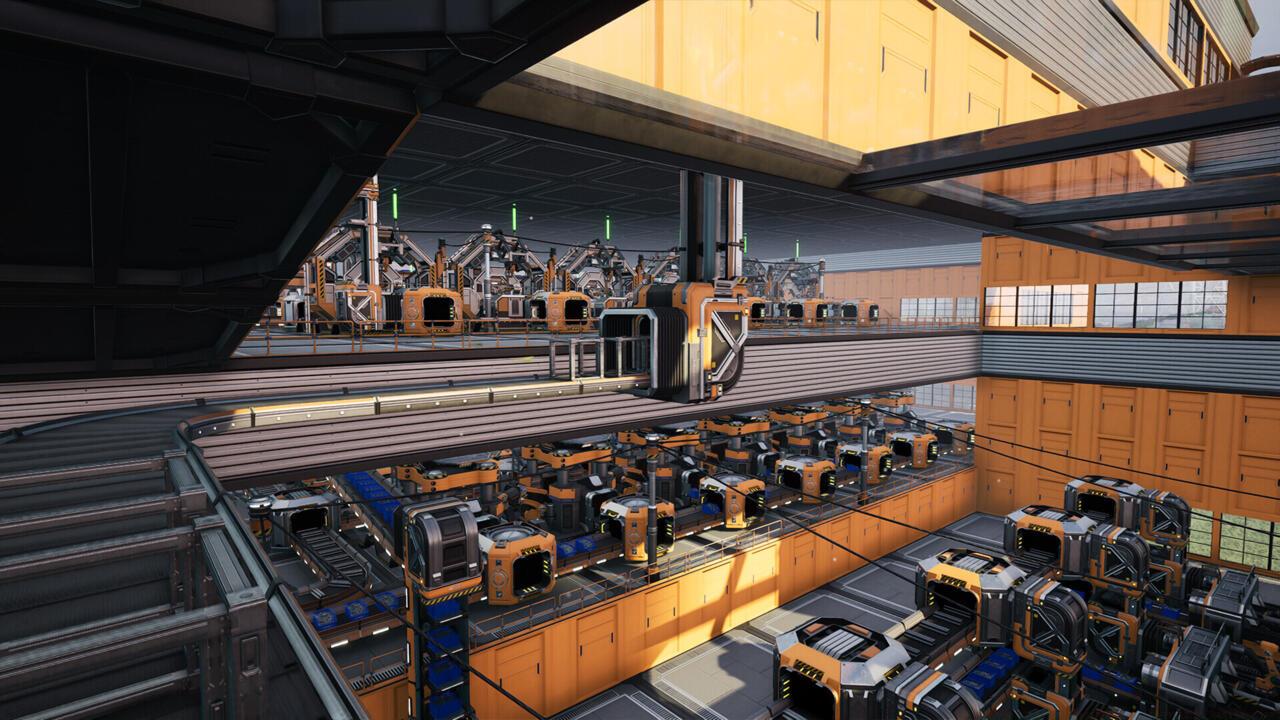
Production efficiency begins with understanding machine throughput and optimal placement. Each constructor, assembler, and manufacturer has specific input/output requirements that must align with conveyor belt speeds. Mismatched production rates create either resource starvation or product backlog, both crippling factory output.
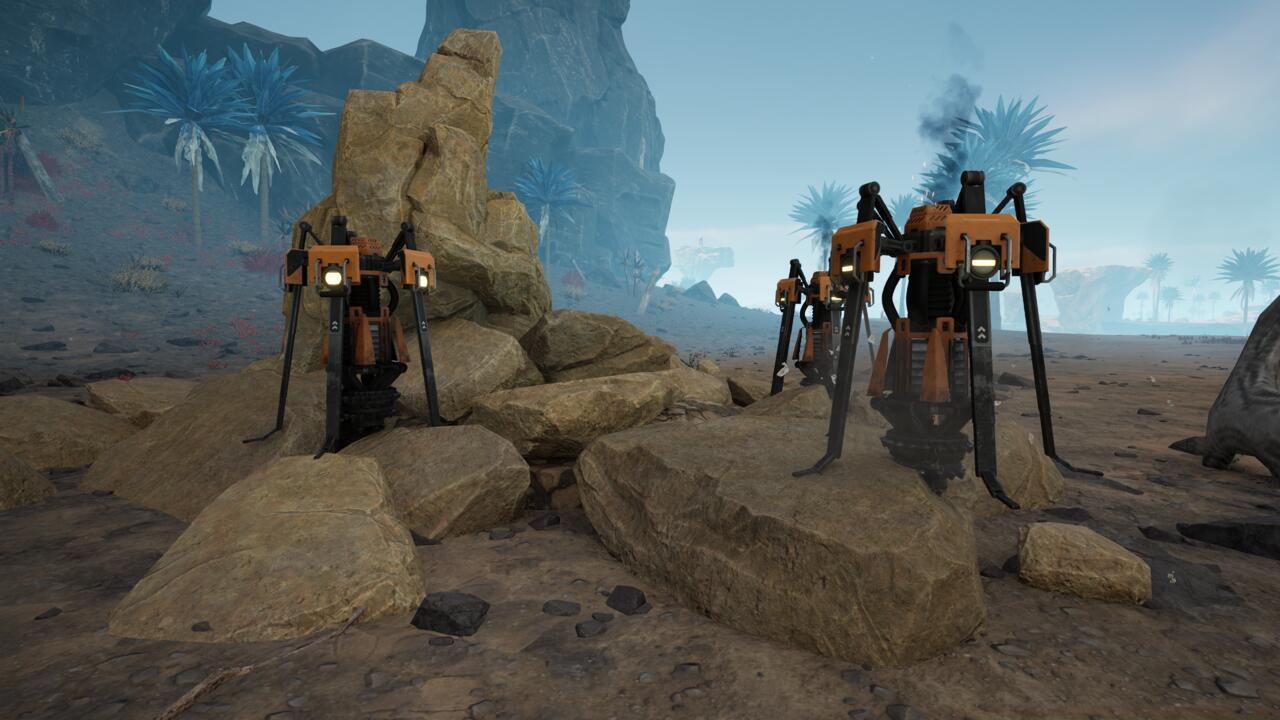
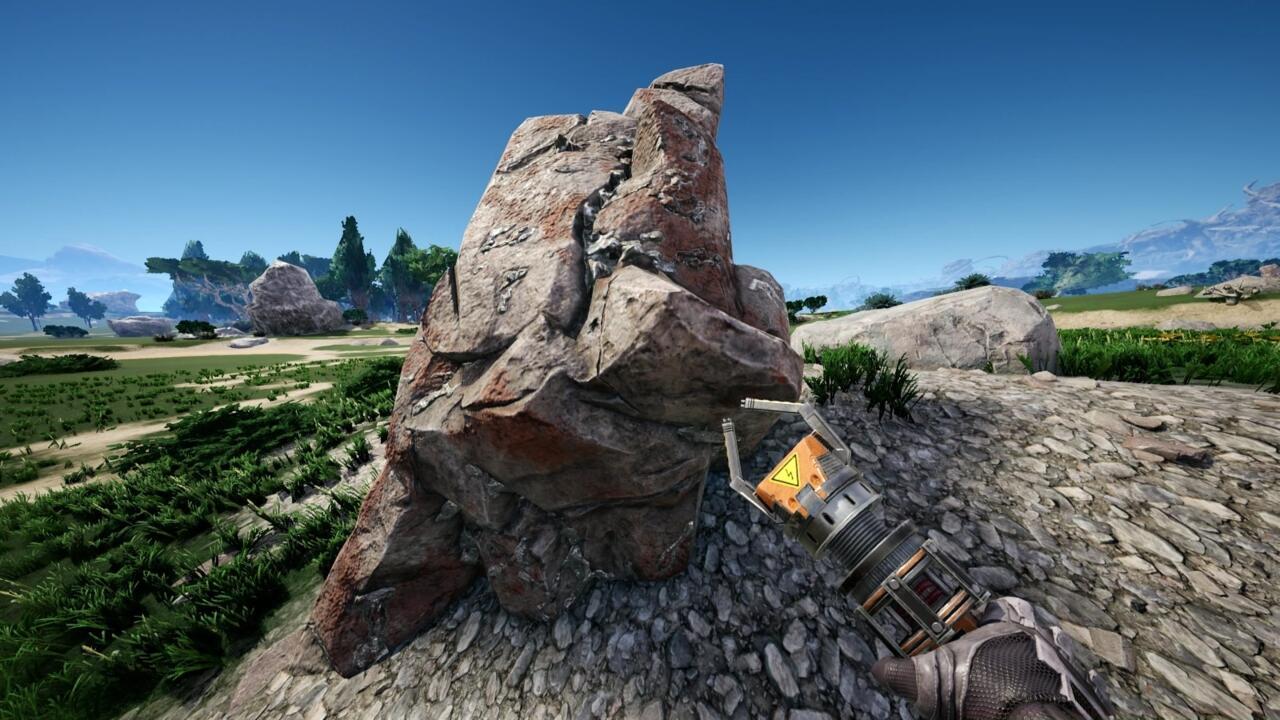
Portable miner deployment strategy: Place multiple miners on pure resource nodes to maximize early-game resource collection. This temporary solution bridges the gap until you unlock permanent mining facilities and automated transportation systems.
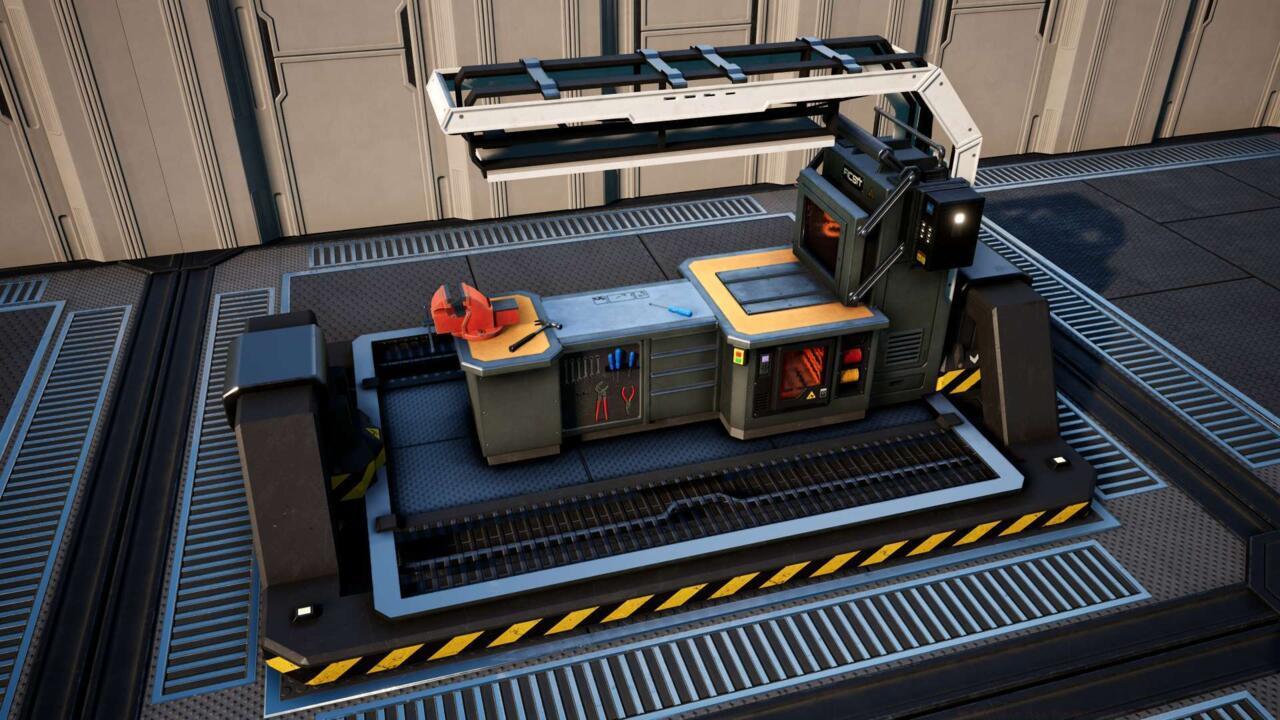
Manual crafting serves as your primary production method during initial hours. The craft bench enables creation of essential building materials and equipment when automated production isn’t yet available. Prioritize constructing additional craft benches near resource clusters to reduce travel time between mining and crafting locations.
Power management represents one of the most common failure points for new factory engineers. Begin with biomass burners but transition to coal power as quickly as possible. Coal generators provide stable, automated power that eliminates the tedious biomass collection cycle, freeing you to focus on factory expansion.

Conveyor belt optimization: Upgrade belts in-place as you unlock higher tiers rather than rebuilding entire systems. This incremental approach maintains production while improving throughput, much like how proper Weapons Unlock progression in other games requires systematic advancement.
Factory organization principle: Implement clear labeling systems from your earliest constructions. Use signs and color coding to identify production lines, preventing confusion as your factory grows in complexity. Unlabeled factories become incomprehensible labyrinths that hinder troubleshooting and expansion.

Critical mistake avoidance: Never build production floors without planning vertical expansion space. Factories that grow both horizontally and vertically maintain efficiency far longer than single-level sprawls.
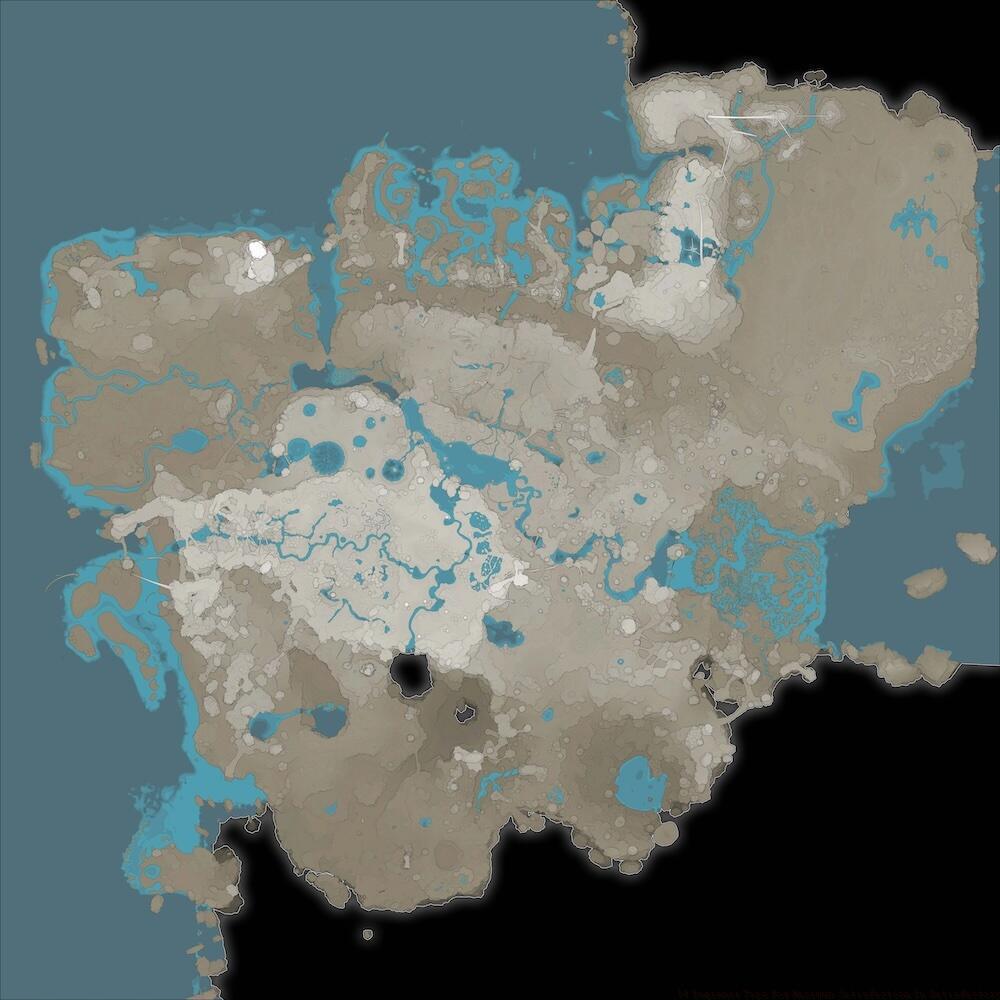
Navigation and mobility dramatically improve once you unlock the map function. This essential tool reveals explored terrain, resource locations, and your factory layout, preventing disorientation in the expansive game world. Regular map consultation ensures efficient routing between factory sections and resource outposts.
Blade Runners represent arguably the most impactful early-game equipment upgrade. These leg-mounted mobility enhancers significantly increase movement speed and jump height, reducing travel time between factory sections and enabling access to previously unreachable areas.

Wildlife encounters require strategic thinking rather than brute force. Many creatures patrol specific territories and won’t pursue beyond their boundaries. Learning attack patterns and developing evasion strategies proves more effective than direct combat, especially before acquiring advanced weaponry.
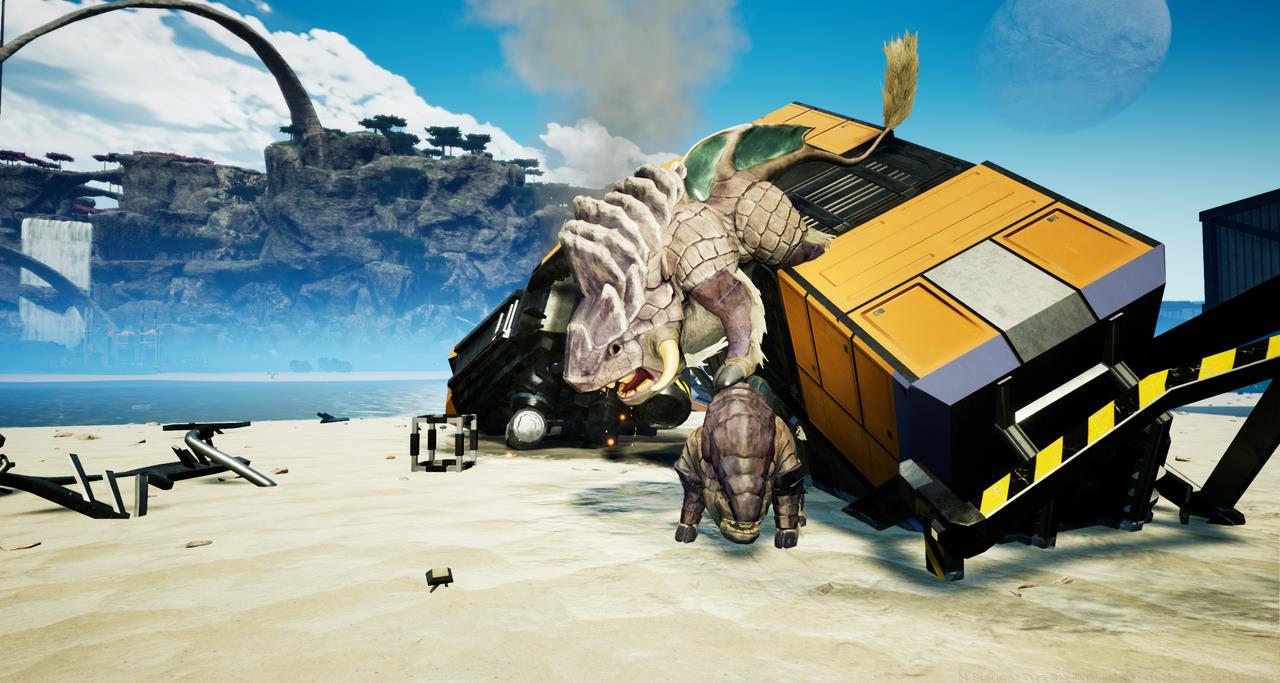
Combat philosophy: Treat hostile encounters as logistical puzzles rather than action sequences. Use terrain features for cover, and retreat when overwhelmed—your factory progress matters more than winning every fight. This tactical approach mirrors the strategic thinking required in our Class Guide for optimal performance in different scenarios.
Progression pacing strategy: Balance between expanding production capabilities and completing milestone objectives. Rushing either aspect creates imbalances that hinder overall progress. Allocate time for both expansion and advancement to maintain steady factory growth.
Community resource utilization: Don’t hesitate to consult Satisfactory-focused YouTube channels and wikis when facing complex production challenges. Learning from experienced players’ designs and mistakes accelerates your own mastery of factory engineering principles.
Advanced survival tip: Establish small outposts with basic crafting capabilities throughout the map. These miniature bases serve as respawn points and resource processing stations during extended exploration missions.
Action Checklist
- Select Rocky Desert biome and scout resource locations before building
- Master essential hotkeys: Ctrl (World Grid), C (Scanner), X (Schematics)
- Plan production lines using satisfactory calculator tool
- Upgrade to Blade Runners and establish coal power infrastructure
- Implement labeling system and plan vertical expansion space
No reproduction without permission:SeeYouSoon Game Club » 14 Beginner Tips For Maximum Satisfaction In Satisfactory Master Satisfactory's factory-building mechanics with expert strategies, efficiency tips, and common mistake avoidance