TL;DR
- Purchase wetsuits from Nook’s Cranny (3,000 bells) or Nook Stop (800 miles)
- Use both wading and diving entry methods for optimal ocean access
- Identify bubble columns and shadows to locate rare sea creatures efficiently
- Master quick-turn techniques and A-button timing for faster swimming and catching
- Complete your Critterpedia and maximize profits through strategic creature donations and sales
Before exploring the underwater world of Animal Crossing: New Horizons, securing proper aquatic gear is essential. The wetsuit serves as your primary equipment for marine adventures, available through multiple acquisition channels with varying benefits.
Your main purchasing options include Nook’s Cranny, where wetsuits occupy the tool cabinet section alongside seeds and flooring options. At 3,000 bells, this represents the standard pricing tier. Alternatively, the Nook Stop terminal provides access to rotating daily designs at the same bell cost, plus the exclusive Nook Inc. wetsuit for 800 Nook Miles, offering early-game accessibility for players with limited currency.
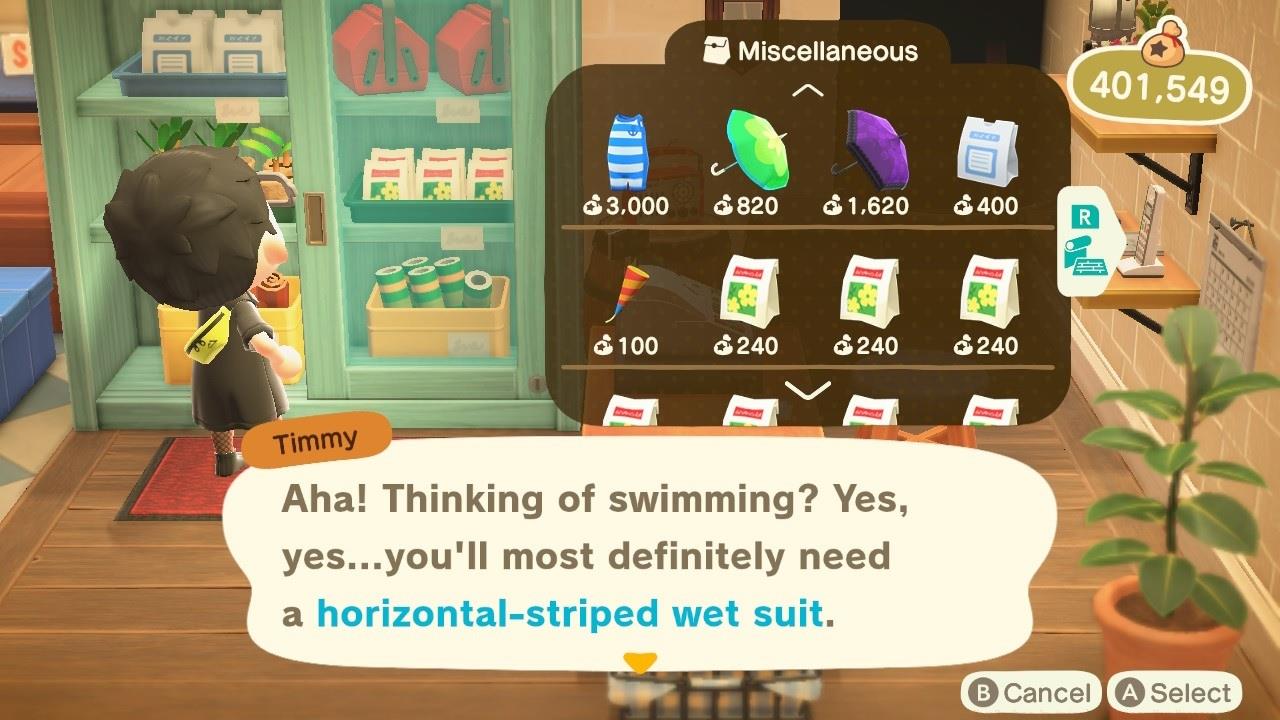
Nook’s Cranny wetsuit selection varies daily, allowing for style customization.
Equipping your wetsuit involves simple inventory management: navigate to the item, press A, and select “Wear.” The suit automatically layers over existing clothing, eliminating the need to remove shirts or bottoms separately. Footwear and legwear remain independently equipped, though many players prefer switching to bare feet or aquatic-themed shoes for enhanced immersion.
Pro Tip: Purchase multiple wetsuit designs to coordinate with different outfit themes, as they function as both practical gear and fashion statements.
Once properly equipped, mastering aquatic movement becomes your next challenge. The game’s swimming mechanics offer surprising depth beyond basic navigation, with optimization opportunities for efficient exploration.
Ocean entry presents two distinct approaches: gradual wading from sandy shores or dramatic diving from elevated positions like beach rocks and piers. Each method serves different purposes—wading allows cautious entry near creature spawns, while diving provides immediate submersion for rapid underwater access.
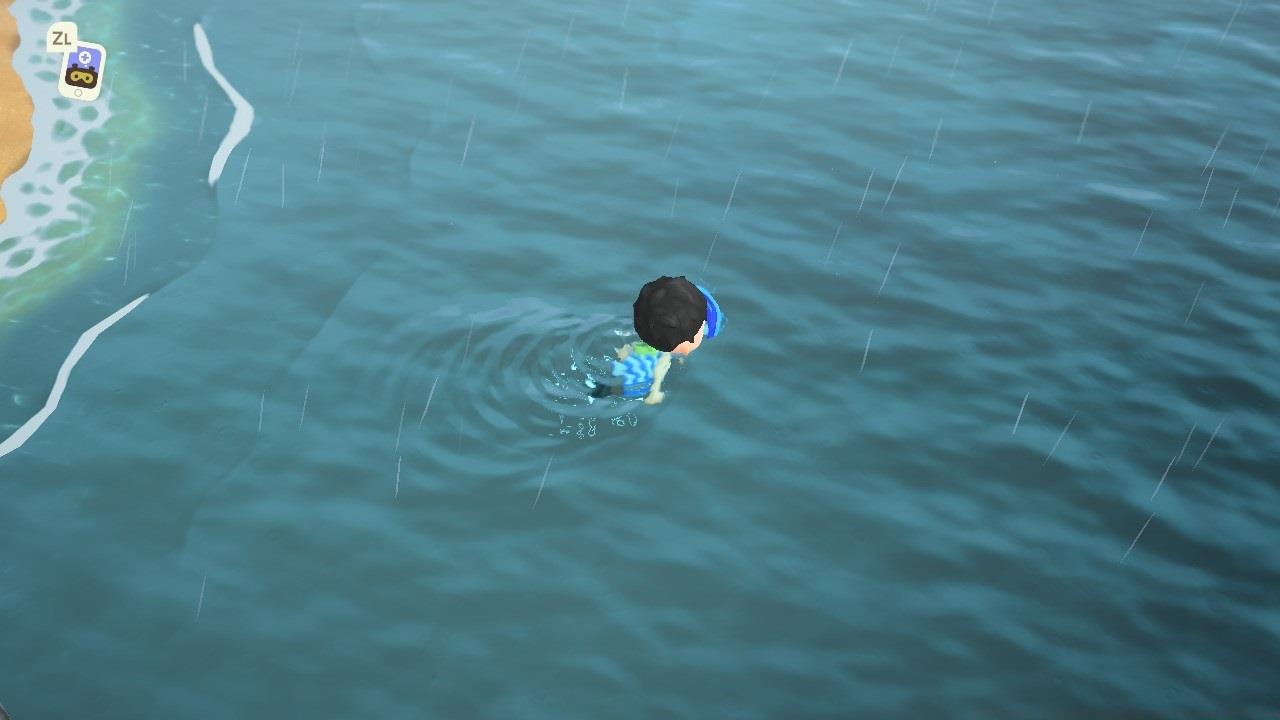
Weather conditions affect swimming visibility but can increase rare creature spawn rates.
Accelerated swimming requires holding the A button continuously while directing your character with the left stick. Many players overlook the quick-turn technique: rapidly changing direction while maintaining momentum significantly reduces navigation time between bubble locations.
Common Mistake: Beginners often tap A repeatedly instead of holding it, resulting in slower overall movement speed and increased fatigue during extended sessions.
Advanced swimmers utilize the current mechanics—swimming against waves slows progress, while moving with natural water flow provides subtle speed boosts. Learning to read water movement patterns can cut travel time by up to 30% during optimal conditions.
Underwater exploration represents the core of the marine experience, with specific visual cues guiding your discoveries. Mastering diving mechanics transforms random encounters into systematic collection sessions.
Bubble columns rising from the ocean floor indicate potential sea creature locations. These vary in intensity—small, sporadic bubbles often signal common species, while large, consistent plumes typically mark rare finds worth immediate investigation.
Bubble size and frequency provide valuable clues about creature rarity before diving.
Submersion occurs through Y button activation while swimming over target areas. Once underwater, creature shadows become visible, with their movement patterns indicating species behavior. Fast-moving shadows often belong to elusive creatures requiring precise timing to capture.
Shadow observation underwater helps anticipate creature movement for successful captures.
Expert Strategy: Approach bubbles at an angle rather than directly overhead—this positioning allows better tracking of fast-moving shadows as they emerge.
Depth mechanics affect creature distribution, with rarer species typically found further from shore. Learning to read the ocean floor topography helps identify premium hunting grounds without relying solely on bubble indicators.
Successful marine harvesting combines observation skills with precise timing mechanics. Different creature categories demand specific capture approaches, with value and rarity determining optimal pursuit strategies.
Capture occurs through automatic interaction when swimming over shadows while submerged. However, timing proves crucial—fast-moving species like vampire squid and sea pigs require anticipation and interception rather than direct pursuit.
Creature behavior falls into three primary patterns: stationary (anemones, oysters), slow-moving (sea stars, urchins), and evasive (octopus, squid). Recognizing these patterns immediately upon shadow appearance significantly increases capture success rates.
Advanced Technique: For elusive creatures, dive slightly ahead of their movement path rather than directly above—this interception method accounts for the slight delay between button press and character submersion.
Seasonal and time-based spawns create collection windows that dedicated players must track. Some species like the sea grapes only appear during specific months, while others like the firefly squid emerge exclusively during evening hours.
Inventory management becomes critical during productive diving sessions. With limited pocket space, prioritize creatures by value and rarity—common low-value species might warrant immediate release to maximize profit per inventory slot.
Beyond simple collection, strategic utilization of sea creatures provides multiple progression benefits. From museum completion to economic optimization, your marine finds serve various purposes within your island ecosystem.
Newly acquired sea creatures unlock several progression paths: donation to Blathers for museum expansion, sale to Nook’s Cranny for immediate profit, or decorative placement as aquatic exhibits.
Critterpedia tracking helps identify missing species and their active seasons for completionists.
The Critterpedia’s marine section automatically catalogs each new species caught, providing valuable data on active months and time windows for remaining discoveries.
Economic Optimization: Sell common creatures immediately but hold rare specimens for when Flick visits your island—his premium purchase prices can triple your profits compared to standard vendor rates.
For players focused on collection completion similar to weapon unlocks in other games, prioritize donations to Blathers first to unlock museum exhibits, then focus on profitable sales for island development funds.
Display creativity through outdoor aquarium setups using placed creatures or incorporate them into thematic designs that enhance your island’s unique personality and appeal to visiting players.
Action Checklist
- Purchase wetsuit from Nook’s Cranny or Nook Stop
- Practice both wading and diving entry methods from different shoreline types
- Master A-button holding for sustained swimming speed
- Learn bubble pattern recognition for efficient creature locating
- Develop interception techniques for fast-moving shadow creatures
- Create seasonal tracking system for time-limited species collection
No reproduction without permission:SeeYouSoon Game Club » How To Swim In Animal Crossing: New Horizons Explained Master swimming, diving, and sea creature collection in Animal Crossing: New Horizons with expert techniques