TL;DR
- Start at Fristad Rock in afternoon to locate Charlie’s secret bunker #9
- Collect audio memos revealing the four-digit safe code for Karl’s Bay
- Navigate to Karl’s Bay mystical building to access Fia’s encrypted letter
- Use stealth tactics to avoid detection while gathering critical intelligence
- Execute simultaneous elimination using environmental advantages and proper timing
Eliminating two Visionaries with one strategic strike represents one of Deathloop’s most rewarding tactical achievements. Charlie and Fia’s volatile relationship creates a unique opportunity for simultaneous neutralization that experienced players shouldn’t overlook.
Successfully completing this mission requires understanding that the Afternoon Delight operation demands significantly more planning than standard Visionary eliminations. The complexity stems from multiple location transitions and precise timing requirements that test your mastery of Deathloop’s core mechanics.
This guide contains comprehensive story spoilers for optimal mission execution. Charlie and Fia maintain their clandestine romance through elaborate security measures, making their elimination particularly challenging but immensely satisfying when executed correctly.
Initiate your operation by selecting Fristad Rock during afternoon hours. Approach Fia’s primary mountain bunker cautiously, then navigate clockwise around the rock formation while staying close to the waterfront perimeter.
Maintain constant awareness of environmental hazards—falling into the water results in immediate health depletion or instant drowning. The coastal path requires precise movement to avoid detection by patrolling Eternalists while maintaining your strategic position.
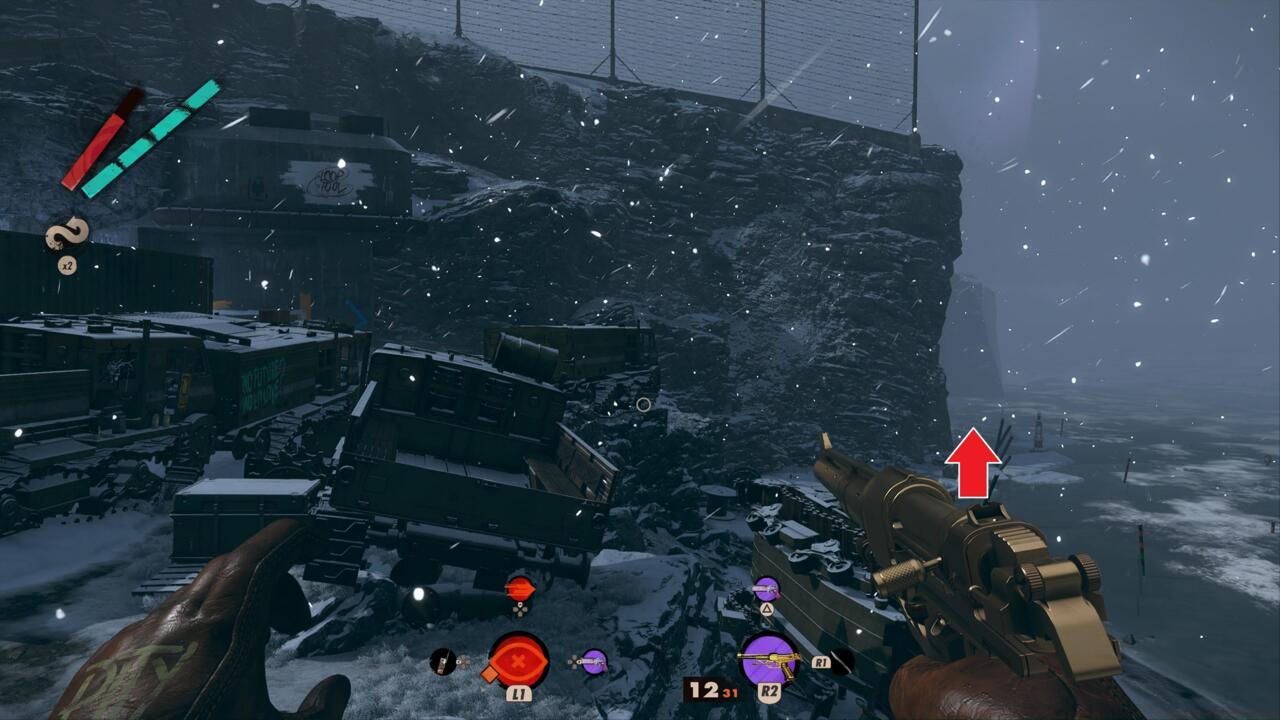
Upon completing the circuit around the mountain, you’ll discover secret bunker entrance #9 clearly marked on the exterior wall. The door remains accessible but leads to a restricted monitoring station filled with sophisticated computer equipment and multiple display screens.
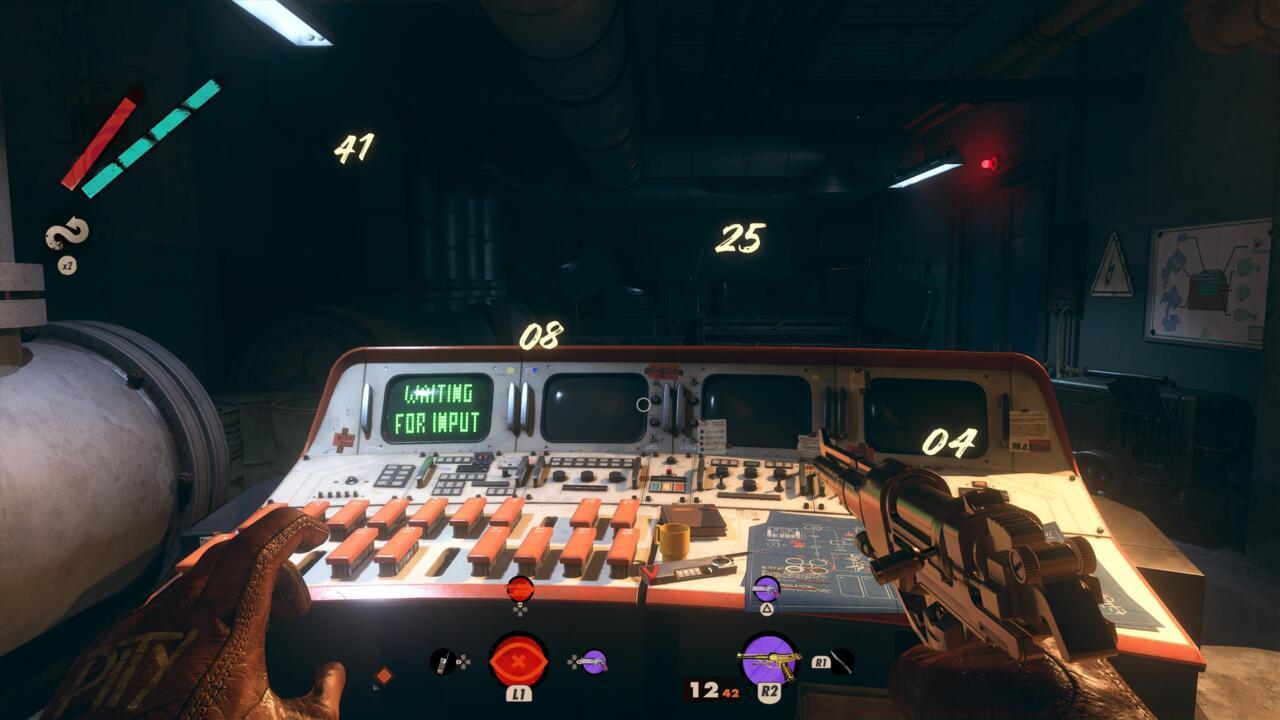
The first time you visit, these numbers (which will be different in your playthrough) won’t appear.
Thoroughly investigate the computer station by collecting all audio recordings and intelligence documents. These resources confirm Charlie’s ownership of the surveillance equipment and reveal his elaborate security system designed to protect his private meetings with Fia.
The locked chamber functions as an access control point for their concealed rendezvous location deeper within the tunnel network. While you won’t obtain direct entry authorization initially, you’ll acquire critical four-digit combination for a separate secure container.
During your initial reconnaissance mission, the numerical codes remain hidden from view. This security measure prevents premature access until you’ve gathered sufficient intelligence about their operational patterns.
In this safe lies the crucial cipher from Fia.
The collected intelligence specifies your next destination: proceed to Karl’s Bay during any time period. This flexibility allows immediate continuation of your mission without waiting for specific daily cycles.
Upon arrival, locate the distinctive structure adorned with esoteric symbols and mystical imagery positioned near your insertion point. The building’s unique aesthetic makes identification straightforward even for first-time operatives.
Enter the facility and immediately identify the secured lockbox requiring combination entry. Depending on your approach vector, the container may be directly visible upon entry through certain access points.
Input the numerical sequence obtained from Fristad Rock to unlock the compartment and retrieve Fia’s encrypted romantic correspondence. This document contains the essential decryption key for advancing your elimination strategy.
These big red and green symbols actually aren’t Christmas decorations.
NOT PENNY’S BOAT
Optimize your approach by utilizing silenced weaponry and the Aether slab for maximum stealth efficiency. The Shift slab proves particularly valuable for navigating the treacherous coastal terrain around Fristad Rock while avoiding water hazards.
Common execution errors include rushing the bunker exploration phase and failing to thoroughly document all intelligence sources. Allocate approximately 15-20 minutes for the Fristad Rock segment and 10-15 minutes for Karl’s Bay operations when planning your timeline.
For advanced operators, consider combining this mission with other Visionary eliminations to maximize time efficiency. The simultaneous neutralization of Charlie and Fia typically requires 45-60 minutes total when executed with precision and proper preparation.
Understanding Deathloop’s class mechanics through our comprehensive Class Guide can significantly enhance your combat effectiveness during the final confrontation phase.
Action Checklist
- Select Fristad Rock (Afternoon) and navigate to secret bunker #9
- Collect all audio memos and notes from Charlie’s computer station
- Travel to Karl’s Bay and locate mystical symbol building
- Input four-digit code to retrieve Fia’s encrypted letter
- Execute simultaneous elimination using gathered intelligence
No reproduction without permission:SeeYouSoon Game Club » How To Kill Charlie And Fia Together In Deathloop: Afternoon Delight Guide Master the Afternoon Delight mission to eliminate Charlie and Fia simultaneously in Deathloop