TL;DR
- Visionary weapons offer unique perks that dramatically enhance combat effectiveness
- Strategic timing and slab preparation are crucial for acquiring challenging weapons
- Weapon infusion is essential for maintaining your arsenal across loops
- Different weapons excel in specific combat scenarios and playstyles
- Some weapons can be acquired without direct confrontation through exploration
Breaking the temporal cycle in Deathloop demands more than just quick reflexes—it requires a carefully curated arsenal of specialized firearms. While stealth and supernatural abilities provide tactical advantages, superior firepower often determines survival when confrontations become inevitable.
The hostile environment of Blackreef presents constant threats from Eternalists eager to end your looping existence prematurely. Having the right tools transforms chaotic firefights into manageable engagements, giving you the upper hand against overwhelming odds.
Although completing Deathloop doesn’t strictly mandate top-tier weaponry, the game’s exceptional shooting mechanics make acquiring premium firearms a rewarding experience. Much like understanding advanced weapon systems in other tactical shooters, mastering Deathloop’s arsenal significantly enhances your effectiveness.
Most elite weapons originate from Visionary eliminations, though several require meticulous exploration of specific districts during precise time windows. Whether you prioritize stealth execution or prefer overwhelming firepower, these rare weapons deserve permanent infusion slots in your loadout.
Newcomers should consult our comprehensive beginner’s guide for foundational strategies, including slab upgrades and time management techniques that complement your weapon selection.
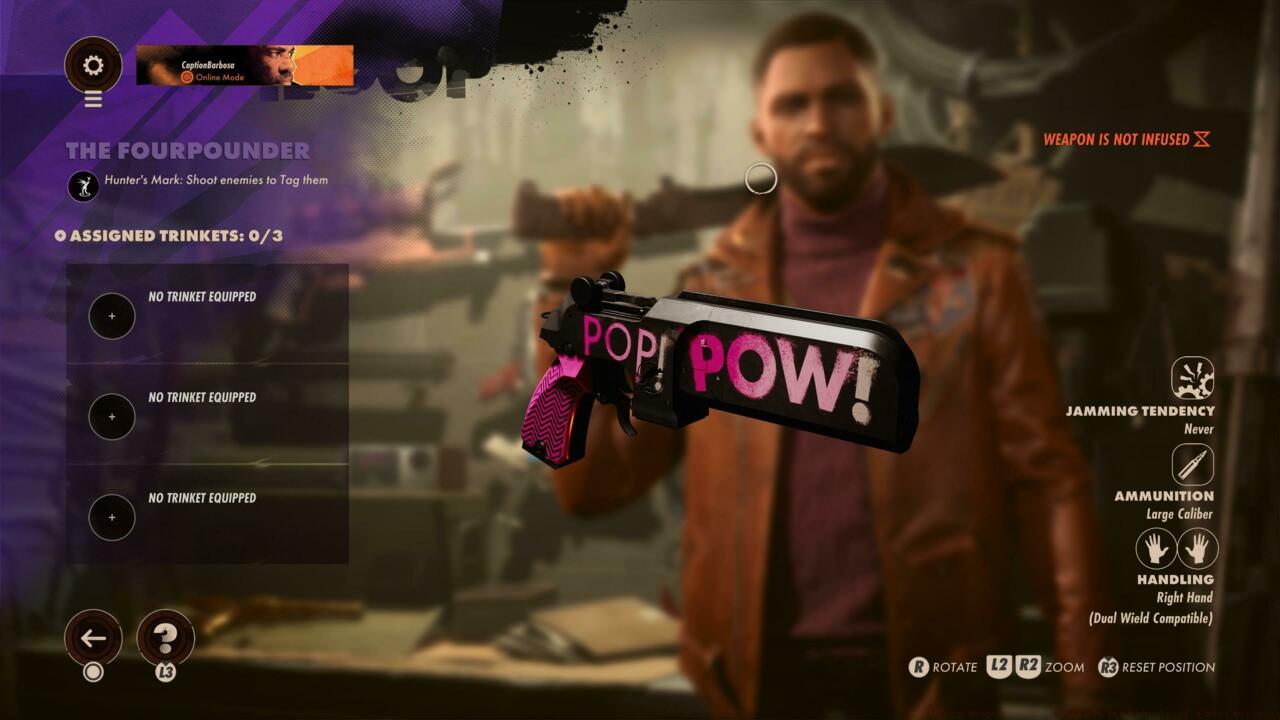
Harriet’s Fourpounder
Harriet represents one of the most accessible Visionaries, typically encountered in Karl’s Bay during morning hours. Beyond her valuable slab, she possesses an exceptional handgun variant that ranks among Deathloop’s finest sidearms.
This customized Fourpounder delivers substantial impact with manageable recoil, featuring the Toxic Haze perk that creates poisonous clouds upon bullet impact. These clouds effectively disorient and damage enemy groups, though they pose equal danger to careless users who venture too close.
Pro Acquisition Tip: The weapon rests beneath Harriet’s pillow in her private quarters, located left of her presentation stage within the cult hangar. This positioning allows retrieval without direct confrontation if you prefer stealth approaches.
The Fourpounder excels in confined spaces where gas clouds can maximize their area denial potential. However, in open areas, consider maintaining distance to avoid self-inflicted damage while exploiting the disorientation effect on enemies.
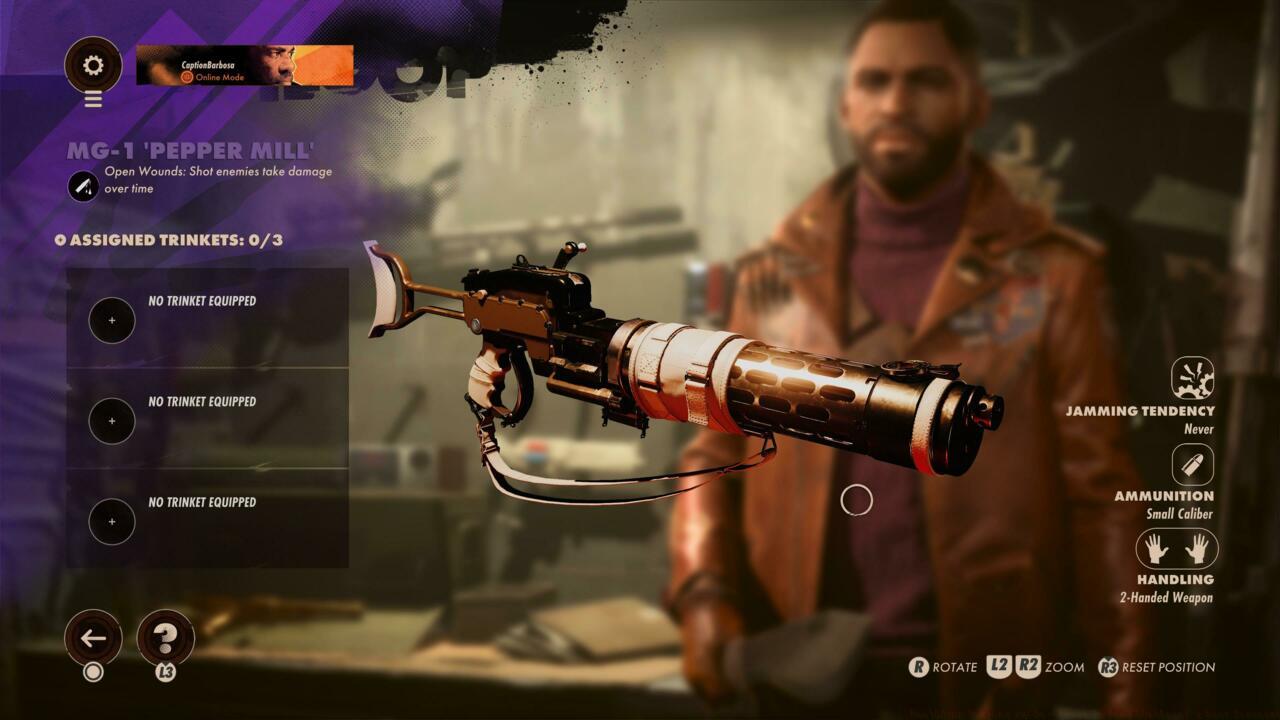
Fia’s Pepper Mill
While resembling traditional light machine guns, the Pepper Mill functions as Deathloop’s premier long-range assault rifle. Its slight unwieldiness during aimed fire is offset by tremendous combat impact, especially in Fia’s enhanced iteration.
This unique variant incorporates the Open Wounds perk, applying sustained damage over time to struck targets. This enables effective suppression tactics where continuous fire yields cumulative injury across multiple adversaries.
Combat Application: The Pepper Mill dominates medium-to-long range engagements, particularly against grouped enemies where the damage-over-time effect multiplies its effectiveness. Unlike Harriet’s Fourpounder, acquiring this weapon necessitates eliminating Fia directly.
Preparation Required: Fia’s fortified bunker in Fristad Rock contains substantial defenses augmented by her powerful Havoc slab. Ensure you have appropriate countermeasures and sufficient healing resources before initiating this confrontation.
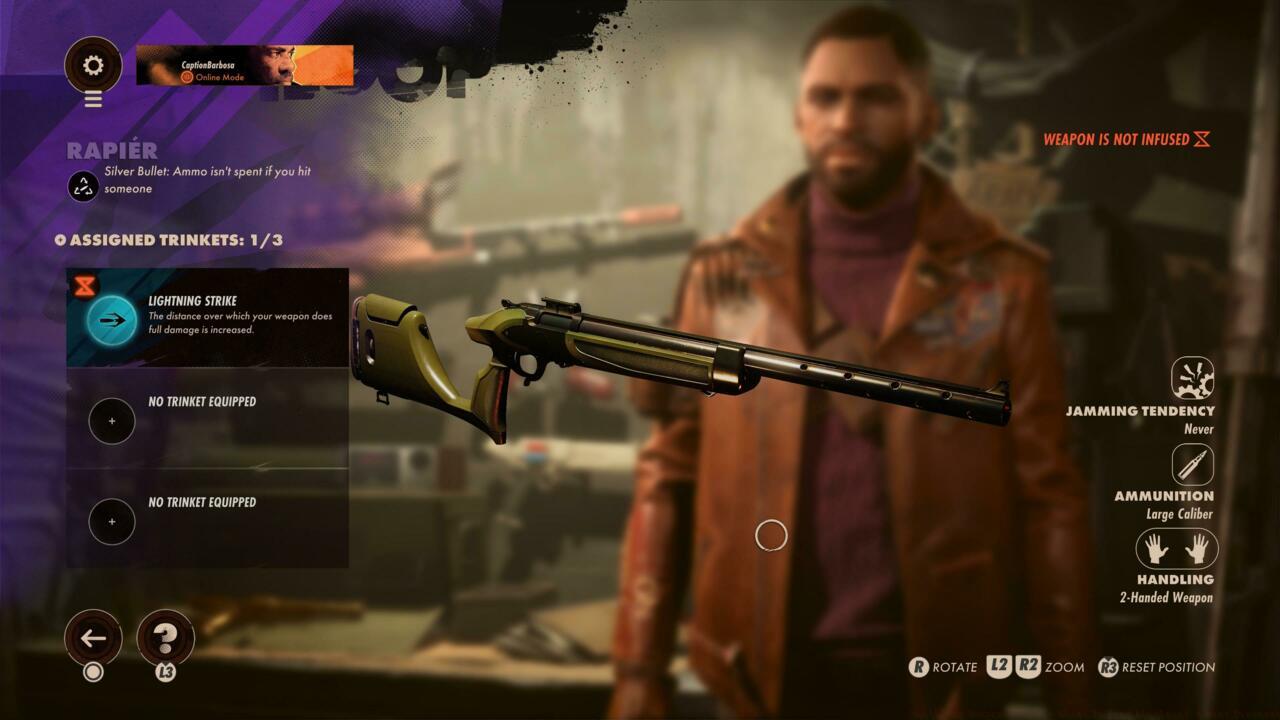
Moxie Rapier
Rapiers serve as Deathloop’s primary long-range options outside dedicated sniper rifles, though they carry significant operational limitations. Their slow firing rate and single-shot reloading mechanics demand precision, but deliver devastating results.
The Moxie variant intensifies these characteristics with the Silver Bullet perk, automatically reloading after successful hits (which typically eliminate standard enemies instantly).
Critical Drawback: Missing a shot completely disables the weapon for the remainder of the day, making it unsuitable for chaotic combat situations. Its acquisition presents substantial challenges as the reward for completing Updaam’s afternoon obstacle course.
Acquisition Requirements: Successfully navigating this challenge demands both Aether and Shift slabs to manage the extensive course length and numerous traps.
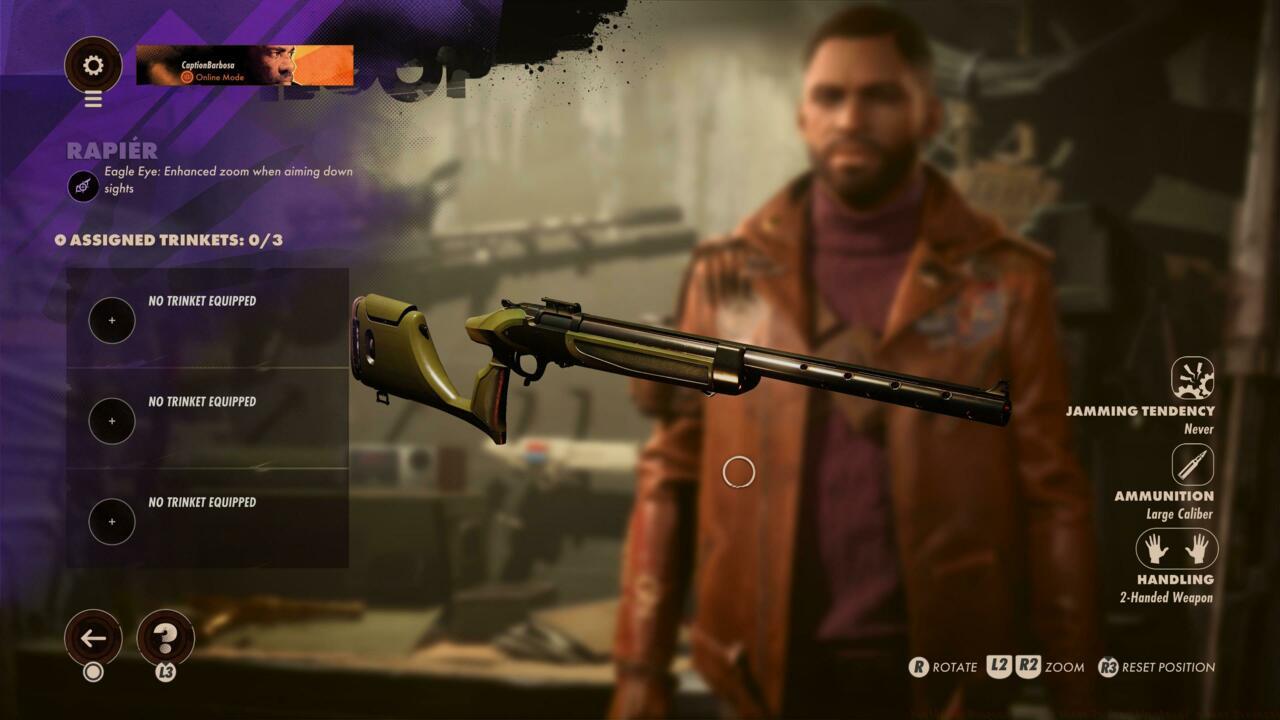
Egor’s Rapier
Egor’s rapier alternative offers significantly more accessible acquisition with comparable utility. Located at The Complex during evening hours, this Visionary-specific weapon features the Eagle Eye perk that significantly enhances zoom capability when aiming.
This modification transforms the rapier into a scope-less sniper rifle analogue while maintaining its formidable stopping power. Crucially, this variant imposes no penalties for missed shots, making it superior for general use.
Strategic Choice: While the Moxie rapier offers theoretical efficiency for perfect marksmanship, Egor’s version provides reliable performance across diverse combat scenarios. Consider your accuracy and engagement preferences when selecting between these options.
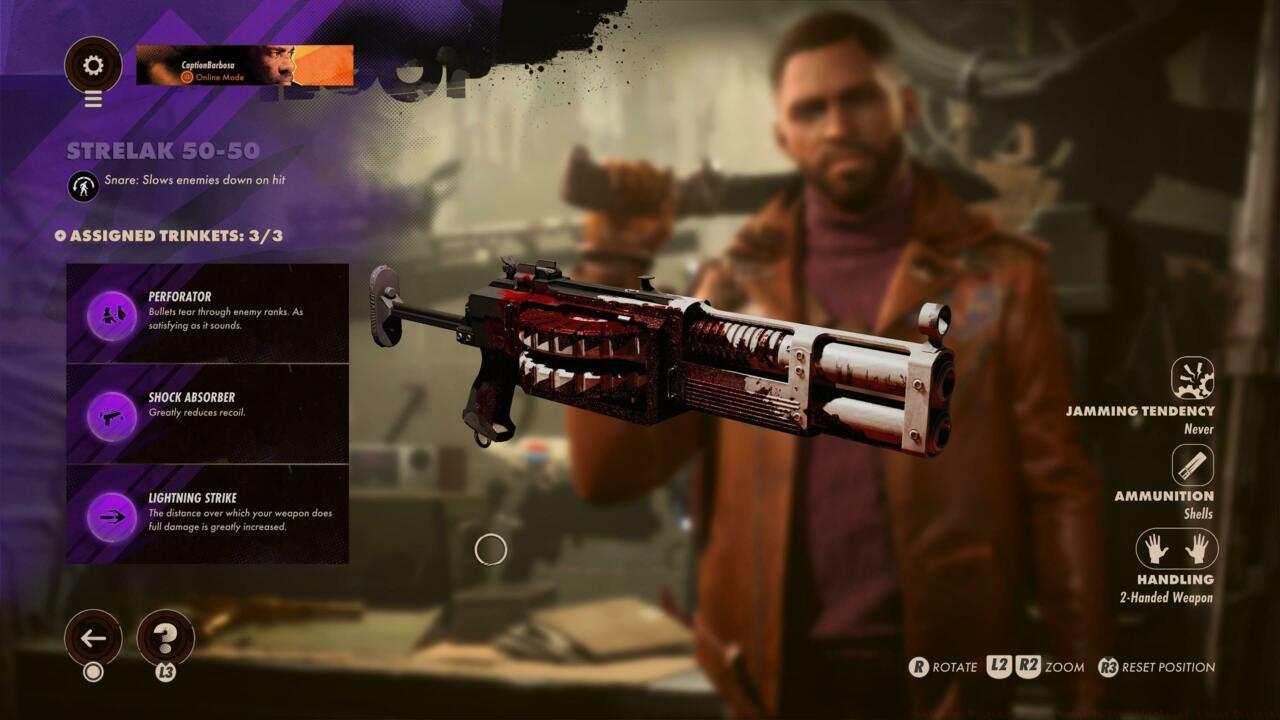
Charlie’s 50-50
Charlie’s Strelak 50-50 represents a versatile dual-wield option that balances close-quarters effectiveness with medium-range capability. Its unique firing mechanism allows simultaneous discharge from both barrels, creating devastating burst damage potential.
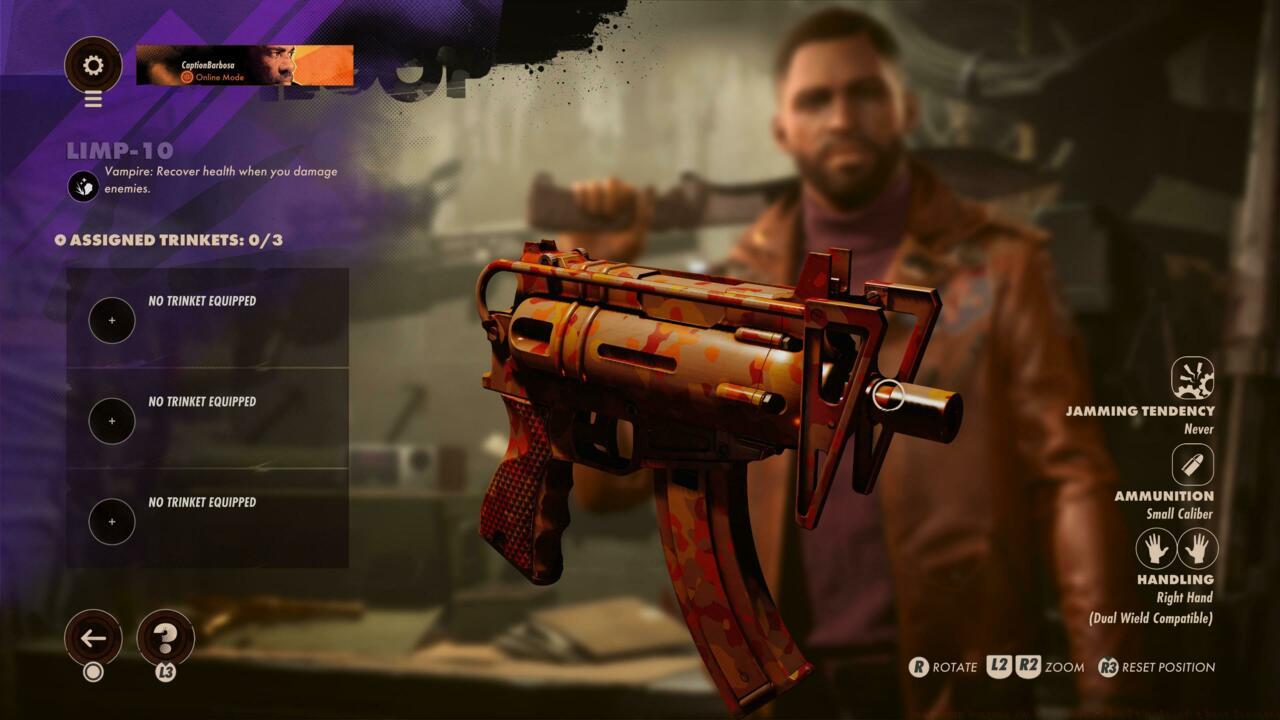
Alexis’ Limp-10
Alexis’ Vampire Limp-10 incorporates life-steal mechanics, restoring your health with successful hits. This makes it exceptionally valuable during extended engagements where healing resources become scarce.
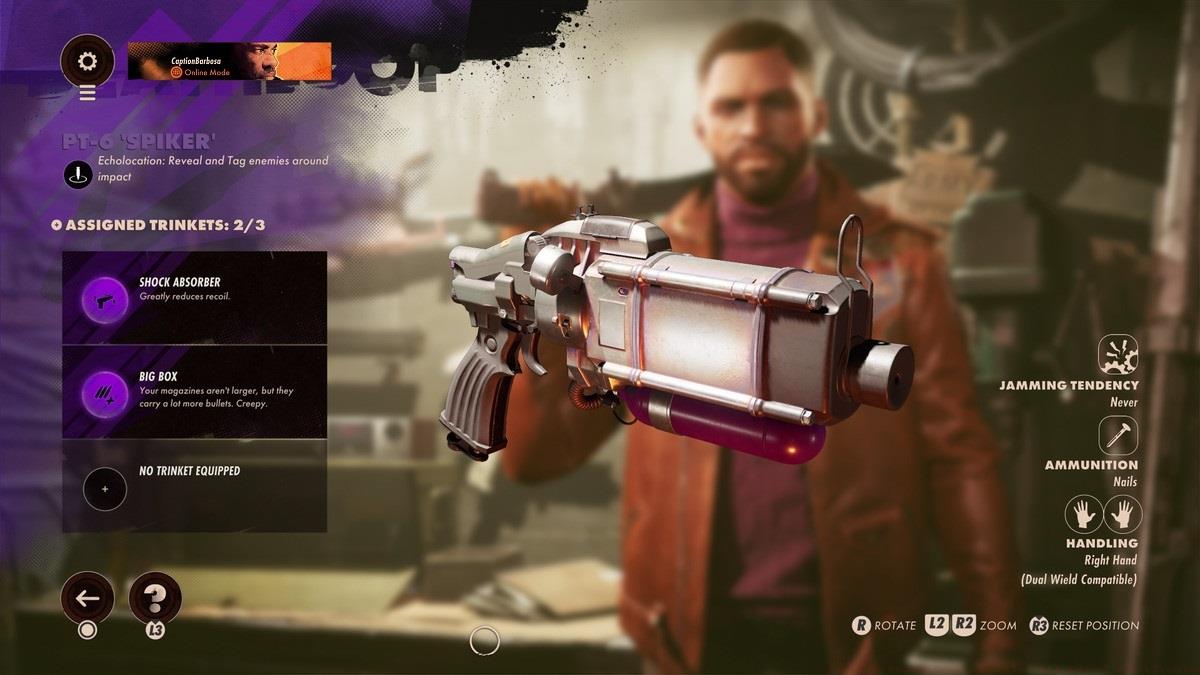
PT-6 Spiker
The Echolocation PT-6 Spiker offers unique tactical intelligence by revealing enemy positions through its special projectile tracking system.
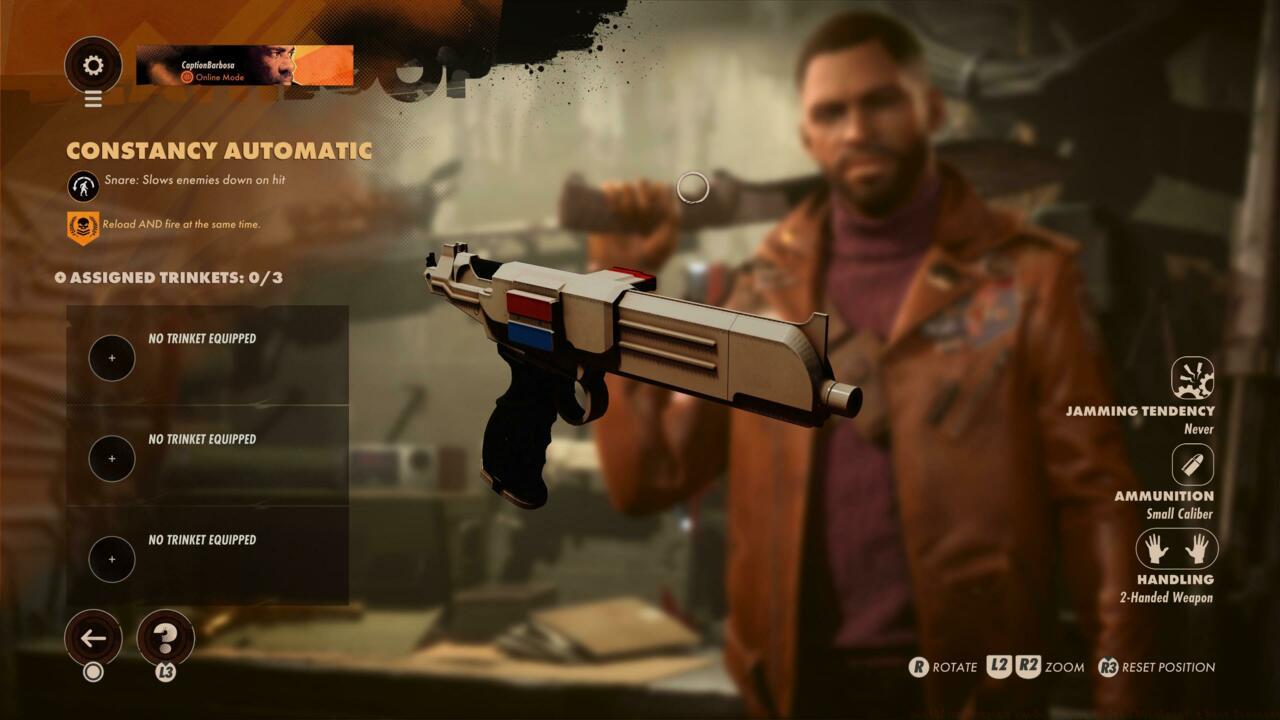
Constancy Automatic
Constancy Automatic provides exceptional stability during sustained fire, making it ideal for players who prefer consistent accuracy over burst damage approaches.
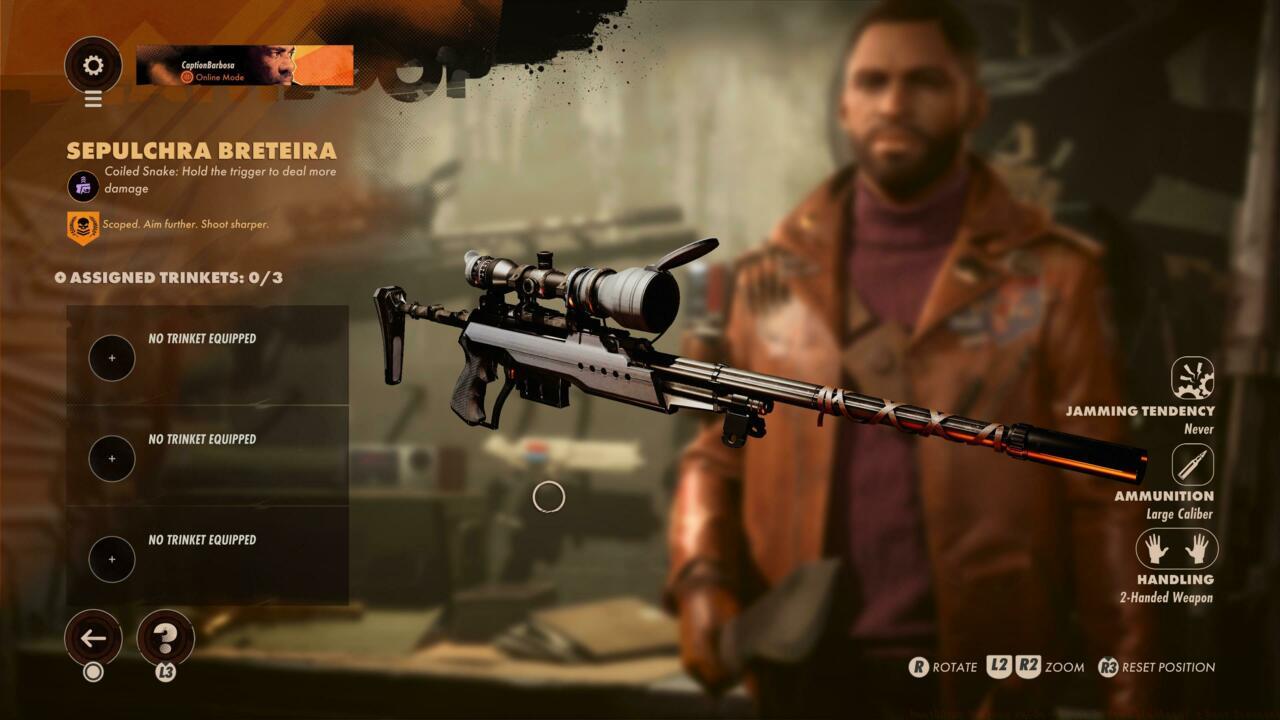
Sepulchra Breteira
As Deathloop’s dedicated sniper rifle, the Sepulchra Breteira demands strategic positioning but delivers unmatched long-range elimination capability.
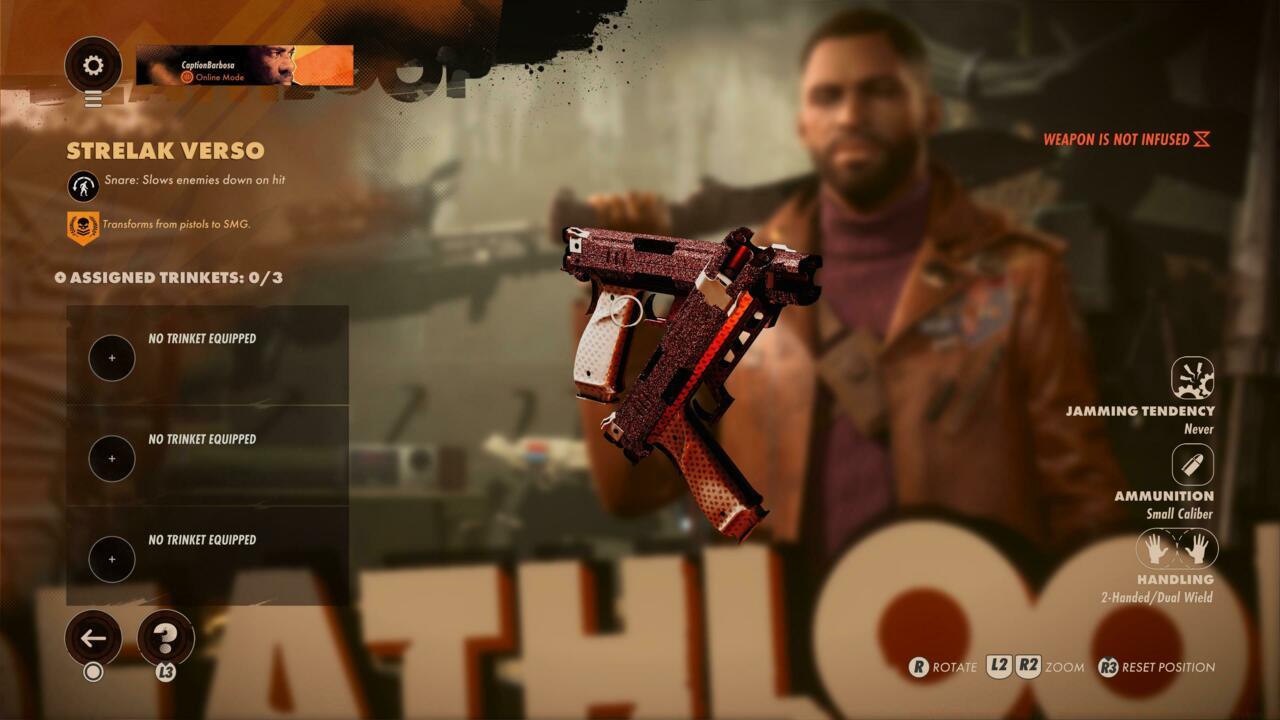
Strelak Verso
The Strelak Verso’s transformative dual-mode operation allows switching between standard firing and shotgun-like spread, adapting to changing combat dynamics seamlessly.
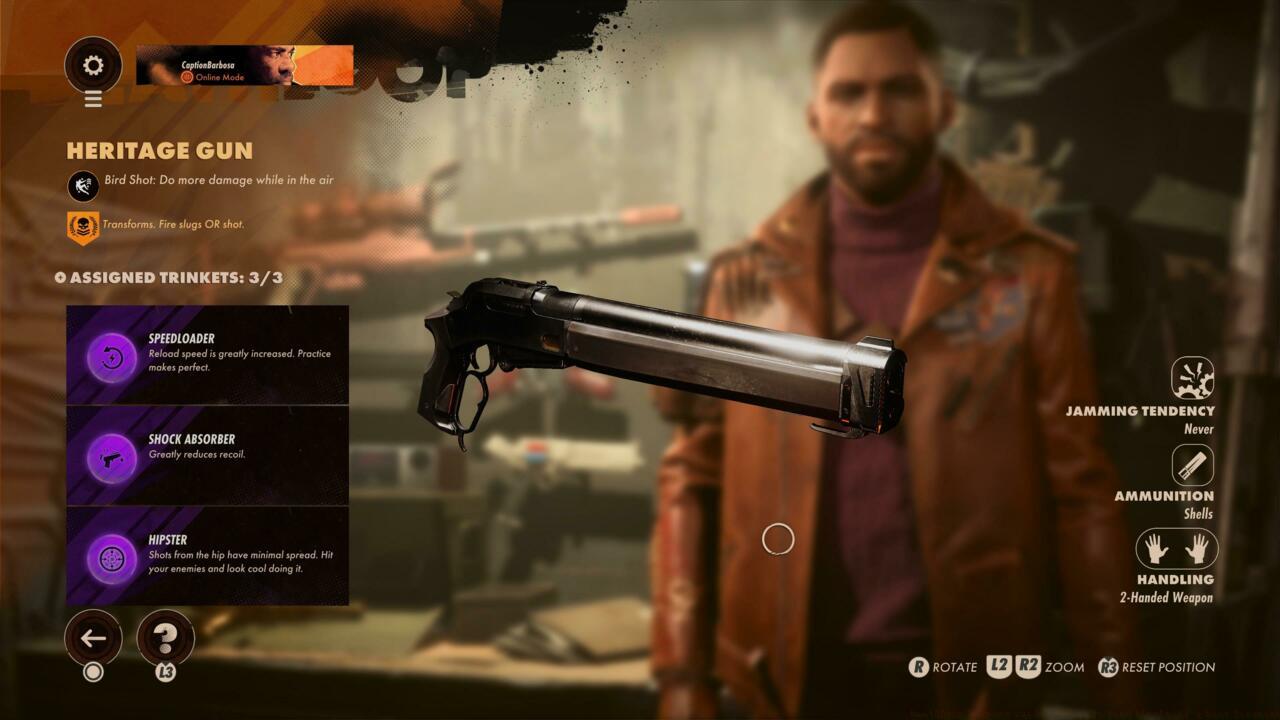
Heritage Gun
Heritage Gun’s unique two-round alternating system between slug and buckshot provides tactical flexibility that few other weapons can match.
Advanced Strategy: Like mastering specialized combat roles in other tactical games, understanding each weapon’s specific strengths enables creating synergistic loadouts that complement your preferred slabs and playstyle.
Successful weapon acquisition in Deathloop requires meticulous planning around temporal patterns and enemy behaviors. Many elite firearms have specific acquisition windows that align with Visionary movements throughout the day.
Infusion Priority: When planning your Residuum expenditure, prioritize weapons that fundamentally alter your combat capabilities or provide unique tactical advantages unavailable through standard armaments.
Common Mistakes: New players often underestimate the importance of infusion planning, losing hard-earned weapons at loop’s end. Always ensure you have sufficient Residuum to preserve your core arsenal.
Optimization Tip: Schedule weapon acquisition missions during periods when you can accumulate maximum Residuum from Visionary eliminations and environmental sources.
Remember that weapon effectiveness often depends on complementary slab abilities. The right combination can transform a good weapon into an exceptional one, much like how proper comprehensive game knowledge enhances performance across all combat scenarios.
Action Checklist
- Acquire Harriet’s Fourpounder stealthily from her bedroom during morning Karl’s Bay visits
- Prepare countermeasures for Fia’s Havoc slab before assaulting her bunker
- Master obstacle course navigation with Aether and Shift slabs for Moxie rapier
- Collect Egor’s rapier during evening Complex exploration for reliable long-range option
- Plan Residuum allocation to ensure permanent infusion of priority weapons
No reproduction without permission:SeeYouSoon Game Club » Deathloop Weapons Guide – Where To Find Blackreef’s Best Firearms Essential Deathloop weapon guide: Top firearms to break the loop with strategic acquisition tips