TL;DR
- Toshi combines multiple enemy types and nullifies standard ranged strategies
- Perfect parry timing creates critical damage opportunities during his melee combos
- Aerial attacks provide vulnerable windows for arrow headshots to stagger him
- Phase transitions require adapting your approach as his patterns intensify
- Strategic Rot usage and resource conservation are essential for the prolonged fight
Confronting Toshi represents the ultimate test in Kena: Bridge of Spirits, demanding mastery of defensive timing and precision archery to overcome this formidable spirit. As the final corrupted entity requiring purification, this encounter synthesizes all the combat skills you’ve developed throughout your journey.
Toshi served as the village chieftain before his corruption, explaining his diverse combat repertoire that merges techniques from various adversaries you’ve previously encountered. His hybrid fighting style incorporates swift sword strikes, magical projectiles, and area-denial abilities that challenge your adaptability. Crucially, he possesses unique defensive capabilities that invalidate conventional tactics—he consistently deflects standard arrow volleys and explosive devices, forcing you to reconsider ranged engagement timing.
Close-quarters combat presents equal challenges, with Toshi executing devastating multi-hit combinations that can rapidly deplete Kena’s health if improperly defended against. Understanding his attack telegraphing and rhythm patterns becomes paramount for survival.
Victory against this spiritual leader requires precise recognition of his behavioral patterns and identifying the limited windows where your attacks can penetrate his defenses. His combat methodology evolves through distinct phases, each introducing new attack variations and increased aggression.
During initial engagements, Toshi prioritizes melee combinations featuring 3-5 consecutive strikes with varying timing between attacks. These sequences often conclude with a heavily telegraphed overhead slam or horizontal sweep that provides ideal parry opportunities. Successfully deflecting these powerful blows momentarily staggers him, creating brief vulnerability periods for counterattacks.
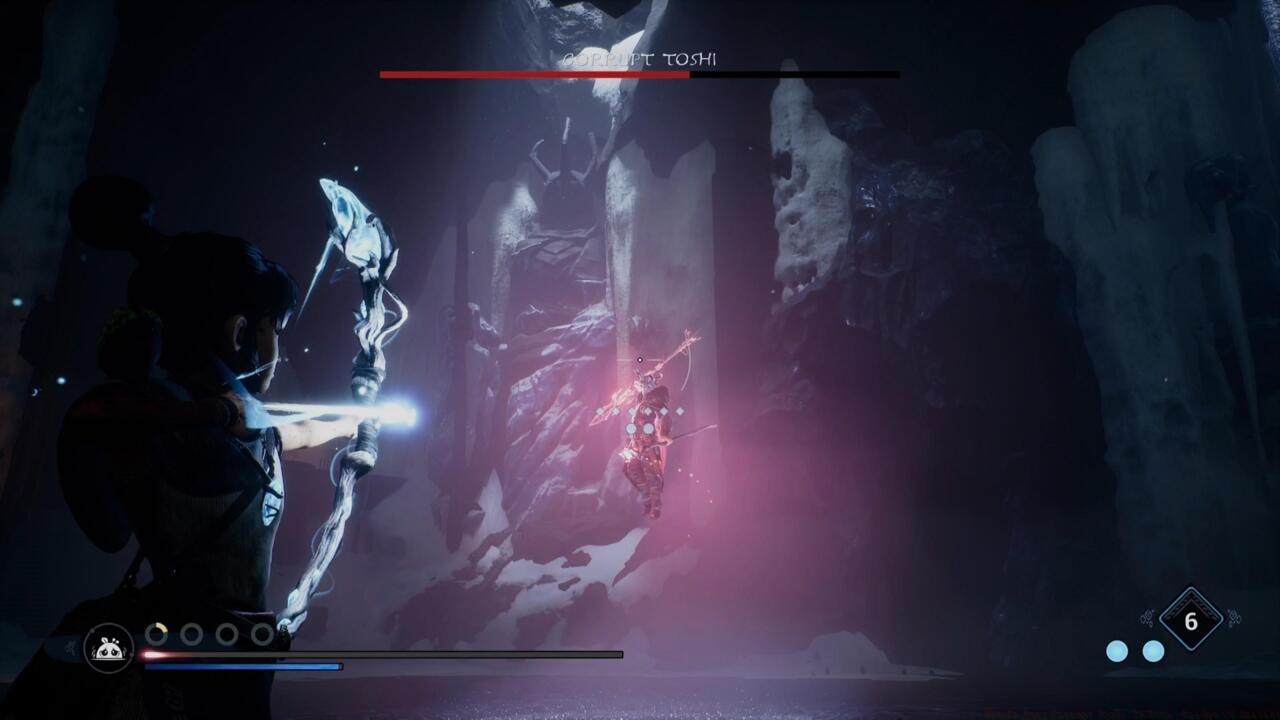
Capitalize on Toshi’s aerial maneuvers by timing arrow shots to his forehead during ascent—this interrupts his attack animation and creates extended vulnerability windows.
His ranged nullification ability has specific activation conditions—he only blocks projectiles during certain stances. Observing his preparatory animations reveals when standard arrows will be ineffective versus when you can safely deploy bombs or charged shots.
Mastering the counter rhythm against Toshi’s combos transforms this battle from overwhelming to manageable. Each successfully parried attack builds his stagger meter, eventually leading to extended vulnerable states where you can unleash full combos or empowered strikes.
Arrow management becomes crucial—conserving arrows for specific interrupt opportunities rather than spamming ranged attacks. His aerial phases, where he levitates to charge area-of-effect attacks, provide prime headshot chances that immediately ground him and create damage multipliers.
Strategic Rot deployment separates novice attempts from expert executions. Using Courage abilities for healing during safe periods rather than offensive boosts ensures sustainability through the extended engagement. The Rot Hammer ultimate proves particularly effective during staggered phases, dealing massive damage while maintaining safe distance.
Environmental awareness remains critical throughout the encounter. Toshi’s arena features pillars that can block certain projectile attacks but may also obscure your visibility if positioned poorly.
Many players undermine their attempts through predictable patterns—repeatedly using the same opening strategies or failing to adapt to his phase transitions. The most common error involves exhausting all arrows during early phases, leaving none available for critical interrupt opportunities later in the battle.
Resource mismanagement extends to Rot usage—activating Courage abilities during Toshi’s invulnerable transitions wastes precious resources that could determine the fight’s outcome.
More Kena: Bridge Of Spirits Guides:
Advanced optimization involves manipulating Toshi’s AI through positioning—staying at mid-range often triggers specific attack patterns that are easier to counter than his close-quarters combinations.
Action Checklist
- Practice parry timing against his 3-hit combos and telegraphed finishers
- Conserve arrows for aerial phase interruptions and vulnerable state damage boosting
- Save Rot Hammer for staggered phases and use healing abilities during safe periods
- Memorize phase transition cues to adapt strategy immediately
- Position strategically using environmental cover while maintaining attack visibility
No reproduction without permission:SeeYouSoon Game Club » How To Beat Corrupt Toshi In Kena: Bridge Of Spirits Master Toshi's boss fight with expert parry timing, arrow strategies, and phase-specific tactics for victory