TL;DR
- Master corruption targeting in Phase 1 to bypass initial threats quickly
- Utilize Spirit Dash and precise timing to evade devastating laser attacks
- Coordinate Rot abilities strategically during Phase 2 for maximum effectiveness
- Execute precise spear extraction sequences to trigger the final damage phase
- Maintain constant movement and environmental awareness throughout all phases
The climactic encounter in Kena: Bridge of Spirits represents the ultimate test of your accumulated combat proficiency and strategic thinking. This monumental battle demands flawless execution of every skill you’ve mastered throughout your journey, from precision archery to intelligent Rot deployment.
The final adversary presents the most formidable challenge yet, scaling up both in physical presence and combat complexity. Unlike previous encounters, this multi-phase engagement requires adaptive tactics, with each stage introducing distinct mechanics that challenge different aspects of your capabilities. The confrontation blends ranged precision, close-quarters combat awareness, and strategic ability timing in a dynamic battlefield environment.
This comprehensive breakdown provides the essential knowledge and advanced strategies needed to overcome this epic finale and permanently cleanse the corruption plaguing the village and surrounding territories.
Important: This guide contains significant narrative spoilers regarding the final encounter and revelations critical to the game’s conclusion!
Additional Kena: Bridge Of Spirits Resources:

Executing rapid corruption targeting allows you to neutralize Phase 1 threats before they escalate, minimizing damage taken and conserving resources.
The opening phase emphasizes aggressive corruption targeting and environmental control. Success hinges on identifying and striking vulnerable corruption points swiftly while maintaining constant positional awareness. Many players underestimate the importance of rapid phase transition, unnecessarily extending this segment and increasing resource depletion.
Critical Phase 1 Strategies:
• Precision Archery: Focus on corruption weak points with charged bow shots for maximum efficiency. Time your draws during boss animation telegraphs to maintain damage output.
• Dynamic Positioning: Maintain mid-range distance to create reaction time while staying close enough for quick Rot interventions.
• Add Management: Secondary enemies spawn predictably at health thresholds—prepare area-of-effect Rot actions to clear them efficiently.
Common Phase 1 Mistakes:
• Standing still while aiming—this makes you vulnerable to spawning enemies and environmental hazards
• Wasting Rot energy on minor threats instead of saving for critical phase transitions
• Overcommitting to melee attacks when the phase primarily rewards ranged precision
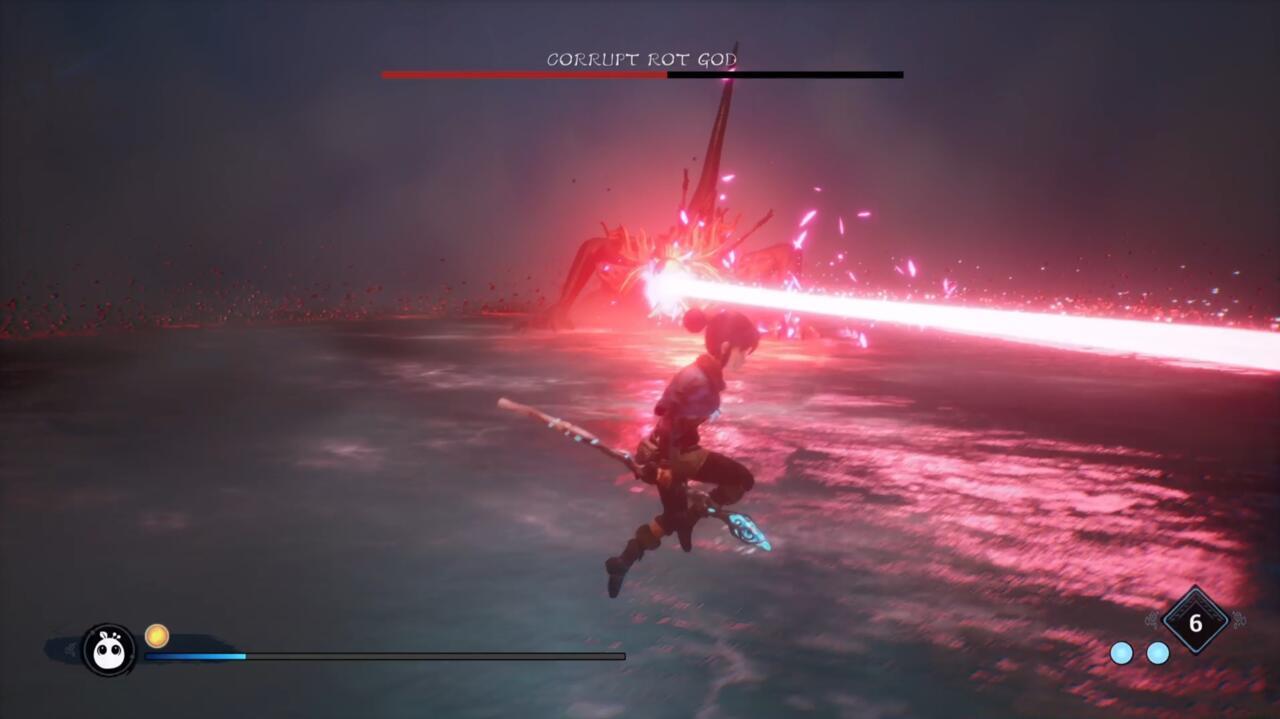
Mastering evasion techniques against the devastating laser assault is crucial for Phase 2 survival—timing and direction determine success.
The combat intensity escalates dramatically in Phase 2, introducing the boss’s most dangerous attack patterns. The laser beam assault requires precise evasion timing, while new enemy compositions demand strategic Rot ability deployment.
Laser Evasion Mastery:
The horizontal laser sweep presents one of the highest damage threats in the encounter. Successful evasion requires either perfectly timed jumps or Spirit Dash execution. The key distinction: jumping provides wider evasion windows but less positioning control, while Spirit Dash offers precise repositioning but demands exact timing.
Rot Ability Optimization:
Phase 2 introduces windows where coordinated Rot actions can stagger the boss, creating extended damage opportunities. Time your Courage accumulation to maximize these openings.
Advanced Phase 2 Tactics:
• Stagger Sequencing: Combine bomb throws with focused arrow volleys to trigger stagger states more frequently.
• Environmental Utilization: Use terrain features for cover during laser charge sequences and add spawn periods.
• Resource Conservation: Preserve healing flowers and Rot energy for the more demanding Phase 3 mechanics.

The conclusive phase demands precise Rot coordination for spear extraction, creating the damage windows needed to secure victory.
The final stage introduces the spear extraction mechanic, completely changing the combat dynamic. This phase tests your ability to manage multiple objectives simultaneously while executing precise Rot commands under pressure.
Spear Extraction Protocol:
Multiple corruption spears embed in the boss, each requiring targeted Rot intervention. The sequence follows a specific pattern: identify spear locations, position for safe extraction, command Rot removal, then capitalize on the resulting vulnerability window.
Execution Priority:
1. Positioning Safety: Ensure you’re not standing in environmental hazards before initiating extraction.
2. Sequential Removal: Extract spears in order of accessibility, not necessarily their visual prominence.
3. Damage Maximization: During vulnerability phases, deploy your highest damage combinations—charged arrow volleys combined with Rot hammer attacks yield best results.
Final Phase Common Errors:
• Attempting extraction during active attack patterns instead of waiting for safe windows
• Wasting vulnerability periods on minor attacks instead of focused damage combinations
• Neglecting spawned enemies that can interrupt extraction sequences
Success in this phase requires recognizing the shift from damage-dealing to mechanic execution—the boss becomes vulnerable only through proper sequence completion.
Action Checklist
- Master corruption targeting in Phase 1 with rapid weak point destruction
- Practice laser evasion using both jump and Spirit Dash techniques
- Coordinate Rot ability timing for maximum stagger effectiveness in Phase 2
- Execute precise spear extraction sequences during Phase 3 vulnerability windows
- Deploy optimized damage combinations during spear extraction vulnerability periods
No reproduction without permission:SeeYouSoon Game Club » How To Beat The Final Boss In Kena: Bridge Of Spirits Master the final boss encounter with strategic positioning, precise bow shots, and Rot management techniques