TL;DR
- Maintain constant distance using Grappleshot to avoid devastating hammer attacks
- Focus fire on shields first, then health while preventing regeneration cycles
- Utilize vertical space and weapon lockers for tactical advantage
- Master the hit-and-run pattern: engage, retreat, reposition, repeat
- Average completion time: 3-5 minutes with proper execution
This aggressive Brute warrior demands exceptional mobility and tactical awareness from Master Chief.
The Halo Infinite campaign features numerous challenging boss encounters that test your combat proficiency. During your mission on Zeta Halo, you’ll confront diverse adversaries from multiple factions, including both biological and synthetic opponents. Following your victory over Chak ‘Lok, you’ll advance to confront Bassus, a formidable Banished Brute commander determined to obliterate you with his powerful Gravity Hammer. This comprehensive guide provides battle-tested strategies to evade the destructive potential of his massive weaponry and secure victory.
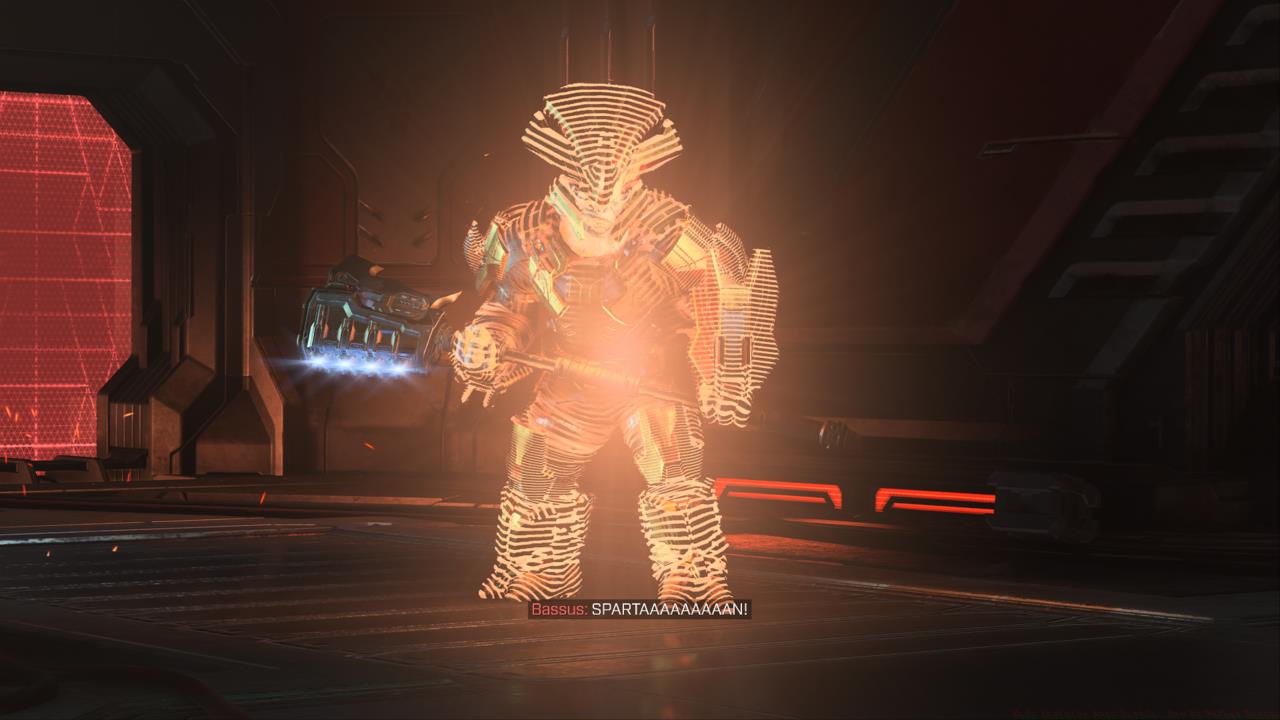
Upon entering the combat arena, Bassus’s imposing Gravity Hammer immediately commands attention. This visual cue should trigger your tactical response: engage from maximum effective range. The Brute aggressively forces close-quarters confrontations, frequently charging directly toward your position with relentless determination. Resist his attempts to close the distance at all costs.
Optimal distance management requires having your Grappleshot equipped and prepared for immediate deployment. Ideally, you’ve enhanced its recharge rate through strategic Spartan Core investments in upgrade modules and enhanced capabilities, enabling more frequent utilization. Bassus demonstrates unyielding aggression throughout the engagement.
Bassus demonstrates lethal combat proficiency.
Concentrate firepower on his energy shielding systems, recognizing that similar to your own defensive systems, they regenerate after brief periods without sustained damage. Even landing minimal successful shots proves valuable to inhibit his shield restoration processes. Simultaneously, you should employ grappling maneuvers throughout the combat space and secure elevated positions when tactically feasible. Engage from optimal distances whenever possible, and should you exhaust ammunition reserves, locate resupply stations and armament caches positioned within the chamber.
When executing effective combat protocols, you’ll repeatedly grapple beyond his effective striking range while maintaining offensive pressure during interim periods, resembling a matador confronting an exceptionally dangerous bull. Continue emulating acrobatic evasion techniques, swiftly displacing whenever feasible until his protective barriers dissipate, then sustain the operational pattern to systematically degrade his actual vitality. Provided you maintain consistent offensive pressure while avoiding the catastrophic melee range of his destructive armament, you’ll retain tactical superiority throughout the engagement and progressively reduce his combat effectiveness to zero.
Advanced players should note that Bassus exhibits predictable attack patterns after specific movement sequences. His most dangerous hammer swing combination follows a three-step charging maneuver that creates a 2-second vulnerability window if properly evaded. Weapon prioritization should favor precision instruments like the BR75 Battle Rifle or VK78 Commando for consistent shield depletion.
Environmental awareness provides critical advantages—specifically, the raised platforms along the arena perimeter offer brief respites for shield regeneration and tactical reassessment. Avoid corner positioning at all costs, as Bassus can trap and eliminate you within seconds in confined spaces.
Following Bassus’s defeat, you’ll resume primary narrative progression, then return to expansive exploration mechanics. Your subsequent boss confrontation involves engagement with the Sentinel construct, Adjutant Resolution.
Many players underestimate Bassus’s sudden acceleration capability—he can close 15-meter gaps in under two seconds. Always maintain at least 20 meters separation when not actively engaging. Another frequent error involves wasting premium ammunition on his health bar before shield elimination; energy weapons and precision rifles prove most efficient for barrier depletion.
For players struggling with this encounter, consider revisiting earlier campaign sections to collect additional Spartan Cores. The Grappleshot cooldown reduction upgrade significantly improves survival probability, reducing evasion intervals from 5 to 3 seconds between uses. This 40% improvement in mobility often determines victory versus defeat.
Post-victory, you’ll gain access to advanced Banished weaponry and tactical data that enhances your weapons proficiency for subsequent engagements. These skills transfer effectively to other combat scenarios, including those covered in our comprehensive tactical guides for modern military shooters.
Action Checklist
- Upgrade Grappleshot cooldown to maximum using Spartan Cores
- Secure BR75 Battle Rifle or VK78 Commando from weapon lockers
- Maintain 20-meter minimum distance during engagement phases
- Execute hit-and-run pattern: 3 shots, grapple away, reposition
- Utilize elevated positions for tactical advantage and brief recovery
No reproduction without permission:SeeYouSoon Game Club » Halo Infinite Boss Battle: How To Defeat Bassus Master the Bassus boss fight in Halo Infinite with expert strategies, common pitfalls, and advanced combat techniques