TL;DR
- Use Ultrahand to position rockets precisely on tracks for target activation
- Attach dual rockets symmetrically to mine carts for stable vertical ascent
- Master rocket shield fusion for reaching elevated chest platforms
- Discover shortcut glides to bypass complex puzzle sequences
- Collect valuable Ruby reward before completing the shrine
Prepare for an engaging challenge combining precision targeting and creative transportation mechanics in the Oromuwak Shrine. Located strategically south of the Hebra Mountains region, this shrine introduces players to advanced rocket-based puzzle solving that will test both your aiming skills and engineering creativity.
As you approach this shrine, you’ll immediately notice its focus on propulsion systems and mechanical targets. The puzzles within require mastery of key abilities including Ultrahand for object manipulation and Fuse for combining items with your equipment. Understanding these mechanics early will significantly streamline your progression through the chambers.
Before entering, ensure you have adequate weapon durability for activating mechanisms and consider preparing some basic shields for the advanced fusion techniques you’ll encounter later. The shrine’s design emphasizes practical application of Zonai technology in creative problem-solving scenarios.
Upon entering the initial chamber, immediately scan the environment to identify available resources. You’ll find multiple rockets positioned along the right wall – these are your primary tools for solving the first puzzle. Use your Ultrahand ability to carefully lift one rocket and position it precisely on the track system.
Critical positioning tip: Align the rocket so it faces directly toward the massive circular target on the left wall. The orientation matters significantly – improper alignment may cause the rocket to veer off course and miss the activation zone completely. Once properly positioned, strike the rocket with any weapon to initiate propulsion toward the target.
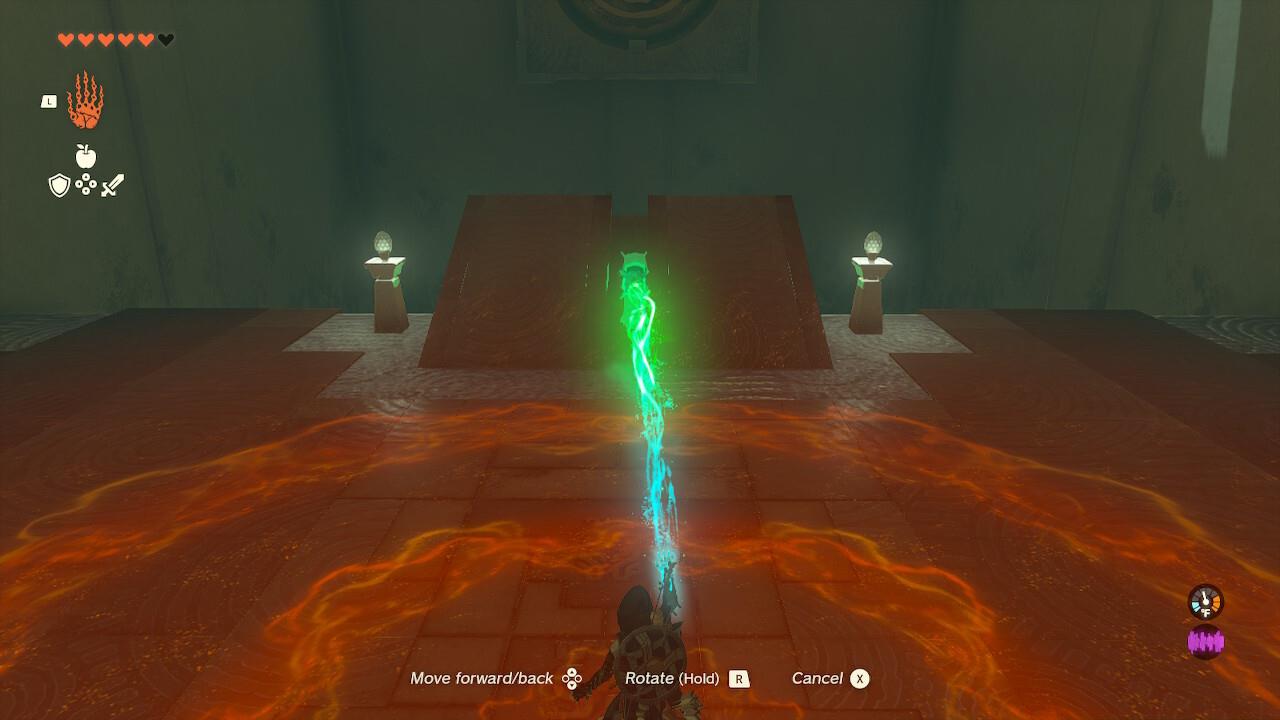
Precise rocket alignment ensures direct trajectory toward the activation target, opening progression paths.
Avoid these common mistakes: Don’t place rockets too far back on the track (reduces impact force), ensure no obstructions block the path, and use quick, decisive strikes rather than prolonged attacks. Successfully hitting the target triggers the door mechanism, granting access to the next challenging chamber.
The second chamber introduces vertical transportation challenges using mine carts and dual-rocket configurations. Before proceeding, return to the first room to collect two additional rockets – this preparation prevents backtracking later. Position yourself at the mine cart stationed on the tracks.
Advanced attachment strategy: Place one rocket on each side of the cart, ensuring symmetrical weight distribution. This balanced approach prevents erratic flight patterns and provides a smoother, more controlled ascent. Once both rockets are securely attached, enter the cart and prepare for launch.
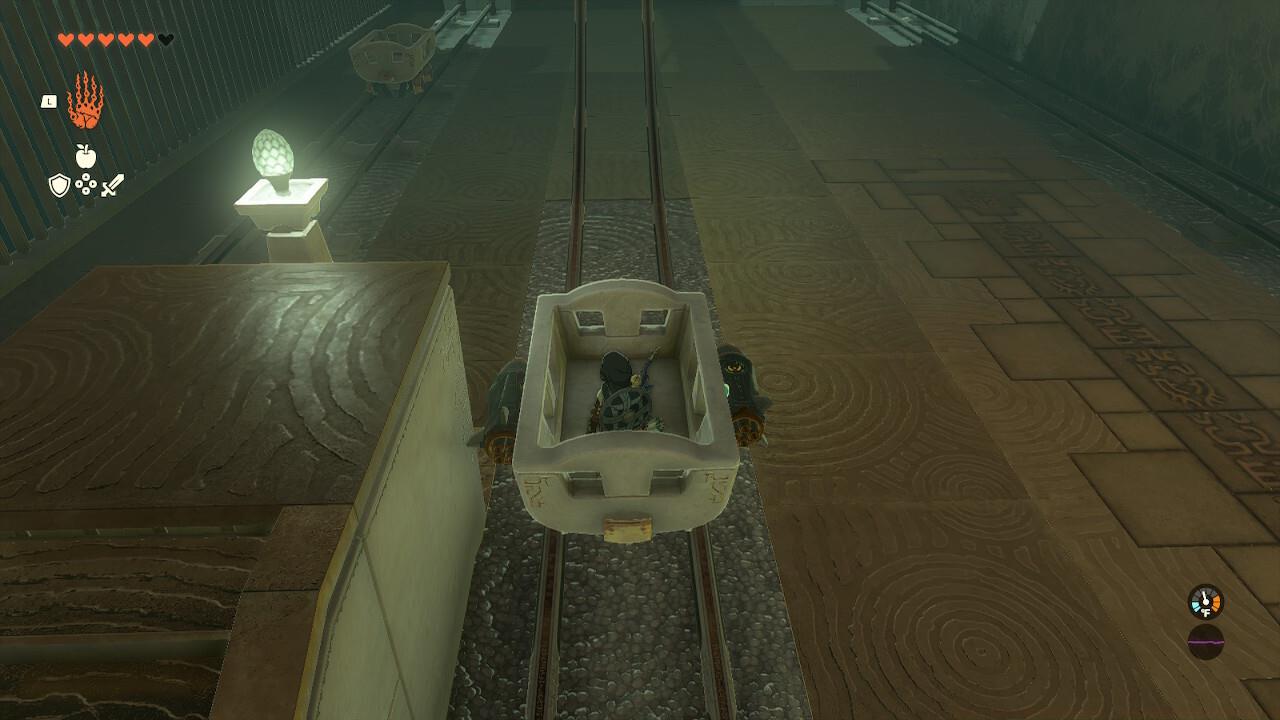
Symmetrical rocket placement on mine carts ensures stable vertical ascent without rotation or deviation.
Activation requires a single weapon swing that contacts both rockets simultaneously. Time your swing carefully – hitting only one rocket may cause unstable spinning. The dual propulsion will carry you efficiently to the upper platform where new challenges await.
Reaching the elevated chest requires mastering the Fuse ability in combination with your shield. This advanced technique allows temporary rocket propulsion for vertical mobility. Select a rocket from your inventory and fuse it directly to any shield in your possession.
Positioning is crucial: Move to the farthest corner of the platform and angle your view upward to spot the small platform housing the treasure chest. Hold your shield block button to initiate the rocket propulsion sequence – you’ll launch vertically with significant momentum.
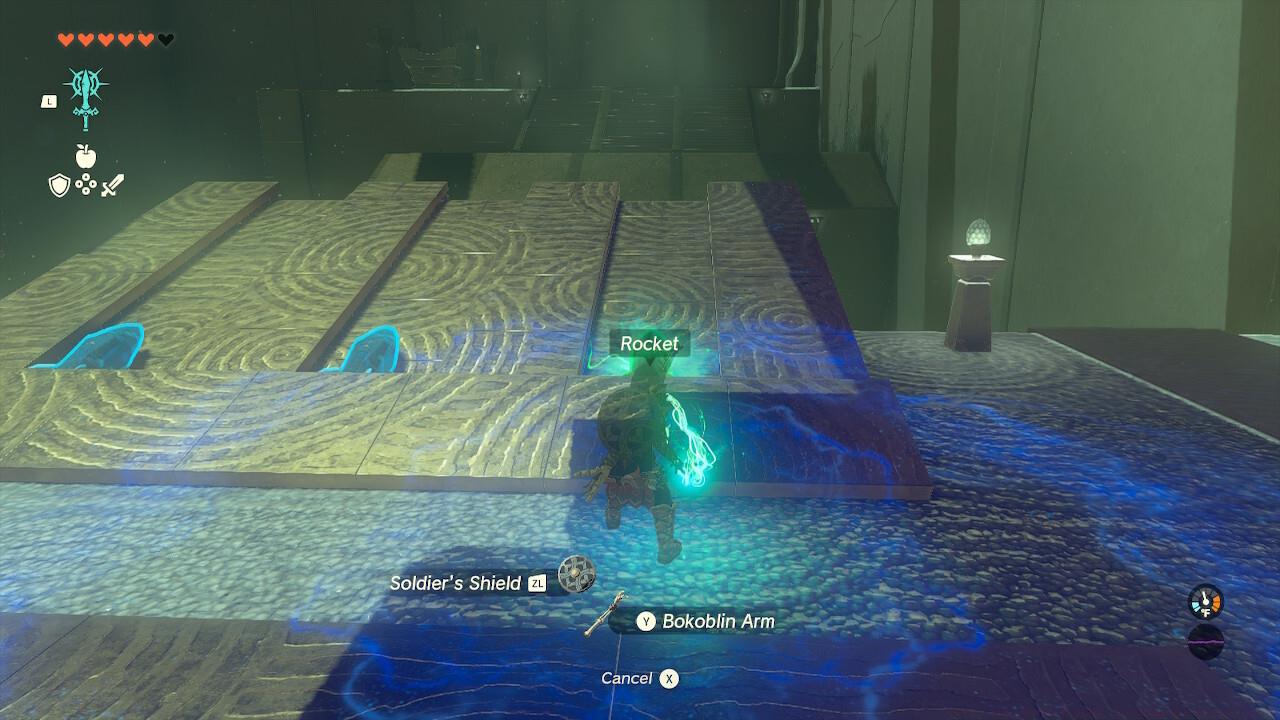
Rocket shield fusion provides temporary vertical boost, perfect for reaching otherwise inaccessible treasure platforms.
At the peak of your ascent, immediately deploy your paraglider to control your descent and land precisely at the chest location. Open it to claim your valuable Ruby – a significant reward that can be sold for substantial rupees or used in elite armor upgrades. This technique has applications throughout Hyrule for reaching high-altitude locations.
While the intended puzzle solution involves descending to solve additional challenges, experienced players can employ a strategic shortcut. From the chest platform, position yourself facing the final destination platform and prepare for an optimized glide path.
Advanced movement tip: Execute a running jump from the edge of the chest platform to maximize initial momentum. Immediately deploy your paraglider and maintain a steady descent angle toward the shrine completion area.

Strategic gliding from elevated positions bypasses complex puzzle sequences, saving significant time.
This efficient approach bypasses approximately 3-4 minutes of additional puzzle solving while still allowing you to collect all available rewards. Upon reaching the final platform, you’ll receive the Light of Blessing – the standard shrine completion reward that contributes to heart container or stamina vessel upgrades.
Mastering these rocket mechanics provides valuable skills for navigating other challenging areas of Hyrule, particularly regions requiring creative vertical mobility solutions. The techniques learned here directly apply to advanced movement challenges found throughout the game world.
Action Checklist
- Position rocket precisely on track facing target
- Strike rocket to activate door mechanism
- Attach dual rockets symmetrically to mine cart
- Fuse rocket to shield and launch to chest platform
- Collect Ruby and glide to final platform
No reproduction without permission:SeeYouSoon Game Club » Zelda: Tears Of The Kingdom – Oromuwak Shrine Puzzle Guide Master the Oromuwak Shrine's rocket puzzles with expert strategies and time-saving shortcuts