TL;DR
- Equipment provides tactical advantages beyond basic weapons and vehicles
- Master timing and positioning to maximize each equipment’s effectiveness
- Combine equipment with weapons for devastating synergistic combinations
- Strategic deployment can counter enemy vehicles and power weapons
- Advanced techniques require practice but offer significant competitive edges
Success in Halo Infinite extends far beyond weapon proficiency and vehicle control—mastering the strategic deployment of equipment often determines victory in critical engagements. These tools provide temporary tactical advantages that can completely shift battle momentum when utilized effectively.
Unlike previous Halo titles that featured Armor Abilities, Halo Infinite introduces “equipment”—deployable devices offering limited-use specialized functions. Some equipment functions are immediately intuitive, like the grappling hook-based Grappleshot, while others such as the Repulsor demand deeper understanding to unlock their full potential. When employed with precision timing and strategic foresight, equipment abilities transform ordinary Spartans into formidable combatants capable of neutralizing vehicle threats, infiltrating fortified positions, and executing complex tactical maneuvers.
This comprehensive guide explores every piece of Halo Infinite’s equipment arsenal, detailing their functions, optimal applications, and advanced combat techniques. For additional strategic insights, consult our Complete Guide to modern military shooters, our detailed Weapons Unlock strategies, and our expert Class Guide for role optimization.
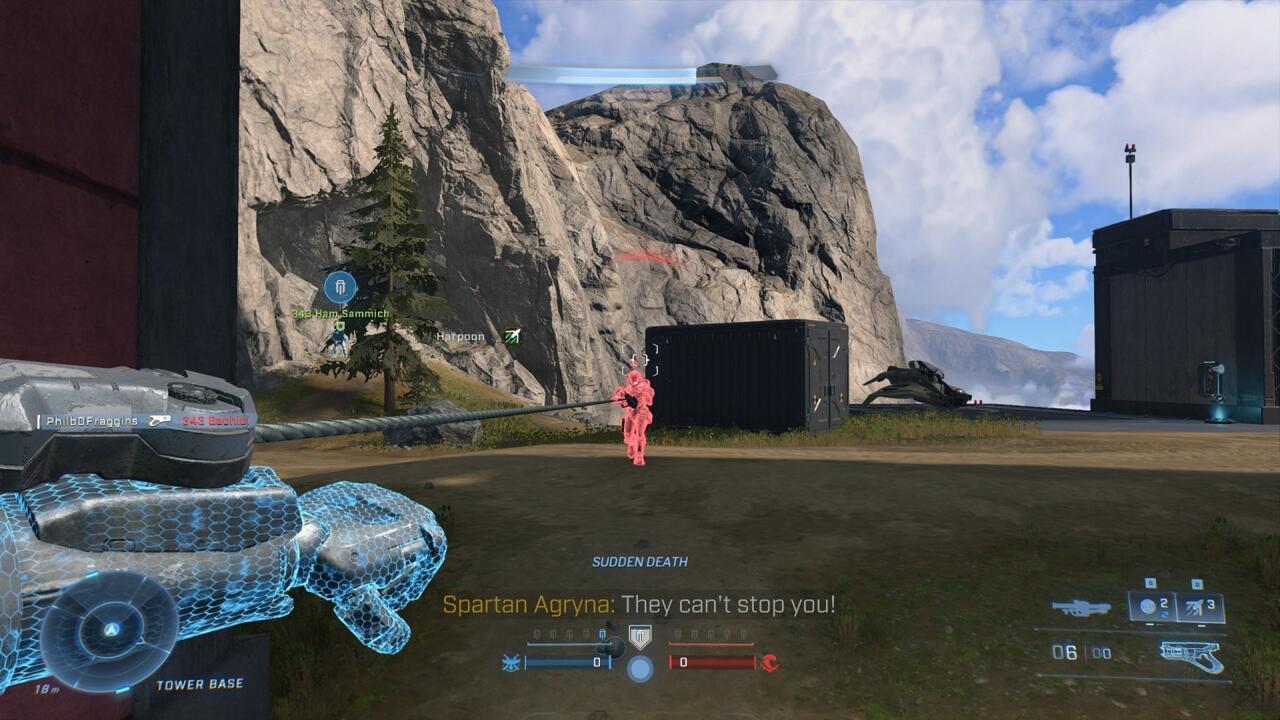
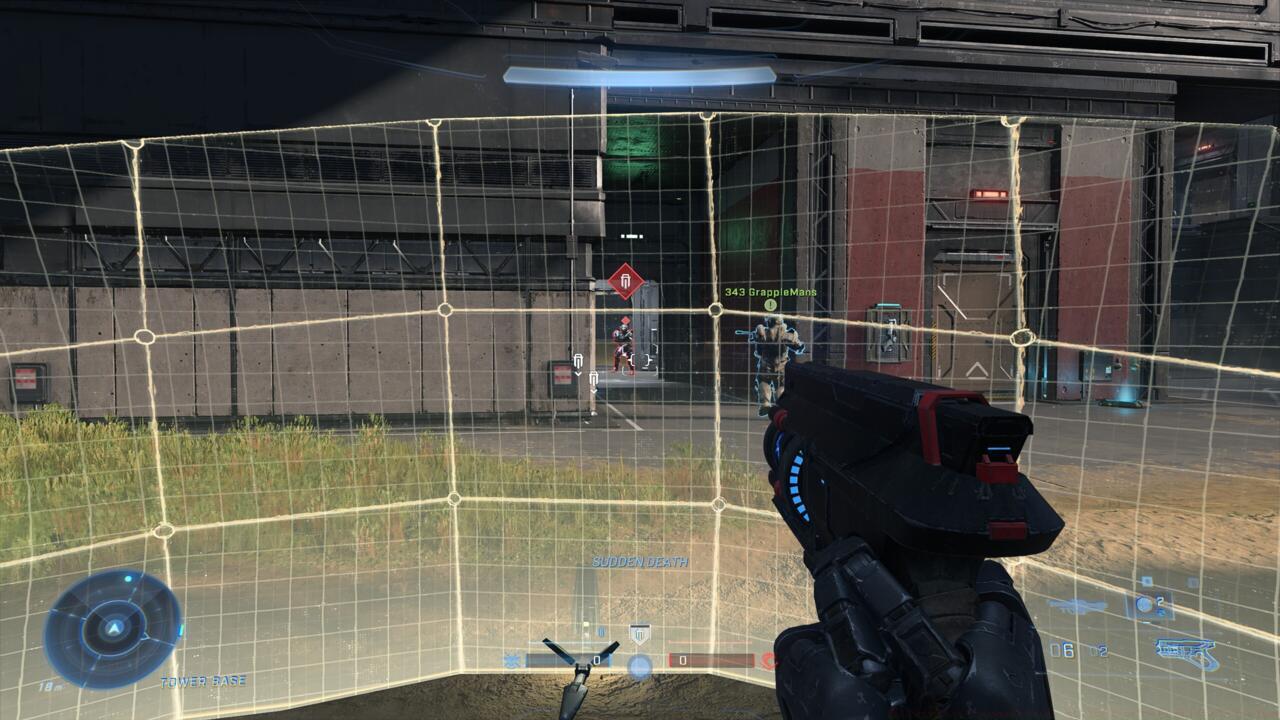
The Grappleshot enables rapid repositioning, item retrieval, enemy engagement, and vehicle acquisition.
The Grappleshot stands as arguably the most versatile tactical tool in Halo Infinite’s arsenal. This advanced grappling apparatus propels you toward targeted surfaces, objects, or combatants with remarkable velocity. Its primary function involves accessing elevated positions otherwise unreachable through conventional movement, dramatically increasing the game’s vertical combat dimension. Advanced users can manipulate control inputs during grapple deployment to alter trajectory, enabling strategic positioning on structures like towers or walls for rapid forward momentum.
Beyond basic mobility applications, the Grappleshot offers sophisticated combat utilities. Targeting weapons or equipment items retrieves them remotely, facilitating ammunition resupply, securing power weapons ahead of opponents, or weapon switching without exposure to hostile fire. Engaging enemy combatants initiates an accelerated approach culminating in an automatic melee impact upon arrival. When directed at unoccupied vehicles, it enables instant boarding—targeting occupied vehicles results in automatic hijacking sequences. Deploy the Grappleshot to establish unexpected attack angles and access unconventional tactical positions.
Advanced Technique: Combine grapple melee attacks with mid-air weapon fire for devastating aerial assaults. Practice “grapple-sliding” by activating the grapple just as you hit the ground from height to maintain momentum.
Grapples per pickup: 5
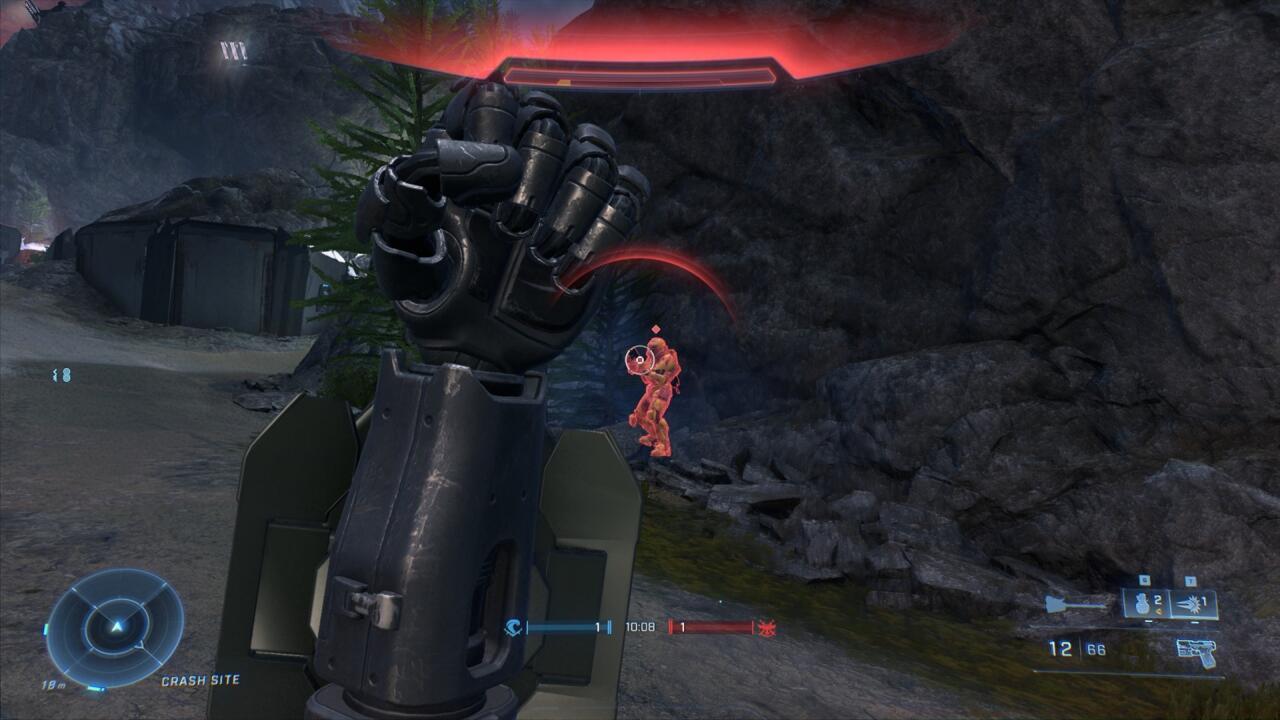
The Repulsor generates directional force pulses capable of repelling vehicles, combatants, and incoming munitions.
The Repulsor’s defensive capabilities may not be immediately apparent, yet it ranks among Halo Infinite’s most powerful protective tools, second only to the Overshield in defensive utility. Mastery requires precise temporal coordination between threat identification and activation. This device emits concussive force waves that deflect entities within its frontal arc, including hostile forces, vehicles, and incoming projectiles. Indeed, the Repulsor possesses the remarkable capacity to redirect rocket trajectories.
Deploy the Repulsor when confronting charging energy sword specialists or Gravity Hammer wielders, or when facing imminent collision with Ghost or Warthog assaults. Properly timed activation halts these threats completely, creating defensive space and reaction time. Against vehicle threats, the Repulsor disrupts driver control and tactical planning, creating engagement windows for squad elimination. The equipment also deflects grenades and explosive projectiles, making it essential equipment for players experiencing frequent explosive fatalities during matches.
Pro Tip: The Repulsor can launch you to unexpected heights when aimed at the ground during jumps—perfect for reaching sniper nests or escaping dangerous situations.
The Thruster’s rapid directional bursts enable evasion maneuvers, positional adjustments, and enemy disorientation.
The Thruster provides instantaneous directional propulsion, creating brief but critical movement advantages. These rapid repositioning capabilities allow Spartans to evade enemy targeting, disrupt opponent anticipation, and avoid incoming munitions and vehicle collisions.
Mastering the Thruster involves understanding its dual defensive and offensive applications. Defensively, it excels at dodging grenades, escaping melee range, and avoiding vehicle roadkills. Offensively, it enables quick peeks around corners, rapid engagement closures, and unexpected angle acquisitions.
Advanced Applications: Combine Thruster with melee attacks for “thrust-punch” combinations that catch enemies off-guard. Use it to quickly enter and exit cover during firefights, making you a difficult target to track and eliminate.
Common Mistake: Avoid using Thruster predictably—vary directions and timing to maintain the element of surprise against experienced opponents.
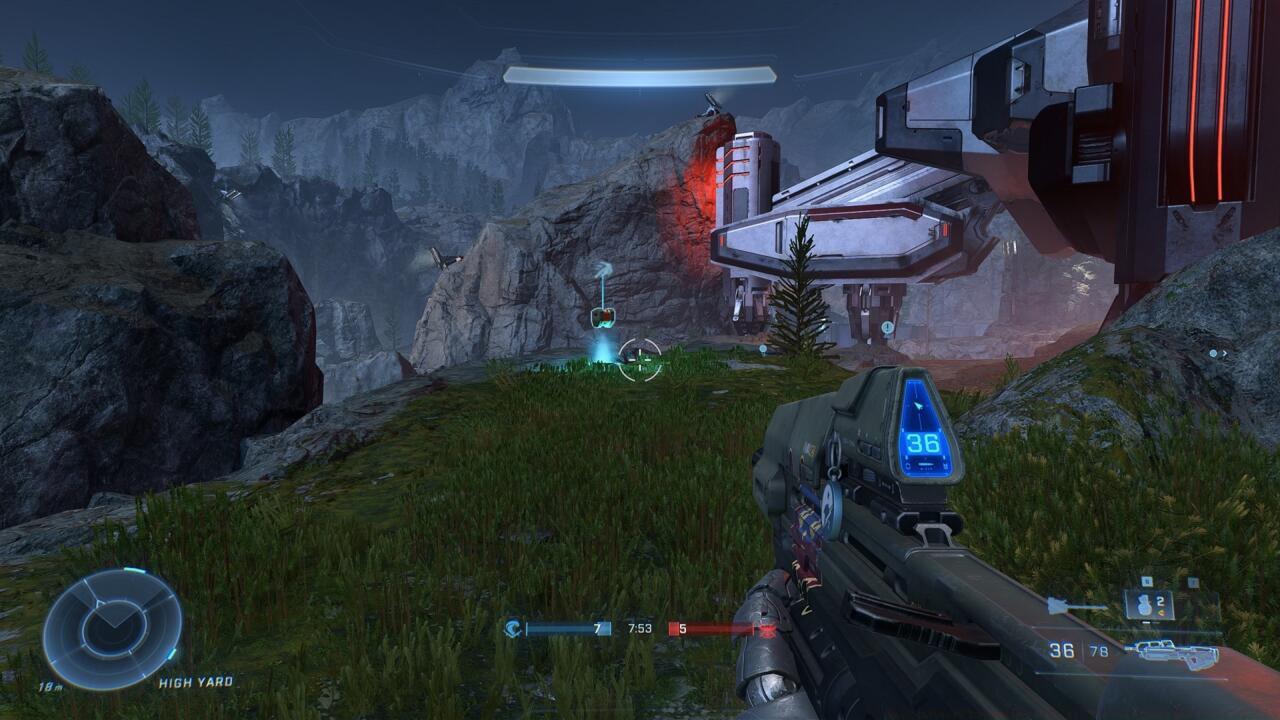
The Threat Sensor reveals enemy positions through solid surfaces and provides tactical highlighting for engagement advantages.
The Threat Sensor revolutionizes battlefield awareness through advanced detection technology. When deployed, it emits pulsating scans that identify and mark hostile combatants within its operational radius, regardless of intervening obstacles.
Strategic placement maximizes the Threat Sensor’s effectiveness. Position it at choke points, objective locations, or flanking routes to monitor enemy movement patterns. The highlighted targets become visible to your entire team, facilitating coordinated assaults and defensive preparations.
Pro Strategy: Deploy Threat Sensors at key map locations before engaging in objective play to prevent surprise attacks and ambushes.
Counter-Intelligence: Experienced players may attempt to destroy your sensors—place them in elevated or concealed positions to extend their operational duration.
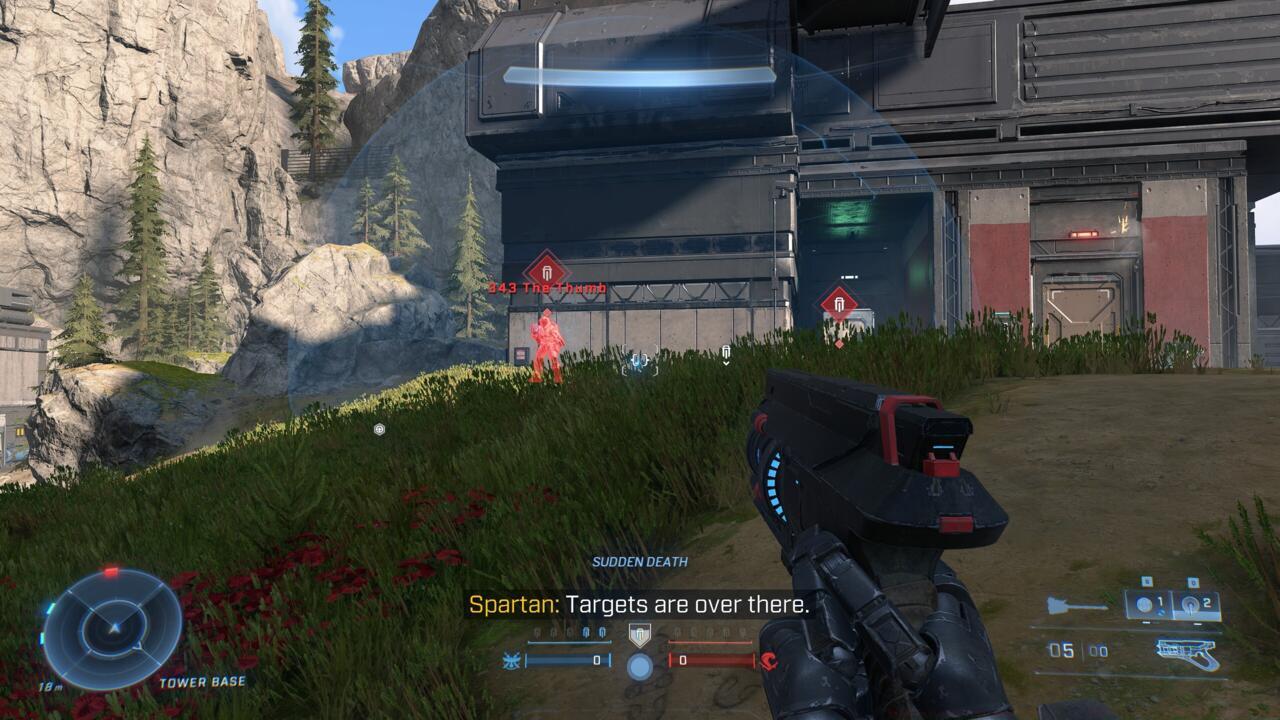
The Drop Wall provides segmented defensive coverage with individual panel integrity—damage to one section doesn’t compromise the entire structure. Defensive firing positions can be established from behind the barrier.
The Drop Wall deploys as a multi-panel energy barrier offering temporary defensive positioning. While individual panels possess limited durability, the segmented design ensures partial functionality even under sustained fire.
Optimal Drop Wall placement involves anticipating enemy engagement vectors and creating protected firing lanes. The barrier’s partial destruction mechanic allows strategic repositioning as combat dynamics evolve.
Advanced Tactics: Use Drop Wall to establish temporary strongpoints during objective captures, protect reviving teammates, or create breathing room during retreat scenarios.
Common Error: Placing Drop Wall in open areas without cover escape routes—always position with fallback options available.

The Overshield doubles your effective health pool, dramatically increasing survivability during direct confrontations.
The Overshield provides temporary enhanced shielding that effectively doubles your damage absorption capacity. This makes eliminating you significantly more challenging for opponents during firefights.
Strategic Overshield activation timing separates novice from expert players. Deploy before engaging in high-risk assaults, when defending critical objectives, or when anticipating enemy power weapon deployment.
Combat Advantage: With Overshield active, you can aggressively push enemy positions that would normally be suicidal, trade damage more efficiently, and survive encounters that would otherwise be fatal.
Warning: The activation animation leaves you vulnerable—use cover when deploying and avoid activation during direct enemy engagement.
Active Camo significantly reduces visual detection during battlefield movement—camouflaged individuals reveal themselves primarily through motion distortion effects.
Active Camo employs advanced light-bending technology to dramatically decrease your visibility to enemy combatants. The primary detection indicator involves the subtle visual distortion created by bodily movement through the environment.
Mastering Active Camo requires understanding its movement-based limitations. While stationary or slow-moving players become nearly invisible, rapid movement creates increasingly noticeable distortion patterns that alert observant opponents.
Stealth Movement: Move at walking speed or use crouch-walking to minimize the motion distortion that reveals your position to enemy players.
Assassination Strategy: Combine Active Camo with strategic positioning near high-traffic areas to execute undetected melee takedowns.
Expert Tip: Active Camo doesn’t make you completely invisible—use environmental cover and shadowed areas to complement its effects for maximum stealth effectiveness.
Action Checklist
- Practice Grappleshot trajectory control in custom games for 15-20 minutes
- Master Repulsor timing against bot vehicles in training mode
- Experiment with Thruster-melee combinations against AI opponents
- Develop Threat Sensor placement strategies on 3 different map types
- Practice Drop Wall placement during objective scenarios
- Coordinate equipment usage with teammates in multiplayer matches
No reproduction without permission:SeeYouSoon Game Club » Halo Infinite Equipment Guide: All The Best Tools And How To Use Them Master Halo Infinite's equipment system with advanced strategies, tactical applications, and expert optimization techniques