TL;DR
- Killstreaks provide tactical advantages by rewarding consecutive kills without dying
- Strategic loadout planning based on game modes and playstyles is crucial for success
- Lower-tier killstreaks (3-4 kills) offer early game intelligence and defensive capabilities
- Mid to high-tier options (5-12 kills) deliver devastating offensive power and map control
- Proper perk selection and deployment timing can significantly enhance killstreak effectiveness
GameSpot may receive revenue from affiliate and advertising partnerships for sharing this content and from purchases through links.
Call of Duty: Modern Warfare’s killstreak system represents a core strategic element that rewards skilled gameplay with powerful battlefield advantages. These special abilities activate when players achieve specific numbers of consecutive eliminations without dying, creating snowball effects that can dramatically shift match momentum. Unlike scorestreak variants in other titles, this system purely tracks elimination counts, making target prioritization and survival paramount.
Progression through multiplayer ranks gradually unlocks additional killstreak options, allowing for increasingly sophisticated tactical combinations. The three-slot limitation forces strategic decisions about which rewards best complement your playstyle and current match circumstances.
Strategic loadout construction should consider both your personal capabilities and the specific requirements of each game mode. For objective-based matches like Domination, area denial and defensive killstreaks often provide more value than pure offensive options.
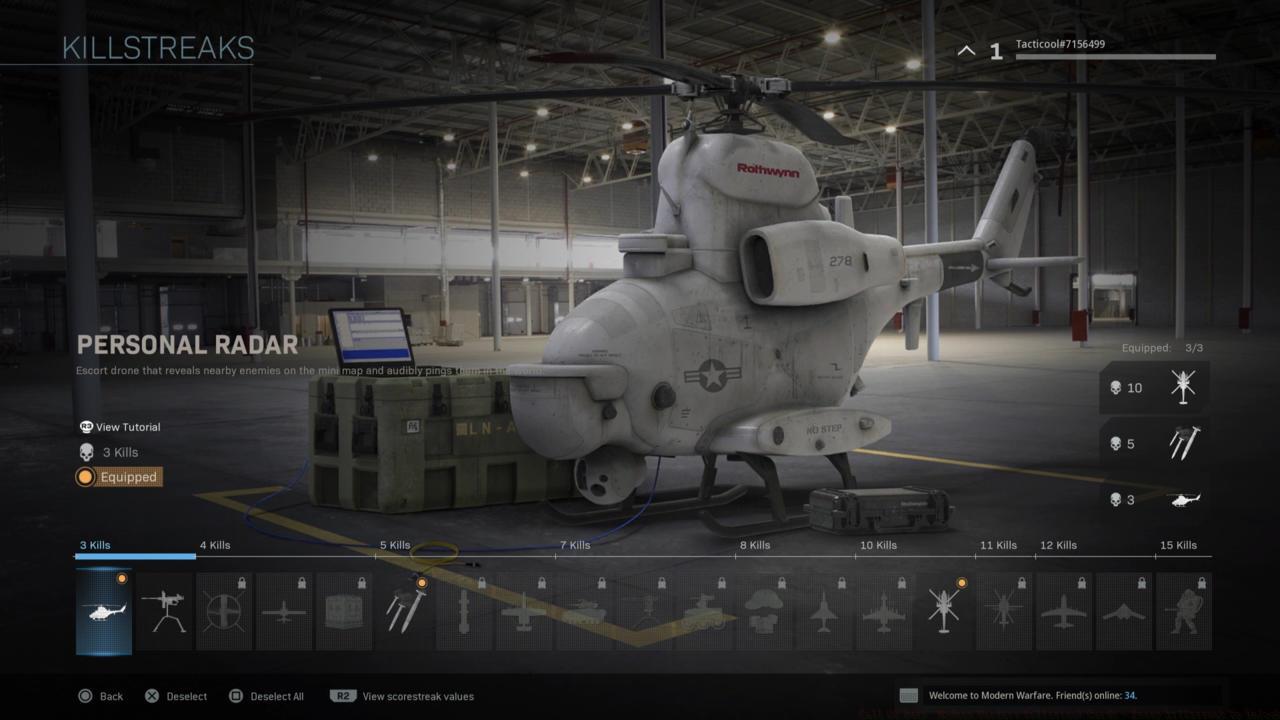
The Personal Radar delivers crucial battlefield intelligence by detecting enemy movements within its operational radius. This three-kill requirement makes it accessible early in matches, providing team-wide awareness advantages. Optimal deployment involves positioning near objective zones or flanking routes where enemy activity concentrates.
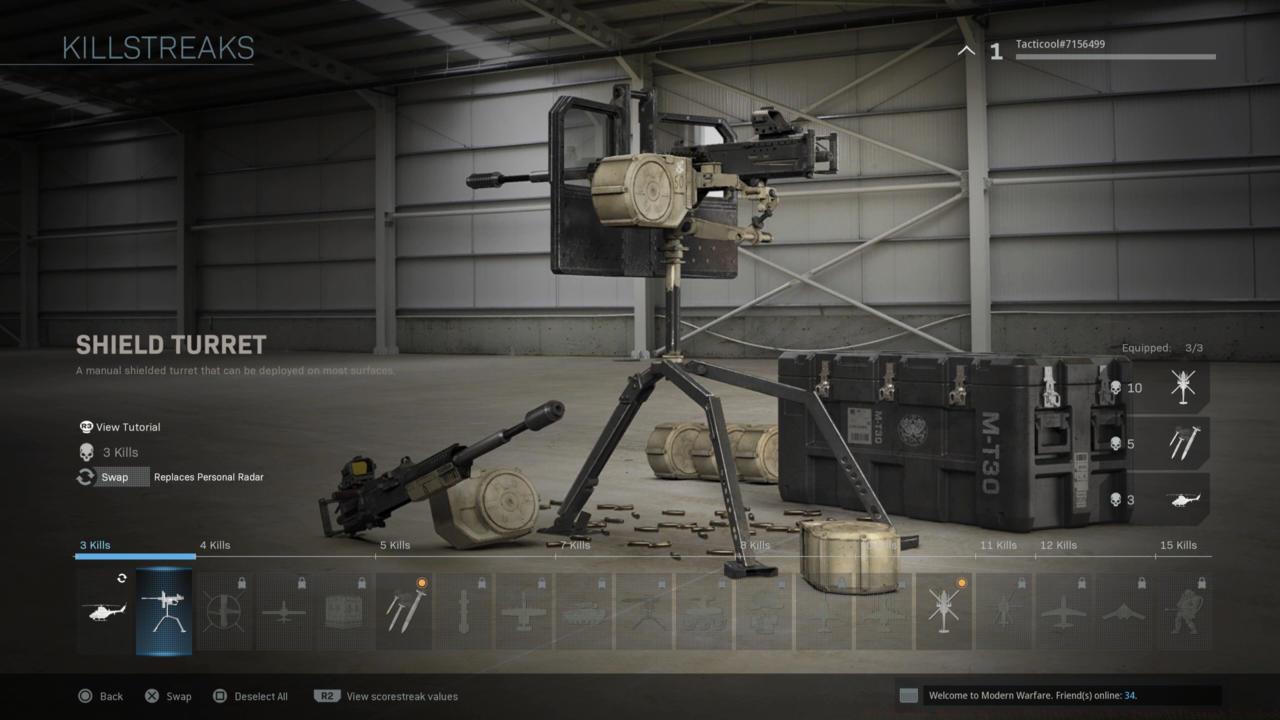
Shield Turret deployment requires careful positioning to maximize its 180-degree firing arc while minimizing exposure to enemy explosives. Place it in elevated positions covering choke points rather than open areas where it becomes vulnerable to sniper fire and rocket attacks.
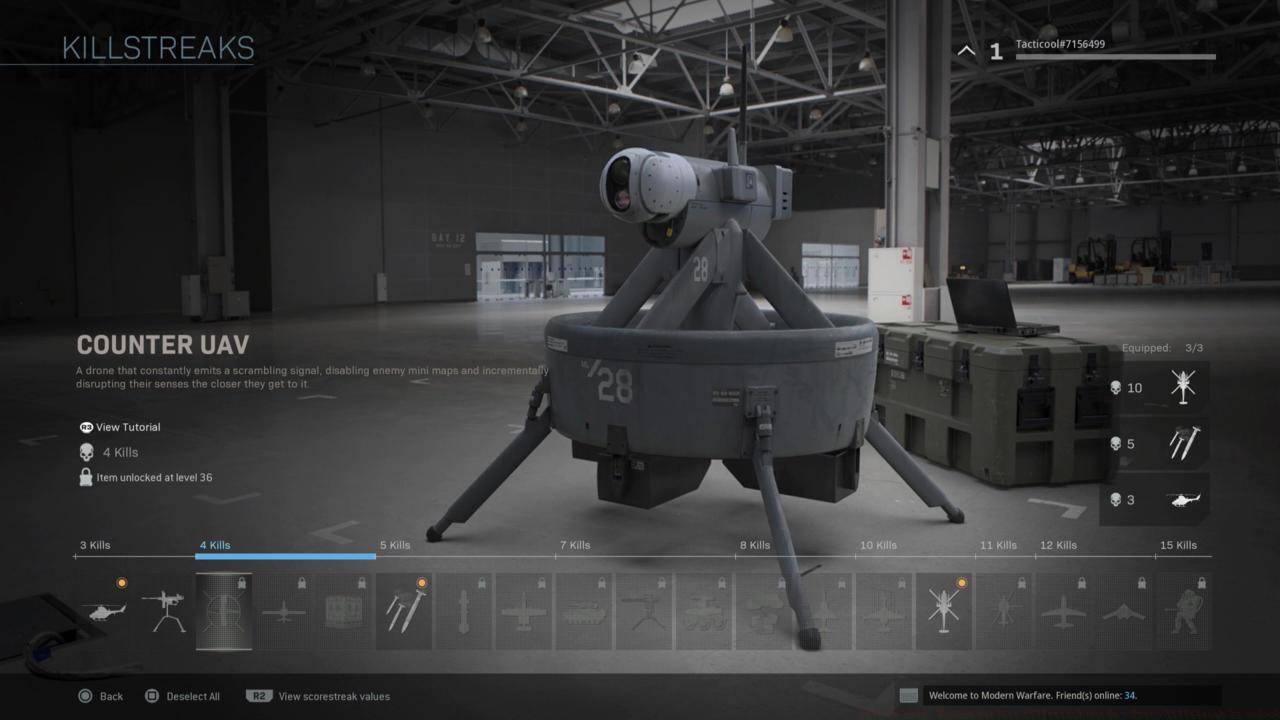
Counter UAV functionality disrupts enemy minimaps and HUD elements, creating temporary information superiority. Timing activation during enemy push attempts or objective captures multiplies its disruptive impact.
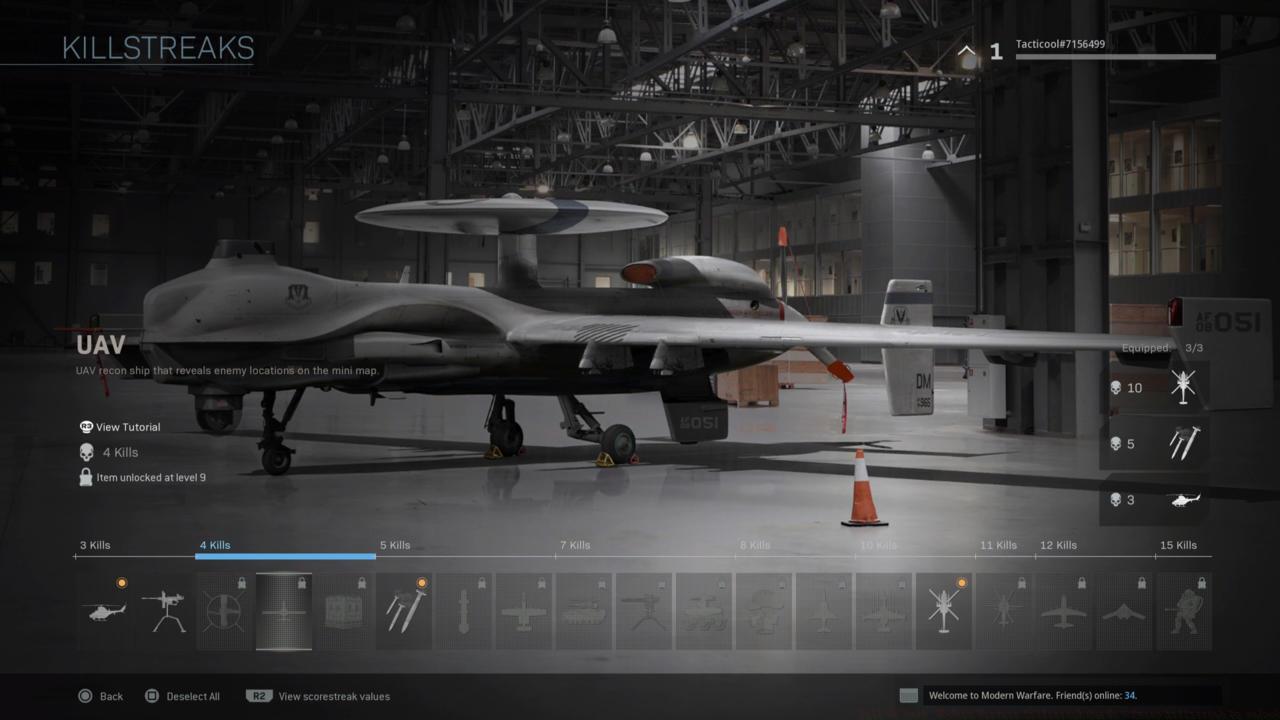
The classic UAV remains one of the most cost-effective intelligence tools, revealing enemy positions across the entire map. Advanced players combine UAV with Cold-Blooded perk to maintain stealth while benefiting from team-wide awareness.
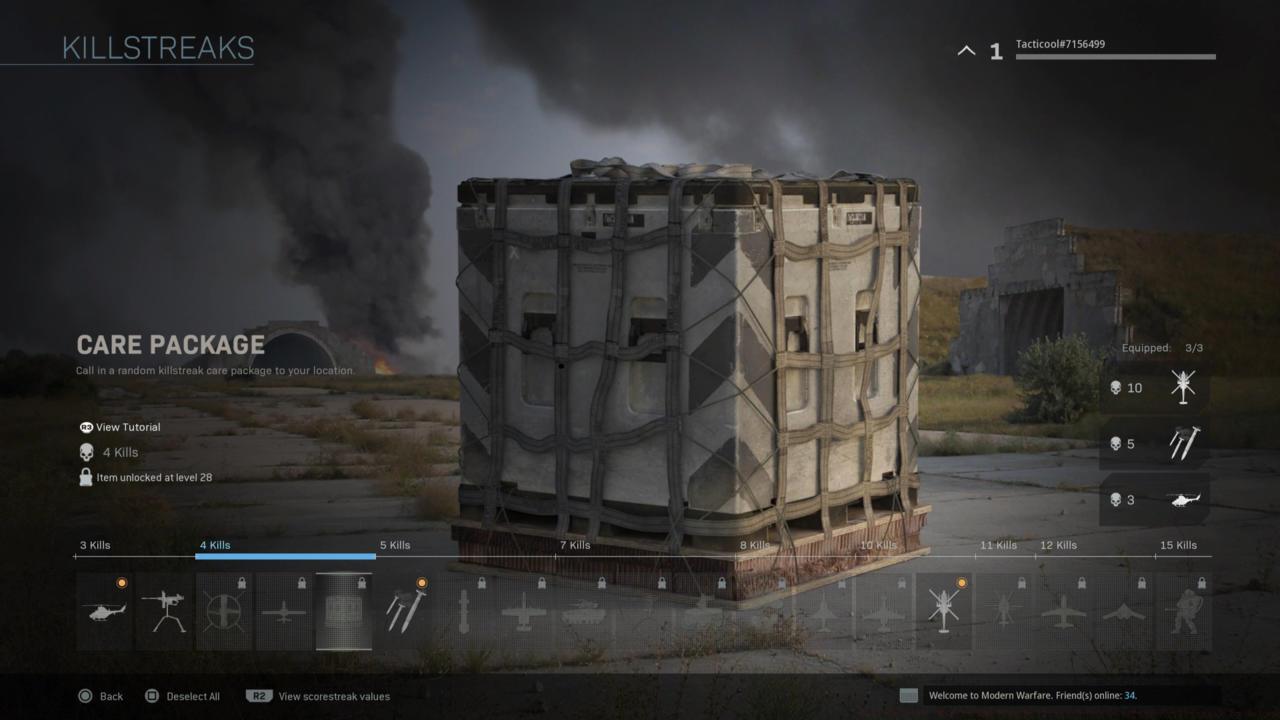
Care Packages introduce RNG elements that can deliver higher-tier killstreaks at lower cost. Strategic throwing techniques allow placement in secure areas, while the Engineer perk reveals potential booby traps on enemy packages.
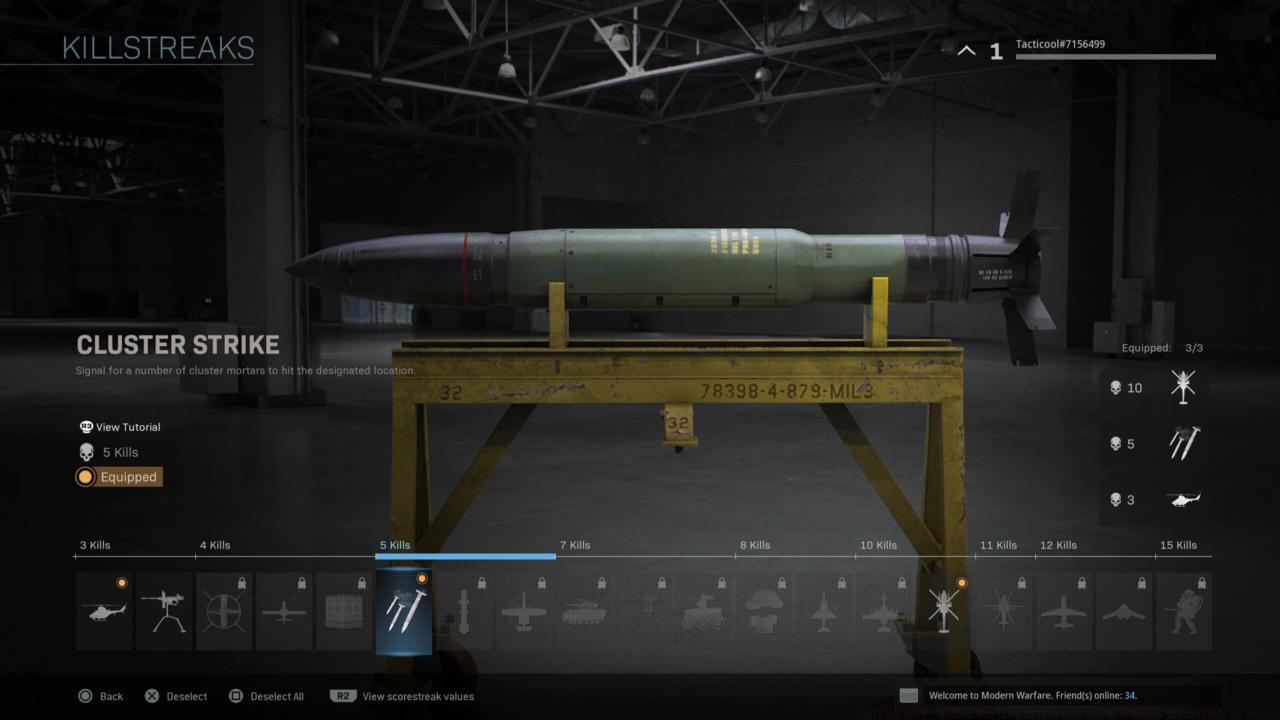
Cluster Strike deployments create multi-phase explosive patterns that effectively clear objective zones and defensive positions. The initial impact followed by cluster munitions covers substantial areas, making it ideal for breaking entrenched enemy positions in modes like Headquarters.
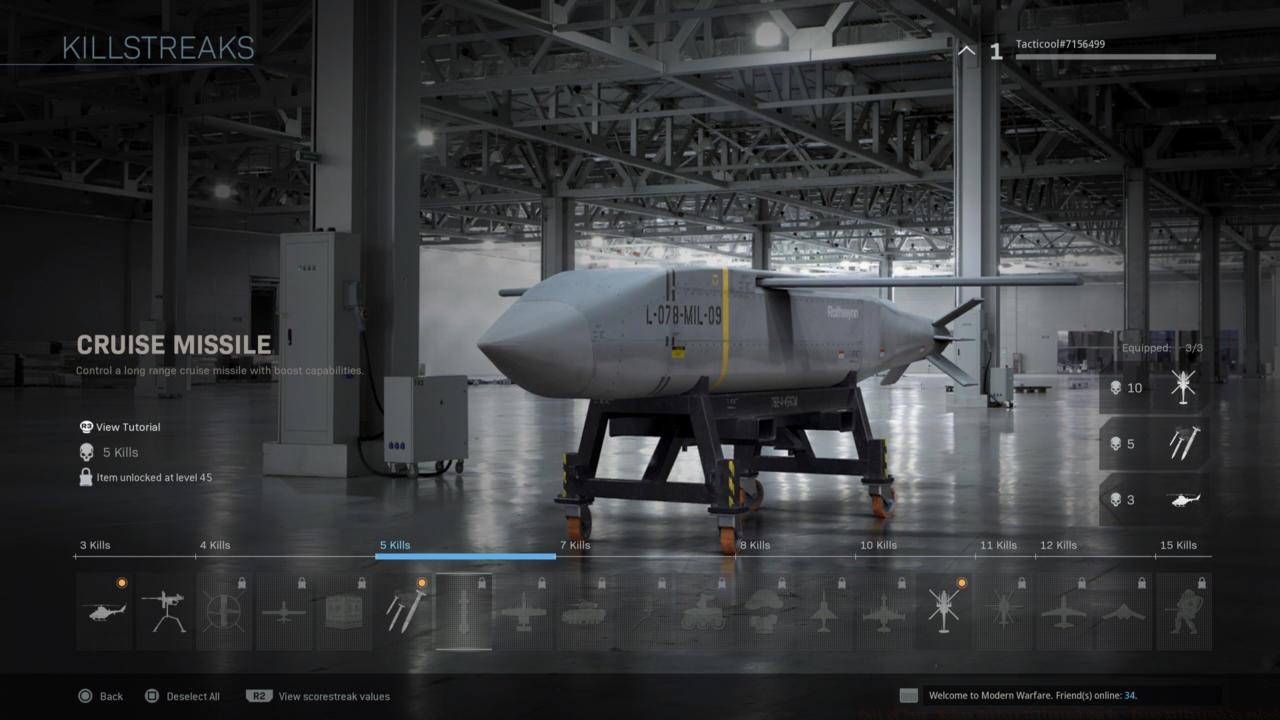
Cruise Missile operation requires map knowledge and prediction skills to intercept moving targets. The overhead perspective provides brief intelligence gathering opportunities before impact.
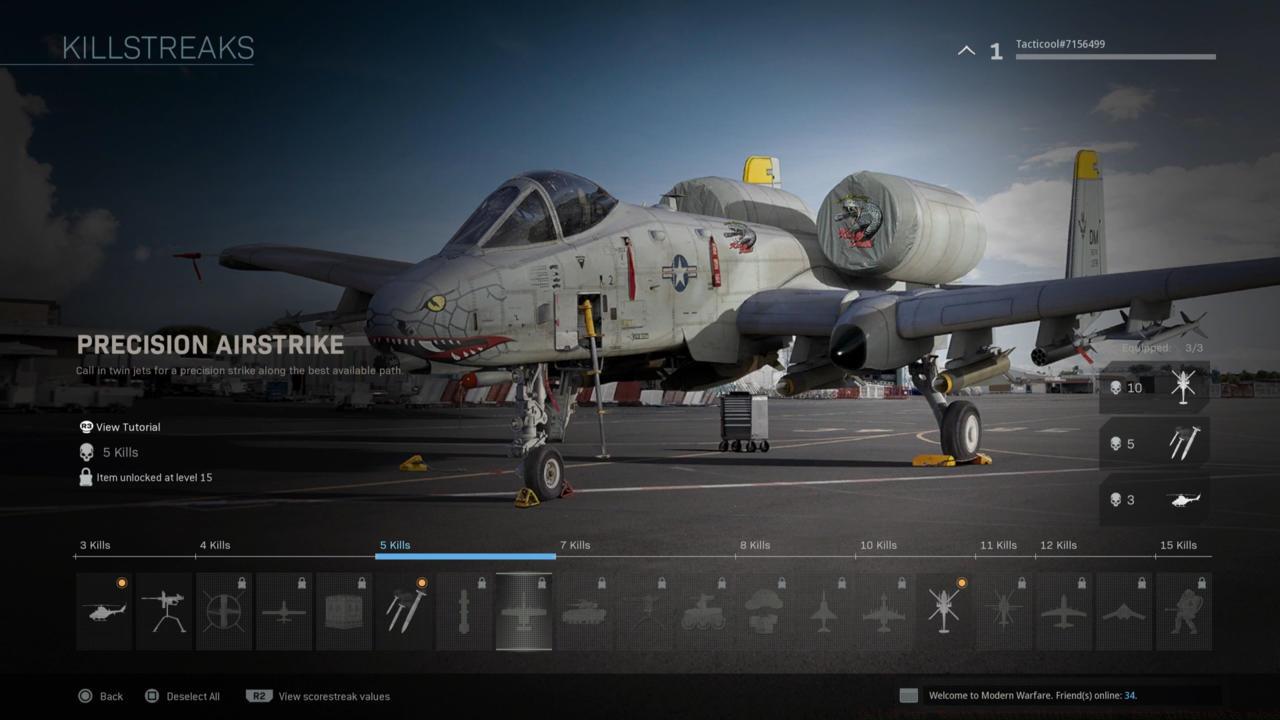
Precision Airstrikes deliver linear devastation along targeted vectors, perfect for clearing lanes in Shoot House or controlling pathways in Azhir Cave.
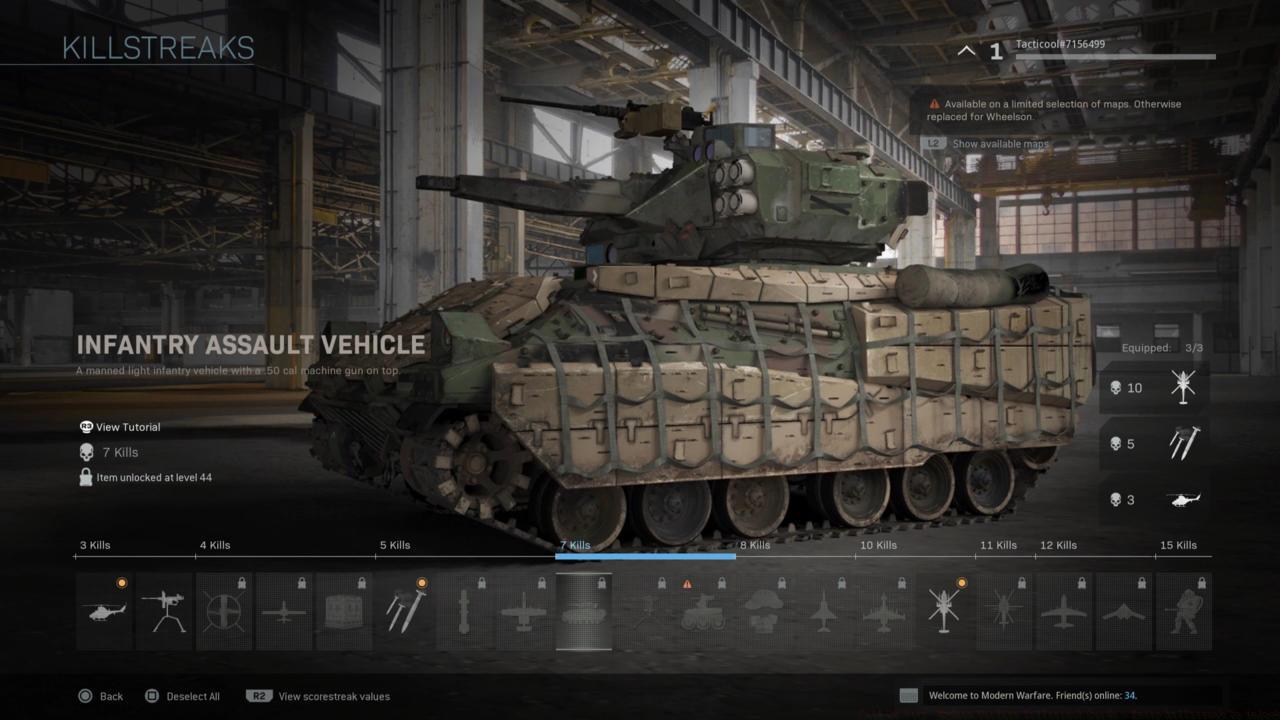
The Infantry Assault Vehicle provides mobile firepower but requires aggressive positioning to maximize its cannon effectiveness. Its vulnerability to explosives means skilled opponents will quickly counter it without proper support.
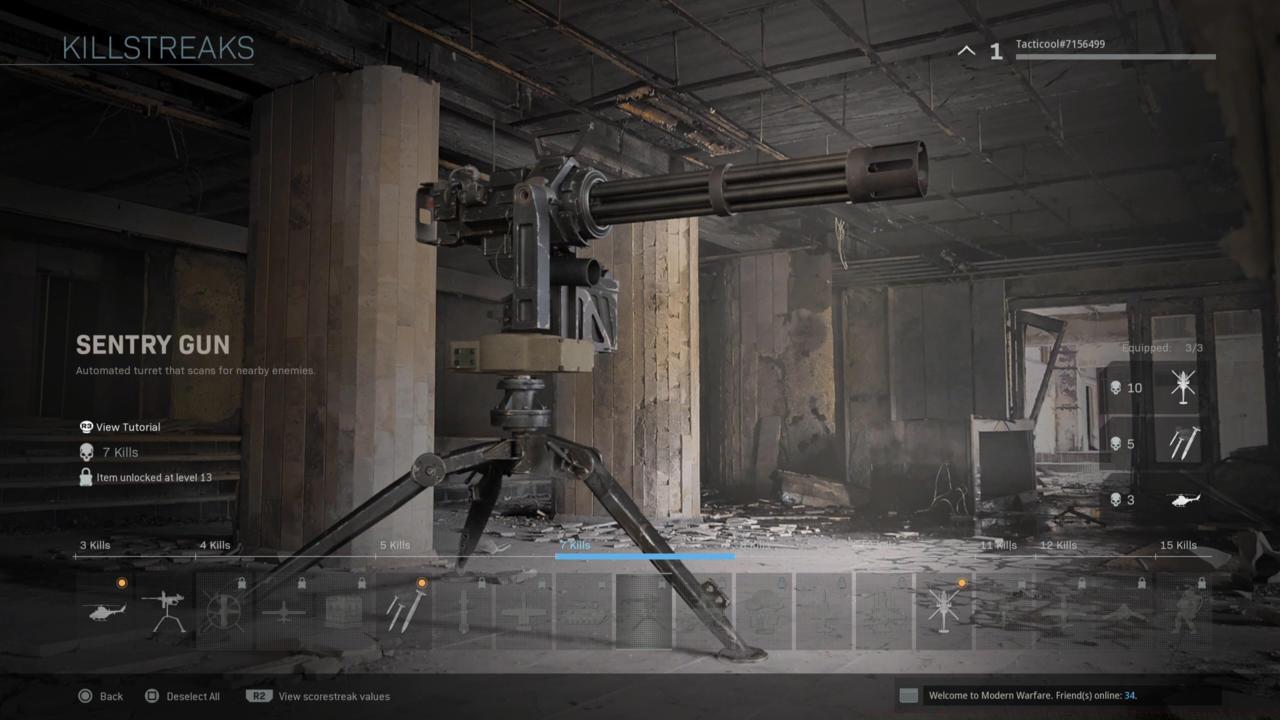
Sentry Gun placement benefits from elevated angles covering high-traffic areas. Regular repositioning between deployments prevents opponents from developing consistent counter-strategies.

Wheelson remote operation allows aggressive pushes while maintaining relative safety, though the control interface limits situational awareness.
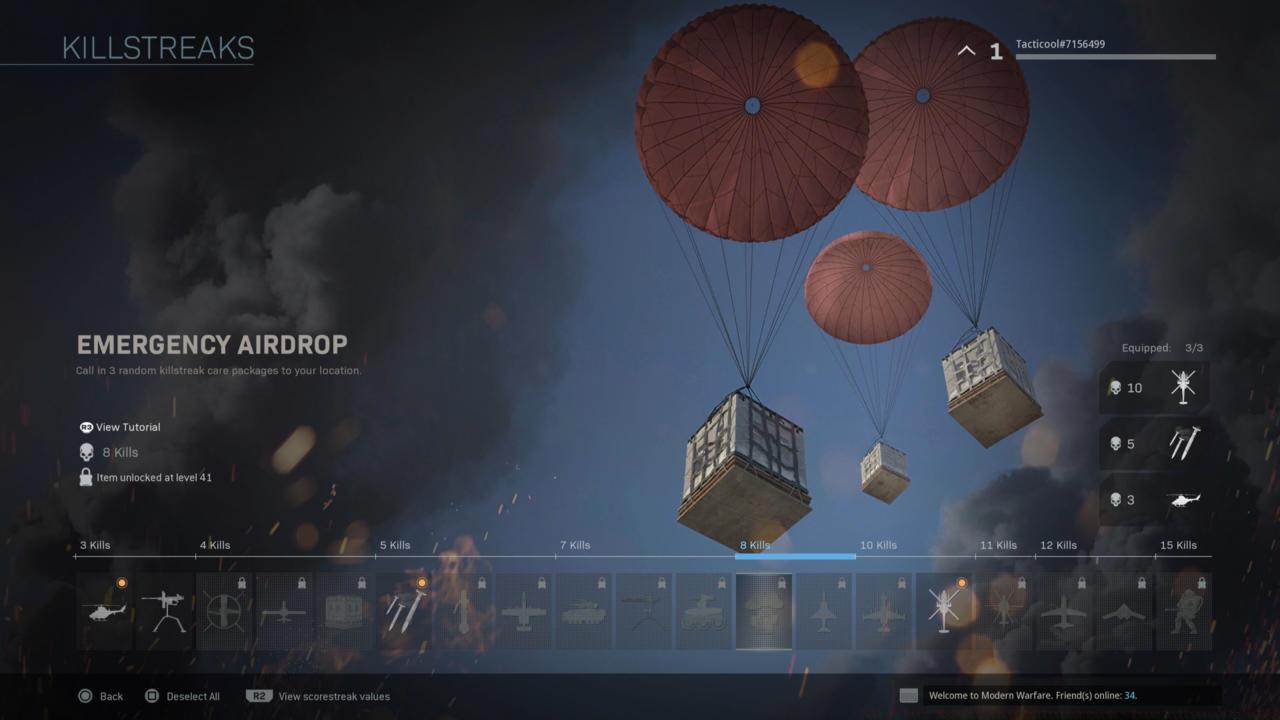
Emergency Airdrops deliver three random killstreaks, creating potential for exponential advantages. Deployment in secure territories with teammate coverage minimizes interception risks and maximizes reward acquisition.
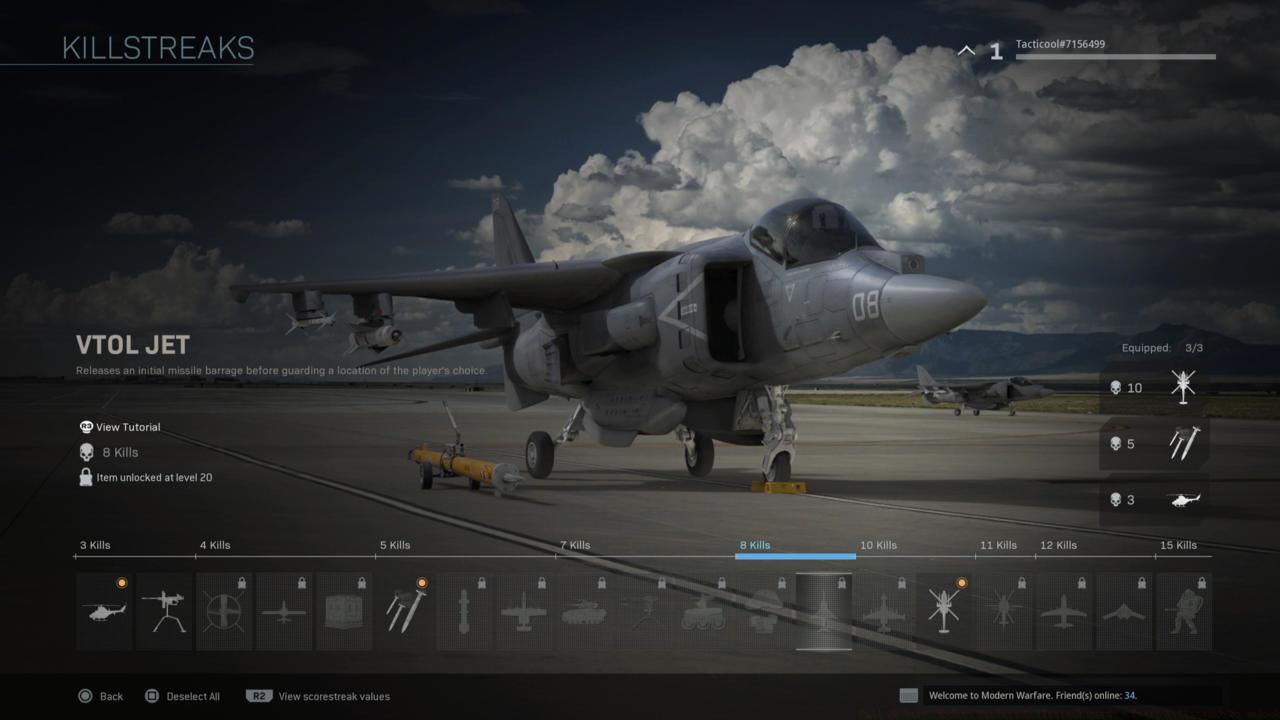
VTOL Jet deployment follows an initial bombing run before transitioning to hovering gunship mode. This dual-phase operation makes it versatile across different combat situations and map types.
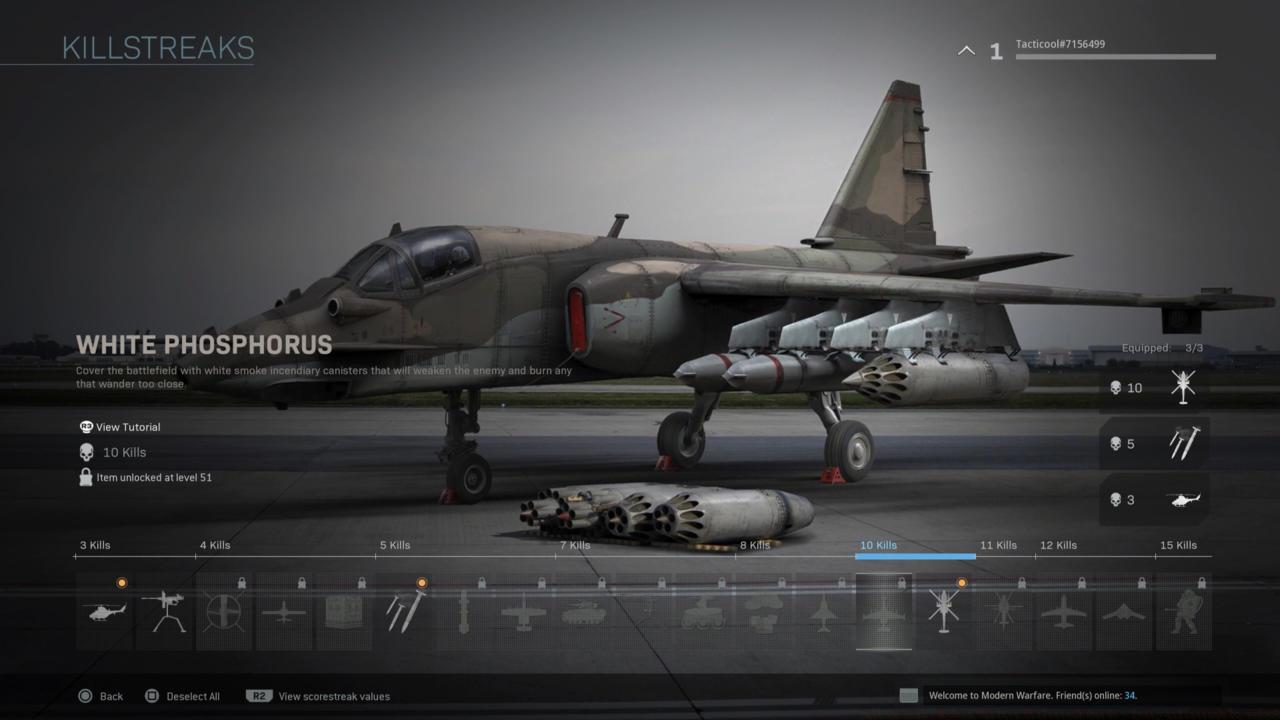
White Phosphorous serves dual purposes by damaging enemies within its coverage area while simultaneously limiting visibility across large portions of the map.
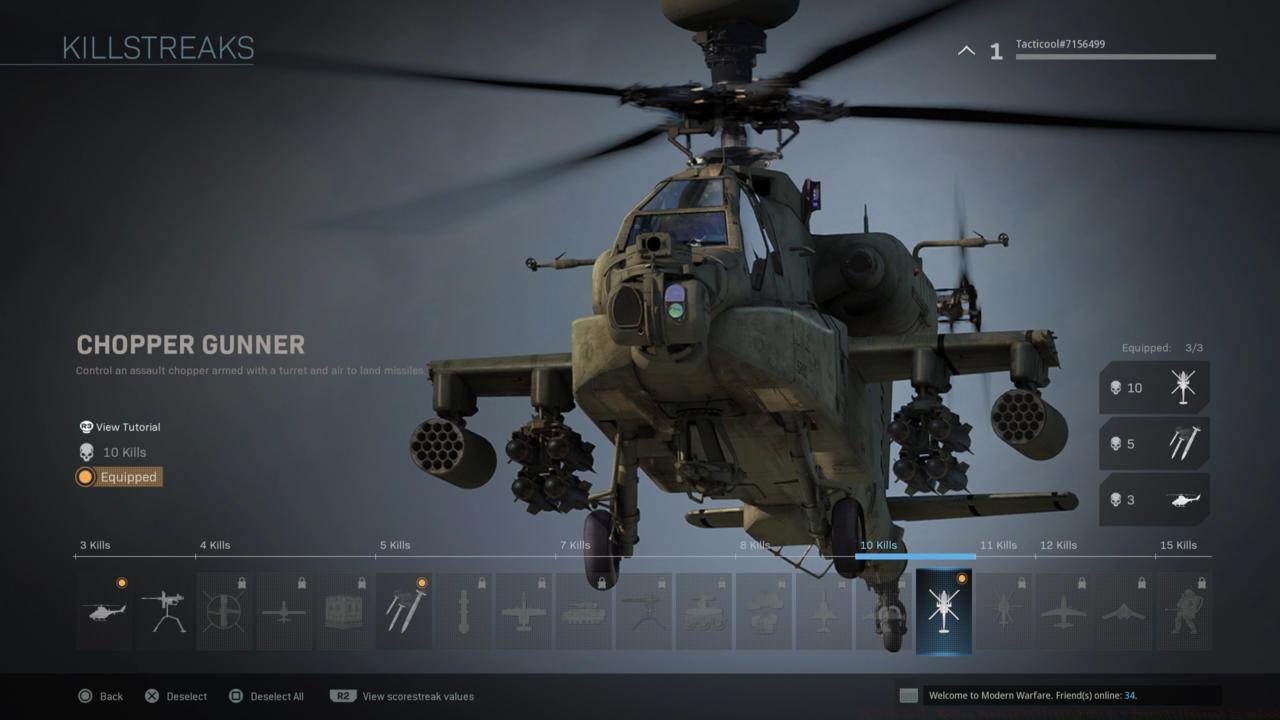
Chopper Gunner operation provides dominant aerial firepower but leaves the player vulnerable to anti-air measures. Coordination with teammates for ground protection extends its operational duration significantly.
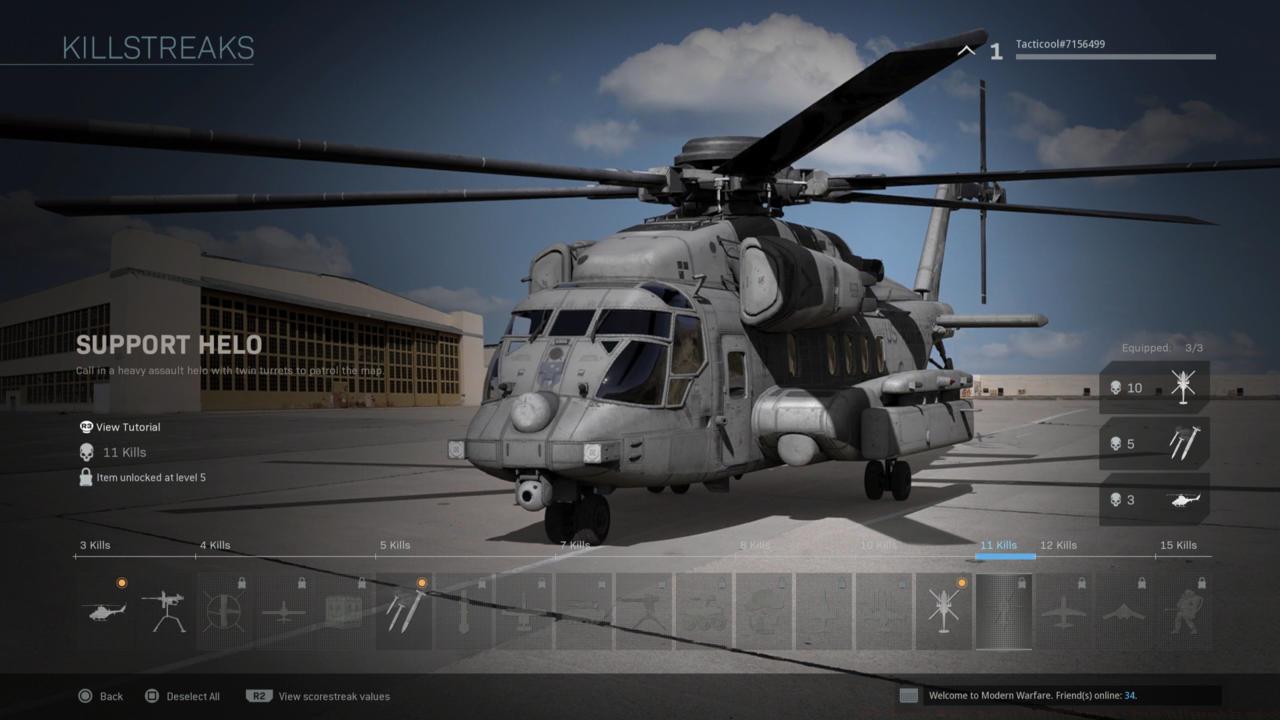
The Support Helo functions as an AI-controlled aerial unit that patrols the map autonomously. Its persistent presence creates continuous pressure unlike timed killstreaks.

Gunship deployment transforms players into aerial artillery platforms with multiple weapon systems. The thermal imaging provides exceptional visibility while the varied armament accommodates different target types and situations.
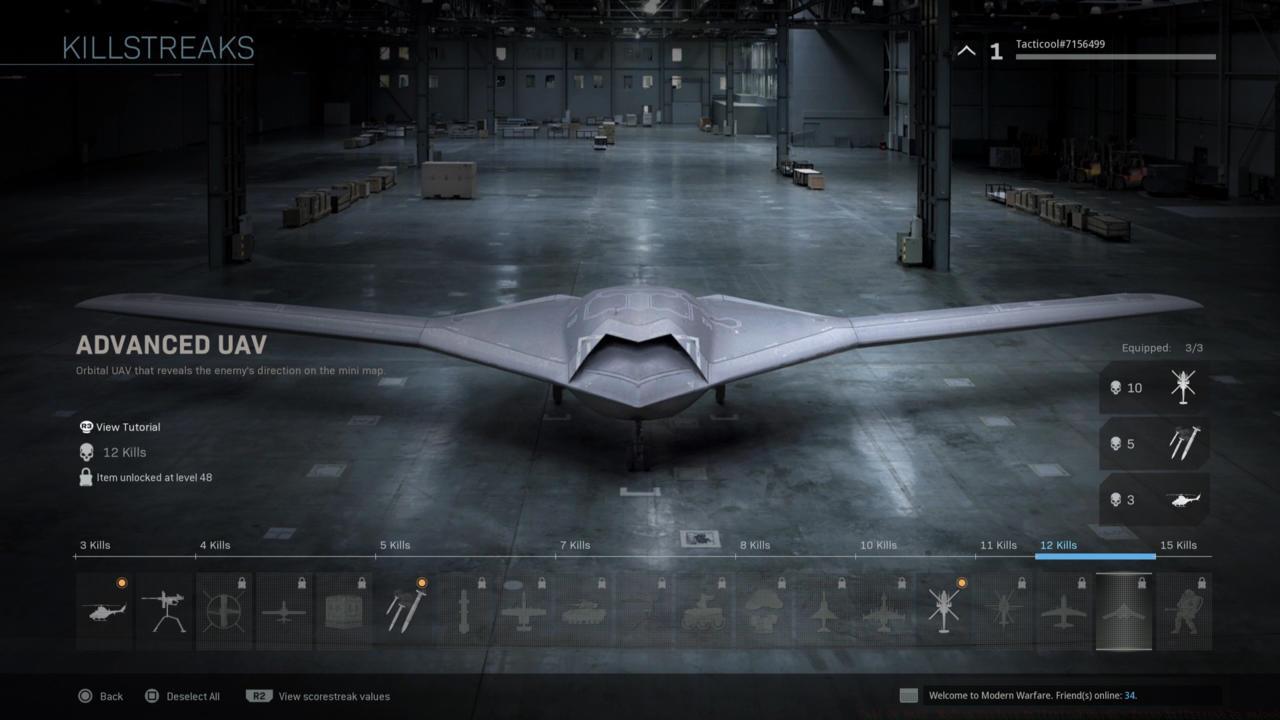
Advanced UAV revolutionizes battlefield intelligence by displaying enemy positions, direction, and elevation in real-time. This comprehensive intelligence almost guarantees positional advantages when properly utilized.
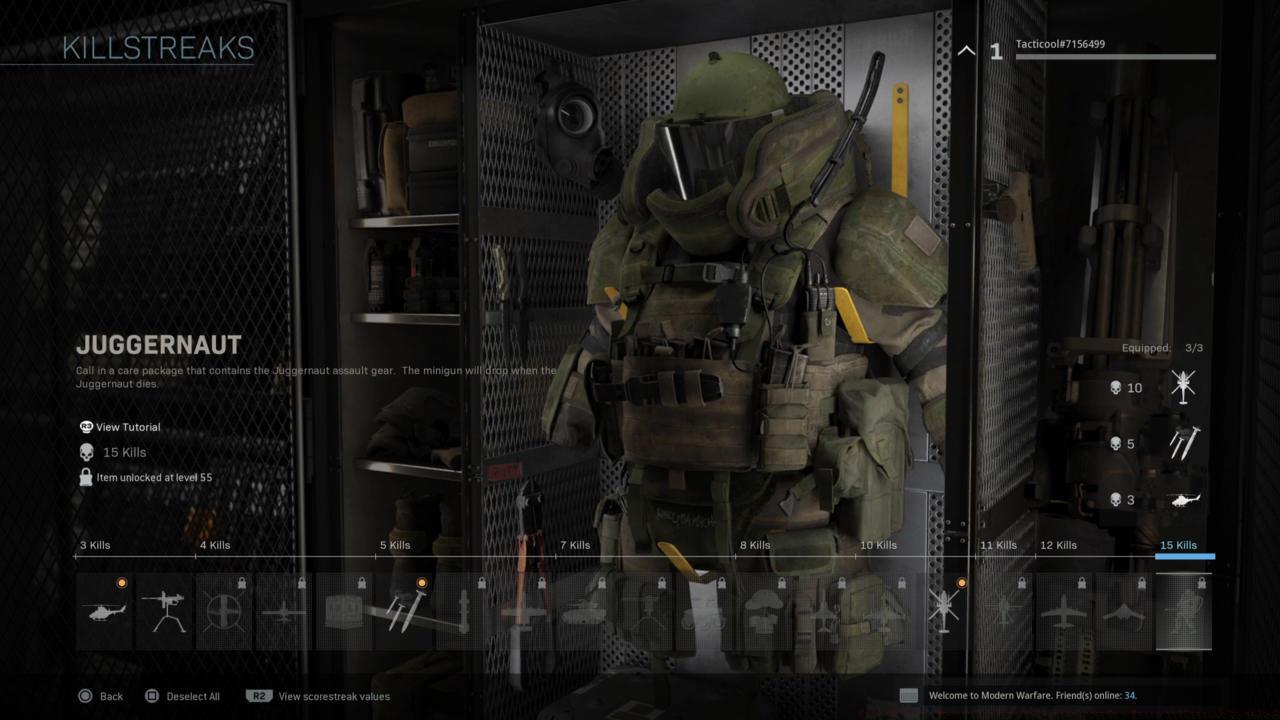
The Juggernaut suit represents the ultimate infantry advantage, providing massive armor and firepower at the cost of mobility. Strategic positioning near objectives maximizes its game-ending potential.
These elite-tier rewards typically decide match outcomes when successfully activated. Their substantial kill requirements mean most players will only access them during exceptional performances or in extended game modes.
The Hardline perk reduces kill requirements by one elimination, creating significantly higher killstreak accessibility. This single perk adjustment can transform an average loadout into a dominant force, particularly when combined with aggressive playstyles.
Killchain represents another strategic option that allows killstreaks to contribute toward additional killstreak progress. This creates potential for rapid high-tier killstreak acquisition in skilled hands.
Common strategic errors include deploying killstreaks at inopportune moments, using inappropriate options for current match situations, and failing to adapt loadouts between game modes.
Game mode optimization requires different approaches: Domination benefits from area denial tools, Team Deathmatch favors offensive options, while Search and Destroy prioritizes intelligence-gathering killstreaks.
For players progressing through Battlefield 6’s combat systems, understanding these killstreak mechanics provides valuable insights into reward-based gameplay structures.
Advanced tactical considerations include baiting enemy counter-measures with lower-tier killstreaks before deploying primary weapons, and timing activations to coincide with objective transitions.
Weapon selection significantly impacts killstreak acquisition potential. Our BF6 weapon analysis provides additional context for loadout optimization.
Class specialization further enhances effectiveness, as detailed in our comprehensive class guide covering role-specific strategies.
Action Checklist
- Analyze your playstyle and select killstreaks that complement your strengths
- Experiment with Hardline perk to assess reduced requirement benefits
- Practice deployment timing to maximize killstreak impact during critical match moments
- Master 2-3 complementary killstreak combinations for different game modes
No reproduction without permission:SeeYouSoon Game Club » Call Of Duty: Modern Warfare Killstreak Guide – Every Killstreak To Unlock Master Modern Warfare's killstreak system with expert strategies, tactical insights, and optimization techniques for maximum battlefield impact