TL;DR
- G3T_H1GH3R is MW3’s enhanced parkour mode with a 15-minute timer and three exclusive camos to unlock
- Complete the course once for Gridlocked camo, aim for sub-10 minute runs for Shifting Grid
- Synth-Bust requires finding all 12 hidden coins before accessing the castle
- Advanced movement techniques can reduce completion time by 40-60%
- Coin collection requires strategic route planning and careful environmental observation
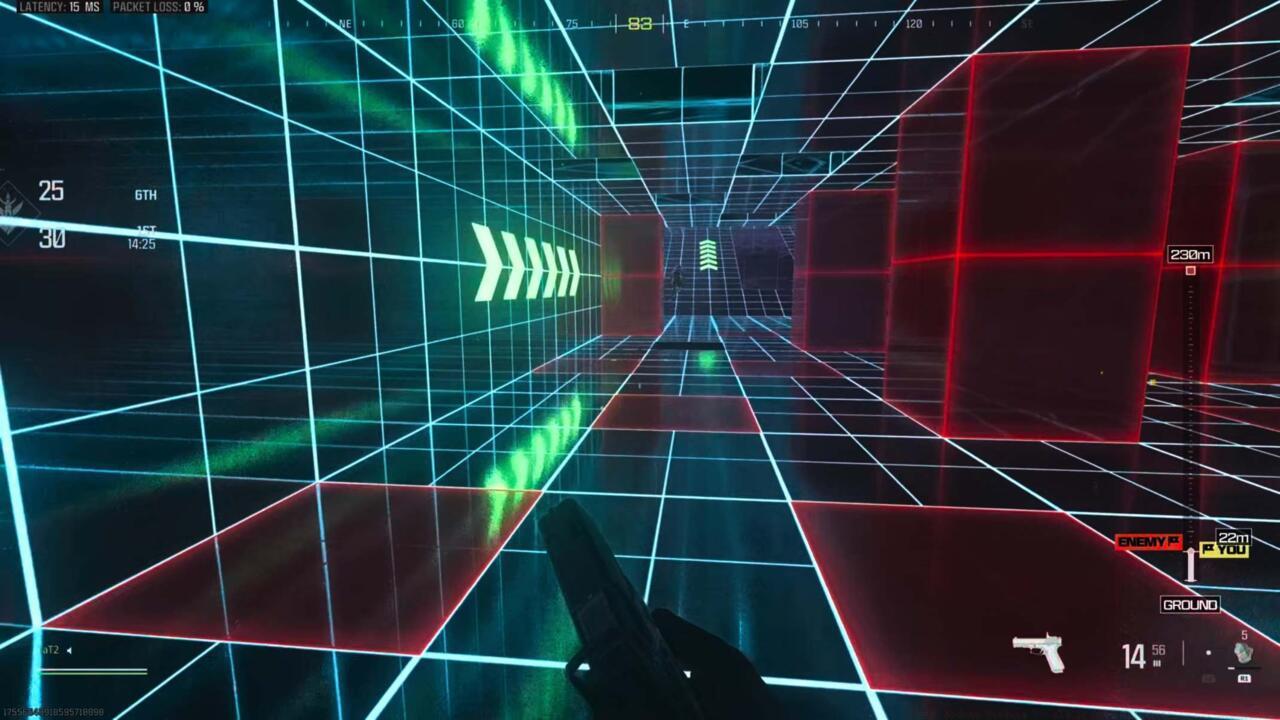
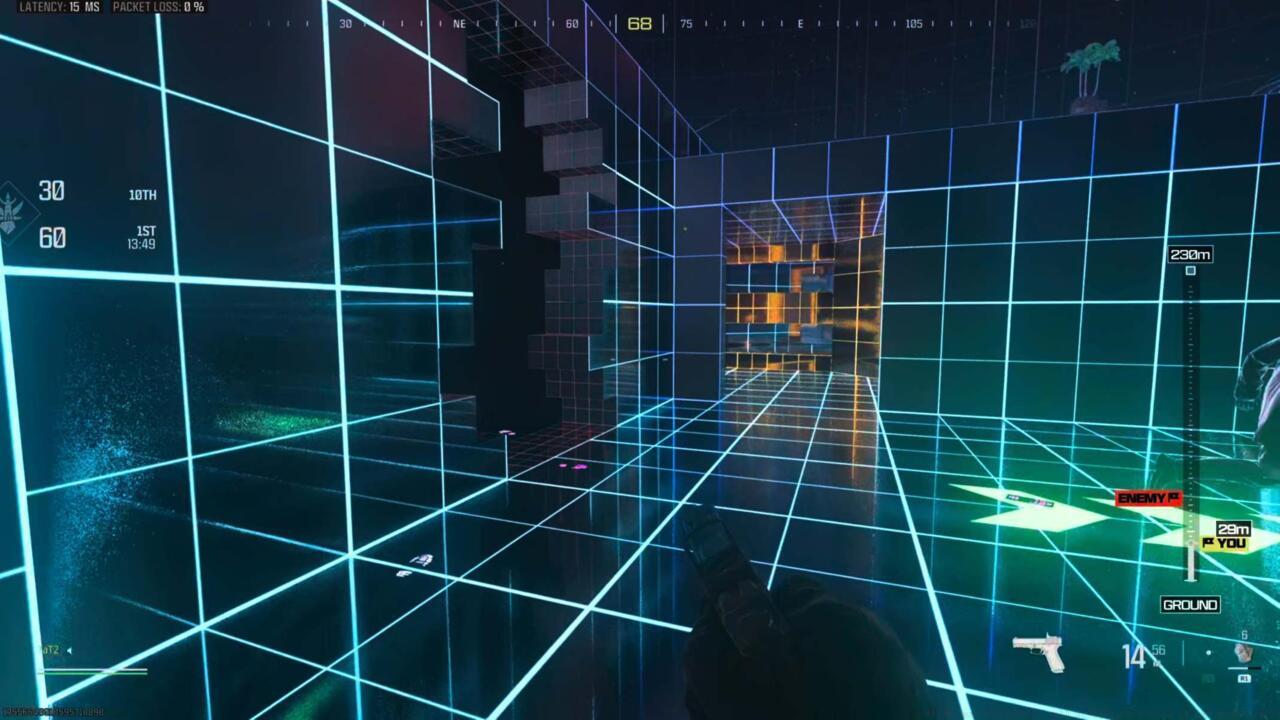
Modern Warfare 3’s exhilarating parkour experience returns with significant enhancements in the G3T_H1GH3R limited-time mode. This retro-inspired obstacle course challenges players with precise movement mechanics while racing against both the clock and competing operators. Originally debuting during the 420 event, this revamped version introduces a completely new map layout that demands mastery of advanced traversal techniques.
The core gameplay revolves around navigating a complex series of platforms, obstacles, and environmental hazards within a strict 15-minute time limit. Success requires balancing speed with precision, as rushed movements often lead to costly falls requiring checkpoint restarts. The competitive element remains strong, with leaderboards tracking the fastest completion times across the player base.
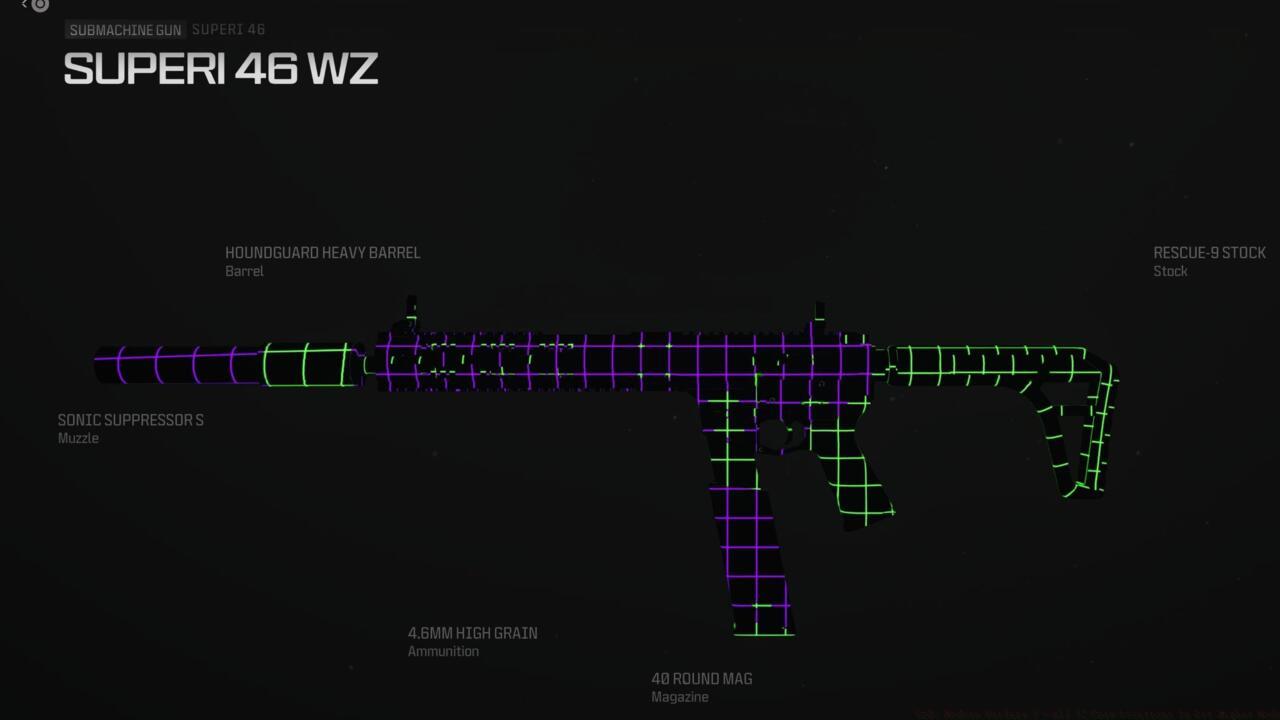
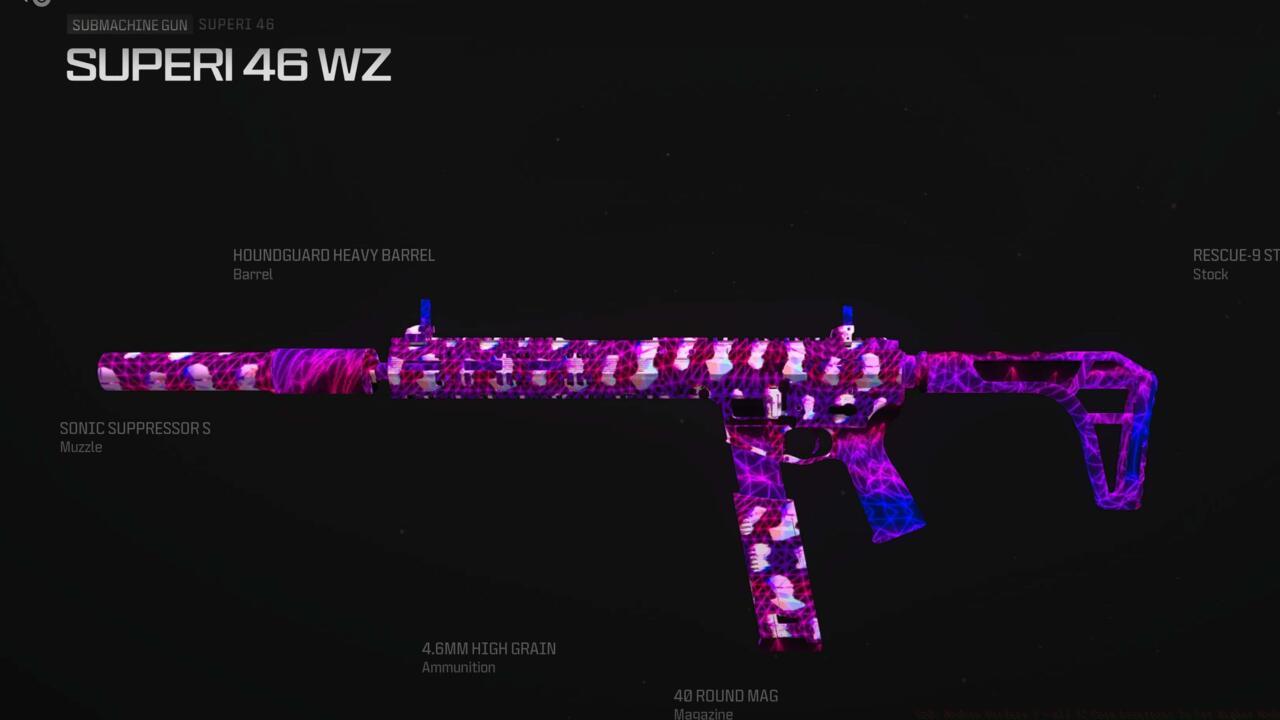
Three distinctive weapon camouflages serve as primary rewards: Gridlocked, Shifting Grid, and the highly coveted Synth-Bust. Each camo presents unique unlock criteria that progressively challenge your parkour proficiency and course knowledge.
Gridlocked camo
The Gridlocked camouflage represents your inaugural achievement in G3T_H1GH3R, awarded automatically upon completing the obstacle course for the first time. This serves as an excellent introduction to the mode’s core mechanics while providing immediate visual customization for your arsenal.
Focus on learning the fundamental route during your initial attempts rather than pursuing speed. Methodical progression through each section builds the muscle memory essential for subsequent challenge attempts. New players should prioritize understanding checkpoint placements and identifying safe landing zones throughout the environment.
Common beginner mistakes include attempting risky shortcuts before mastering basic navigation and underestimating the precision required for certain platform sequences. Allocate your first run to environmental familiarization, noting particularly challenging sections that may require specialized approaches.

Shifting Grid camo
Securing the Shifting Grid camouflage demands significant performance improvement, requiring course completion in under 10 minutes despite the 15-minute maximum limit. This challenge separates casual participants from dedicated parkour specialists.
Advanced movement techniques become essential for achieving this time threshold. Master slide-hopping between platforms, perfect wall-run transitions, and optimize your aerial momentum conservation. Experienced players typically achieve 6-8 minute completions once they’ve internalized the optimal path.
Critical time-saving strategies include: anticipating obstacle patterns before they manifest, minimizing airborne time between platforms, and executing flawless checkpoint transitions without hesitation pauses.
Avoid these common time-wasting errors: over-cautious platform approaches, unnecessary backtracking for missed jumps, and failing to utilize momentum-carrying techniques like slope-sliding and corner-clipping where applicable.
Synth-Bust camo
The Synth-Bust camouflage presents the most demanding challenge, requiring thorough exploration and collection of all 12 hidden coins scattered throughout the course. This prestigious reward demands both technical skill and meticulous attention to environmental details.
The collection process requires strategic planning: either pursue coins sequentially during dedicated runs or complete the course first before targeting specific missing coins in subsequent attempts.
After acquiring the final coin, proceed up the steep incline toward the finish line. Before entering the portal, interact with the massive coin slots positioned directly in front. Successful interaction teleports you inside a previously inaccessible castle area, with the Synth-Bust camo unlocking immediately upon entry.
Pro tip: Consider completing the Shifting Grid challenge first, as the speed techniques mastered will significantly reduce the time investment required for multiple coin collection runs.
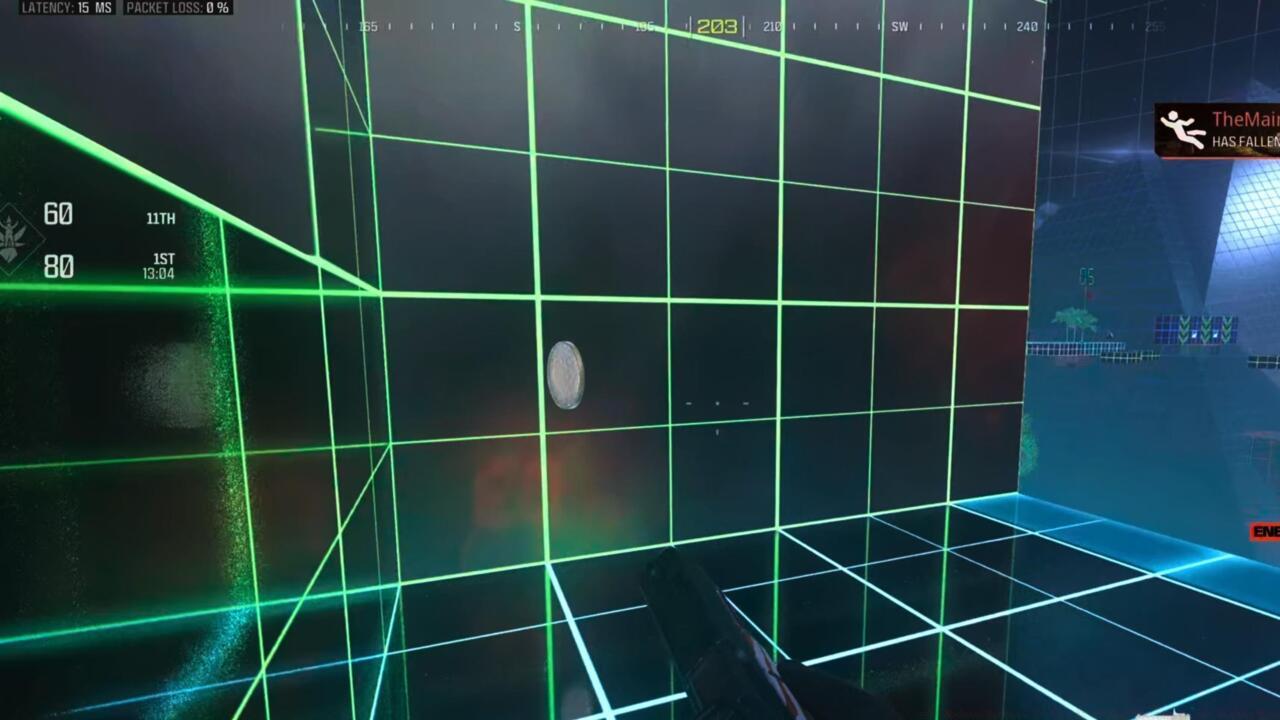
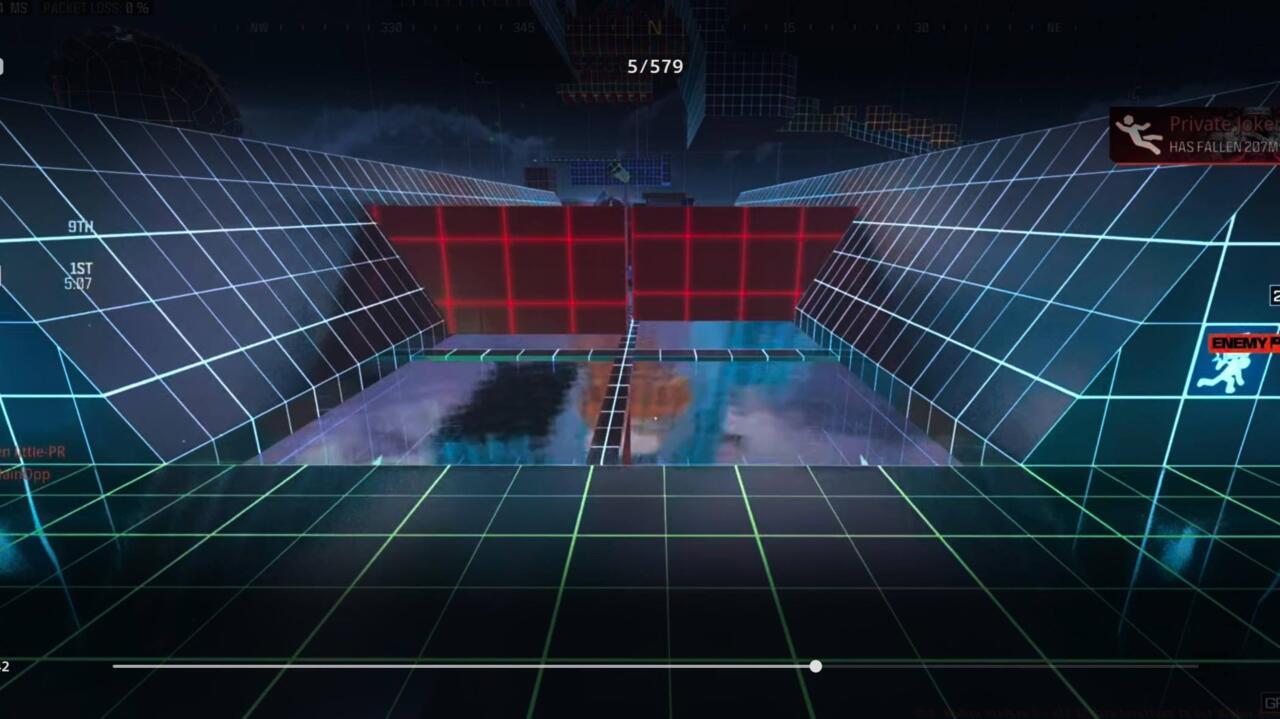
Coin 1 location in hole shown above
Positioned immediately after the initial turn, this first collectible resides within a concealed cavity beneath one of the oscillating crimson pillars. These environmental hazards rise and fall rhythmically, creating temporary access windows to the hidden compartment.
Navigation strategy: Time your approach during the pillar’s descent phase, as attempting access during ascent will result in collision damage. The hiding spot represents the sole subterranean opening beneath the pillar structures, situated closer to the left-side boundary of the course.
Common oversight: Players frequently miss this coin due to focusing too heavily on the immediate obstacle course rather than environmental scanning. Develop the habit of periodically surveying your surroundings beyond the obvious path.
Coin 2 the hole in the wall beyond the second rotating pillar
The second numismatic treasure awaits within a wall cavity just beyond the pair of substantial orange rotating pillars. These cylindrical obstacles spin continuously, requiring precise timing for safe passage between them.
Collection technique: After successfully navigating past the second rotating pillar, execute an immediate directional change toward either the left or right perimeter wall, contingent upon your initial spawn orientation.
Strategic consideration: This coin’s placement tests your ability to recognize optional path deviations versus mandatory progression routes. Learning to identify these subtle environmental cues significantly enhances your collection efficiency.
Coin 3 is just on the other side of the wall from the checkpoint
This third collectible occupies an easily overlooked position immediately following the third checkpoint activation. The coin rests in plain sight but requires deliberate deviation from the primary trajectory.
Acquisition method: Immediately upon reaching checkpoint three, navigate around the adjacent corner structure and perform a swift leftward maneuver to secure the prize before advancing toward the suspended emerald platforms section.
Strategic insight: Checkpoints often signal nearby hidden items, as developers frequently place collectibles in proximity to these save points to minimize frustration during dedicated collection attempts.
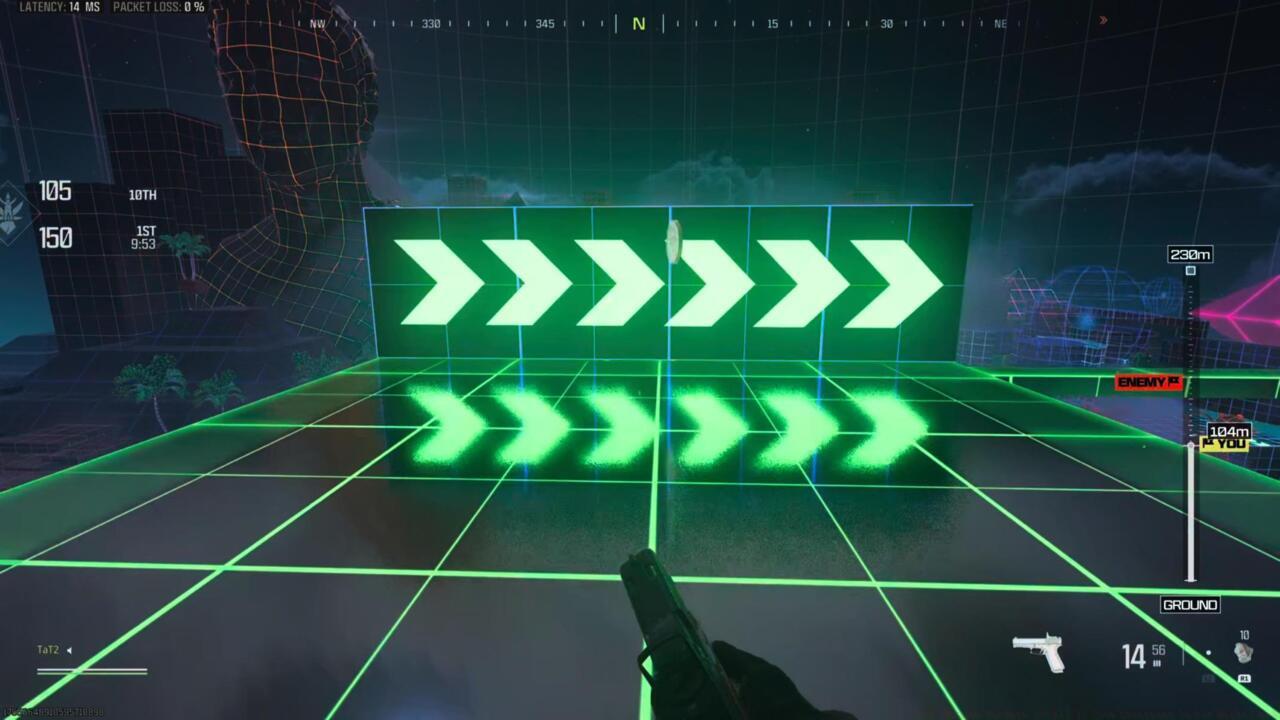
Coin 4 is right in front of the directional sign
The fourth coin introduces an extended gap between collectibles, requiring completion of multiple challenging sections before becoming accessible. You must successfully navigate the verdant balance beams, execute precise ledge-traversal across the green cylinders, and continue advancement until encountering the section featuring substantial azure piping.
Location identification: This monetary artifact sits directly anterior to the signage indicating a rightward turn toward the blue conduit structures.
Course progression requirement: This placement emphasizes the importance of forward momentum through intermediate challenges before additional collectibles become available.

Coin 5 is just beyond the jump across to the white GH symbol
The fifth numismatic objective emerges upon entry into the blue container labyrinth. Initiate your ascent while maintaining upward visual awareness, scanning for the distinctive white GH emblem adorning one container surface—this marking designates your target destination for acquisition.
Navigation challenge: The traversal gap appears insurmountable initially, but a committed sprinting leap successfully bridges the distance to the opposite side.
Advanced technique: Build maximum momentum before attempting the jump, as partial commitment frequently results in falling short of the landing zone.
Cross the beam to reach coin 6
Continue progression through the course until reaching the elevator mechanism that elevates your position vertically. Subsequently, you’ll encounter the segment featuring crimson spiked cylinders.
Collection timing: Patiently await the manifestation of the green balance beam, upon which the sixth coin will materialize for collection.
Environmental awareness: This placement tests your patience and observation skills, as the coin only appears when the specific environmental condition is met.
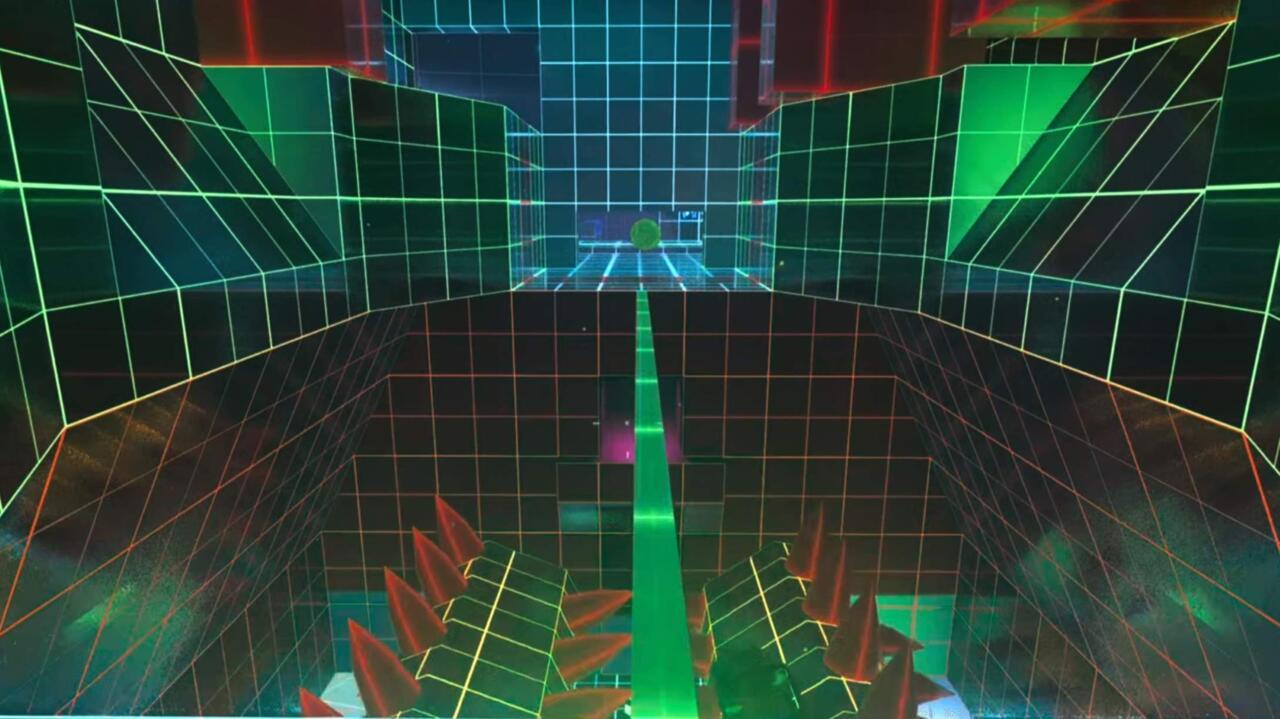
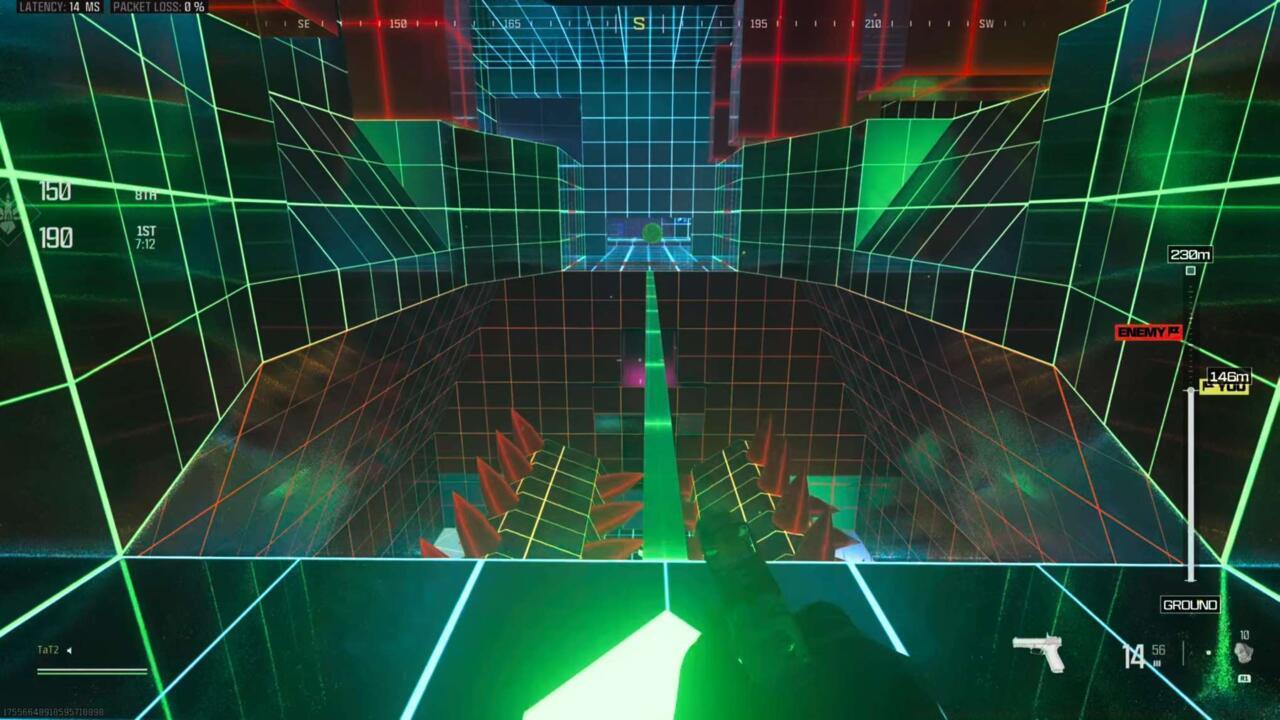
From the beam with coin 6, drop down to the pink tunnel below for coin 7
Navigate to the terminal point of the beam where you recently obtained the sixth collectible, but deliberately avoid continuing along the primary course trajectory.
Acquisition method: Execute an immediate descent from the beam’s endpoint. You must plummet downward into the vividly pink illuminated passageway. The coin will be visible directly preceding the portal that returns you to the main obstacle course.
Strategic consideration: This represents a classic risk-reward scenario—diverting from the safe path for additional rewards.
Coin 8 is on the center beam here
After successfully traversing the aircraft section of the environment, you’ll encounter sequences featuring substantial, rapidly moving crimson blocks attempting to crush your operator.
Location specification: The eighth coin resides upon the central beam within the second cluster of these hazardous red obstacles.
Timing challenge: This placement demands precise movement timing between the crushing block cycles.
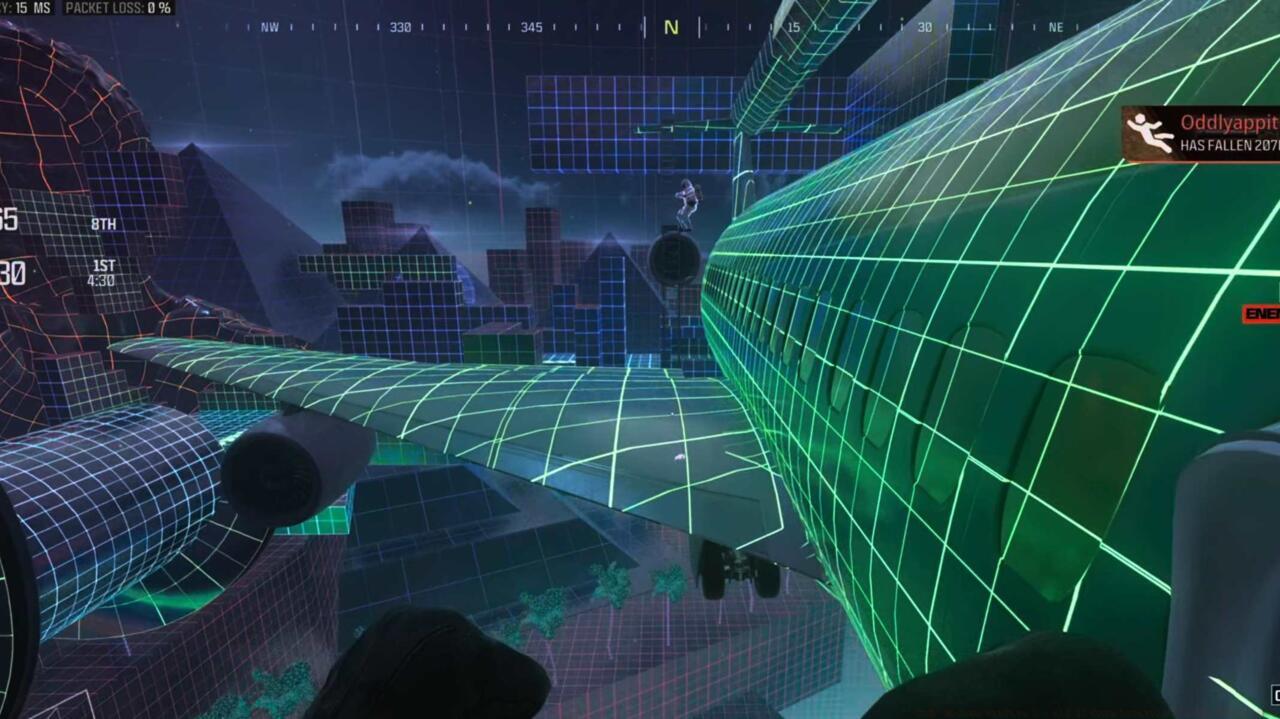
Coin 9 is found by hopping over the wing and dropping down from the ladder
Proceed through the passageway marked by the Departures signage, eventually reaching a secondary aircraft structure.
Alternative route: Rather than descending via the plane’s exit ramp and continuing along the established path, execute a rightward turn and leap across to the wing’s upper surface, access a ladder structure, and subsequently descend to reach an alternative ingress point at the aircraft’s rear section. The ninth numismatic item awaits within this concealed interior space.
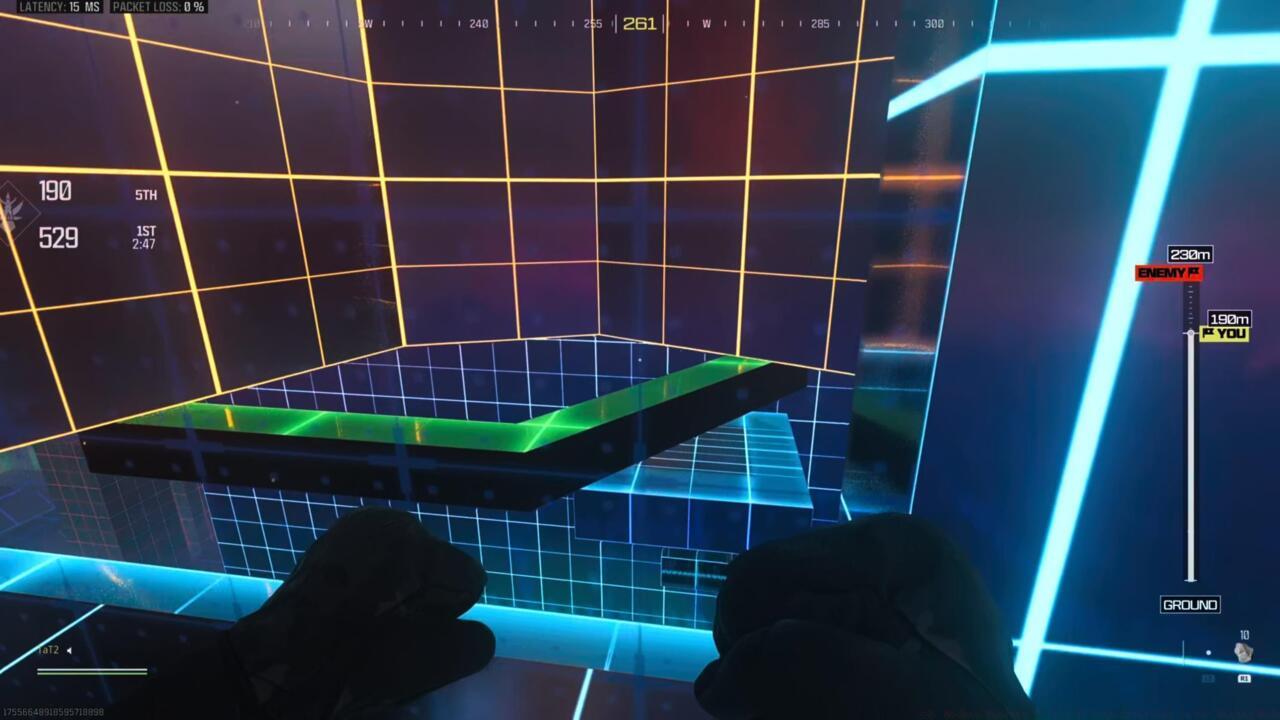
Coin 10 is found inside the tunnel below the blue platform shown here
Eventually, you’ll encounter a substantial orange rotating pillar accompanied by a slender green balance beam. Traverse the beam until achieving a position enabling descent onto a cerulean platform.
Subsequently, direct your gaze downward to locate a ledge bearing the distinctive white GH emblem. The tenth coin occupies this subterranean position.
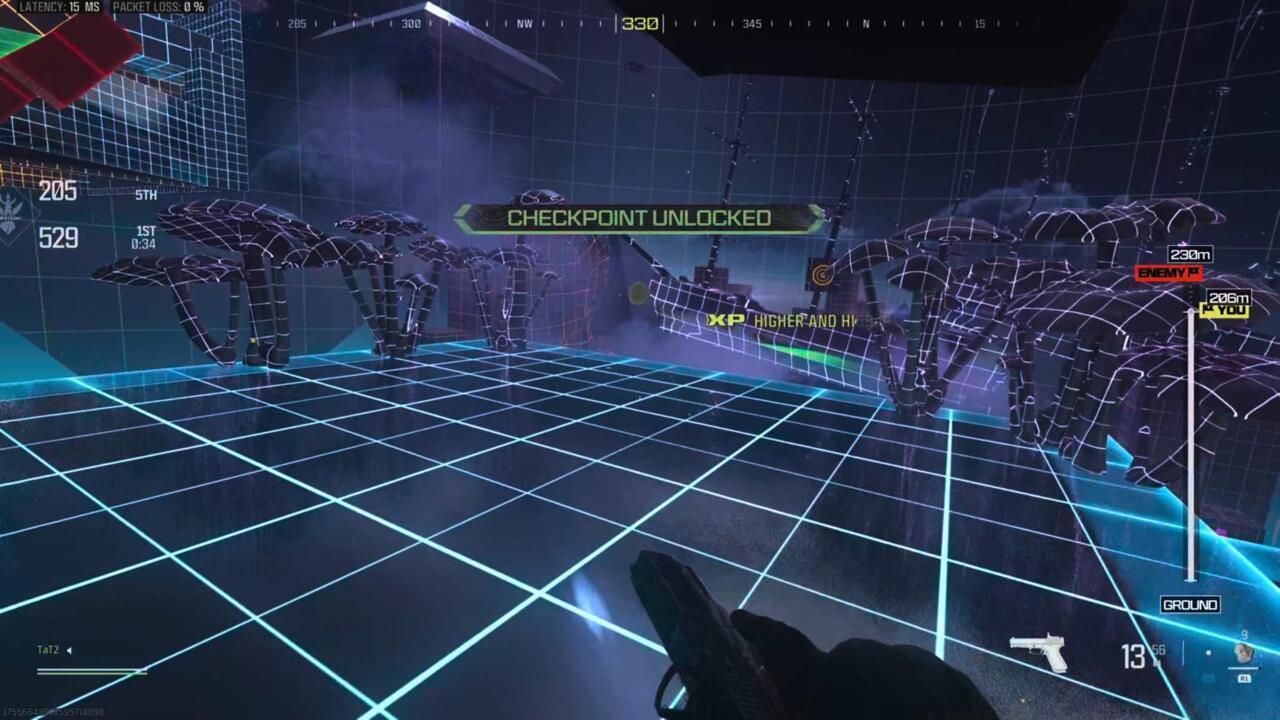
Coin 11 is right on front of you at the checkpoint
This represents one of the most straightforward coins provided as essentially a complimentary reward.
Progression requirement: Continue advancement briefly until ascending a ladder and crossing an additional green balance beam. The coin will be positioned directly before you on the checkpoint platform following successful beam traversal and the subsequent hop across.
Go to the right side here, drop down, and turn around
The ultimate numismatic objective resides immediately preceding the ascending ramp leading toward the finish line. Following activation of the 21st checkpoint, you’ll confront platforms that simply oscillate vertically.
Collection strategy: Rather than immediately crossing these moving platforms, navigate toward the right-side perimeter, then execute a descent and rotational reorientation.
Visual cue: A white GH symbol adorns the wall surface, marking the aperture through which you may enter to acquire the concluding coin.
Action Checklist
- Complete initial course run focusing on route memorization and checkpoint locations
- Practice advanced movement techniques: slide-hopping, wall-run transitions, momentum conservation
- Achieve sub-10 minute completion for Shifting Grid camo
- Systematically collect all 12 hidden coins across multiple dedicated runs
- Access castle by interacting with giant coin slots after final coin collection
No reproduction without permission:SeeYouSoon Game Club » CoD: Modern Warfare 3 – All 12 Coin Locations In Get Higher Mode Complete guide to unlocking all three exclusive camos in MW3's G3T_H1GH3R parkour mode with expert strategies