TL;DR
- Unlock Frequency Echoes upgrade before attempting cache collection
- Navigate to The Vista using True Sight markers from the first beacon
- Access Industrial Facility through Barrier doors for the second cache
- Master advanced platforming and combat for the final hidden cache
- Complete all three caches for exclusive lore and seasonal triumphs
Within the enigmatic Shattered Realm of Destiny 2 lie numerous secrets waiting to be uncovered, with Awoken Data Caches offering crucial narrative insights and valuable seasonal progression. These hidden repositories contain vital intelligence about the ongoing storyline that dedicated Guardians won’t want to miss.
Progressing through Season of the Lost requires strategic upgrading of your Wayfinder’s Compass, which gradually reveals additional mysteries throughout the Shattered Realm. The Awoken Data Caches specifically demand the Frequency Echoes enhancement, making it essential to consistently complete your Seasonal Challenges and accumulate sufficient Parallax Trajectory currency. Proper preparation significantly enhances your efficiency when navigating these otherworldly locations.
Before embarking on your cache retrieval mission, ensure you’ve equipped appropriate gear for both platforming challenges and combat encounters. Weapons with range and accuracy prove invaluable for dealing with enemies across floating islands, while mobility-enhancing armor mods can make traversing the treacherous terrain considerably easier. Many Guardians underestimate the importance of loadout optimization, only to find themselves struggling against both the environment and hostile forces.
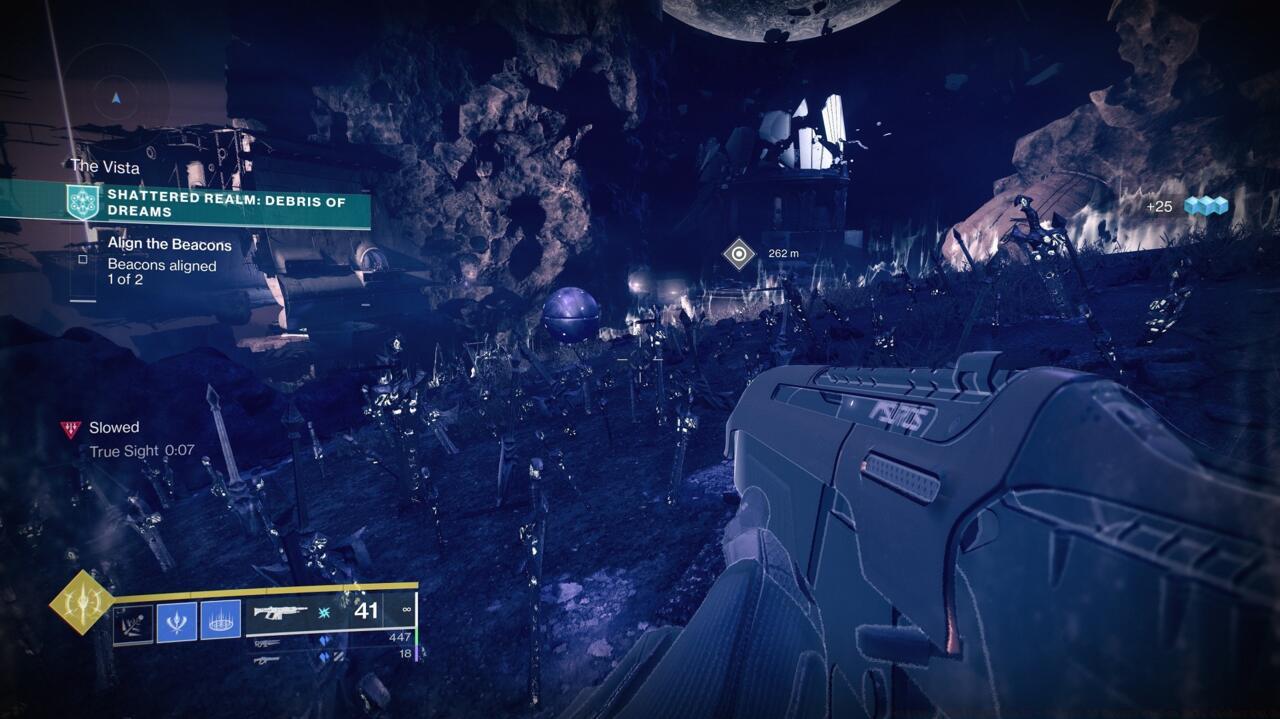
Strategic positioning at the initial beacon reveals the True Sight marker essential for accessing The Vista’s isolated landmass.
Although the associated Triumph indicates the initial Data Cache resides within the Derelict Shipyard zone, this information proves slightly misleading. Your actual destination is The Vista region, most efficiently reached from the primary beacon location. After successfully aligning the beacon mechanism, retrace your steps along the ascent path that led to the beacon structure.
Position yourself with your back facing the circular portal structure through which you entered the Ascendant Plane. You’ll observe a separate island positioned opposite your location, illuminated with distinctive green energy due to the pervasive Field of Strife environmental hazard covering its surface.
A clearly visible True Sight indicator awaits near the cliff’s perimeter ahead, unveiling a traversal route connecting to the distant landmass. Upon reaching The Vista, prepare to engage several enemy combatants immediately upon arrival. Eliminate these threats efficiently, then activate the True Sight marker in this area to expose the concealed Data Cache, which manifests as a levitating spherical object. Face the primary level direction and scan the area to your right from your arrival point to locate the cache.
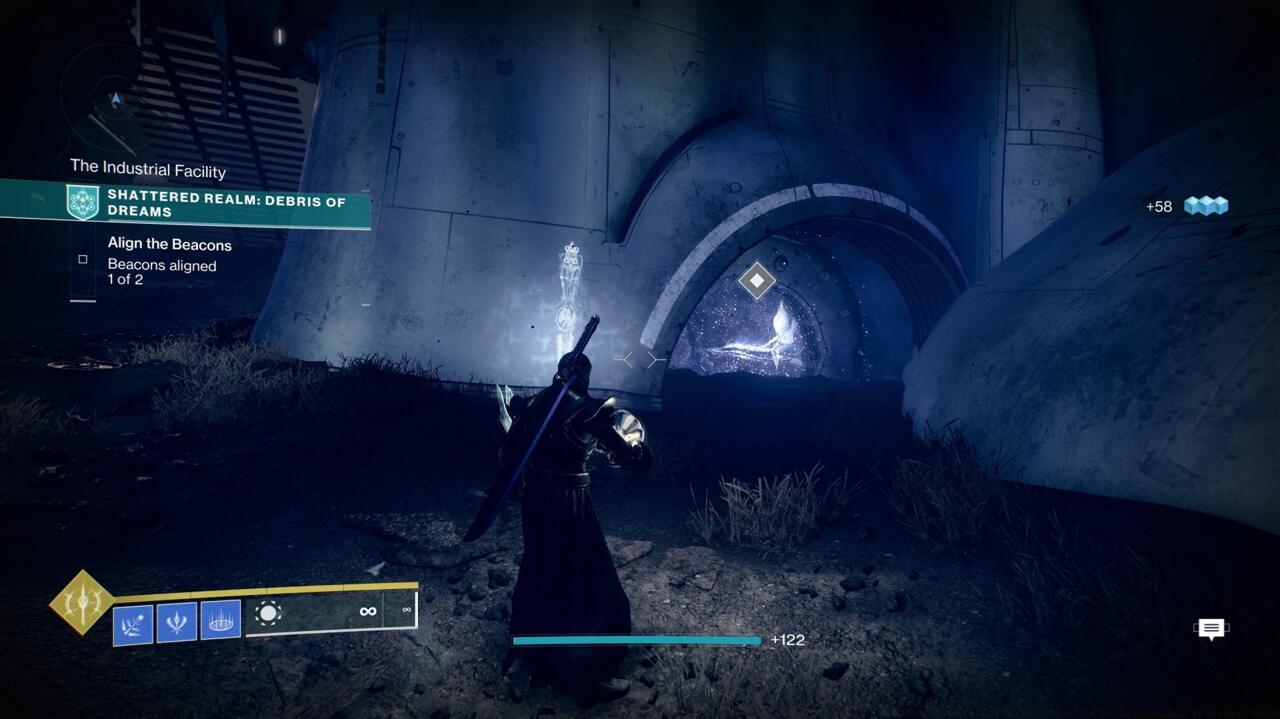
This specific Barrier Door within The Industrial Facility provides access to the teleporter system transporting Guardians to The Overlook sector.
The secondary data cache becomes most accessible during your completion of the Refined Power Ascendant Mystery (consult our comprehensive Complete Guide for detailed information on this activity). Proceed to The Industrial Facility zone, situated to the right of The Ruined Outpost, which serves as the central island where you initially arrive in Debris of Dreams, assuming your back faces the entrance portal.
You’ll recognize the correct location by the prominent tan-colored Eliksni architectural structures present throughout the area. Upon arrival, search for a permeable Barrier interface allowing entry into the main building, which contains a teleportation device.

Within the compact shelter structure, discover both a treasure container associated with another mystery and the sought-after Data Cache positioned to the left side.
A common mistake among Guardians involves rushing through this area without thoroughly checking the interior spaces. The Data Cache often blends with the environment, requiring careful inspection of the hut’s interior. Seasoned players recommend clearing all enemies from the vicinity before attempting retrieval, as interruption during the collection animation can sometimes cause progress reset.
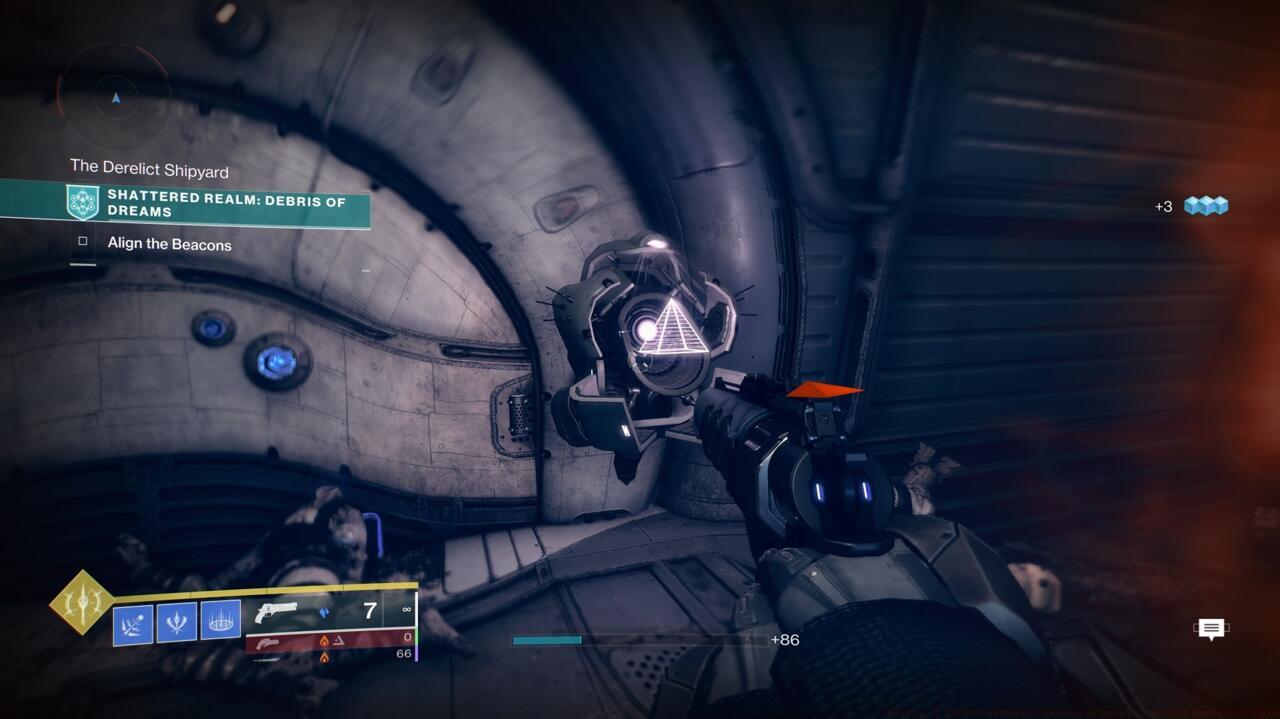
From the secondary beacon location, traverse back toward the circular platform featuring a central column structure containing an accessible opening.
Navigate inside the column, ascend to the summit of the vertical passageway, and activate the doorway immediately ahead that Scorn forces are attempting to compromise.
Proceed through the Barrier entrance and continue along the route until you emerge exterior, navigating carefully beyond the laser security systems.
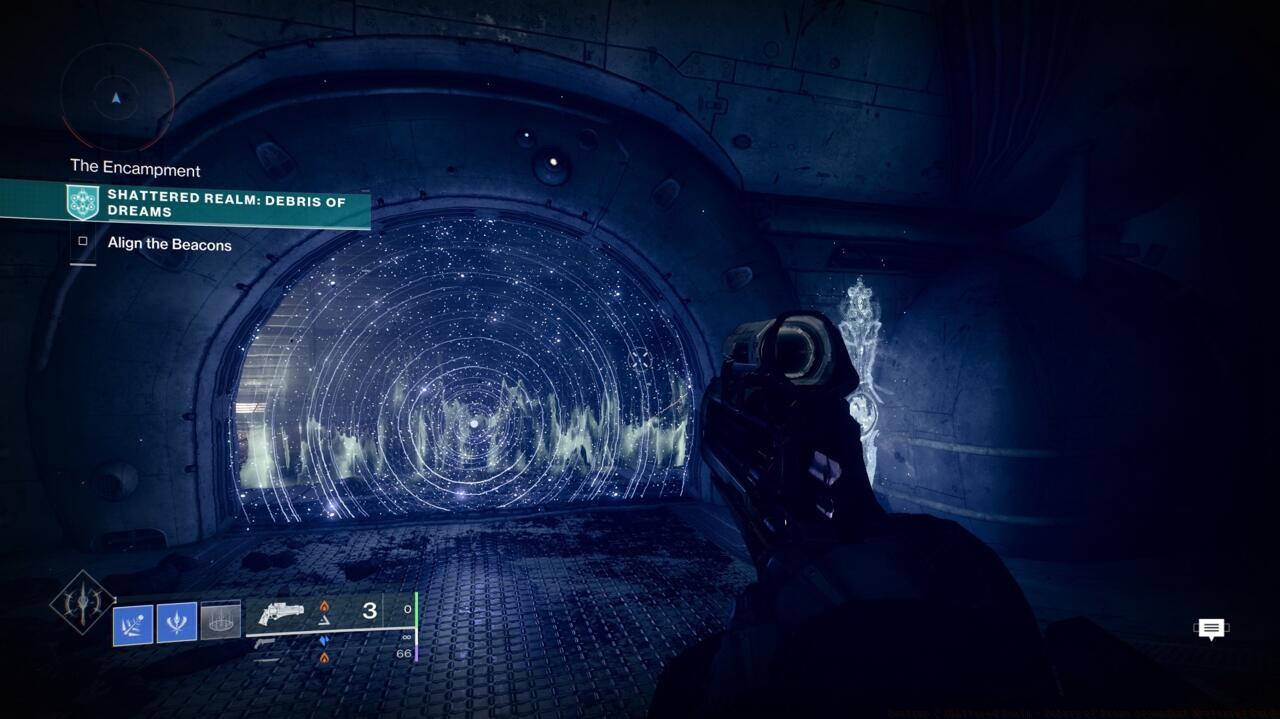
Once outside, adhere to the cliffside pathway heading rightward until you encounter a True Sight indicator.

Engage your True Sight ability and then direct your gaze leftward, following the rocky trail positioned behind your current orientation. The Beacon device rests discreetly in the corner area, adjacent to the metallic barrier.
Advanced navigation in this sector demands precise jumping and situational awareness. The Scorn enemies present particular challenges with their aggressive tactics, making strategic positioning crucial. For optimal Weapons Unlock strategies that enhance long-range engagement capabilities, consider consulting our specialized weapon guides. Many experienced Guardians complete this route in approximately 15-20 minutes, though first attempts may require significantly more time.
Action Checklist
- Upgrade Wayfinder’s Compass with Frequency Echoes using Parallax Trajectory
- Equip long-range weapons and mobility armor mods for optimal performance
- Navigate to The Vista from first beacon using True Sight markers
- Access Industrial Facility Barrier door and teleporter for second cache
- Complete advanced navigation route past Scorn enemies and laser traps
No reproduction without permission:SeeYouSoon Game Club » Destiny 2 Shattered Realm – Debris of Dreams Awoken Data Caches Guide Master the Awoken Data Cache locations in Destiny 2's Shattered Realm with expert navigation and combat strategies