TL;DR
- Lion’s movement detection creates temporary no-move zones that force enemy repositioning
- Thermite and Hibana provide complementary hard breaching capabilities for different scenarios
- Mute and Bandit form the core defense against electronic breaching attempts
- Advanced team comps require balancing intel gathering, breaching, and area denial
- Operator timing and ability sequencing separates amateur from professional play
GameSpot may receive revenue from affiliate and advertising partnerships for sharing this content and from purchases through links.
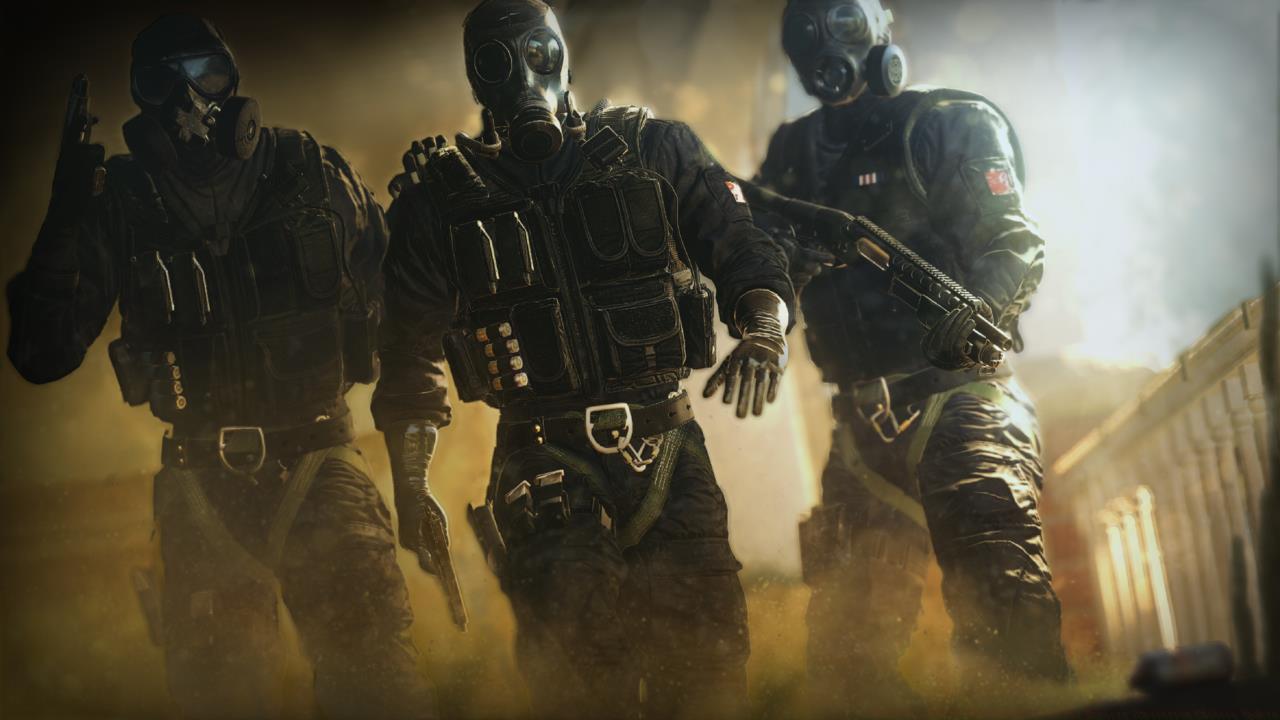
Rainbow Six Siege has undergone substantial tactical evolution throughout its multi-year development cycle, with the transition into Year 3 content introducing significant meta shifts. The redistribution of Operator availability means Standard Edition purchasers now access expanded roster options, fundamentally changing team composition possibilities. Current seasonal updates like Operation Chimera continue refining gameplay balance while introducing new strategic dimensions for experienced players to master.
Advanced Operator selection requires understanding complex ability interactions, counter-play relationships, and team synergy principles. While beginners focus on individual Operator mechanics, elite players prioritize how Operators complement each other’s strengths and cover weaknesses. This guide focuses on high-level tactical applications rather than basic functionality explanations.
Seasoned veterans understand that Operator choice represents just one component of successful Siege gameplay. Map knowledge, communication protocols, and adaptive strategy often outweigh individual Operator capabilities in determining match outcomes at competitive levels.
Lion dominates the current meta as a premier intel-gathering Operator since his Operation Chimera introduction. His EE-One-D drone technology creates temporary movement detection zones that reveal repositioning defenders through solid surfaces. This capability enables sophisticated wall-bang opportunities and denies enemy rotation during critical push phases.
Advanced Lion tactics involve coordinated ability activation with other Operators’ offensive tools. Timing his global scan during Fuze’s cluster charge detonation creates nearly unavoidable damage scenarios. Similarly, combining with Blitz or Montagne pushes forces defenders to choose between standing still (becoming shield victim) or moving (revealing position to entire team).
Common mistake: Wasting scans during setup phase rather than saving for execute moments. Optimal usage involves one scan during initial drone phase to identify anchor positions, then conserving remaining charges for the final objective push.

Thermite remains the foundational hard breacher with exothermic charges that create walkable openings in reinforced surfaces. His ability to fundamentally alter site architecture makes him nearly mandatory in most competitive compositions. The psychological impact of Thermite breaches often disrupts defender setups more than the physical openings themselves.
His weapon loadout provides exceptional versatility across engagement distances. The M1014 shotgun delivers devastating close-quarters stopping power with minimal aiming requirements, while the 556xi assault rifle maintains laser-like accuracy for long-angle holds post-breach.

Hibana offers strategic breaching alternatives with her X-Kairos pellets that can be deployed from safe distances. Her three projectile clusters provide more total breaches than Thermite, though each creates smaller sightlines rather than entry points. This makes her ideal for destroying Mira windows, opening hatches, or creating murder holes in reinforced walls.
Advanced Hibana technique involves using single pellets to create ankle-level peek holes rather than wasting entire clusters. Her Type-89 assault rifle boasts exceptional time-to-kill statistics but suffers from limited magazine capacity requiring disciplined trigger control.
Professional teams frequently deploy both Thermite and Hibana simultaneously for breaching redundancy. Losing one hard breacher doesn’t necessarily doom the attack if the other remains operational. This dual-breacher strategy also stretches defender resources thin trying to counter multiple breach attempts simultaneously.
Mute’s signal jammers form the first line of defense against electronic breaching attempts and drone intelligence gathering. Proper jammer placement can deny Thermite and Hibana charges while simultaneously preventing attacker drones from scouting site setups during preparation phase.
Advanced Mute players utilize jammers in unconventional positions to create false breach denial indicators. Placing jammers on adjacent walls rather than directly on breach targets often tricks attackers into wasting utility attempting impossible breaches.
Bandit’s electrified wires provide active destruction of breaching tools while delivering damage to attackers. His nitro cell provides additional area denial capability, making him exceptionally versatile for both passive and active defense strategies.
The “Bandit trick” technique involves listening for Thermite charge placement sounds and quickly applying electricity to destroy them mid-deployment. This advanced tactic requires precise timing and audio awareness but completely neutralizes hard breachers when executed properly.
Mira’s one-way black mirrors revolutionize defensive intelligence gathering and create powerful kill opportunities. However, improperly placed mirrors can provide attackers with advantageous sightlines into the objective area.
Strategic mirror placement considerations include covering common entry points while avoiding positions where destroyed mirrors would create additional attacker angles.
Advanced Mira strategy involves creating “mirror networks” across multiple rooms rather than concentrating both on the objective site itself. This distributed intelligence approach helps defenders track attacker movement throughout the entire map rather than just final push locations.
Thatcher’s EMP grenades provide the crucial counter to electronic defense systems. His ability to temporarily disable enemy gadgets through walls makes him the natural partner for hard breachers facing Bandit or Mute defenses.
Advanced Thatcher play involves understanding EMP radius and throw trajectories to maximize disruption while maintaining safe positioning. His L85A2 assault rifle offers reliable performance with minimal recoil, making him effective in post-EMP engagements.

Twitch’s shock drones deliver precise gadget destruction capability with unlimited range potential. Her F2 assault rifle boasts one of the highest DPS statistics among attacker weapons, rewarding accurate aim with devastating killing potential.
Elite Twitch players conserve drone charges for critical utility destruction during execute phases rather than wasting them during setup.

Valkyrie’s deployable cameras transform defensive intelligence capabilities when placed in creative off-site locations.
Advanced camera placement involves positioning black eyes in external areas to track attacker approach routes rather than just monitoring the objective interior.
Strategic camera placement principles include: elevation for wider sightlines, concealment in environmental clutter, and coverage of common attacker positions during different phase timings.
Competitive Siege team building requires balancing multiple tactical roles across the five Operator slots. Standard pro league compositions typically include: two hard breachers (Thermite/Hibana), one anti-electronics (Thatcher), one intel gatherer (Lion/drone Op), and one flex role based on specific map requirements.
Operator synergy combinations separate amateur teams from coordinated squads. The Lion-Fuze combo represents just one example of ability sequencing that creates overwhelming tactical advantages.
Counter-Operator selection involves anticipating enemy picks and preparing appropriate responses. For example, expecting Mira defenses justifies bringing Twitch for mirror destruction capability.
Map-specific compositions adjust based on common defensive setups and attack strategies. Some sites favor vertical play requiring Operators with destruction capabilities, while others benefit from shield Operators for direct corridor pushes.
Advanced team strategy also involves ability economy management – knowing when to use utility during different match phases rather than wasting everything early.
Understanding the current meta’s most powerful Operators provides competitive advantages, but over-reliance on “OP” picks without understanding their counters leads to predictable gameplay that skilled opponents easily dismantle.
The most successful teams maintain flexible composition strategies that can adapt to unexpected enemy picks or unconventional strategies.
Action Checklist
- Master Lion’s scan timing to coordinate with teammate pushes and ability usage
- Practice Thermite/Hibana breach placements on different map sites
- Learn Bandit trick timing against Thermite charges on common breach walls
- Develop map-specific camera placements for Valkyrie across 3-5 competitive maps
- Create 2-3 flexible team compositions covering different strategic approaches
No reproduction without permission:SeeYouSoon Game Club » Best Rainbow Six Siege Operators For Experts (Operation Chimera Update) Advanced Rainbow Six Siege operator strategies, team compositions, and counterplay tactics for competitive play