TL;DR
- Choose Ash for aggressive attacking with safe breaching capabilities
- Prioritize Rook on defense for straightforward team protection benefits
- Master Hibana for essential reinforced wall destruction in coordinated attacks
- Avoid Fuze in hostage situations to prevent accidental team elimination
- Practice communication and map knowledge as much as Operator mechanics
GameSpot may receive revenue from affiliate and advertising partnerships for sharing this content and from purchases through links.
Since its debut in 2015, Rainbow Six Siege has undergone substantial evolution through continuous content updates and gameplay refinements. The tactical shooter has expanded its roster with additional Operators, diverse maps, and weapon options while implementing numerous balance adjustments that have transformed it into a sophisticated competitive experience with a dedicated community. With Year 3 content releases, Ubisoft now provides the initial 20 Operators at no extra cost for Standard Edition purchasers, though Starter Edition owners must strategically select just six from the available pool.
Current conditions create an ideal entry point for newcomers eager to experience Siege’s intense close-quarters combat. However, several critical factors demand consideration before launching your counter-terrorism career. Your primary decision involves selecting the right Operator to master first, as this choice significantly impacts your early gameplay success and learning curve progression.
Our curated selection highlights the most beginner-friendly Operators for Rainbow Six Siege initiates. These recommendations cover fundamental attacking techniques through rapid weapon deployment and defensive fundamentals involving reinforced barriers and tactical traps. These characters provide accessible entry points into the game’s high-intensity tactical environment. We welcome community discussion and alternative perspectives in the comments section below.
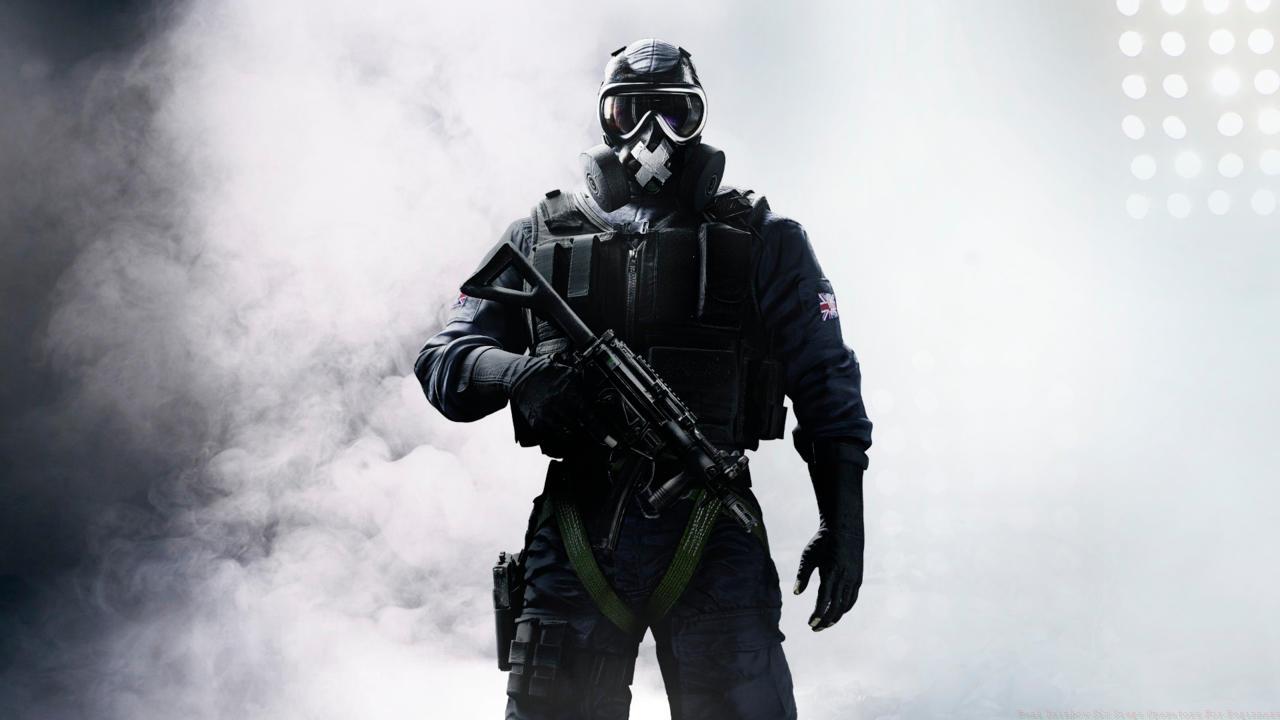
Ash excels as a high-mobility assault specialist capable of creating entry points from safe distances without exposing herself to immediate danger. Her R4-C assault rifle delivers exceptional fire rate performance that frequently outperforms defender SMGs in direct confrontations. The M120 CREM breaching device launches specialized rounds that penetrate surfaces to eliminate enemy fortifications and utility items. This capability proves particularly valuable against defensive setups featuring barbed wire and shield placements.
This Operator delivers maximum effectiveness when your team requires rapid penetration through established defensive positions. Pro Tip: Use Ash’s breaching rounds on unreinforced hatches above objective rooms for unexpected vertical attack angles that catch defenders off-guard.
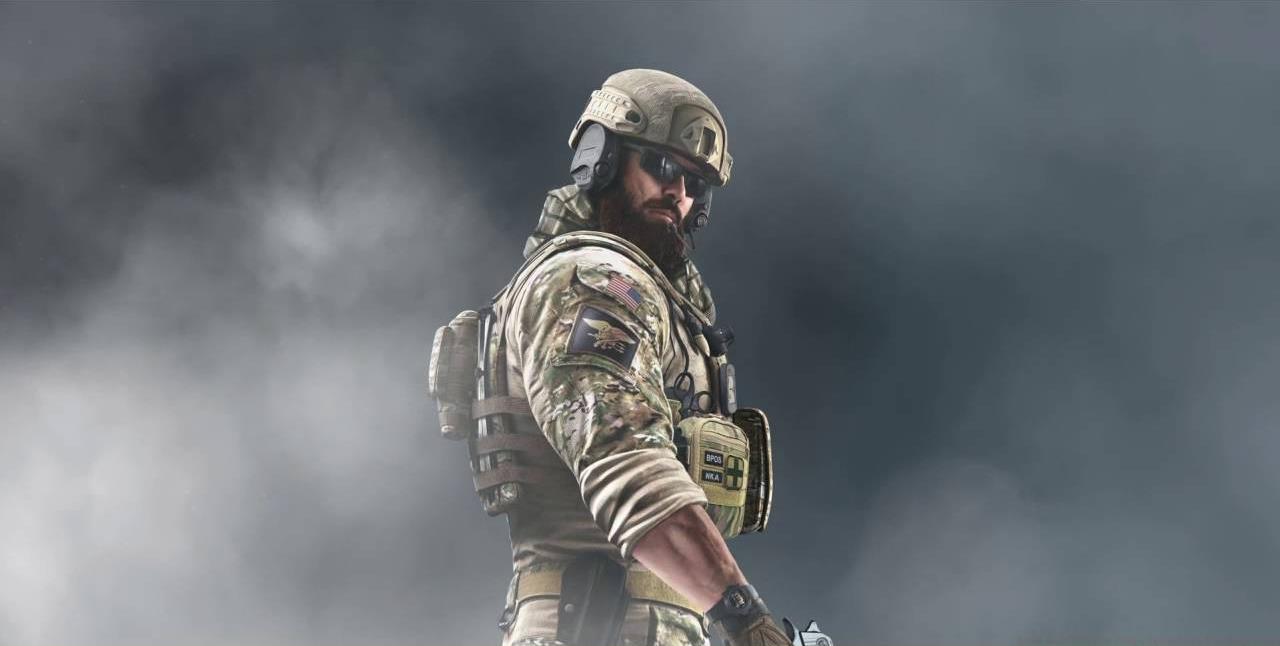
Despite receiving multiple balance adjustments that reduced his previous dominance, Blackbeard maintains distinctive advantages through his TARS MK 0 rifle shield. This protective attachment absorbs multiple headshot attempts before fracturing, providing crucial survival benefits during peek engagements. The defensive enhancement becomes particularly pronounced when positioning his lower body behind indestructible cover like window frames or concrete barriers, effectively multiplying his durability.
He serves as an invaluable asset for initial room entries across most maps and decisive final pushes against entrenched opponents. His versatile arsenal includes the reliable mid-range Mk17 CQB rifle, long-distance SR-25 marksman rifle, and a potent Desert Eagle sidearm for close encounters.
Fuze specializes in explosive entry tactics through his devastating Cluster Charge deployment system. This unique gadget ranks among the game’s most lethal tools, capable of eliminating multiple defenders, forcing positional abandonment, or securing round victories in optimal situations. His flexible equipment selection accommodates various playstyles through ballistic shield, AK-12 rifle, or 6P41 light machine gun with extensive 100-round capacity.
However, his explosive charges present extreme risks in hostage rescue scenarios, requiring careful situational awareness before activation to prevent catastrophic team failures.
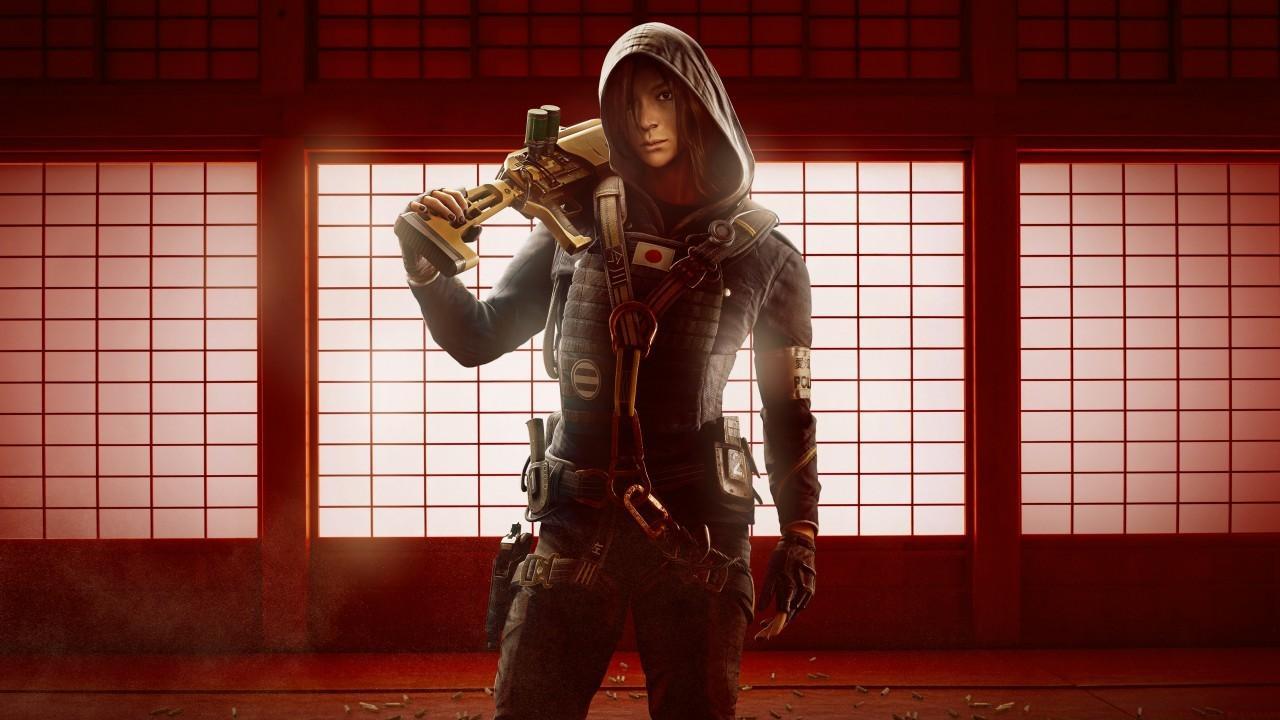
Hibana maintains top-tier competitive status within the Siege metagame through her X-Kairos pellet launcher that dismantles reinforced barriers. Alongside Thermite, she represents one of only two attacking Operators capable of preventing containment within pre-established kill zones.
Her comprehensive loadout incorporates the Type-89 assault rifle, SuperNova shotgun, along with flash grenades and claymore explosives—establishing Hibana as crucial support during team advancement phases. Advanced Technique: Deploy her X-Kairos charges at different heights on reinforced walls to create both crouch and stand-level sightlines simultaneously.
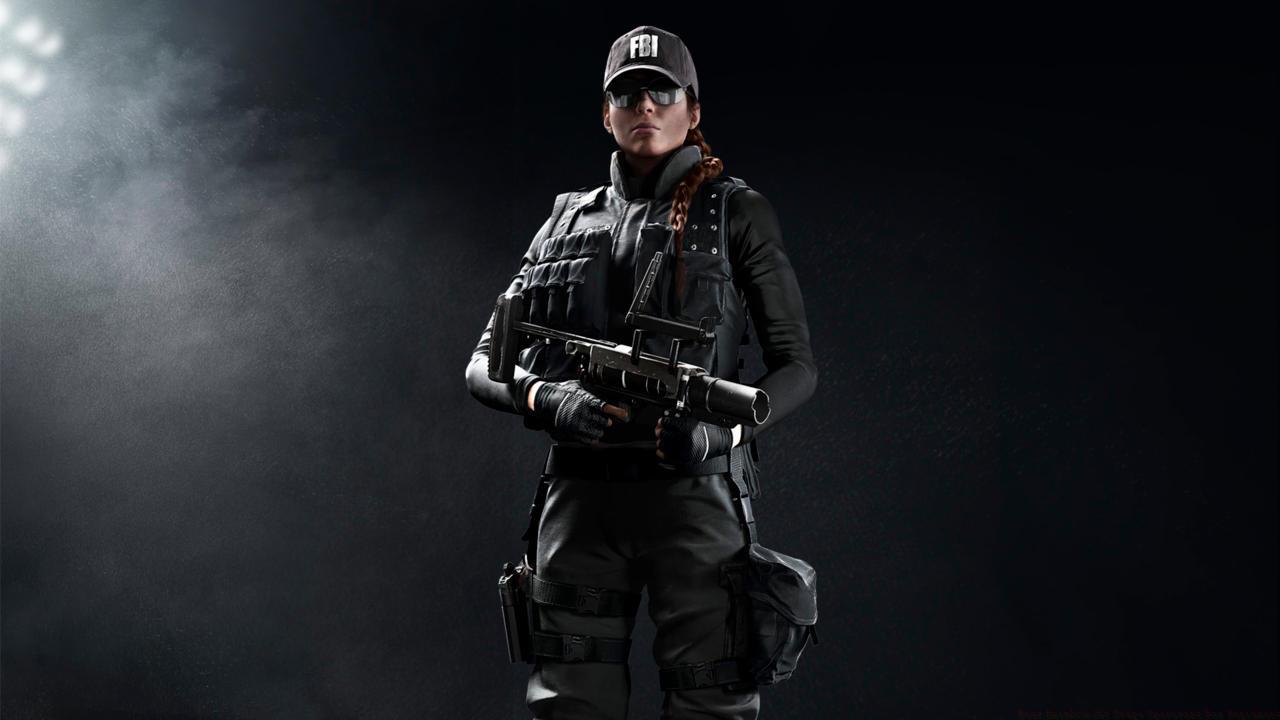
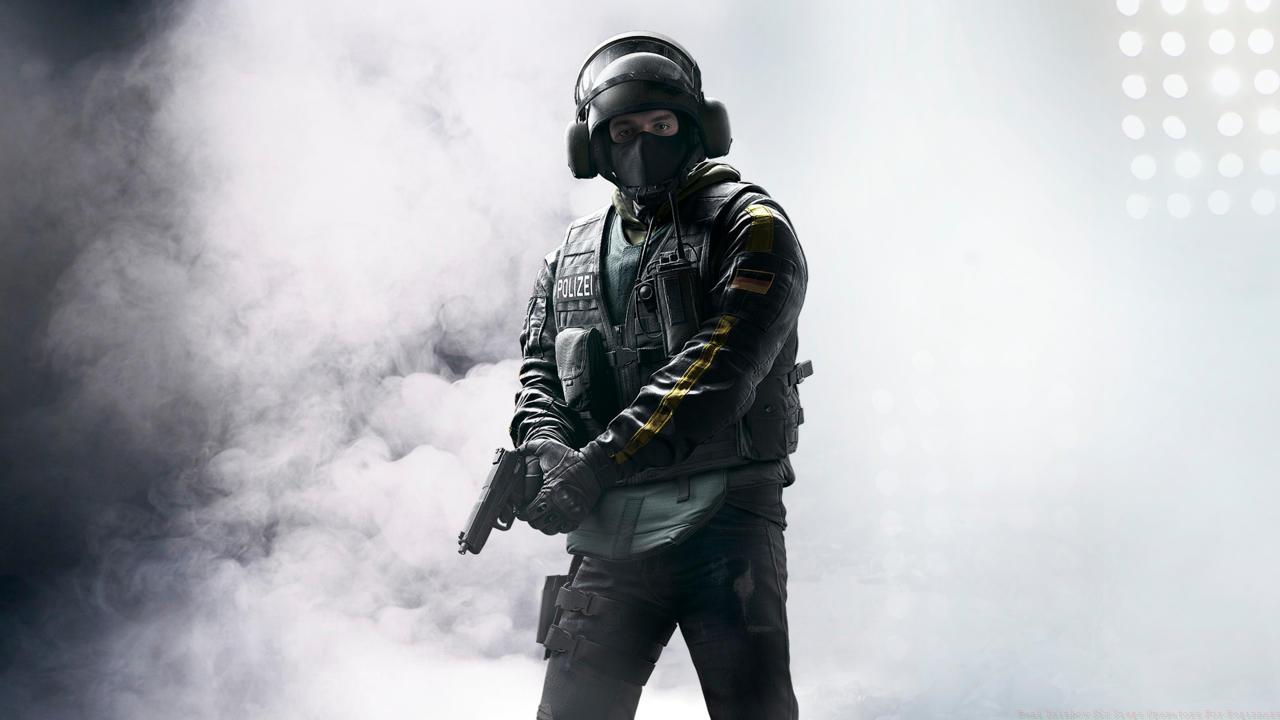
Rook provides straightforward defensive value through his armor pack deployment that enhances entire team durability. Placing his protective plates at round start ensures all defenders receive additional hit protection and guaranteed downed state instead of immediate elimination. This straightforward utility makes him ideal for newcomers learning defensive fundamentals while providing consistent team contribution regardless of individual performance. His MP5 submachine gun offers manageable recoil patterns ideal for developing aiming fundamentals.
Mute delivers crucial electronic countermeasures through his signal jammers that disrupt attacker drones and breaching charges. Strategic placement near reinforced walls, doorways, and objective entry points can severely hamper enemy intelligence gathering and entry capabilities. His weapons selection includes the reliable MP5K and versatile shotgun options suitable for various defensive strategies and site configurations.
Bandit specializes in fortified defense through his electrified wire deployment that damages attackers and destroys certain gadgets. His unique ability to “Bandit trick” reinforced walls by timing his battery placement can neutralize Thermite and Hibana charges. The MP7 submachine gun provides excellent fire rate for close to mid-range engagements common in defensive scenarios.
Frost controls area denial through her welcome mat traps that incapacitate attackers stepping on them. Positioning these devices beneath windows, behind shields, or in common entry pathways can secure unexpected eliminations against rushing opponents. Her Sterling submachine gun delivers consistent performance while her extended barrel shotgun creates rotation holes and line of sight opportunities.
Mastering Operator selection represents just the initial phase of Siege proficiency development. Effective team composition requires understanding how different Operators complement each other’s abilities—for example, pairing Mute’s jammers with Bandit’s batteries creates layered electronic defense. Similarly, coordinating Ash’s distraction with Hibana’s wall destruction creates multi-angle pressure that overwhelms defensive setups.
Critical Communication Practices: Always announce your planned breaches as Fuze or Hibana to prevent team casualties. Use voice chat or ping systems to coordinate simultaneous attacks from different directions, forcing defenders to split their attention and resources.
Map Knowledge Development: Spend time in custom games learning camera locations, common entry points, and vertical destruction opportunities. Understanding the Complete Guide to tactical shooters can accelerate your learning process across similar titles.
Avoid These Rookie Mistakes: Don’t reinforce between bomb sites as this limits rotation options. Avoid placing Frost mats in obvious locations that experienced players anticipate and destroy. Never use Fuze charges in hostage situations unless absolutely certain of hostage location.
Weapon Mastery Tips: Practice recoil control in shooting range mode before matches. Experiment with different sight attachments to find your personal preference for various engagement distances. For comprehensive Weapons Unlock strategies that apply across tactical shooters, consider studying weapon progression systems in comparable games.
Progression Strategy: Focus on mastering 2-3 Operators initially rather than spreading your attention too thinly. As you develop fundamental game sense, expand your roster to include more specialized roles. The Class Guide for team-based shooters provides transferable knowledge about role specialization that applies directly to Siege’s Operator system.
Action Checklist
- Master Ash and Rook as your primary starter Operators for both sides
- Practice breaching reinforced walls with Hibana in custom games
- Learn 2-3 key defensive setups on popular maps like Oregon and Bank
- Develop communication habits by consistently calling out enemy positions
- Study kill cams and spectator views to understand opponent strategies
No reproduction without permission:SeeYouSoon Game Club » Best Rainbow Six Siege Operators For Beginners Master Rainbow Six Siege with expert Operator picks, strategic insights, and essential gameplay tactics for new players