TL;DR
- Activate photo mode via F10 (keyboard) or dual analog stick press (controller) for creative control
- Master six sub-menus including camera, lens, and character settings for professional results
- Use character posing and NPC removal tools to create perfectly composed scenes
- Apply advanced composition techniques like rule of thirds and depth of field for cinematic shots
- Avoid common mistakes like poor timing and cluttered backgrounds for better photography
Transform your Baldur’s Gate 3 adventures into stunning visual memories that capture the essence of your journey through Faerûn. The photo mode serves as your creative toolkit for immortalizing those unforgettable RPG moments.
Photo mode represents Larian Studios’ commitment to player creativity, arriving nearly two years post-launch as part of the comprehensive April 2025 Patch 8 update. This feature-rich system enables you to not only capture scenes but actively shape them through character posing, filter application, and sticker integration, turning ordinary gameplay into extraordinary artwork.
Our comprehensive Baldur’s Gate 3 photography guide delivers expert techniques for activating and maximizing photo mode during your explorations across the Sword Coast. We’ll provide advanced strategies that go beyond basic functionality to help you create professional-grade screenshots.
To engage photo mode in Baldur’s Gate 3, utilize F10 when operating with keyboard controls, or execute a simultaneous press of both analog sticks on gaming controllers. An alternative activation method involves selecting the dedicated toggle adjacent to your mini-map interface, granting immediate photo mode access during exploration sequences.
Critical insight: Your photographic options diverge significantly based on context. Cutscene photography provides limited camera mobility but captures scripted emotional moments, while exploration mode offers complete creative freedom but requires manual scene setup. Understanding this distinction dramatically improves your results.

The photographic toolkit within Baldur’s Gate 3 delivers professional-grade control over your virtual photography sessions. Beyond basic screenshot functionality, you gain comprehensive scene manipulation capabilities including party member occlusion, dynamic character posing systems, and advanced post-processing effects that elevate your images from simple captures to artistic creations.
During exploration sequences, six specialized sub-menus provide granular control over every photographic element:

Image: Larian Studios via Polygon
Advanced photographers should master the character posing system, which includes both preset emotional expressions and custom pose combinations. The removal tool proves invaluable for eliminating distracting NPCs or party members who disrupt your composition’s visual flow. For action sequences, the freeze-frame capability lets you capture mid-combat moments with dramatic intensity.
The free-use camera represents perhaps the most powerful tool, detaching your viewpoint from the player character to achieve previously impossible angles. Combine this with depth of field effects to create professional bokeh backgrounds that make your subjects pop against beautifully blurred environments.
Elevate your Baldur’s Gate 3 photography beyond basic screenshots through implementation of professional composition principles. The rule of thirds represents your most valuable asset—position key elements along imaginary gridlines to create balanced, engaging compositions that draw the viewer’s eye naturally through the image.
Lighting manipulation dramatically impacts your results. Seek natural light sources within environments—candlelit temples, sun-drenched forests, or magically illuminated caverns—and position characters to benefit from this illumination. Backlighting creates dramatic silhouettes, while front lighting ensures facial expressions remain clearly visible.
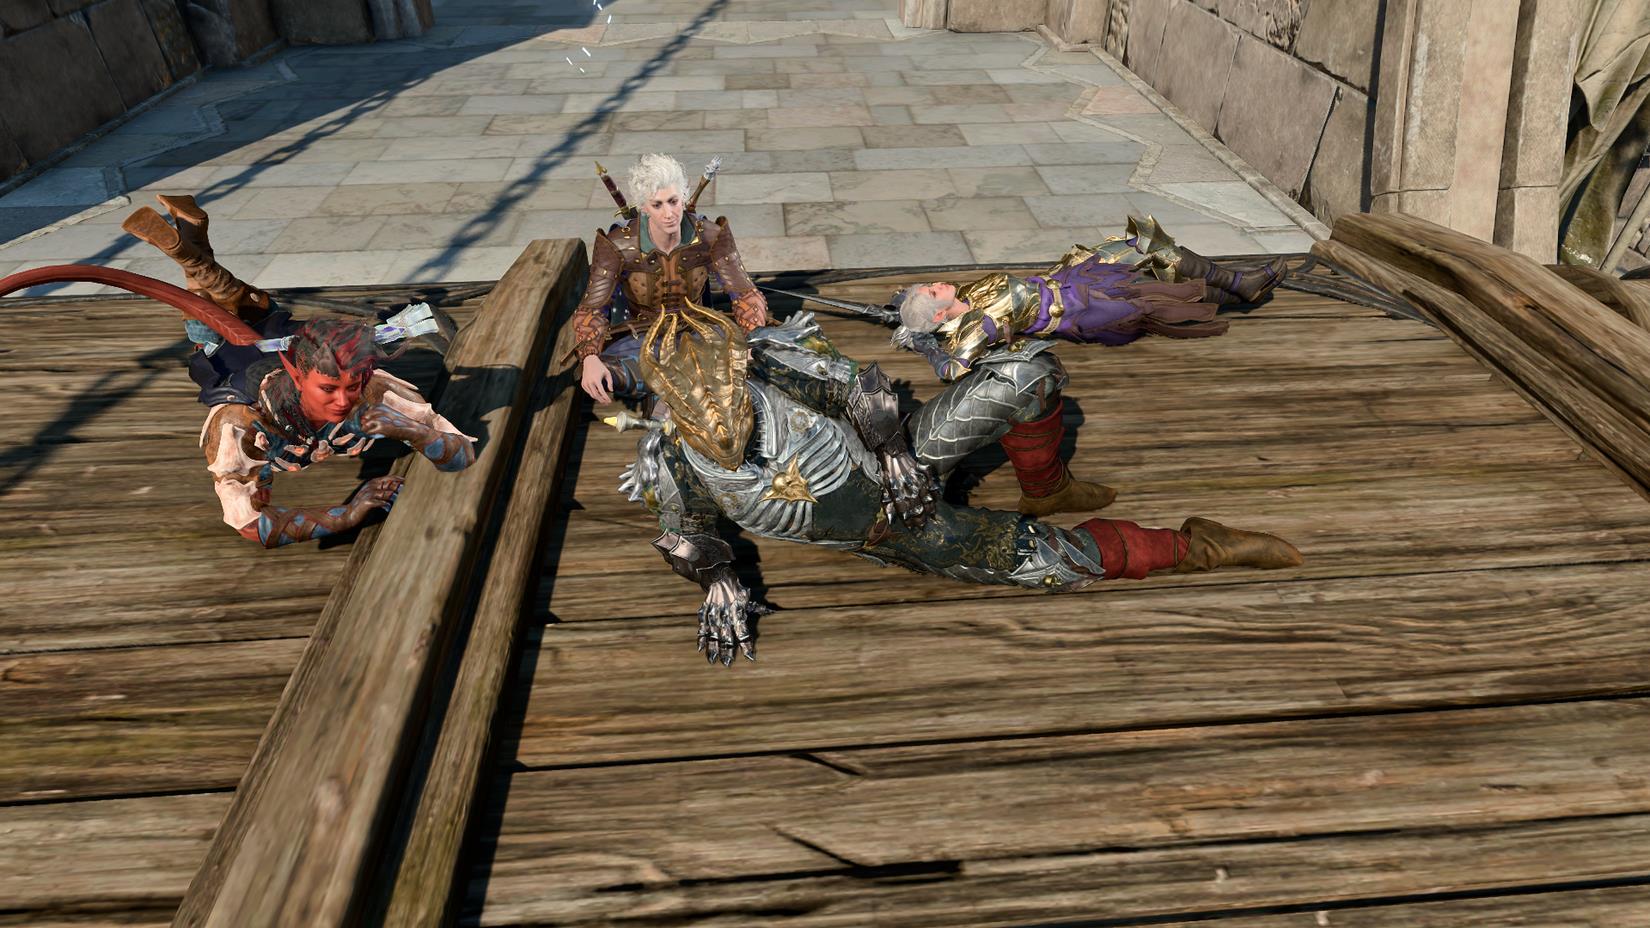
Image: Larian Studios via Polygon
Timing represents another critical factor. For action sequences, anticipate dramatic moments rather than reacting to them. Position your camera before spell impacts, weapon strikes, or emotional dialogue deliveries. During exploration, capture characters in mid-movement for dynamic shots that convey journey and adventure rather than static posing.
Depth of field requires careful calibration. Shallow depth (low f-stop values) isolates subjects against beautifully blurred backgrounds, while deep focus (high f-stop) ensures environmental details remain sharp. Match this setting to your narrative intent—intimate character moments benefit from shallow focus, while landscape shots require deep focus.
Optimize your photographic workflow by preparing scenes before activating photo mode. Position party members strategically, ensure environmental lighting favors your composition, and clear unnecessary NPCs from the area. This pre-planning reduces time spent adjusting within the limited photo mode interface.
Avoid these common photographic errors: cluttered backgrounds that distract from subjects, poorly timed action shots that miss key moments, and overuse of filters that undermine visual authenticity. Instead, focus on clean compositions with clear focal points and subtle post-processing enhancements.
For advanced players seeking mastery, experiment with combining multiple systems. Use the free camera to achieve Dutch angles during tense conversations, apply subtle vignetting to direct attention toward emotional character moments, or employ extreme depth of field to create abstract environmental studies. The most compelling Baldur’s Gate 3 photography often emerges from unconventional technique combinations.
Remember that photo mode integrates seamlessly with Baldur’s Gate 3’s rich narrative systems. Capture character development arcs through consistent photographic themes, document key story decisions visually, and create photographic journals of your party’s evolution. These applications transform photo mode from mere tool to storytelling device.
While focusing on creative photography, don’t forget the strategic elements that make Baldur’s Gate 3 engaging. For players looking to enhance their tactical gameplay, our Class Guide provides deep insights into character specialization that can inform your photographic subjects and compositions.
Action Checklist
- Activate photo mode using F10 (PC) or dual analog press (controller)
- Experiment with all six sub-menus to understand control options
- Practice character posing and NPC removal for clean compositions
- Master rule of thirds composition and lighting principles
- Create a themed photo series documenting your campaign journey
No reproduction without permission:SeeYouSoon Game Club » How to use photo mode in Baldur’s Gate 3 Master Baldur's Gate 3 photo mode with advanced posing, camera controls, and creative composition techniques