TL;DR
- Bring Shadowheart and Astarion for quest integration and trap expertise
- Solve the Mausoleum puzzle by interacting with murals in splendor-tragedy-infamy order
- Complete all three Shar trials to collect Umbral Gems for progression
- Use persuasion to avoid difficult combat with the Orthon demon
- Collect special weapons before proceeding to the point of no return
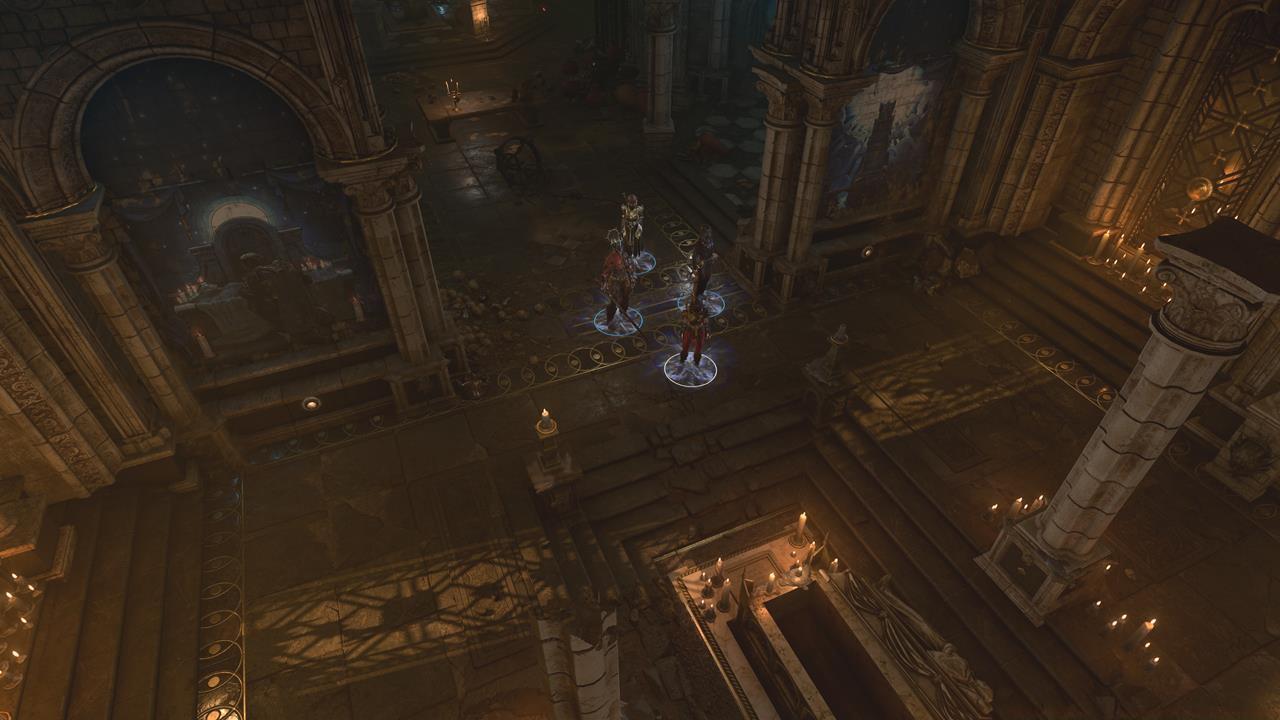
The Gauntlet of Shar represents one of Baldur’s Gate 3’s most intricate dungeon experiences, blending complex puzzles with narrative significance. Proper preparation dramatically impacts your success rate and overall enjoyment of this challenging segment.
Critical party composition involves including Shadowheart for her Daughter of Darkness questline and Astarion for his Pale Elf objectives. Shadowheart’s connection to Shar provides unique dialogue options, while Astarion’s exceptional Sleight of Hand skill proves invaluable for disarming numerous traps throughout the complex.


Shadowheart and Astarion are integral for the Gauntlet of Shar dungeon.
Navigation begins south of Last Light Inn, following the road across the river to Reithwin Town, then proceeding northward. Upon reaching the graveyard waypoint, you’ll encounter Raphael with a proposition concerning Astarion’s personal quest, setting up a major confrontation later in the dungeon.
Common mistakes include approaching the area under-leveled or without the recommended party members. Optimal preparation involves reaching level 6-7 and ensuring you have completed relevant Act 2 side quests before entering.
The initial challenge within Thorm Mausoleum requires deciphering historical clues about General Thorm’s life progression. A discovered text reveals the sequence: “From splendor, to tragedy, to infamy” – this provides the essential framework for solving the mural puzzle.
Upon reaching the top chamber, you’ll encounter a coffin surrounded by three distinct murals depicting key moments in Thorm’s history. The area contains multiple traps that should be disarmed before attempting the puzzle solution.
The Thorm Mausoleum puzzle can be solved by interacting with the murals in the correct order.
Execute the mural interactions in this precise sequence:
- Splendor – Depicting Moonrise Towers in their prime
- Tragedy – Showing Thorm mourning his deceased daughter
- Infamy – Thorm seated upon a throne with malevolent intentions toward his subjects
Strategic insight: Ungroup your party and position Astarion strategically to disarm traps while other members interact with the murals. This approach minimizes risk and streamlines the puzzle-solving process.
Successfully completing this sequence activates the doorway mechanism, granting access to the elevator that descends into the Gauntlet of Shar proper.
The statue chamber presents a unique optical puzzle centered around manipulating light and darkness. The central statue holds an orb that repels approach attempts until specific environmental conditions are met.
Execution requires systematic approach:
- Investigate side chambers to locate and activate levers that lower all lanterns
- Exercise caution regarding triggered traps that generate damaging darkness clouds and summon untargetable rat attackers
- Once lanterns are fully lowered, extinguish their light sources completely
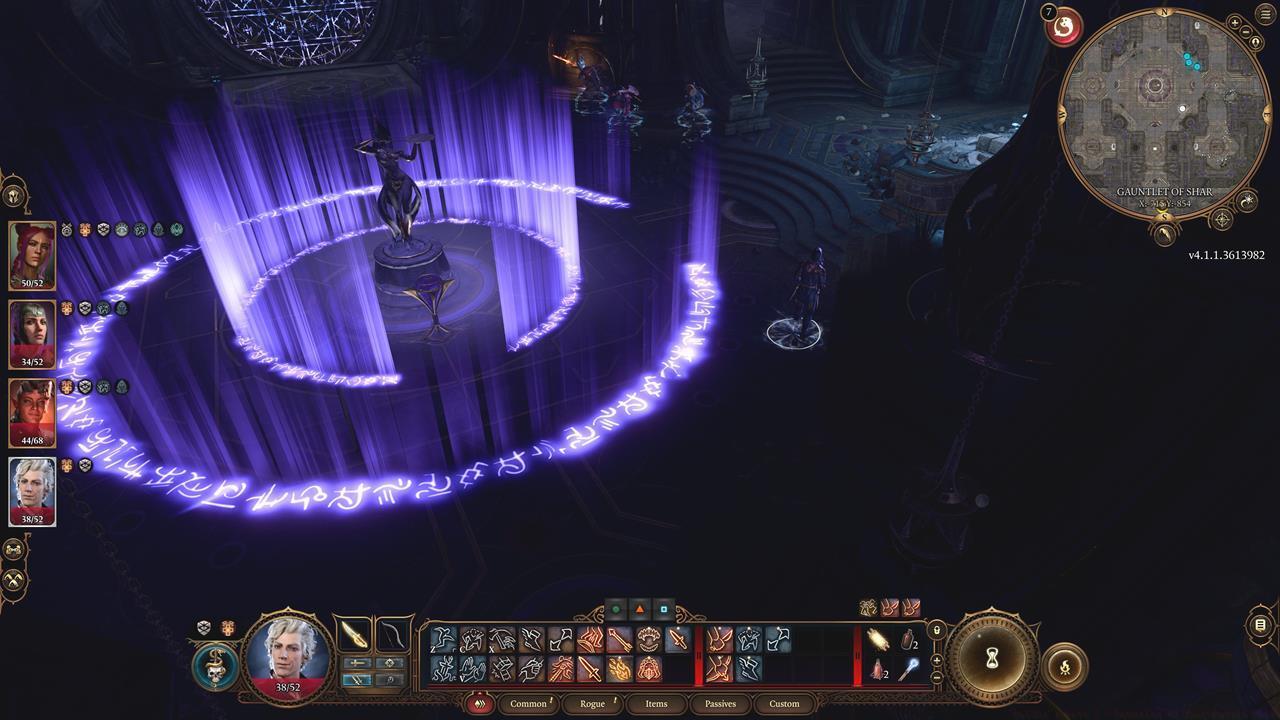
The Statue puzzle requires the room to be completely dark so you can see the pattern.
Advanced technique: When total darkness envelops the room, a distinct floor pattern emerges. Employ a single character in crouch-walking mode to navigate around the glowing lines, enabling safe orb contact and doorway activation.
Common failure points include insufficient darkness from missed lanterns or triggering multiple traps simultaneously. Methodical progression prevents these issues.
Progressing deeper into the Gauntlet initiates combat against Justiciar undead forces. Prioritize eliminating Umbral Tremors – these void-like formations continuously spawn additional undead combatants if left unchecked.
After securing the area, navigate leftward to activate the waypoint, then prepare for additional undead engagements. Several significant locations branch from this central area:
- Northern locked chamber contains multiple treasure chests including Infernal Iron for Karlach.
- Western chamber serves as Balthazar’s operational base, where he offers assistance and provides a summoning item for Flesh Golem support
- Southern area features a Shar statue where characters can attempt Religion checks – success grants necrotic resistance while failure imposes penalties


From left to right: Battles against Justiciar undead; Balthazar the Necromancer; the Statue of Shar.
Critical warning: Avoid having Shadowheart pray at the Shar statue, as this action may permanently commit her to Shar’s service, potentially altering Shadowheart romance outcomes based on current understanding.
To advance Astarion’s Pale Elf questline, proceed right from the waypoint where you’ll encounter a Displacer Beast – approach with caution as this creature serves as an advanced scout for the primary antagonist.
Following the beast leads to a bone-filled antechamber containing Umbral Gems, essential items for powering the central progression device.
The Orthon demon materializes unexpectedly near the throne area. This entity has endured centuries of imprisonment and desperately seeks escape. Failed persuasion attempts trigger demanding combat against elevated adversaries.
Diplomatic resolution path:
- Offer assistance and inquire about its Raphael contract, requiring a concealed Arcana check to uncover the deceptive nature of the agreement
- This reveals additional persuasion options – indicate that his followers remain present and require elimination, prompting immediate minion execution
- Successful subsequent persuasion forces the Orthon to eliminate his Displacer Beast companion
- Final persuasion convinces the demon that self-termination represents the only viable option
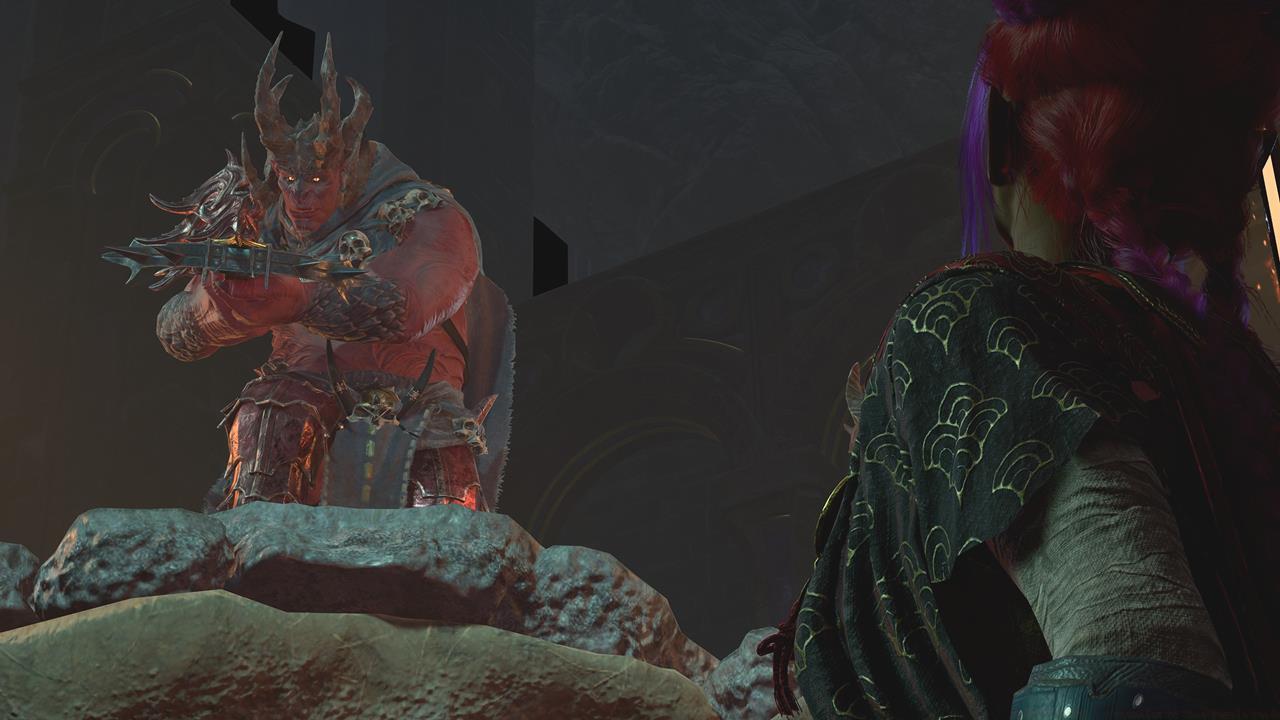
The Orthon hears voices in his head. They counsel him, they understand.
Whether through diplomatic success or combat victory, looting the Orthon’s remains yields Infernal Iron and the powerful Hellfire Hand Crossbow featuring:
- +2 enhancement bonus
- Hellstalker – Burning application chance during stealth or invisibility
- Scorching Ray Shot – Unlocked spell capability
Combat alternative: If diplomacy fails, focus fire on the elevated mobs first while utilizing area control spells to manage spawn points.
The Gauntlet’s core challenges consist of three distinct trials located along the left corridor near the waypoint. Initiation requires interacting with the Shar altar and having Shadowheart perform a blood sacrifice. Each completed trial awards an Umbral Gem.
Self-Same Trial
Entry into this trial chamber triggers confrontation with spectral duplicates of your entire party. These mirror images utilize identical abilities and spells, demanding careful engagement strategy.
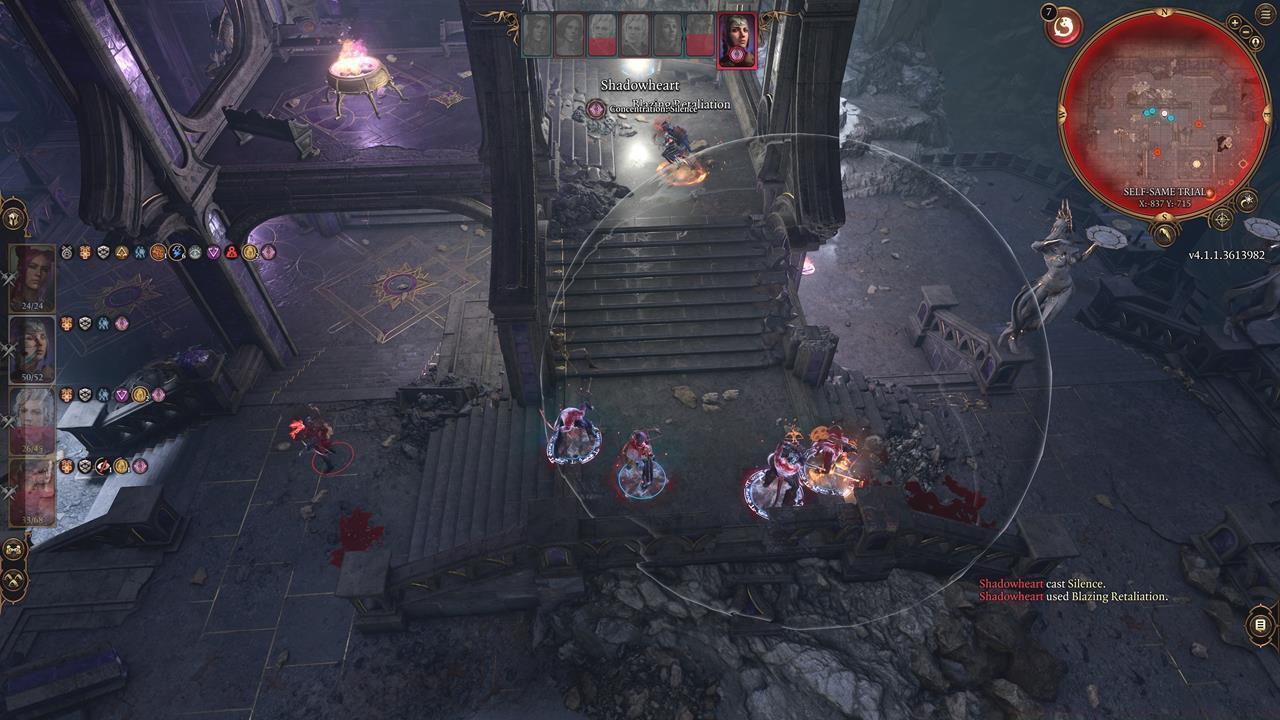
Have party members go one on one with their doppelgangers, or just go gung-ho if you want.
Optimal approach involves matching each character against their respective duplicate to avoid ability score reduction penalties.
Soft-Step Trial
This trial presents a compact maze patrolled by Shadow entities. Detection results in immediate teleportation back to the entrance point.
Expert methodology: Deploy Astarion solo with maximum stealth capabilities to navigate, disarm traps, and pick locks undisturbed.
Faith-Leap Trial
The final trial occurs in a profoundly dark chamber where distant ledge outlines become visible. As you approach, these outlines vanish, creating navigation challenges.


Left: Navigate the mini-maze with Astarion; Right: Take note of the outlines of the ledges before you jump.
Pro navigation tip: Capture a screenshot upon entry to reference the ledge outlines during navigation. Reach the back-right section, carefully advance toward the center, then execute a calculated jump to the statue ledge to complete the trial.
Upon collecting all Umbral Gems, insert them into the central device – the initial mechanism requires one gem while the deeper apparatus needs three.
Before descending to the point of no return, acquire the special weapon located in the Silent Library before proceeding to encounter the Nightsong. This transition represents an irreversible narrative progression point, so ensure Act 2 completion beforehand.
Baldur’s Gate 3 offers extensive content exploration. For comprehensive guidance on character development and combat mechanics, consult our Class Guide for optimal party configuration strategies.
Action Checklist
- Assemble party with Shadowheart and Astarion for quest integration
- Navigate to Thorm Mausoleum south of Last Light Inn
- Solve Mausoleum puzzle using splendor-tragedy-infamy sequence
- Complete all three Shar trials to collect Umbral Gems
- Use persuasion to resolve Orthon encounter without combat
- Collect Silent Library weapon before Nightsong point of no return
No reproduction without permission:SeeYouSoon Game Club » Baldur’s Gate 3 – Gauntlet Of Shar Puzzle Guide Master Shar's deadly trials with expert strategies for puzzles, combat, and character quests in Baldur's Gate 3