TL;DR
- Five turbines across three ship levels require Tulin’s Wind Burst ability activation
- Each turbine features unique mechanics involving Ultrahand, Recall, and creative problem-solving
- Strategic navigation and timing are crucial for the complex tower turbine section
- Common mistakes include improper gear connections and missed Recall timing windows
- Complete activation unlocks the central mechanism and triggers the Colgera boss battle
Conquer the intricate Wind Temple puzzles in The Legend of Zelda: Tears of the Kingdom with this comprehensive walkthrough.
The Wind Temple represents a significant dungeon encountered during the Hebra/Rito Village main questline. After navigating through multiple floating islands and ancient vessels, you’ll arrive at an enormous ship suspended within a massive tornado. This guide provides detailed strategies for navigating the temple’s complex mechanical challenges.

Wind Temple map showing turbine locations
The central challenge involves activating five distinct turbines using Tulin’s Wind Burst ability. These mechanical locks are strategically positioned across three different deck levels of the massive airship (1F, B1, and B2). Understanding the spatial relationships between these components is essential for efficient progression.
1F Turbine (Lower Area)
Beginning from the fast travel point, traverse the main deck and scan the right side area. You’ll identify a compact chamber blocked by a metallic barrier. Employ the Ultrahand capability to secure a nearby grip mechanism and connect it to the control lever (alternative solutions include utilizing discarded weaponry). This configuration enables you to manipulate the lever mechanism, thereby granting access past the obstruction.
1F turbine lower area mechanism
Pro Tip: If no handle is immediately visible, survey the surrounding area for any detachable components. Even simple objects like wooden planks or metal fragments can function as effective lever extensions when properly attached.
Common Mistake: Players often attempt to force the gate open directly rather than utilizing the intended mechanical solution. Always look for interactive environmental elements when faced with impassable barriers.
B1 Turbine (Left)
From the primary deck fast travel location, descend via gliding along the port side until you spot an accessible opening. Proceed southward through the corridor and eliminate the Construct Captain enemy. You’ll encounter a rotating centrifuge apparatus that responds to manipulation. Apply Ultrahand to this device and maneuver Link accordingly. When the doorway becomes temporarily accessible, activate Recall to reverse temporal progression until you successfully bypass the blockade.
B1 turbine left centrifuge mechanism
Advanced Strategy: The optimal approach involves positioning Link directly in the doorway’s path before activating Recall. This minimizes movement requirements during the brief access window. Most players complete this section in 2-3 minutes with proper execution.
Timing Critical: The Recall ability must be activated the moment the door begins opening, not when it’s fully open. This timing ensures maximum duration for passage.
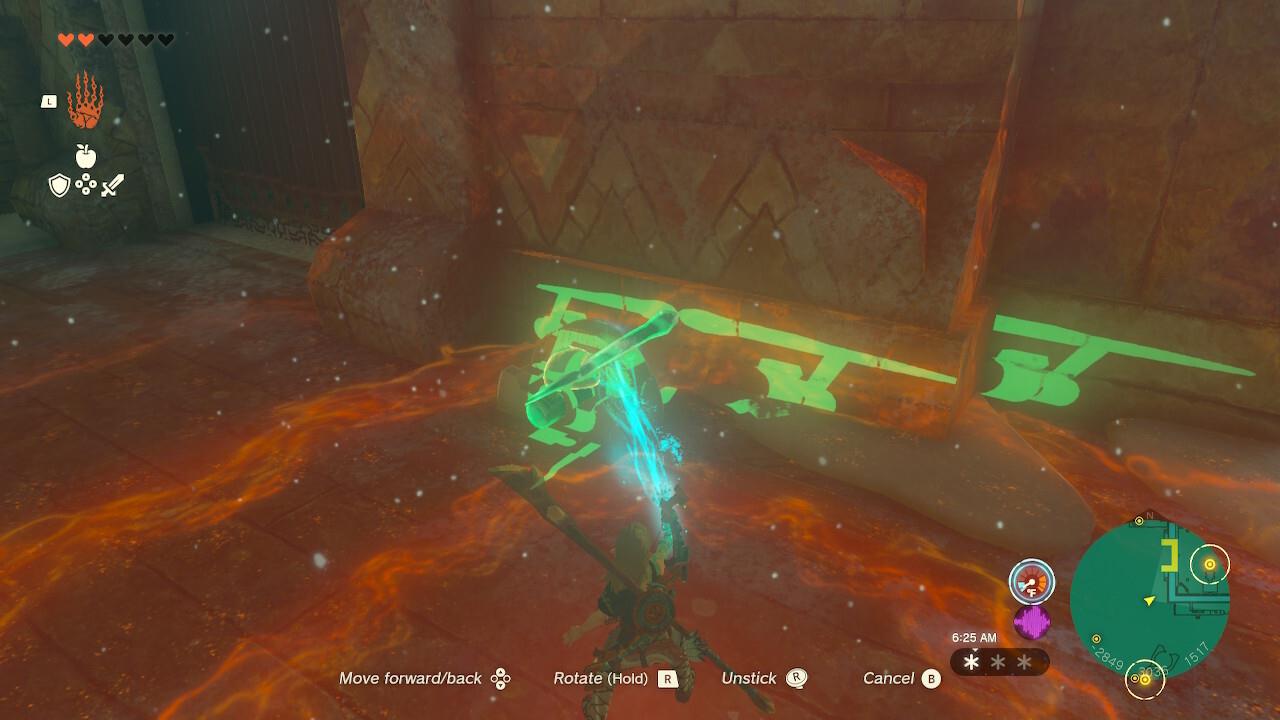
B1 Turbine (Right)
From the main deck fast travel point, descend via gliding along the port side. Implement Recall on the rotating wheel apparatus to ride it toward the corridor’s opposite terminus. There, you’ll observe two interconnected gear assemblies. The objective requires attaching rods or other suitable items to establish mechanical linkage between the gear systems. When the gears achieve synchronized rotation, the obstructive barrier will simultaneously elevate.
B1 turbine right gear connection puzzle
Object Selection Guide: Longer objects provide more reliable connections, but may require precise positioning. Wooden poles typically offer the best balance of length and stability for this mechanical challenge.
Common Pitfall: Many players attempt to connect gears that aren’t meant to interact. Focus only on the two primary gear sets visible in the chamber.
B2 Turbine
From the primary deck fast travel location, descend via gliding until approaching the vessel’s lower external region. You should identify a smaller auxiliary craft or outcropping suitable as a staging platform. Alternatively, glide directly into an accessible opening. The target turbine mechanism is situated in the lower chamber.
B2 turbine exterior access point
Navigation Efficiency: The direct glide approach typically saves 30-45 seconds compared to platform hopping. However, the platform method offers safer navigation for players less confident in precise aerial control.
Safety Recommendation: Always monitor your stamina meter during extended gliding sequences. Consider consuming stamina-restoring items before attempting the descent.
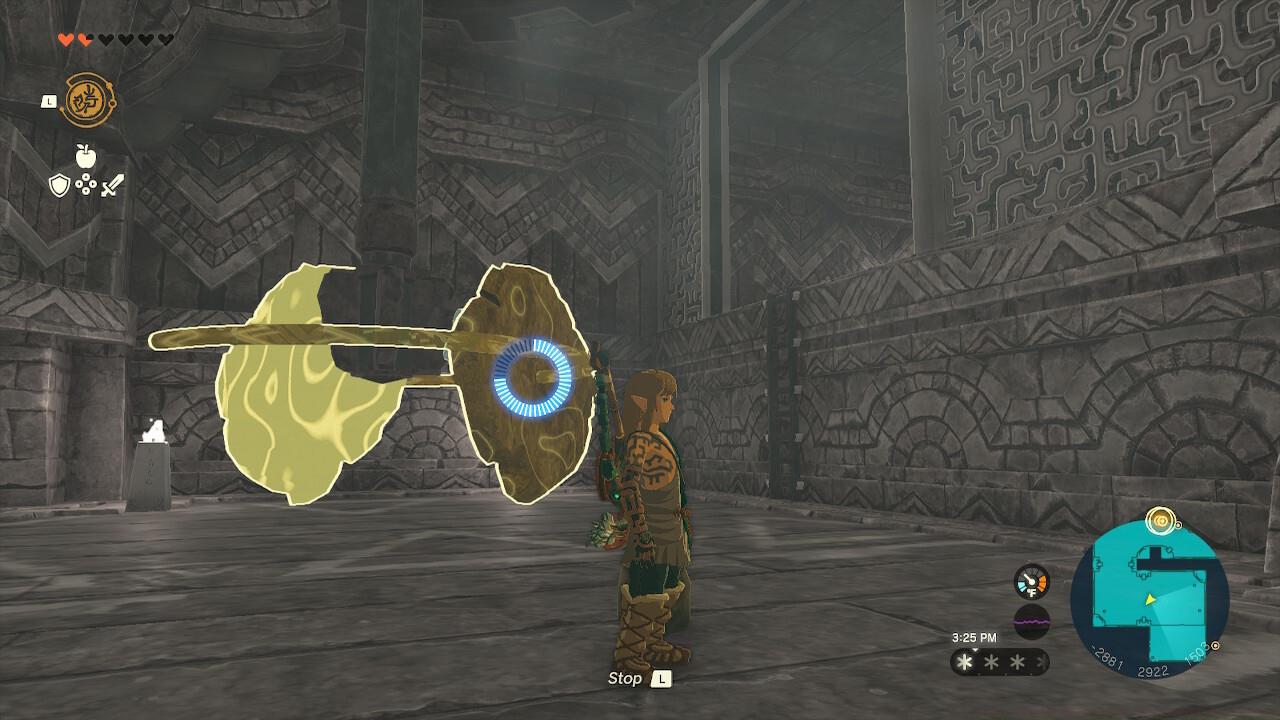
1F Turbine (Tower)
From the main deck fast travel point, locate any elevated smaller vessels positioned adjacent to the ship’s tower section. Ascend the structural protrusions and leap onto the overhead canopy. Link will be propelled upward, facilitating access to the upper region. Utilize Ultrahand to secure and elevate the access panel until it opens completely.
Next, execute a controlled skydive while evading the energy beam traps. The upward air currents will provide lift augmentation, requiring alternating control inputs until achieving secure landing in the compact recess housing the turbine.
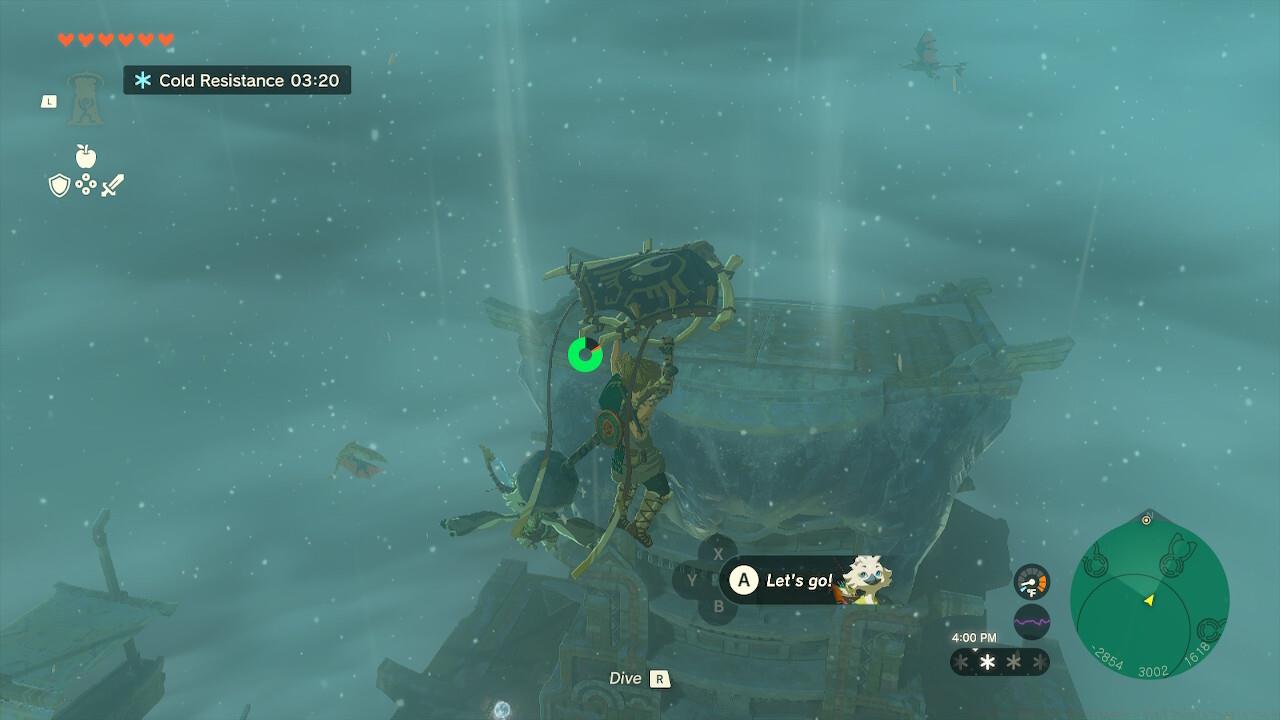
1F turbine tower skydiving section
Laser Avoidance Technique: The energy beams follow predictable patterns. Observe their cycles for 10-15 seconds before committing to the descent.
Advanced Maneuver: Expert players can utilize the updrafts to gain additional altitude, providing more time for precision maneuvering and trap avoidance.
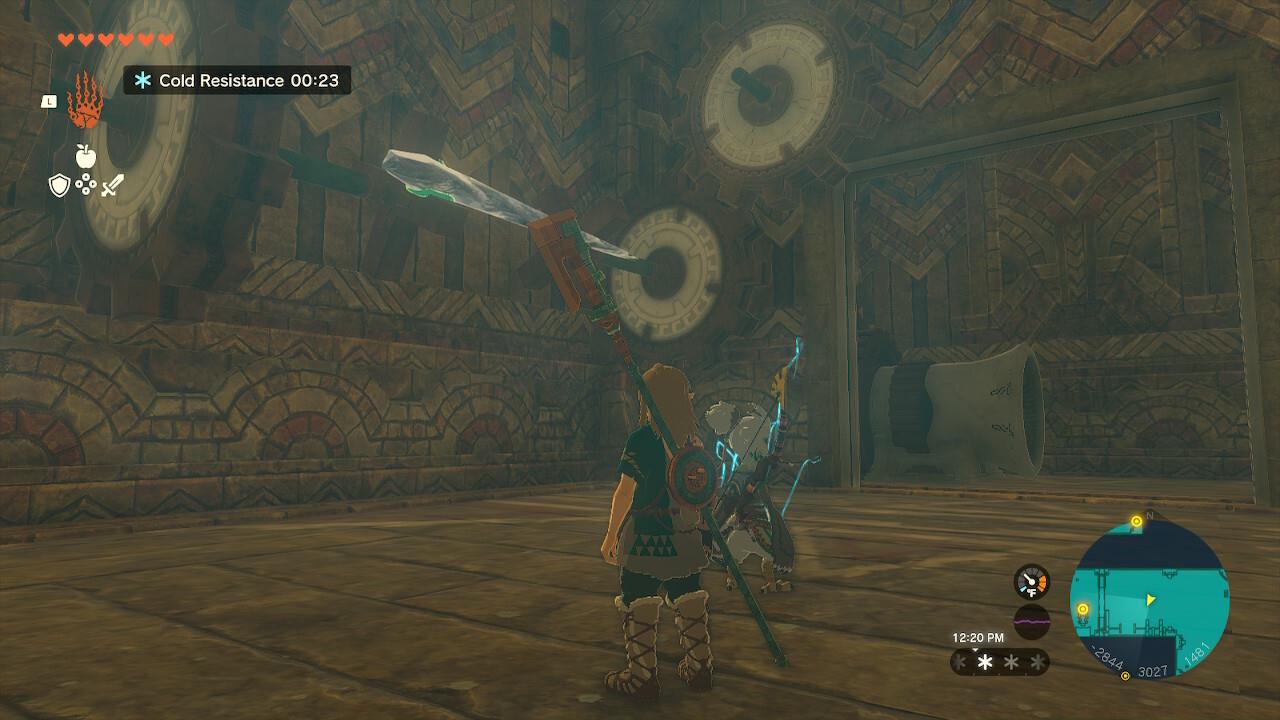
After successfully activating all five turbine mechanisms using Tulin’s Wind Burst capability, you’ll completely engage the central operational system. This concludes the Wind Temple mechanical challenge sequence. Upon interacting with the illuminated green symbol, you’ll initiate combat against Colgera.
Boss Preparation: Before triggering the final sequence, ensure you have adequate healing items and durable equipment. The Colgera encounter demands both aerial combat proficiency and strategic targeting of weak points.
The Legend of Zelda: Tears of the Kingdom contains numerous complex systems and gameplay elements to master. For additional guidance, consult our Complete Guide covering broader game mechanics and progression systems.
Action Checklist
- Activate 1F lower turbine using lever mechanism with Ultrahand
- Solve B1 left centrifuge puzzle with precise Recall timing
- Complete B1 right gear connection using appropriate objects
- Navigate to B2 turbine via optimal glide path or platform sequence
- Conquer 1F tower skydiving challenge with laser avoidance
- Activate all turbines with Tulin’s ability and prepare for Colgera battle
No reproduction without permission:SeeYouSoon Game Club » Zelda: Tears Of The Kingdom – Wind Temple Puzzle Guide Master the Wind Temple's five turbine puzzles with expert strategies and avoid common mistakes