TL;DR
- Master the three interconnected realms: Surface, Sky Islands, and the Depths
- Activate Skyview Towers early for map coverage and strategic fast travel points
- Utilize pin markers during aerial launches to plan exploration routes efficiently
- Combine shrine completion with lightroot discovery for comprehensive map unveiling
- Practice advanced combat techniques like Flurry Rush and shield surfing for survival
Embarking on your journey through The Legend of Zelda: Tears of the Kingdom requires understanding its expansive three-layer world structure. Each realm presents unique challenges and opportunities that demand different approaches to exploration and survival.
Surface, Sky, and Depths Mastery – Hyrule’s landscape is divided into three distinct but interconnected dimensions. The Surface world represents the familiar kingdom of Hyrule you may recognize from previous adventures, though it has undergone significant changes. This ground-level region features diverse biomes, settlements, and terrain variations that create the foundation for your exploration.
The Sky region consists of floating island chains suspended above Hyrule, accessible through various ascent methods. Interestingly, your adventure begins in this aerial domain on the Great Sky Island, which serves as an extensive tutorial area teaching core mechanics. Many players underestimate the verticality of exploration required to navigate between sky islands effectively.
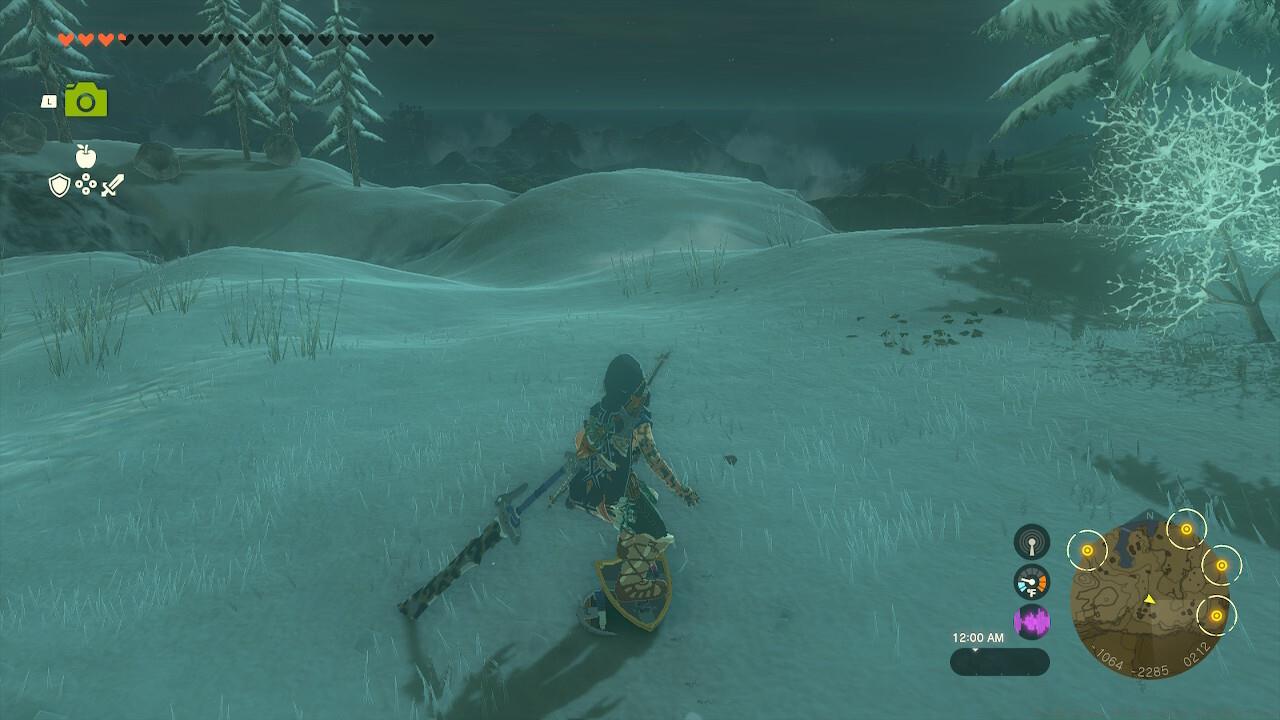
Beneath the Surface lies the Depths – a foreboding underground realm shrouded in darkness. This area mirrors the Surface world’s geography but introduces completely different environmental hazards. The Depths demand specialized equipment and strategies, particularly regarding illumination and navigation in perpetual twilight conditions.
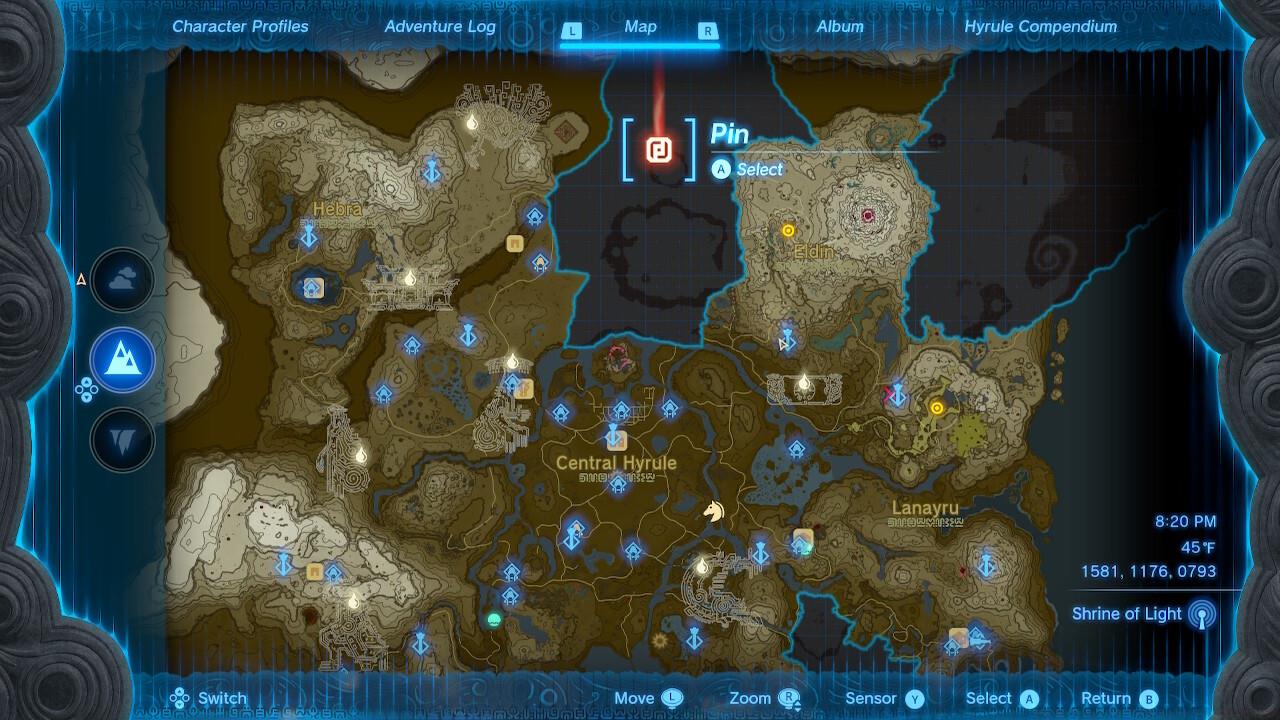
Strategic marker placement during aerial ascents helps plan efficient exploration routes across all three realms.
Effective navigation forms the cornerstone of successful exploration in Tears of the Kingdom. Mastering the game’s mapping systems early will significantly reduce frustration and optimize your travel efficiency across Hyrule’s vast landscapes.
Skyview Tower Activation Strategy – Prioritize activating Skyview Towers as you encounter them, as they serve dual crucial functions. Each tower provides a permanent fast travel point for quick repositioning across the map. More importantly, activating the launch mechanism reveals extensive portions of the surrounding terrain, uncovering points of interest that would otherwise remain hidden.
Advanced Pin Marker Techniques – During Skyview Tower launches, utilize Link’s binoculars by pressing the right thumbstick to survey the landscape. When spotting noteworthy locations, press A to place custom pins that create visual guides on your map interface. You can also place markers directly on your map screen for precise location tagging. Pro tip: Use different colored pins to categorize discovery types – gold for shrines, blue for korok seeds, red for enemy camps, and green for resources.
Common navigation mistake: Many beginners overlook that pin markers remain visible during gameplay, not just on the map. This allows for constant orientation without频繁 opening the map interface, which disrupts immersion and flow.
Shield surfing proves invaluable for descending steep terrain quickly while conserving stamina compared to climbing.
Surviving Hyrule’s dangers requires mastering both offensive capabilities and efficient mobility. Advanced movement techniques can mean the difference between successful exploration and repeated failures in challenging terrain.
Flurry Rush Execution – This advanced combat technique activates when you dodge enemy attacks with perfectly timed movements. Successfully executing a Flurry Rush grants you several seconds of uninterrupted attacks against your opponent. Practice timing against slower enemies like Bokoblins before attempting against Lynels or Boss enemies. Perfect dodges require paying close attention to enemy attack animations rather than relying on reaction speed alone.
Zonai Device Integration – The Ultrahand ability allows creative construction using Zonai Devices scattered throughout Hyrule. These technological components enable everything from simple transportation to complex automated systems. Early game priority: Collect every Zonai Device you encounter, as they become essential for solving environmental puzzles and creating travel solutions.
Movement optimization: Combine shield surfing with Zonai Device creations for unprecedented mobility. For instance, attaching a steering mechanism to a shield creates a makeshift snowboard for efficient downhill travel. Another pro technique involves using Hot Air Balloons to reach otherwise inaccessible sky islands or cross vast chasms.
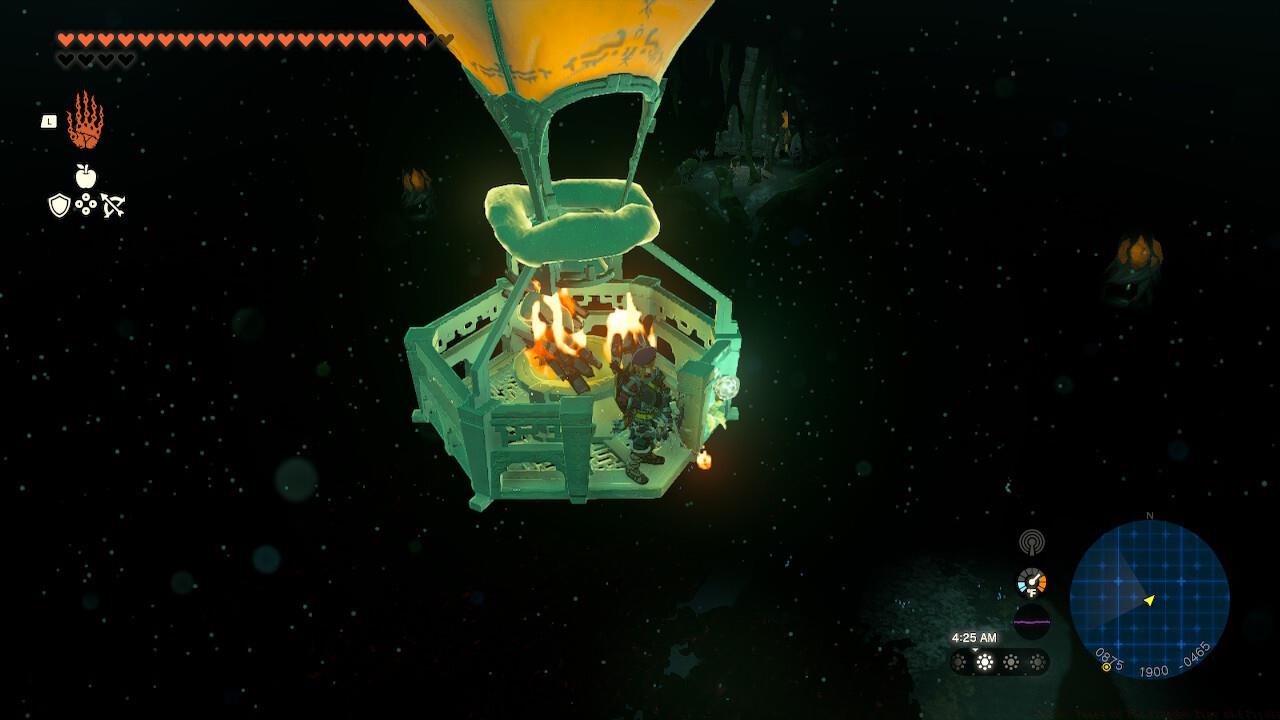
Hot Air Balloons provide vertical mobility solutions when combined with the paraglider for reaching distant objectives.

Mastering Flurry Rush timing transforms combat encounters from stressful battles into strategic opportunities.
Understanding Tears of the Kingdom’s progression mechanics ensures efficient character development and prevents wasted effort on non-essential activities during early gameplay hours.
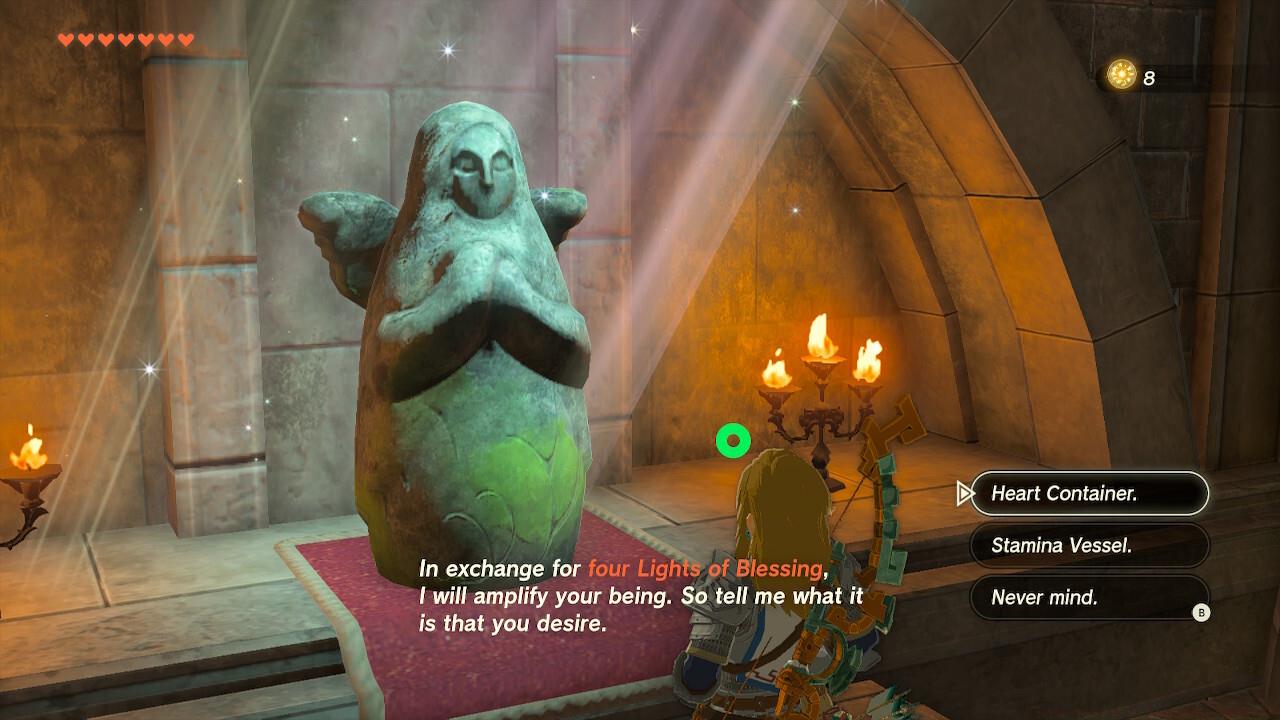
Shrine Challenges and Rewards – The Surface and Sky regions contain over 100 Shrines serving as fast travel points and challenge arenas. Completing shrine puzzles rewards you with Blessings of Light, which function as currency for permanent character upgrades.
Lightroot Discovery System – The Depths counterpart to surface shrines, Lightroots provide illumination in the dark underground and reveal portions of the Depths map. Crucially, each Lightroot corresponds directly to a surface shrine positioned above it, creating an interconnected progression system between realms.
Upgrade strategy: Every four Lights of Blessing collected from shrines can be exchanged for either a heart container (increasing maximum health) or a stamina vessel (enhancing climbing, swimming, and gliding capabilities). New players should prioritize stamina upgrades initially, as enhanced mobility often proves more valuable than additional health for exploration efficiency.
Advanced tip: The direct correlation between surface shrines and underground Lightroots means discovering one helps locate the other. If you find a shrine cluster on the surface, investigate the corresponding area in the Depths for concentrated Lightroot discovery.
Strategic upgrade choices between health and stamina significantly impact your exploration capabilities and combat survival odds.
Action Checklist
- Activate 3-5 Skyview Towers in different regions to establish fast travel network
- Practice Flurry Rush timing against Bokoblins in safe areas
- Complete 4-6 shrines to earn first heart/stamina upgrade
- Experiment with Ultrahand and Zonai Devices to create basic transportation
- Establish color-coded pin system for efficient exploration planning
No reproduction without permission:SeeYouSoon Game Club » Zelda: Tears Of The Kingdom Tips And Tricks Master Hyrule's three realms with essential navigation, combat, and survival strategies for beginners