TL;DR
- Require full Yiga Armor Set before attempting the exam
- Locate five Frog Altars throughout Gerudo Canyon region
- Offer Mighty Bananas at each altar using inventory hold function
- Complete all offerings to unlock Suariwak Shrine access
- Strategic route planning saves significant time and resources
Successfully completing the Yiga Clan Exam requires careful preparation and specific gear acquisition before attempting this stealth-focused challenge. The examination serves as a gateway to the Suariwak Shrine, offering valuable rewards for those who master the art of infiltration.
To initiate this covert mission in The Legend of Zelda: Tears of the Kingdom, you must first collect the complete Yiga Armor Set consisting of three distinct pieces. This specialized gear is essential for blending in with the enemy faction. Once properly equipped, navigate to the Gerudo Canyon Skyview Tower, which serves as your primary launch point for accessing the hidden training grounds.
From this elevated position, ascend into the skies and glide northwestward. Keep vigilant watch for a prominent waterfall marking the general area. Upon closer inspection, you’ll discover a cleverly concealed cliffside pathway that leads to the Yiga Blademaster Station. Don your full disguise before approaching the entrance to avoid detection by the vigilant guards.
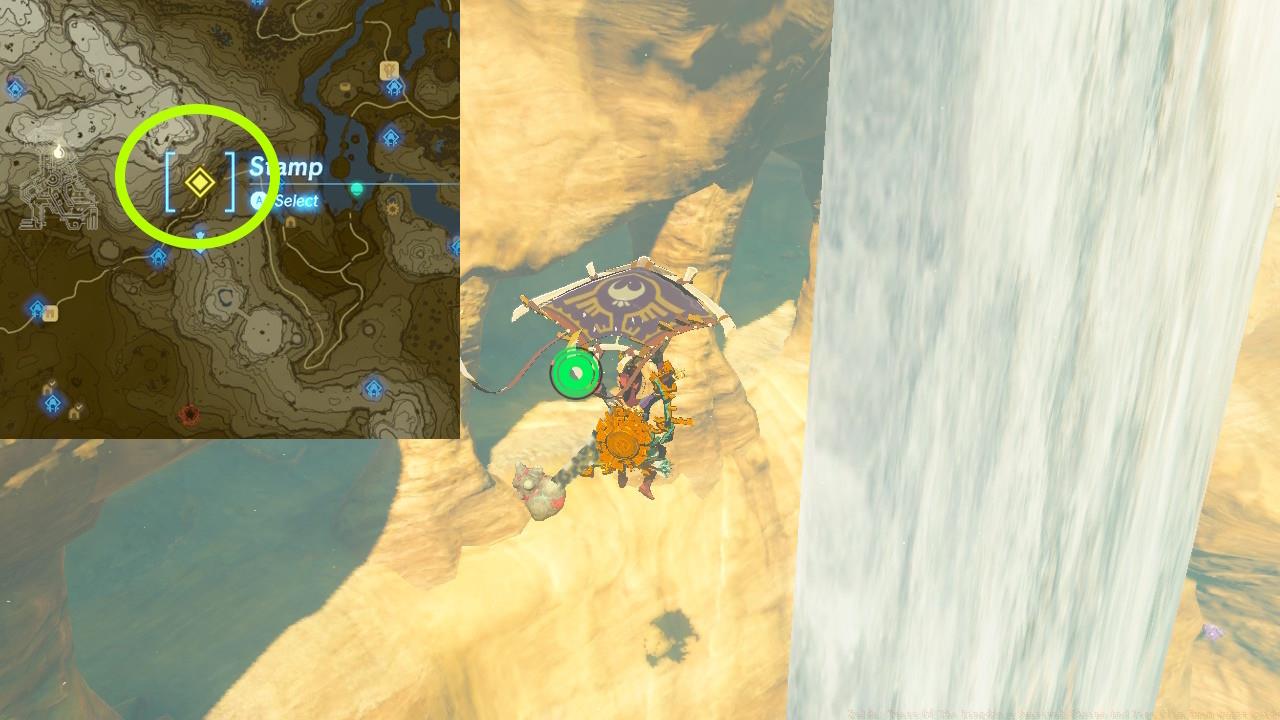
Yiga Blademaster Station entrance – Note the discreet cliffside location requiring careful aerial approach
Inside the station, the Yiga Blademaster will challenge you to demonstrate your worthiness through a series of ritual offerings. This interaction formally begins the examination process, transforming your infiltration into an official test of loyalty and skill.
Your primary objective involves locating five distinct Frog Altars scattered throughout the Gerudo Canyon territory and presenting Mighty Bananas as ceremonial offerings. The Blademaster provides an initial supply of bananas, but prudent adventurers should gather additional resources to ensure completion.
For emergency replenishment, abundant banana trees grow near Lurelin Village, offering a reliable source if your initial allocation becomes depleted during the quest.
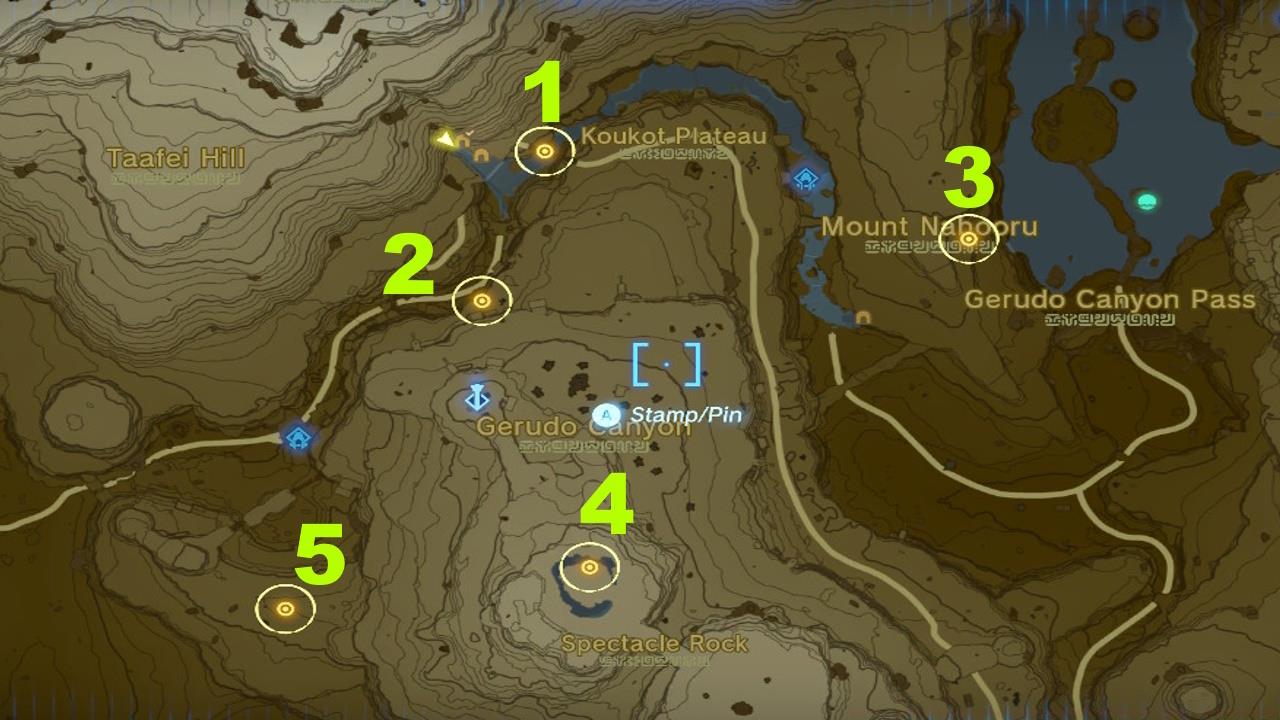
Frog Altars map – Reference this comprehensive guide to efficiently locate all five offering sites
The altar locations follow a logical progression, though you may complete them in any sequence. We recommend following the numbered path for optimal efficiency, as this route minimizes backtracking and travel time between objectives.


From left to right: Frog Altar locations #1, 2, and 3 – Note the distinctive architectural features for easy identification
To make your offering, access your inventory while positioned before an altar and select the “Hold” command for a Mighty Banana. Then press the A button to ceremoniously place the fruit within the designated bowl, completing that particular ritual.
Altar #1: Positioned on a narrow ledge beneath the rope bridge immediately to your left upon exiting the Yiga Blademaster Station. Exercise caution when navigating the precarious ledge.
Altar #2: From the Gerudo Canyon Skyview Tower, travel directly northward. As you descend the cliff face, watch for multiple wooden walkways where the altar rests securely.


Left: Frog Altar #4; Right: Frog Altar #5 – These final locations require careful environmental navigation
Seasoned adventurers can optimize their approach by collecting additional Mighty Bananas before initiating the examination. This precaution prevents potential setbacks from accidental consumption or loss during travel between altar locations.
Avoid these common mistakes: attempting the exam without complete Yiga armor, consuming your offering bananas prematurely, or approaching altars without proper stealth precautions that might alert nearby Yiga patrols.
Upon successful completion of all five offerings, return to the Yiga Blademaster to receive formal recognition of your achievement. This completion grants permanent access to the Suariwak Shrine, where valuable rewards await discovery.
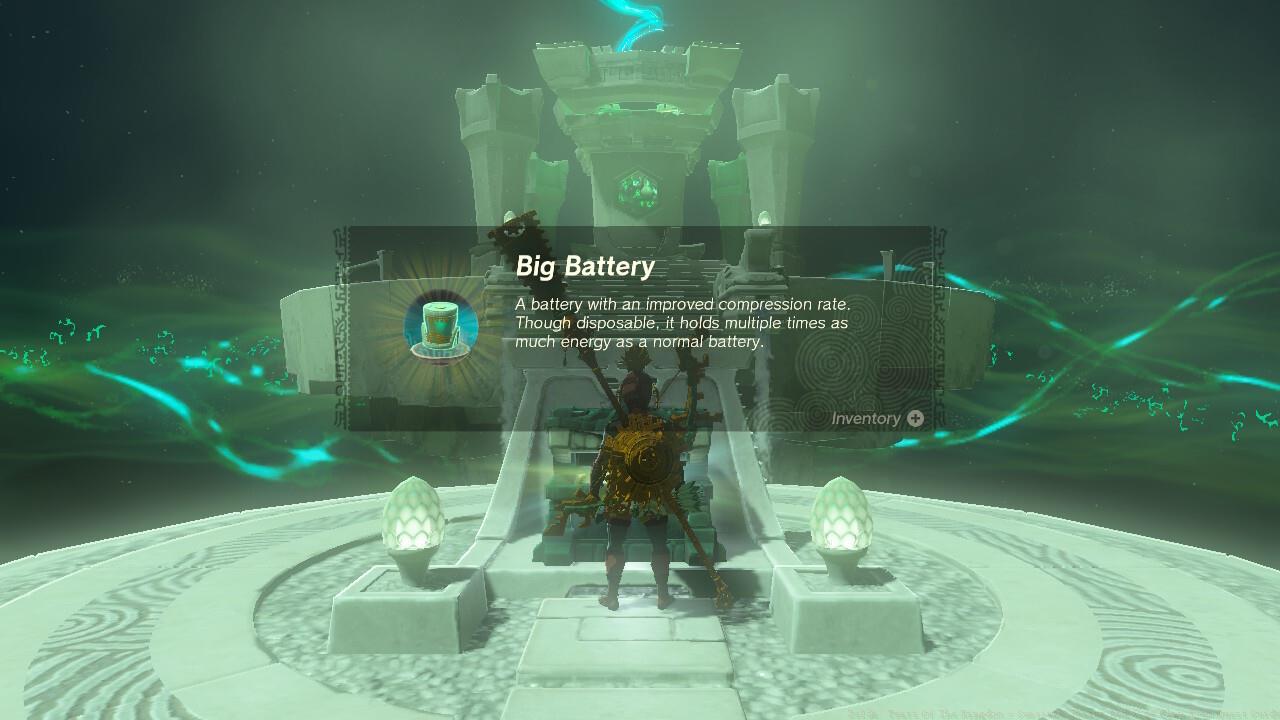
Suariwak Shrine reward – The culmination of your successful infiltration and ritual completion
The entire examination process typically requires 15-25 minutes depending on navigation efficiency and familiarity with the Gerudo Canyon terrain. For those seeking to master this challenge quickly, practice the aerial approach from the Skyview Tower to reduce travel time significantly.
Beyond the immediate shrine access, completing this examination contributes to your broader understanding of Yiga Clan operations and provides valuable intelligence for future encounters with this persistent adversary throughout Hyrule.
Action Checklist
- Acquire complete Yiga Armor Set (three pieces)
- Travel to Gerudo Canyon Skyview Tower and glide northwest
- Locate hidden cliffside path near waterfall and enter Yiga Station
- Collect Mighty Bananas from Blademaster and nearby sources
- Navigate to all five Frog Altar locations following optimized route
- Offer Mighty Banana at each altar using inventory hold function
- Return to Yiga Blademaster to complete exam and access Suariwak Shrine
No reproduction without permission:SeeYouSoon Game Club » Zelda: Tears Of The Kingdom – Suariwak Shrine And Yiga Clan Exam Quest Guide Complete the Yiga Clan Exam to unlock Suariwak Shrine with strategic banana offerings and stealth tactics