TL;DR
- Master three distinct laser patterns: single beams, corridor sequences, and moving walls
- Utilize Ascend strategically through moving platforms and laser wall ceilings
- Solve the cube puzzle to unlock valuable treasure chest rewards
- Time your movements carefully to avoid common navigation mistakes
- Combine Ultrahand and Ascend abilities for optimal shrine completion
Embarking on the Sahirow Shrine journey presents players with a series of laser-based obstacles that test both timing and spatial awareness. This guide breaks down each challenge with precision strategies.

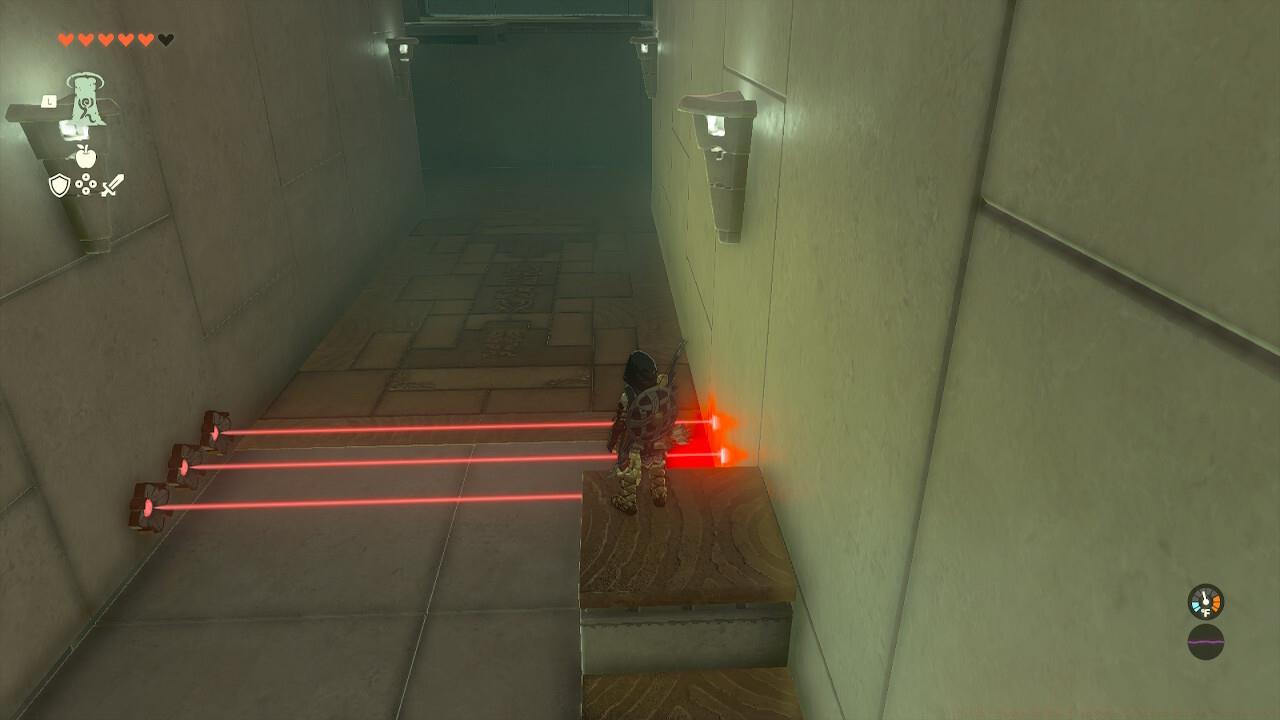
Strategic positioning on the staircase allows you to clear multiple lasers efficiently while maintaining momentum.
Upon entering the shrine, immediately confront the first laser barrier with a well-timed jump. As you progress around the corner, you’ll encounter an intensified laser corridor requiring alternating duck-and-jump maneuvers. The key technique involves recognizing laser height patterns—lower beams demand crouching movements while elevated ones necessitate jumping. Many players mistakenly attempt to rush this section, but patience in observing laser timing cycles proves more effective.
The staircase section provides critical elevation advantages. Climb these steps deliberately and use the higher vantage point to execute controlled jumps over the concluding three laser barriers. Advanced players can combine sprinting with jumping to maintain flow while minimizing exposure time.

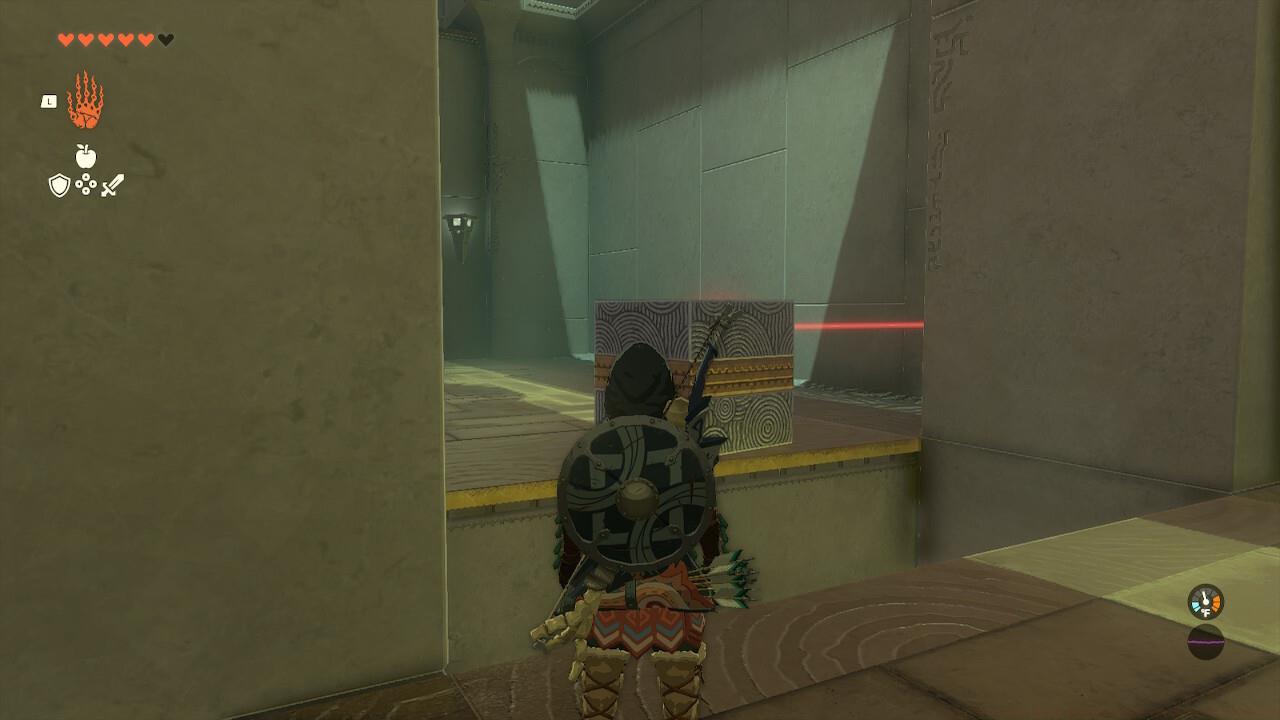
Proper cube placement requires precise alignment with the laser emitter to ensure continuous beam interruption.
Activate your Ascend ability to penetrate the moving platform ahead, then pivot right to confront another laser obstacle. Employ Ultrahand to secure one of the available cubes, strategically positioning it to intercept the laser beam path. This action triggers the mechanism securing the treasure chamber, revealing a valuable Spicy Elixir. The cube puzzle demonstrates Tears of the Kingdom’s physics-based problem-solving—ensure the cube maintains stable contact with the ground to prevent accidental displacement.
The concluding segment introduces the shrine’s most formidable challenge—a advancing laser wall that demands precise Ascend application. This section separates novice players from masters of movement mechanics.
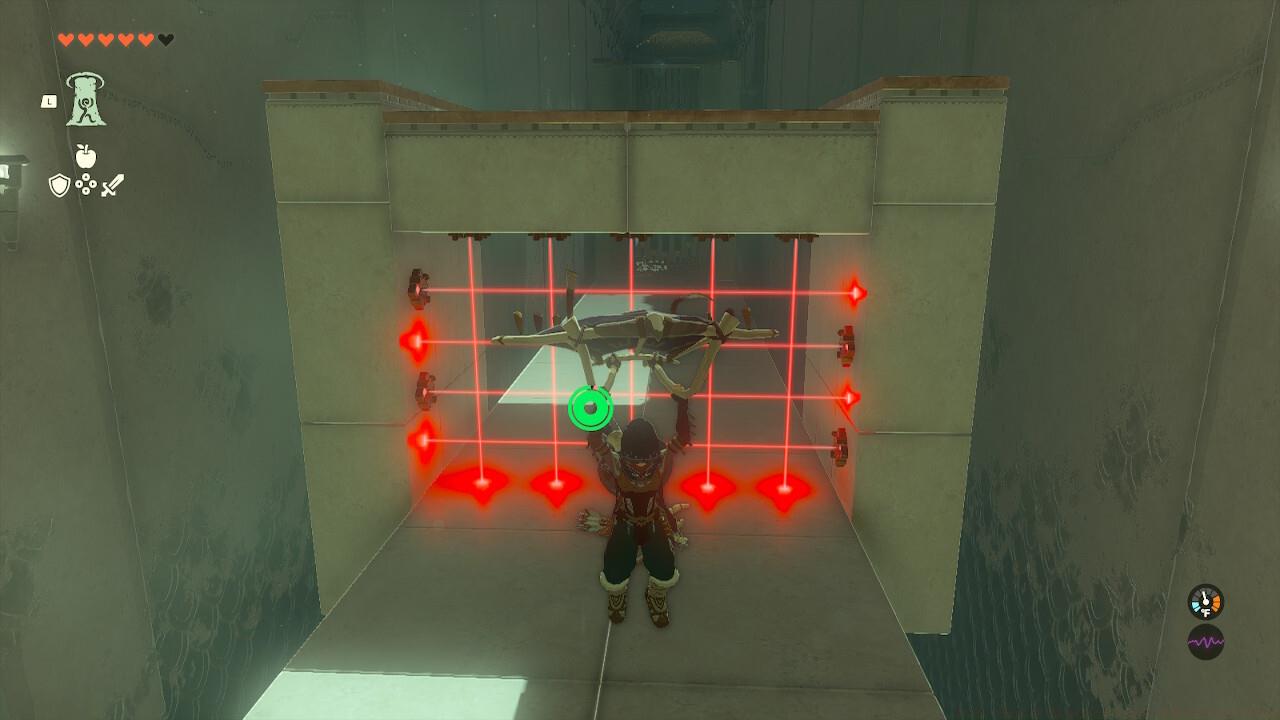
Navigate backward through the newly accessible corridor as the entrance seals behind you. Confront the initial laser sequence with a jump-over, duck-under pattern. When approaching the final barrier, resist the instinct to retreat—instead, maintain position and monitor the laser wall’s approach rhythm. The optimal moment for Ascend activation occurs when the wall is approximately three character lengths away, allowing you to phase through the ceiling structure of the moving obstacle.

Perfect timing with the Ascend ability lets you bypass the seemingly impassable laser barrier with elegant efficiency.
Successful ceiling penetration deposits you safely beyond the lethal laser array. Execute a controlled glide descent to claim your well-earned shrine completion reward. This technique showcases why mastering Ascend is crucial for advanced shrine navigation throughout Hyrule.
Completion typically requires 8-12 minutes for first-time attempts, though experienced players can achieve sub-5-minute clears. The skills honed here directly translate to other movement-based challenges, making this shrine excellent practice for the game’s more complex obstacle courses. For comprehensive shrine mastery, consult our Complete Guide to systematic puzzle solving.
Understanding these mechanics provides foundation for tackling similar environmental puzzles. The strategic cube manipulation techniques learned here will prove invaluable when confronting more complex Ultrahand challenges in later gameplay stages.
Action Checklist
- Master initial laser corridor with alternating duck-jump rhythm
- Utilize staircase elevation for efficient three-laser clearance
- Solve cube puzzle with precise Ultrahand placement for treasure access
- Execute perfect Ascend timing through moving laser wall ceiling
No reproduction without permission:SeeYouSoon Game Club » Zelda: Tears Of The Kingdom – Sahirow Shrine Puzzle Guide Master laser dodging techniques and clever Ascend strategies to conquer Sahirow Shrine efficiently
