TL;DR
- Master the physics-based floating ball mechanics for platform elevation
- Combine Ultrahand and Recall abilities for temporary platform suspension
- Build stable watercraft using proper weight distribution principles
- Secure the optional chest before activating the final pressure plate
- Complete the shrine in under 10 minutes with optimized strategies
This physics-intensive shrine challenge centers around manipulating floating spheres to navigate aquatic environments and overcome elevation obstacles. Success requires understanding buoyancy principles within Tears of the Kingdom’s sophisticated physics engine.
The Legend of Zelda: Tears of the Kingdom transforms Hyrule into an expansive physics laboratory, with numerous shrines demanding mastery of these systems. The Rasiwak Shrine exemplifies this design philosophy, featuring the “Flotational Brilliance” puzzle situated on North Akkala Beach in Hyrule’s northeastern territory. This guide provides comprehensive strategies for conquering this challenging shrine.
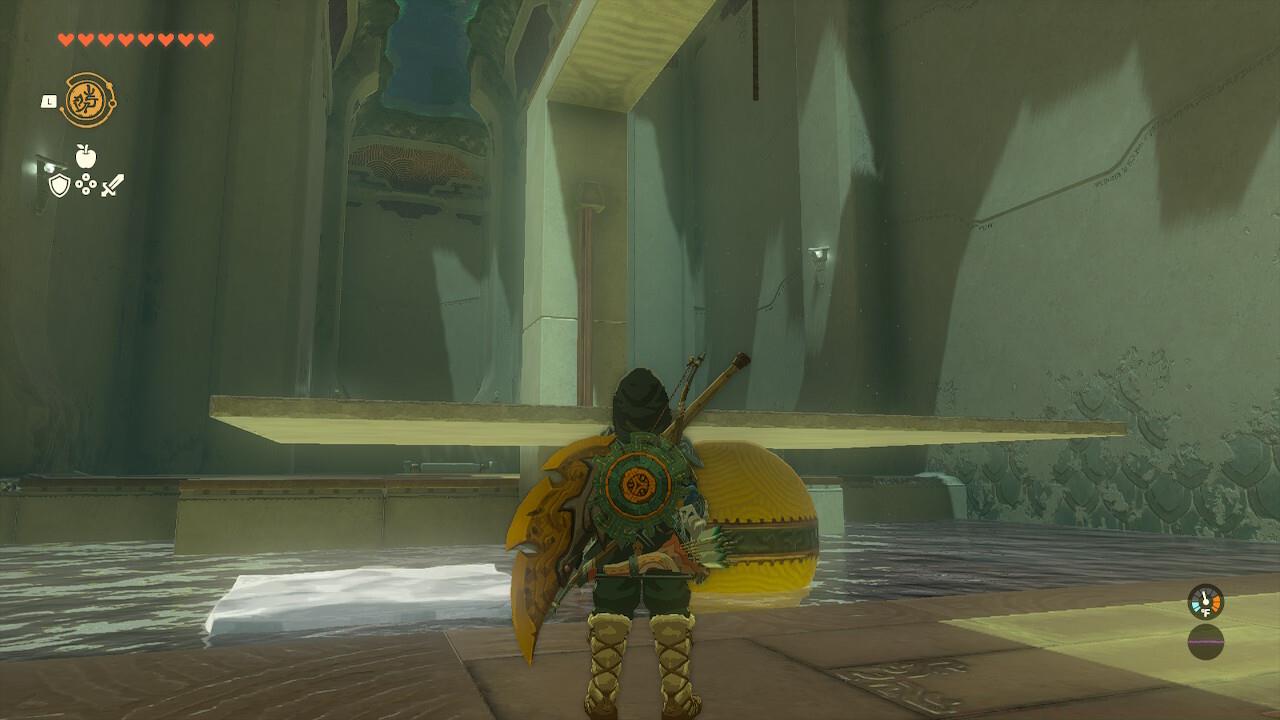
Use the floating yellow ball to create a platform of the correct height to advance.
Upon entering the shrine, ascend the staircase to discover a water-filled chamber containing a suspended walkway and a large yellow buoyant sphere. Your objective involves severing the cord supporting the elevated platform while ensuring the yellow sphere remains positioned beneath it. This strategic placement maintains the platform at optimal elevation for climbing access and progression. The supporting rope can be eliminated using projectile weapons or by employing cryogenic materials such as Ice Fruit to generate frozen surfaces in the water, enabling approach to cut the cord with close-combat implements.
Leverage the floating yellow sphere to establish a platform at precise elevation for advancement.
Expert players should note that arrow-based rope cutting provides the most reliable method, while ice-based approaches work better for melee-focused builds. Positioning the ball slightly off-center can cause platform instability, so aim for direct center placement.
Proceed to encounter a compact inclined platform submerged in aqueous terrain. Transport the yellow floating sphere to this location. Employ Ultrahand to elevate the platform momentarily before release, then activate Recall to maintain aerial suspension autonomously for several seconds. During this temporal window, maneuver the yellow sphere beneath the platform, which will sustain sufficient elevation to access subsequent areas.
Utilize Recall to stabilize the ramp position, enabling strategic placement of the yellow sphere underneath.
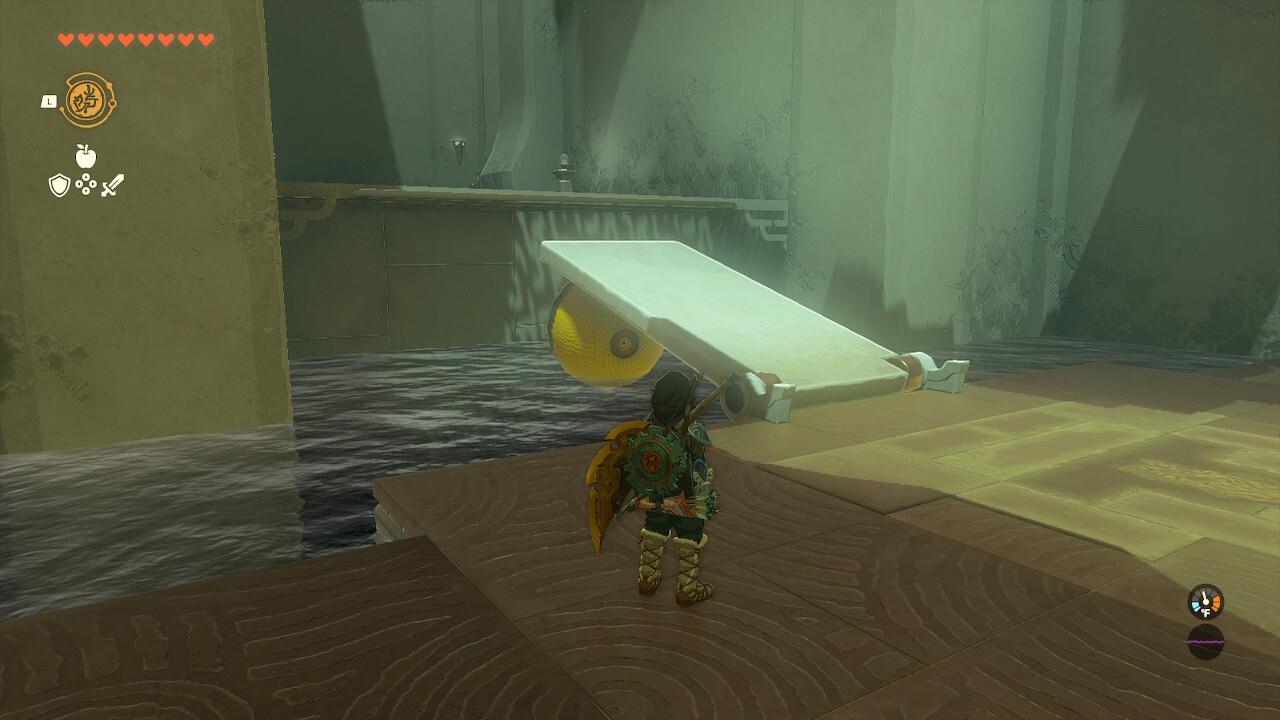
Use Recall to hold the ramp in place, so you can place the yellow ball underneath.
Advanced technique: Activate Recall immediately after Ultrahand release for maximum suspension duration. Many players fail by waiting too long between abilities, resulting in platform descent before ball placement. Practice the timing in open areas if needed.
Advance to the subsequent chamber featuring an extensive water body, containing a flat stone foundation, an air propulsion device, and two yellow floating spheres. Your mission involves constructing a buoyant vessel from available components to traverse the aquatic expanse while transporting both yellow spheres. Due to buoyancy characteristics, the spheres typically position themselves atop your construction rather than beneath. This segment also contains the optional treasure container, suspended from an overhead cord on the aqueous left perimeter. Navigate your vessel beneath it and sever the cord to deposit the chest onto your platform. Premature cord severing without underlying support will cause submersion, necessitating Ultrahand retrieval.
Since the yellow spheres possess buoyancy, bottom placement will induce structural inversion.
Because the yellow balls float, if you place them on the bottom of the platform, it will just flip over.
Vessel construction proves necessary rather than aquatic traversal because a massive pressure plate activates the shrine’s concluding portal. You must position your creation onto this plate to unlock the final gateway and resolve the puzzle.
Position your creation onto the substantial pressure plate to activate the concluding shrine portal.
Drop your creation onto the large button to open the final door in the Shrine.
Construction tip: Place the fan at the rear center of the stone platform for balanced propulsion. Distribute the floating balls symmetrically on top to maintain stability. Retrieve the optional chest before approaching the final button, as returning afterward requires rebuilding your vessel.
Action Checklist
- Cut the rope supporting the first platform with arrows or ice-based approaches
- Position the yellow ball directly beneath the platform before cutting
- Combine Ultrahand and Recall abilities for temporary ramp suspension
- Construct a stable vessel with proper weight distribution for both yellow balls
- Retrieve the optional chest before activating the final pressure plate
No reproduction without permission:SeeYouSoon Game Club » Zelda: Tears Of The Kingdom – Rasiwak Shrine Puzzle Guide Master the Rasiwak Shrine's physics puzzles with expert strategies and time-saving techniques