TL;DR
- Start from Rakashog Shrine in Gerudo Sky Archipelago for optimal Sky Labyrinth access
- Complete the Siyamotsus Shrine puzzle first to unlock fast travel points
- Activate all three terminals in the Sky Labyrinth before descending to the Depths
- Defeat Flux Construct III using strategic positioning and weapon selection
- Claim the Evil Spirit Mask and additional valuable rewards upon completion
Navigate the intricate three-tiered maze system of Gerudo’s South Lomei Labyrinth in The Legend of Zelda: Tears of the Kingdom to uncover powerful rewards and hidden secrets.
The South Lomei Labyrinth presents a complex challenge spanning three distinct layers: Surface, Sky, and Depths. This interconnected puzzle requires strategic planning to efficiently conquer all sections. Understanding the optimal sequence—Sky first, then Surface, followed by Depths—will save you significant time and resources. This guide provides comprehensive strategies to master each component while avoiding common pitfalls that frustrate many players.
Pro Tip: Many players waste hours attempting the Surface maze first, but starting with the Sky Labyrinth provides crucial fast travel points that streamline the entire process.
Be aware that this guide contains minor spoilers regarding the ultimate reward, though we’ve structured it to preserve the discovery experience wherever possible.
Rakashog Shrine to South Lomei Sky Labyrinth
Tears of the Kingdom features three primary labyrinths, each with interconnected versions across Surface, Sky, and Depths regions. Their remote locations make strategic fast travel planning essential for efficient completion.
The South Lomei Labyrinth occupies the southeastern extremity of the Gerudo region. Rather than undertaking the arduous desert crossing, experienced players utilize aerial approaches from nearby Sky Archipelagos.
For optimal access, begin your journey from the Rakashog Shrine in the Gerudo Sky Archipelago. This positioning allows for constructing efficient aerial vehicles using available Zonai Devices. A well-designed Rocket-powered Fanplane provides the maneuverability needed to reach the Sky Labyrinth entrance precisely.
Advanced Strategy: Stockpile Zonai Fans and Rockets at Rakashog Shrine before attempting the crossing. This ensures you have sufficient resources for adjustments during flight.
Upon successful arrival, immediately activate the Siyamotsus Shrine as a permanent fast travel point. This becomes your primary hub for navigating between labyrinth layers efficiently.
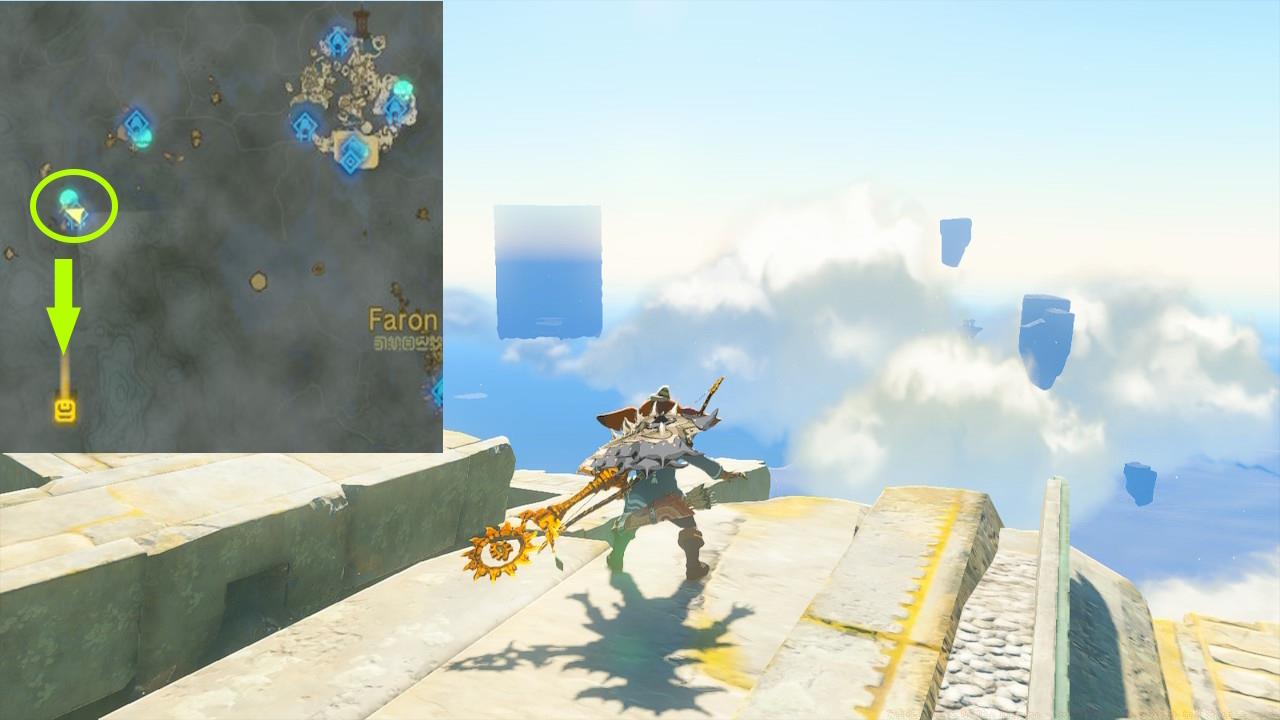
Left: South Lomei Labyrinth map; Right: Hidden path
The Surface maze contains the Motsusis Shrine and a central terminal that must be activated to progress. The labyrinth’s winding corridors can disorient unprepared adventurers, making systematic navigation crucial.
Begin by exploring the perimeter walls to identify the primary entrance. Once inside, methodically work through the eastern section before proceeding westward. The maze design incorporates several deceptive dead ends that waste time if pursued.
Critical Insight: The central terminal isn’t located at the geometric center of the maze. Instead, it’s positioned in the northwestern quadrant, accessible through a concealed passage behind a false wall.
To locate this hidden path, watch for subtle visual cues: slightly discolored wall sections or irregular stone patterns often indicate secret openings. Using Ultrahand to examine suspicious wall areas can reveal these hidden routes.
Activating the terminal triggers the next phase of the challenge, connecting the Surface and Depths components. This activation also reveals additional clues for navigating the subterranean section.
Common Mistake: Many players exhaust themselves searching every corridor when the solution involves strategic omission. Focus on main pathways and trust that the critical elements will become apparent through progression.
The Siyamotsus Shrine presents a sophisticated physics-based puzzle that challenges spatial reasoning and creative problem-solving skills.
The chamber contains multiple movable platforms and energy conduits that must be aligned to create a continuous circuit. Success requires understanding the relationship between platform positioning and energy flow mechanics.
Step-by-Step Solution: First, reposition the central platform to bridge the gap between the energy source and the first receptor. Next, adjust the angular platform to redirect the energy stream toward the secondary receptor.
Common frustration points include misjudging platform rotation angles and failing to account for energy dissipation over distance. Ensure each platform segment overlaps sufficiently to maintain conductivity.
Time-Saving Technique: Complete the energy circuit before attempting to cross to the shrine’s inner chamber. This prevents having to readjust platforms while navigating precarious gaps.
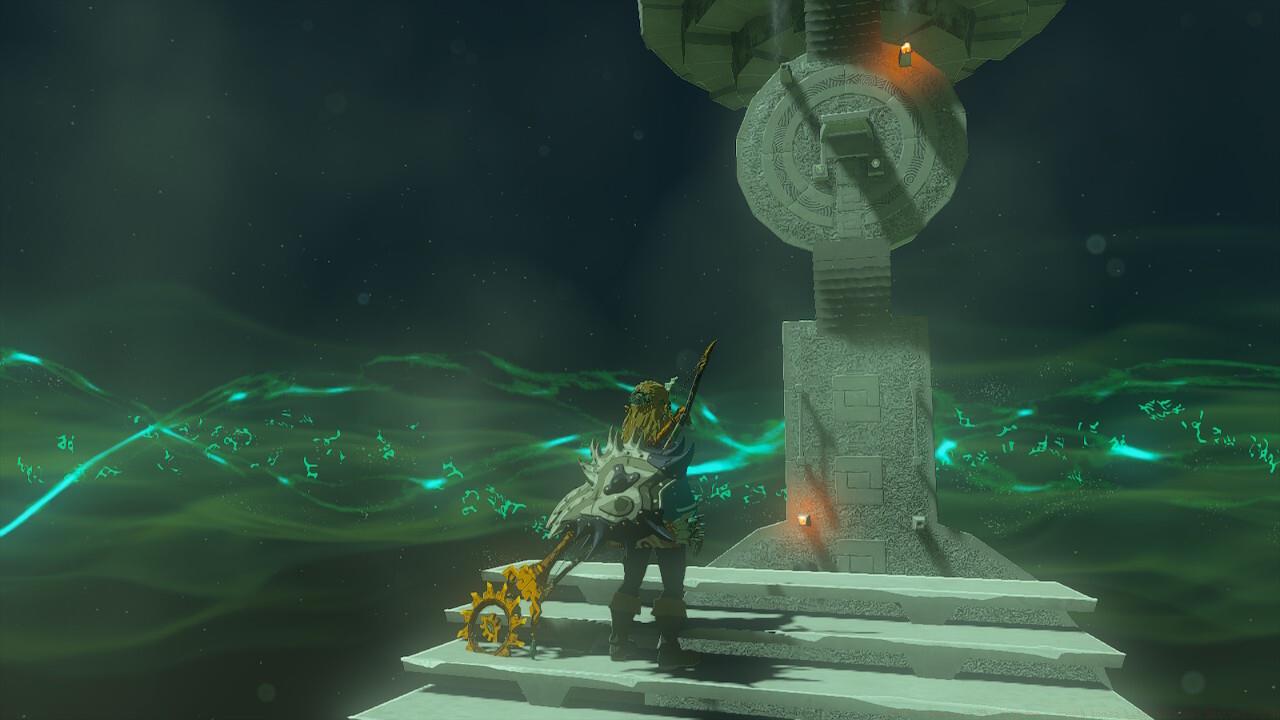
Siyamotsus Shrine Puzzle
Advanced players can bypass certain platform adjustments using creative Ascend applications or well-timed jumps, though these require precise execution.
The Sky Labyrinth features three distinct terminals that must be activated in sequence to unlock the Depths access point. Their scattered placement tests navigation efficiency and spatial awareness.
Terminal locations follow a triangular pattern across the floating structure. Begin with the northeastern terminal, proceed to the southwestern, and conclude with the southeastern unit.
Navigation Efficiency: Activate the terminals in the prescribed order to minimize backtracking. The maze architecture creates natural pathways when approached systematically.
Pro Tip: After activating each terminal, use your scope to mark the next objective. This maintains orientation despite the complex three-dimensional layout.
South Lomei Sky Labyrinth terminals map
Each terminal activation provides visual and auditory feedback, with energy streams visibly connecting to the central nexus. These connections serve as progress indicators and help maintain orientation.
Budget approximately 45-60 minutes for complete Sky Labyrinth terminal activation, accounting for navigation challenges and potential adjustments to your aerial vehicle.
The Depths labyrinth culminates in a challenging confrontation with Flux Construct III, a formidable boss requiring specific combat strategies.
Boss Tactics: Flux Construct III employs area-denial attacks and phase transitions that demand adaptive responses. During its initial phase, focus on damaging the core energy modules while avoiding the sweeping energy beams.
Weapon Recommendations: Equip weapons with high durability and damage output. Spear-type weapons prove particularly effective for maintaining distance while dealing consistent damage.
Upon victory, you’ll receive the coveted Evil Spirit Mask, which provides unique gameplay benefits when worn.
Left: Flux Construct III; Right: Evil Spirit Mask
Additional Rewards: Beyond the mask, you’ll acquire valuable Zonai Devices, rare crafting materials, and additional Spirit Orbs for health or stamina upgrades.
Completion Time: Experienced players typically require 2-3 hours to complete all three labyrinth tiers, while newcomers should budget 4-5 hours accounting for exploration and trial-and-error learning.
Action Checklist
- Travel to Rakashog Shrine in Gerudo Sky Archipelago and construct Rocket-powered Fanplane
- Navigate to South Lomei Sky Labyrinth and activate Siyamotsus Shrine
- Solve the Siyamotsus Shrine puzzle to establish fast travel point
- Activate all three Sky Labyrinth terminals in correct sequence
- Descend to Surface maze, locate hidden path, and activate central terminal
- Enter Depths labyrinth and defeat Flux Construct III using strategic combat approach
- Collect Evil Spirit Mask and additional rewards from treasure chamber
No reproduction without permission:SeeYouSoon Game Club » Zelda: Tears Of The Kingdom – South Lomei Labyrinth And Shrines Guide Master the South Lomei Labyrinth with expert navigation tips, shrine solutions, and boss strategies for maximum rewards