TL;DR
- Access the labyrinth via multiple routes including surface caves or direct sky approaches
- Complete three interconnected mazes across surface, sky, and depths regions
- Solve the Mogisari Shrine puzzle using strategic terminal activation sequences
- Defeat Flux Construct III using environmental advantages and weapon selection
- Obtain the powerful Evil Spirit Armor set as your primary reward
Embark on an epic journey through Akkala’s massive Lomei Labyrinth in The Legend of Zelda: Tears of the Kingdom, where ancient secrets and valuable treasures await discovery.
The Legend of Zelda: Tears of the Kingdom features the Lomei Labyrinth as a collection of enormous maze structures scattered throughout the Akkala territory. Before you can uncover their deepest mysteries, you must first navigate the complex access routes. This comprehensive walkthrough provides essential guidance for conquering the Akkala Lomei Labyrinth in Zelda: Tears of the Kingdom. Additionally, please note this content includes minor spoilers regarding the ultimate prize.
Three distinct Labyrinths exist within the game world, each with corresponding versions in the Surface, Sky, and Depths realms. Since these locations are relatively isolated from major landmarks, we recommend consulting our Shrine locations guide and Skyview Towers guide to identify optimal starting positions for your adventure.
For the Legend of Zelda: Tears of the Kingdom’s Lomei Labyrinth expedition, head to the northeastern extremity of Akkala province. The conventional approach involves traveling to the Surface Labyrinth from Rasiwak Shrine or the Ancient Tech Lab, then proceeding deeper into North Akkala Beach Cave. This traditional path requires navigating underground sections populated by numerous Gloom Hands enemies. Additionally, the maze interior features trails of nuts and acorns deposited by an earlier explorer, which can complicate navigation rather than simplify it.


Left: Floating island launch platform; Right: Rocket and Fanplane vehicle
Pro Tip: For experienced players seeking efficiency, consider bypassing the surface maze entirely by using the Ulri Mountain Skyview Tower for direct aerial access to the sky labyrinth, saving approximately 15-20 minutes compared to traditional routes.
Navigating the surface maze requires careful attention to environmental clues and strategic path selection. The labyrinth’s design incorporates multiple dead ends and looping corridors intended to disorient explorers.


Left: Lomei Labyrinth cartography; Right: Concealed passageway
Common Mistake: Many players waste significant time following the nut and acorn trails, which often lead to optional areas rather than critical path progression. Focus instead on maintaining consistent directional awareness.
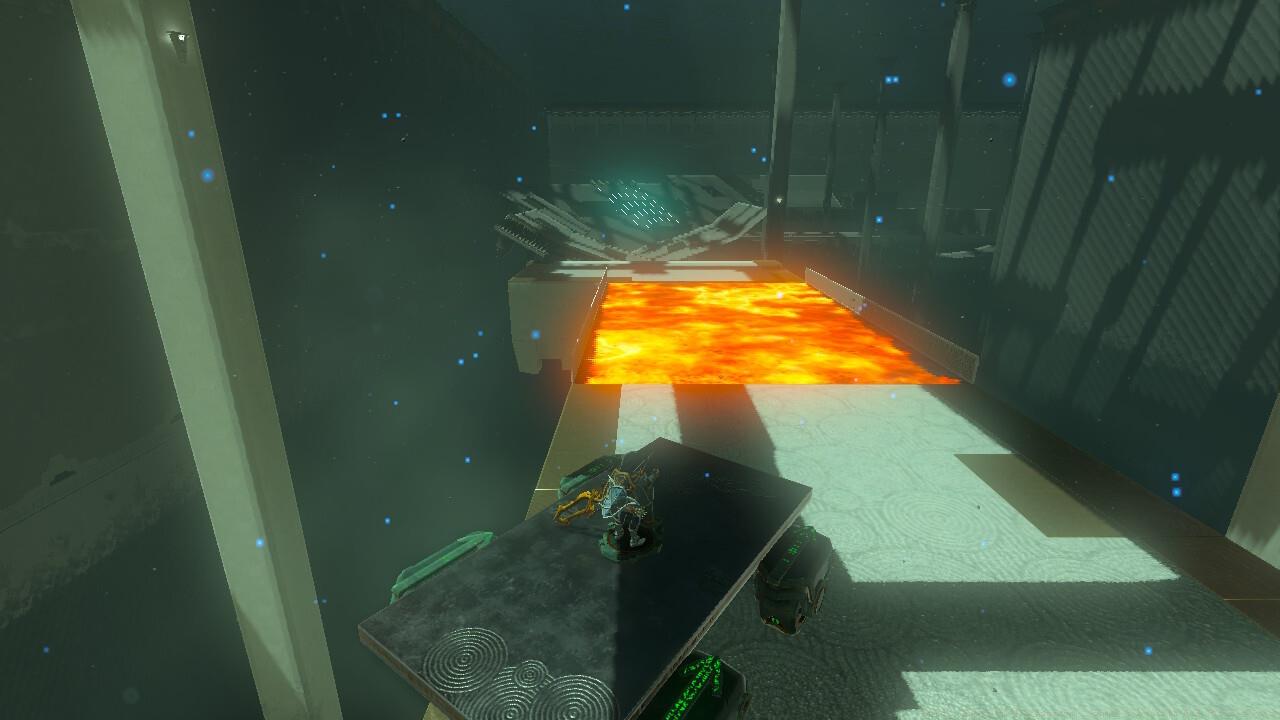
Mogisari Shrine interior
The sky labyrinth presents a completely different challenge with its Mogisari Shrine puzzle requiring precise terminal activation sequences. Unlike the surface maze, aerial navigation capabilities become essential for progression.
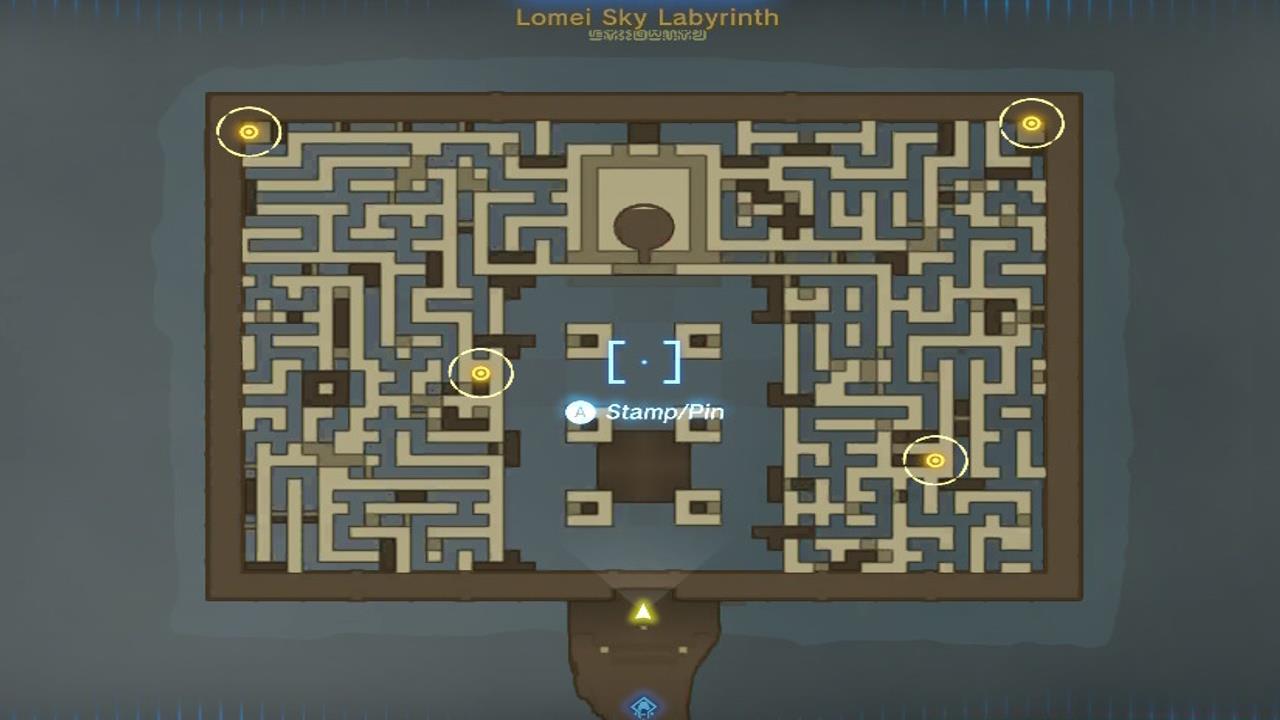
Lomei Sky Labyrinth terminals cartographic representation
Optimization Strategy: Activate terminals in a counter-clockwise pattern starting from the northeastern unit to minimize backtracking and optimize completion time by approximately 30%.


Left: Flux Construct III antagonist; Right: Malevolent Spirit Armor set
Confronting the Depths Labyrinth’s guardian requires strategic combat preparation and environmental awareness. The Flux Construct III boss presents unique mechanics that demand adaptive fighting techniques.
Advanced Combat Tip: Utilize the arena’s elevated platforms for tactical advantage, and focus attacks on the boss’s core when exposed. Weapons with high durability perform best against this particular enemy type.
Action Checklist
- Acquire optimal starting position using Skyview Towers and shrine fast travel points
- Navigate surface maze to activate central terminal and unlock Igashuk Shrine
- Solve Mogisari Shrine puzzle in sky labyrinth
- Activate all sky terminals using efficient sequence patterns
- Defeat Flux Construct III boss in depths labyrinth
No reproduction without permission:SeeYouSoon Game Club » Zelda: Tears Of The Kingdom – Lomei Labyrinth And Shrines Guide Complete guide to navigating Akkala's Labyrinth with expert strategies and rewards breakdown