TL;DR
- Musanokir Shrine requires clearing Great Hyrule Forest’s mist via Depths navigation first
- Master pendulum physics by attaching objects to ball-and-chain devices for momentum
- The third puzzle demands three-block configuration with strategic corner placement
- Use Ascend ability through gaps created by multi-block pendulum structures
- Treasure chest containing Large Zonai Charge requires creative object stacking
Mastering the Musanokir Shrine’s Swing to Hit challenge in The Legend of Zelda: Tears of the Kingdom begins with proper navigation to its concealed location. This shrine presents unique physics-based puzzles that test your understanding of pendulum mechanics and creative problem-solving abilities.
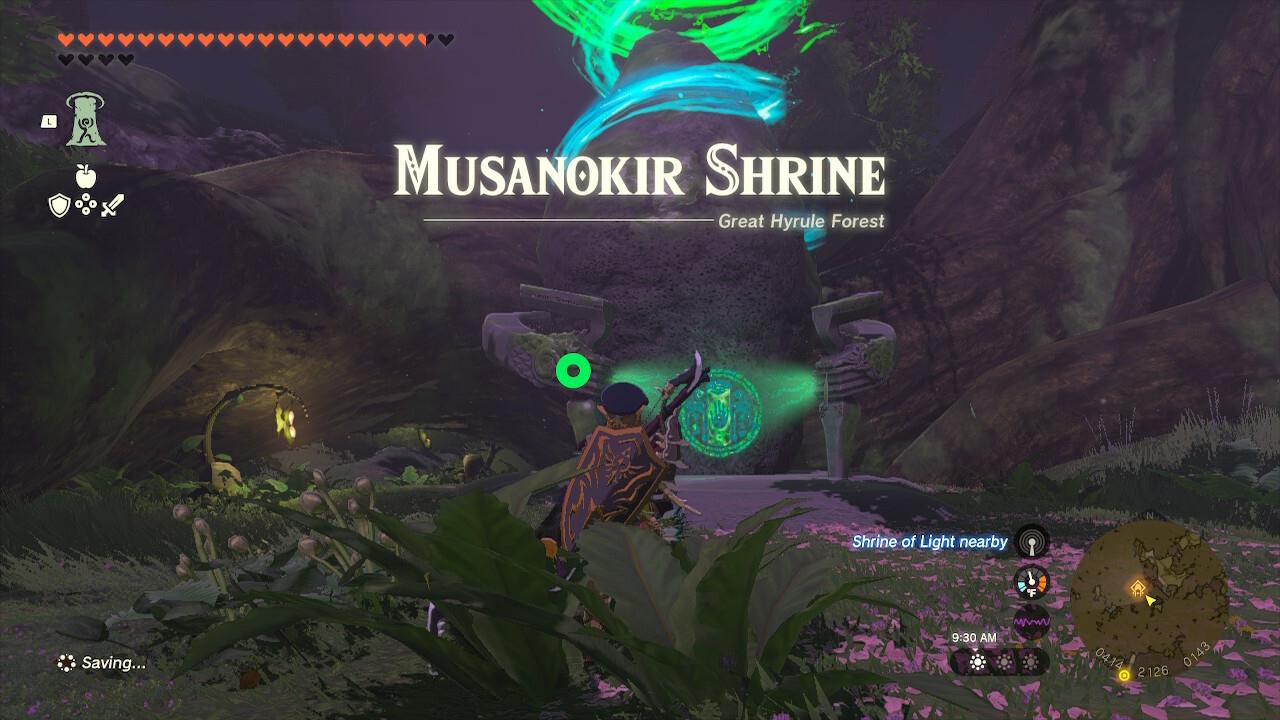
The Musanokir Shrine resides deep within the heart of the Great Hyrule Forest, though reaching it presents the initial obstacle. A persistent mist envelops the area, creating a magical barrier that respawns adventurers to their starting position if attempted directly. Successful access requires an alternative approach through the underground network known as the Depths.
Musanokir Shrine location
Once you successfully navigate through the subterranean passages to emerge in Korok Forest, the shrine entrance becomes immediately accessible. Positioned conveniently nearby, this marks your gateway to the pendulum-based challenges awaiting inside. For comprehensive guidance on clearing the forest’s mystical fog, consult our detailed Great Hyrule Forest/Deku Tree guide covering all necessary procedures.
Upon entering Musanokir Shrine, you’ll encounter specialized puzzle chambers centered around innovative ball-and-chain apparatus. These devices function as the foundation for pendulum mechanics, allowing attached objects to swing with realistic physics when manipulated properly.
The core mechanic involves using your Ultrahand ability to connect various environmental objects to these central swinging devices. This creates customized pendulums that can bridge gaps, strike targets, or create platforms depending on your strategic attachments. Understanding weight distribution and swing arc becomes crucial for puzzle resolution.


Left: First puzzle; Right: Second puzzle.
Common mistakes include improper attachment points that limit swing range, insufficient weight for momentum generation, and incorrect release timing that fails to achieve desired results. Advanced players should experiment with counterweight configurations for more precise pendulum control.
The initial chamber presents a straightforward introduction to pendulum applications. Simply attach the provided plate to the ball-and-chain device, creating an effective bridge across the gap. This demonstrates the fundamental principle of using pendulums for traversal solutions.
Progressing to the second puzzle introduces momentum concepts. Attach the large block to the swinging mechanism, then use Ultrahand to pull it backward maximally before release. This builds significant kinetic energy, ensuring the pendulum swings forcefully enough to strike the bullseye target with adequate impact.
The third chamber elevates complexity with multi-object requirements. A central movable section can be positioned toward the target, with an additional ball-and-chain device beneath it. The optimal approach involves strategic block placement from previous rooms combined with new elements.


Left: Third puzzle objects; Right: Third puzzle completed.
For the main puzzle solution, utilize three separate blocks attached to the central device at distinct corners. This configuration creates strategic gaps beneath the structure, enabling utilization of your Ascend ability to reach otherwise inaccessible areas. Proper corner distribution ensures balanced pendulum motion.
Beyond the primary puzzle objectives, Musanokir Shrine contains valuable treasure for resourceful explorers. A chest containing a Large Zonai Charge awaits those who master object manipulation beyond basic requirements.
To secure this reward, creatively combine various environmental objects to construct an elevated incline accessible for climbing. This demonstrates advanced understanding of the shrine’s physics systems and creative problem-solving capabilities.
Advanced optimization involves pre-planning object usage across multiple chambers, as certain elements from earlier puzzles can be repurposed for more efficient solutions. Experienced players typically complete all three main challenges within 15-20 minutes, while treasure acquisition adds approximately 5-7 additional minutes for thorough exploration.
For players seeking to enhance their overall gameplay experience, our BF6 Weapons Unlock Guide provides complementary strategies for resource management that apply broadly across Tears of the Kingdom’s challenge spectrum.
Action Checklist
- Navigate through the Depths to bypass Great Hyrule Forest’s mist barrier
- Enter shrine and understand ball-and-chain pendulum mechanics
- Solve first puzzle by attaching plate as bridge
- Complete second puzzle using full backward pull for maximum momentum
- Construct three-block pendulum with corner placement for third puzzle
- Use Ascend ability through created gaps to progress
- Acquire treasure chest by building elevated incline through object combination
No reproduction without permission:SeeYouSoon Game Club » Zelda: Tears Of The Kingdom – Musanokir Shrine Puzzle Guide Master the pendulum mechanics and solve Musanokir Shrine's challenging physics puzzles with expert strategies