TL;DR
- Domizuin Shrine requires precise cube rotation sequences using both inner and outer switches
- Strategic positioning and Ascend ability are crucial for navigating the puzzle’s complex pathways
- Common mistakes include incorrect switch activation order and failing to utilize reset options
- Hidden rewards include Zonai Charge and arrows accessible through specific rotation patterns
- Advanced players can complete the shrine in under 5 minutes with optimized movement strategies
Mastering the Domizuin Shrine’s A Prone Pathway presents one of the most intricate spatial challenges in The Legend of Zelda: Tears of the Kingdom. This puzzle demands exceptional spatial reasoning and precise execution to navigate its rotating cube mechanics successfully.
The Domizuin Shrine is strategically positioned within the Akkala Bridge Ruins, situated in the southern sector of Akkala region near the Lanayru border. When approaching from Akkala Span, identify the prominent hill featuring a distinctive tower structure. Scaling this elevation completely reveals the shrine entrance, marking your starting point for this cerebral challenge.
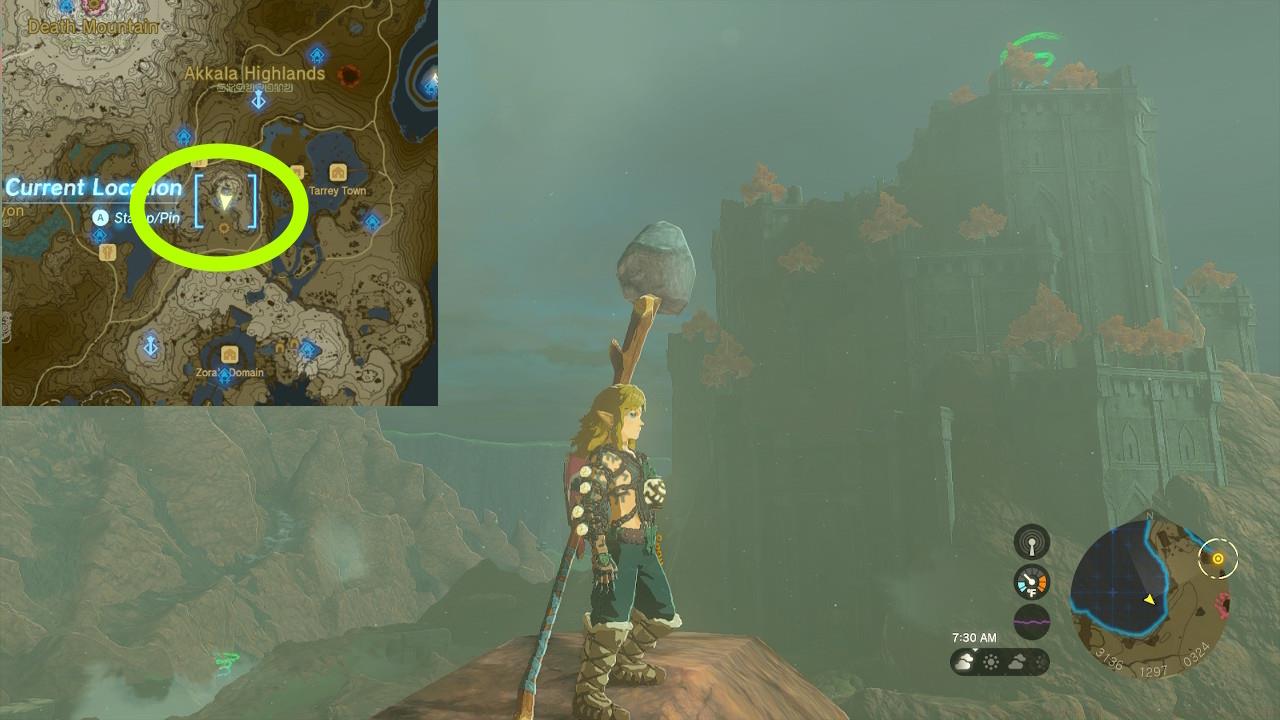
Domizuin Shrine location
Upon entry, the puzzle designation ‘A Prone Pathway’ provides your primary navigation clue. This terminology directly references the horizontal positioning required for successful traversal through the cube’s internal architecture.
Utilize the Ascend ability immediately to reach the upper platform. Here you’ll encounter the massive rotatable cube mechanism alongside an external activation switch. Striking this outer control once initiates the cube’s rotation, exposing the interior chamber containing the secondary internal switch. This configuration serves as your reset reference point should navigation errors occur. For alternative resetting, exiting and re-entering the shrine returns all elements to their original positions.
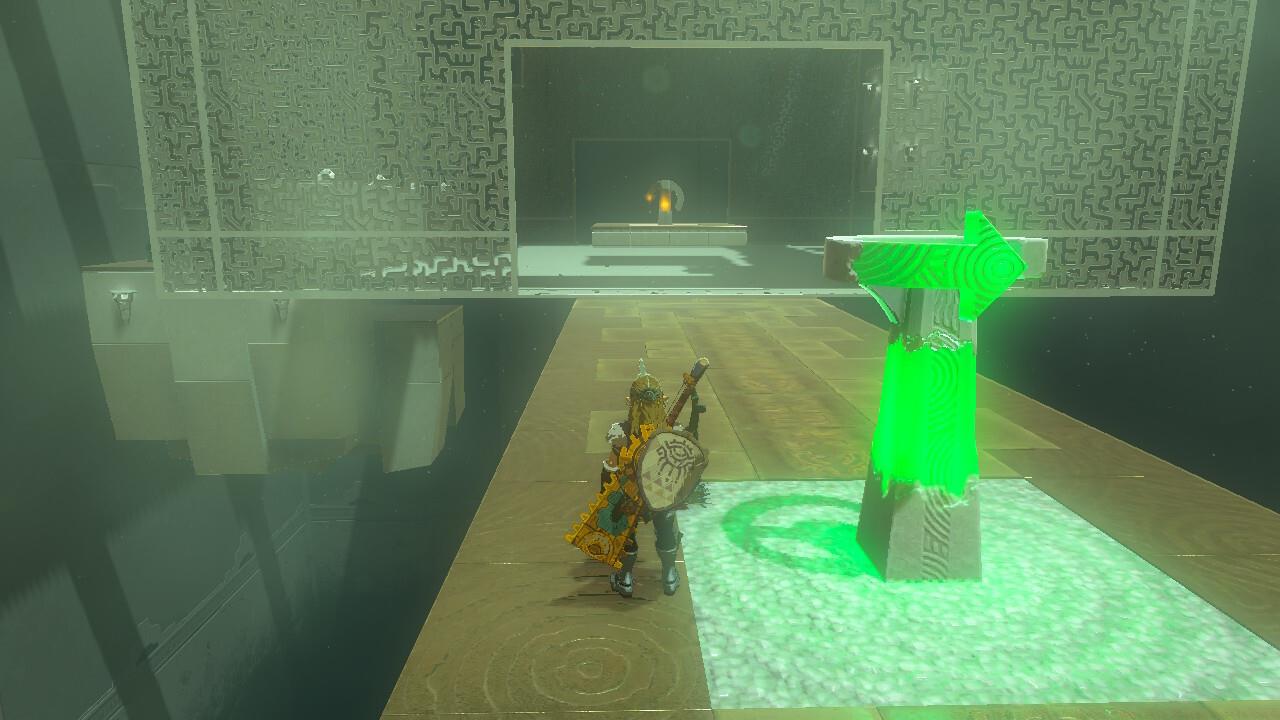
Domizuin Shrine start point
Executing the correct switch activation sequence is paramount for shrine completion. The cube’s rotational mechanics follow specific patterns that must be mastered through deliberate practice and observation.
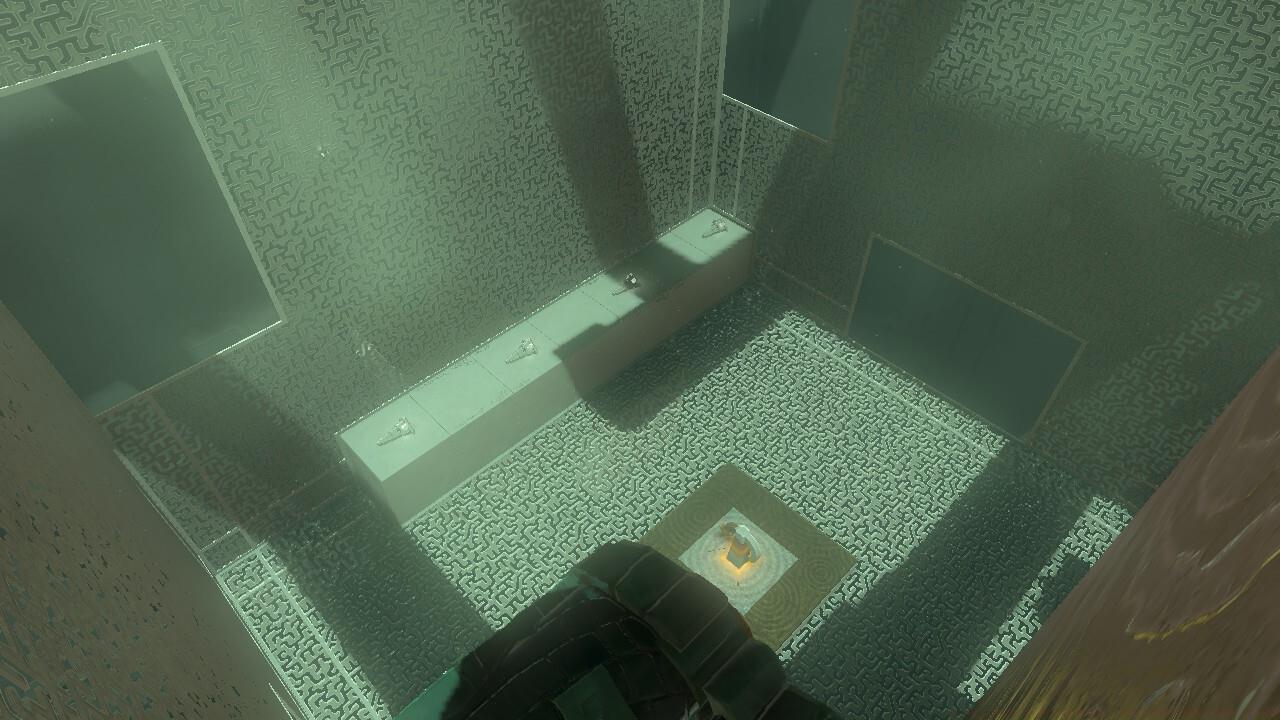
Begin by activating the interior switch precisely twice, causing the cube to complete two full rotations. This maneuver positions a previously inaccessible side panel within reach, allowing collection of the valuable Zonai Charge resource. This energy source proves essential for powering various Zonai devices throughout Hyrule.
Following this initial sequence, strike the internal switch once more. This single activation lowers a concealed chest containing 10 arrows, significantly bolstering your ranged combat capabilities. These projectiles become particularly valuable when confronting airborne enemies or solving environmental puzzles requiring distant activation.
Advanced players should note that the cube’s rotation patterns create temporary platforms and pathways. Strategic positioning relative to these emerging structures enables efficient navigation without unnecessary backtracking. The Ascend ability becomes your primary vertical movement tool when these platforms align correctly with upper levels.
Keeping the chest between you and the wall turns it into a ledge. Simply Ascend to reach the top.
For players struggling with spatial orientation, mentally mapping each cube face’s relationship to the shrine’s fixed architecture provides crucial navigation reference points. The puzzle’s complexity stems from the disorienting effect of multiple rotations, making external reference points invaluable.
Seasoned adventurers frequently encounter several predictable challenges when confronting Domizuin Shrine’s rotating cube mechanism. Understanding these common stumbling blocks dramatically reduces completion time and frustration.
The most prevalent error involves incorrect switch activation sequencing. Attempting to collect rewards before proper platform alignment inevitably leads to navigation dead-ends and required resets. Always verify pathway accessibility before proceeding with subsequent rotations.
Reset strategies offer critical recovery options when sequences go awry. The outer switch provides immediate cube reorientation to the starting position, while shrine exit and re-entry serves as a comprehensive reset for all puzzle elements. Choosing between these options depends on how extensively your current attempt has deviated from the optimal path.
Movement optimization represents the key distinction between novice and expert shrine completion. Efficient players maintain constant positional awareness relative to both the cube’s moving components and the shrine’s static architecture. This dual reference system prevents disorientation during complex rotation sequences.
Time-conscious players can achieve sub-5-minute completions through perfected switch timing and fluid movement between emerging platforms. This requires anticipating the cube’s rotational trajectory and pre-positioning for optimal Ascend ability utilization.
Environmental interaction extends beyond simple switch activation. The cube’s various surfaces interact uniquely with Link’s abilities, creating unexpected navigation opportunities for creative problem-solvers.
Strategic reward collection ensures maximum benefit from your shrine exploration efforts. The Domizuin Shrine conceals valuable resources accessible only through precise execution of its rotational puzzle mechanics.
The Zonai Charge represents the primary energy resource reward, obtainable after the second interior switch activation. Position yourself carefully during rotation to immediately access this item without additional movement.
Arrow acquisition occurs following the third switch strike, lowering the concealed chest into accessible range. These ammunition reserves prove invaluable for confronting the numerous combat challenges throughout Hyrule’s diverse regions.
Final progression through the shrine requires recognizing when all available rewards have been secured and proceeding to the completion chamber. The puzzle’s nomenclature ‘A Prone Pathway’ ultimately reveals its literal meaning as you navigate the final horizontal traversal section.
Completion rewards extend beyond immediate item acquisition, contributing to your overall progression through Tears of the Kingdom’s expansive gameplay systems.
Action Checklist
- Locate shrine in Akkala Bridge Ruins and ascend the tower hill
- Use Ascend ability to reach upper platform and activate outer switch once
- Strike inner switch twice, collect Zonai Charge from revealed compartment
- Activate inner switch third time, retrieve 10 arrows from lowered chest
- Navigate final pathway using Ascend ability on strategically positioned platforms
No reproduction without permission:SeeYouSoon Game Club » Zelda: Tears Of The Kingdom – Domizuin Shrine Puzzle Guide Master the Domizuin Shrine's rotating cube puzzle with expert strategies and common mistake avoidance