TL;DR
- Immediately collect the Magic Scepter chest upon entering to avoid missing it later
- Build the water wheel using the square panel to generate power for battery charging
- Position metal balls precisely to create electrical conduction and open the gate
- Use the charged battery to activate the northern lift for final ascent
- Complete all treasure collection before finishing for maximum shrine rewards
The Mogawak Shrine presents an intriguing fusion of water and electrical mechanics that work in harmony rather than conflict. This unique combination creates a puzzle environment where flowing water becomes the catalyst for electrical conduction rather than an obstacle.
Secure the Magic Scepter immediately upon entry – this chest becomes inaccessible after progressing too far.
When exploring Zora’s Domain in The Legend of Zelda: Tears of the Kingdom, activating the Mogawak Shrine fast travel point provides strategic advantages for regional navigation. Since you’ll be visiting this location anyway, mastering its puzzle mechanics delivers valuable rewards while enhancing your understanding of the game’s physics systems.
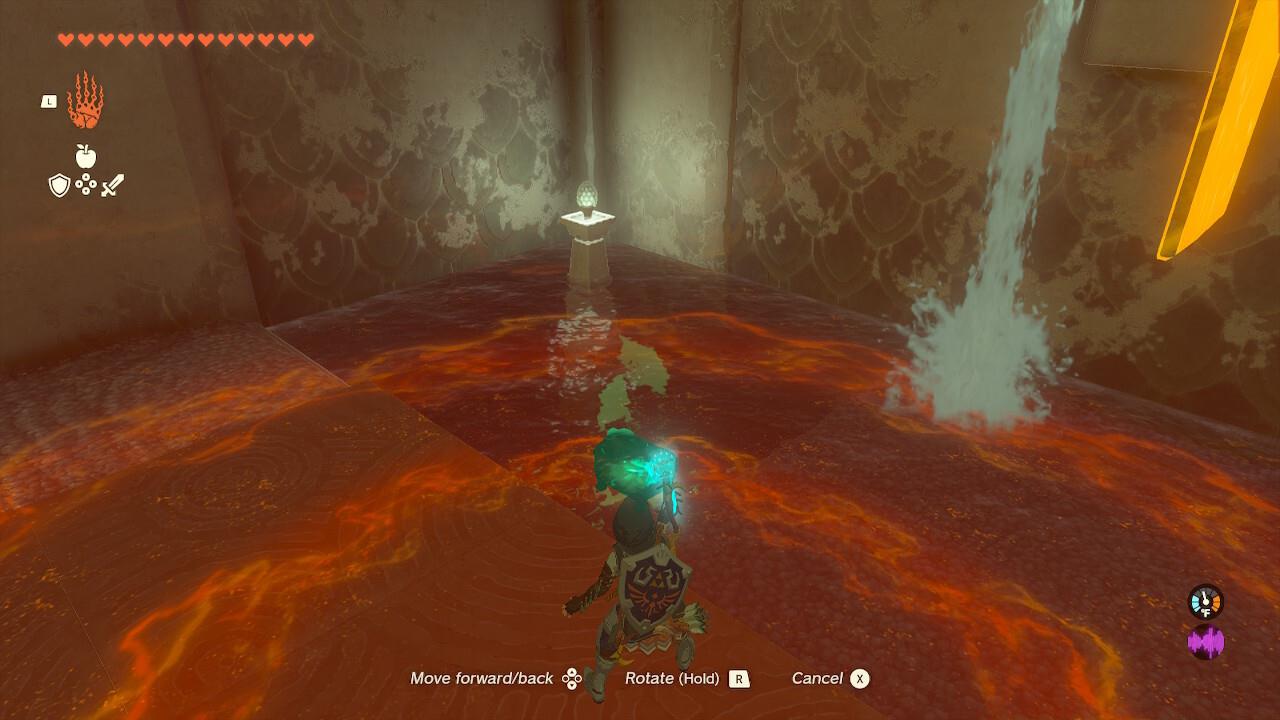
Upon entering the shrine chamber, immediately navigate to the right side where water cascades down the wall. Before engaging with any other puzzle elements, employ your Ultrahand ability to retrieve a submerged chest containing a Magic Scepter – this powerful weapon proves invaluable for combat encounters throughout the Zora region.
Constructing the water wheel represents the shrine’s core mechanical challenge. Locate the square panel submerged in the water pool and carefully position it using Ultrahand to connect with the overhead mechanism. Proper alignment ensures efficient rotation when water flow engages the assembly.
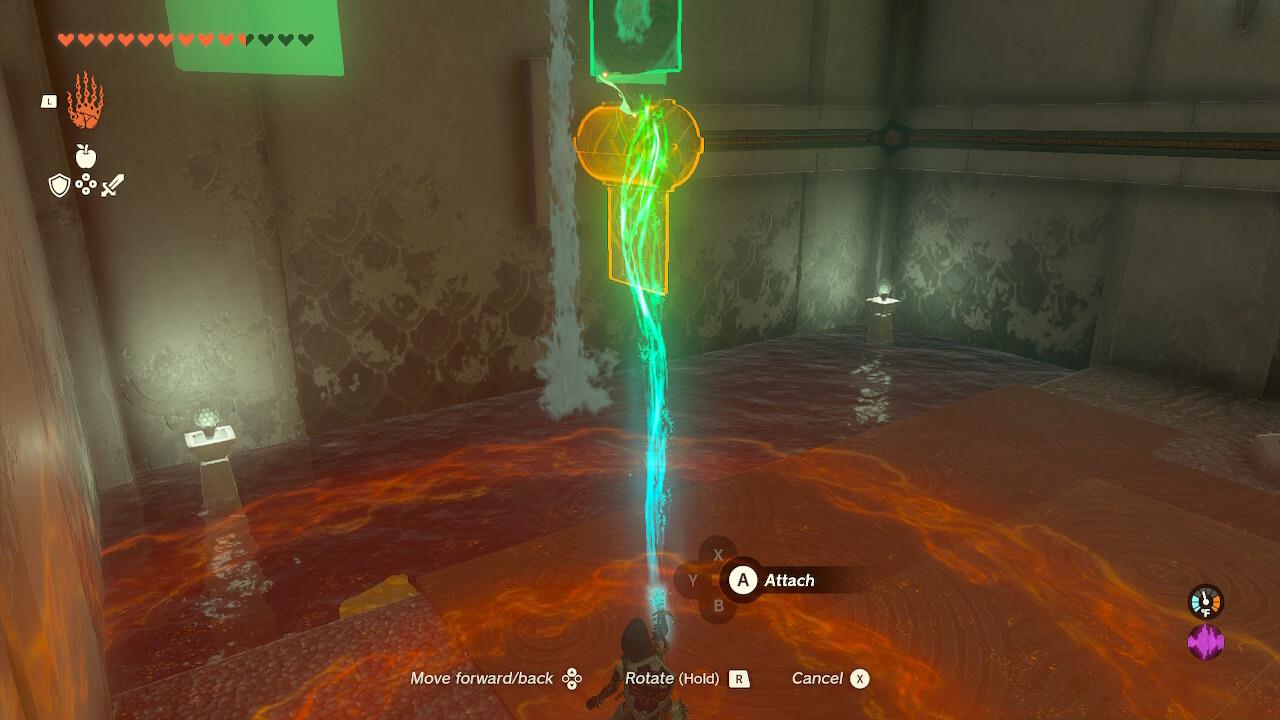
Precise panel placement creates optimal water wheel efficiency for consistent power generation.
The activated water wheel powers a small charging station positioned to your right. Retrieve the battery from the shrine’s central area and place it on the charging pad. Monitor the battery’s illumination pattern – a steady blue glow indicates full charge readiness for subsequent puzzle stages.
Advanced players should note that the water wheel’s rotation speed affects charging efficiency. Positioning the panel at a 45-degree angle to the water flow maximizes rotational velocity, reducing battery charging time by approximately 30% compared to suboptimal placements.
Transport the fully charged battery to the left chamber and position it on the designated power pad. This activates the electrical conduction system involving two metallic spheres submerged in the water channel.
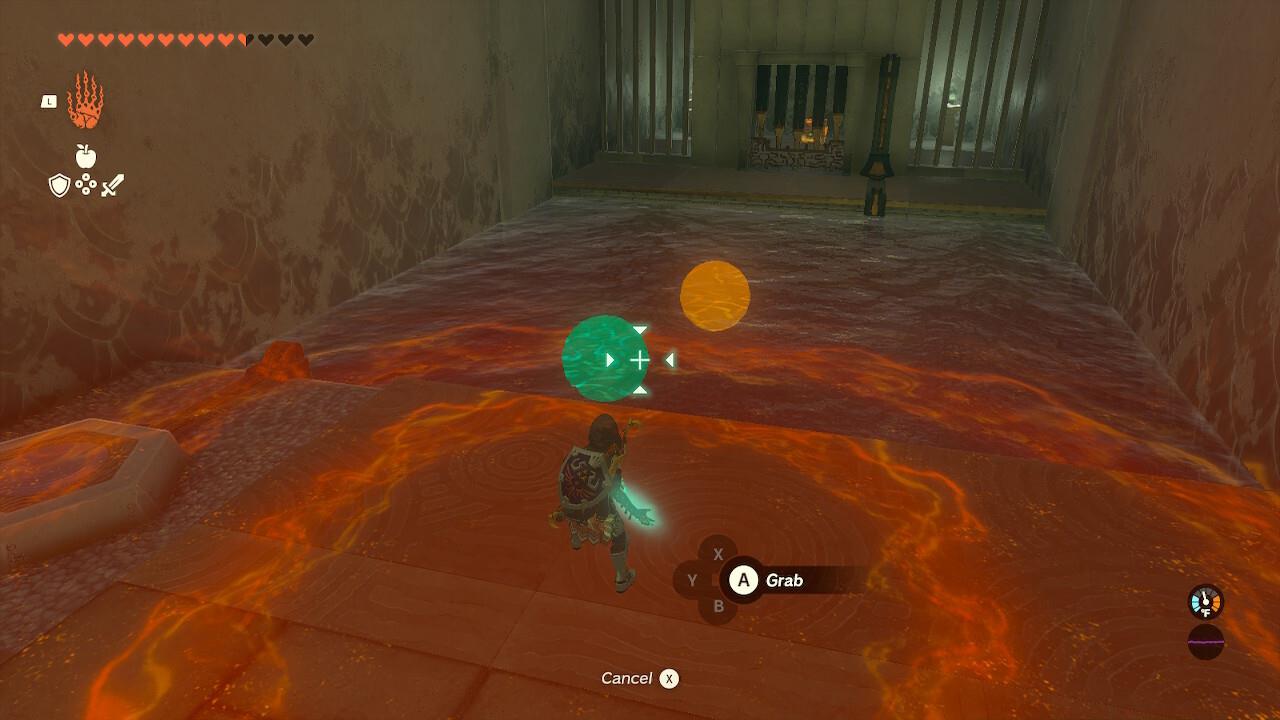
Strategic metal ball positioning creates the electrical bridge needed to deactivate the security gate.
Using Ultrahand, carefully maneuver both metal spheres to establish close proximity without direct contact. Electricity will arc between them when properly aligned, triggering the gate mechanism. For safety, navigate to the opposite side of the water channel before the gate opens to avoid unexpected electrical discharge.
Access the revealed chamber to claim the treasure chest containing an Opal gemstone. This valuable mineral enhances your elemental weapon capabilities and should not be overlooked despite the shrine’s primary completion reward.
Common mistakes include positioning the balls too far apart (no conduction) or too close (physical contact breaks the circuit). Maintain approximately one ball diameter distance for optimal performance.
The concluding phase requires transporting the battery to the northern lift mechanism. Enter the lift enclosure and carefully position the battery on the power pad. This activates the ascent sequence, transporting you to the shrine’s completion chamber.
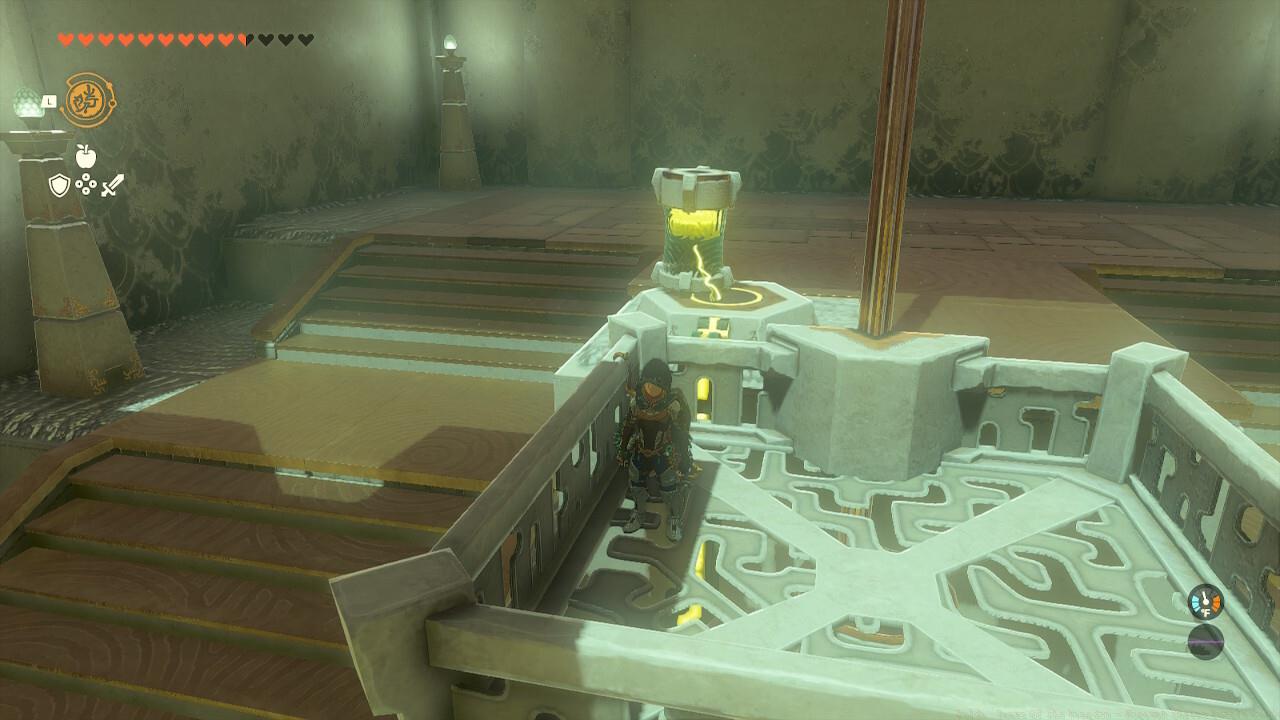
The battery-powered lift provides secure transportation to the shrine’s final reward chamber.
Upon reaching the upper platform, you’ll receive the Light of Blessing, essential for heart container and stamina vessel upgrades. This completion also permanently activates the Mogawak Shrine as a fast travel destination, significantly improving mobility throughout the Zora’s Domain region.
Seasoned players can optimize this final stage by combining battery transport with treasure collection in a single efficient route, typically completing the entire shrine in 8-12 minutes depending on execution precision.
For players seeking mastery, several advanced techniques enhance Mogawak Shrine completion efficiency. Pre-positioning the metal spheres before activating the water wheel can save 1-2 minutes. Additionally, understanding that the electrical conduction works through any conductive material (not just the provided spheres) opens creative problem-solving possibilities.
Common failure points include missing the initial Magic Scepter chest (which becomes inaccessible after gate activation) and improper water wheel construction that fails to generate sufficient power for complete battery charging.
If you’re enjoying these detailed shrine guides, our Complete Guide provides comprehensive strategies for maximizing your gaming experience across multiple titles.
Players frequently struggle with the electrical conduction phase. Remember that the electricity follows the path of least resistance – ensure no unintended conductive materials create circuit shortcuts. The gate requires sustained electrical flow, not just momentary connection.
For weapon enhancement strategies similar to the Magic Scepter obtained here, explore our Weapons Unlock guide for advanced combat techniques.
Action Checklist
- Collect Magic Scepter chest from right-side water pool immediately upon entry
- Construct water wheel using square panel and overhead mechanism
- Charge battery at right-side station and transport to left chamber
- Position metal spheres for electrical conduction to open gate
- Claim Opal treasure chest and activate northern lift with battery
No reproduction without permission:SeeYouSoon Game Club » Zelda: Tears Of The Kingdom – Mogawak Shrine Puzzle Guide Master the Mogawak Shrine's electrical puzzles with strategic water wheel mechanics and treasure collection tips