TL;DR
- Use Yunobo’s Rolling Fireball exclusively to shatter Marbled Gohma’s protective leg armor
- Recognize three distinct attack patterns: Legdrop, Rock Bombs, and Angry Roar with specific counters
- Climb onto the stunned boss to attack its vulnerable eye during brief damage windows
- Manage cooldowns carefully in Phase 2 when additional mechanics increase the fight complexity
- Avoid greed by disengaging before the boss recovers from stun to prevent unnecessary damage
Confronting Marbled Gohma represents the ultimate challenge within the Fire Temple of The Legend of Zelda: Tears of the Kingdom. This colossal arachnid adversary presents a unique combat scenario where conventional weapons prove ineffective against its mineral-encased exterior.
The Marbled Gohma boss manifests as an enormous spider completely sheathed in impenetrable rock formations. Players must systematically dismantle its defensive carapace before inflicting meaningful damage. This comprehensive guide delivers proven strategies to overcome this formidable opponent.
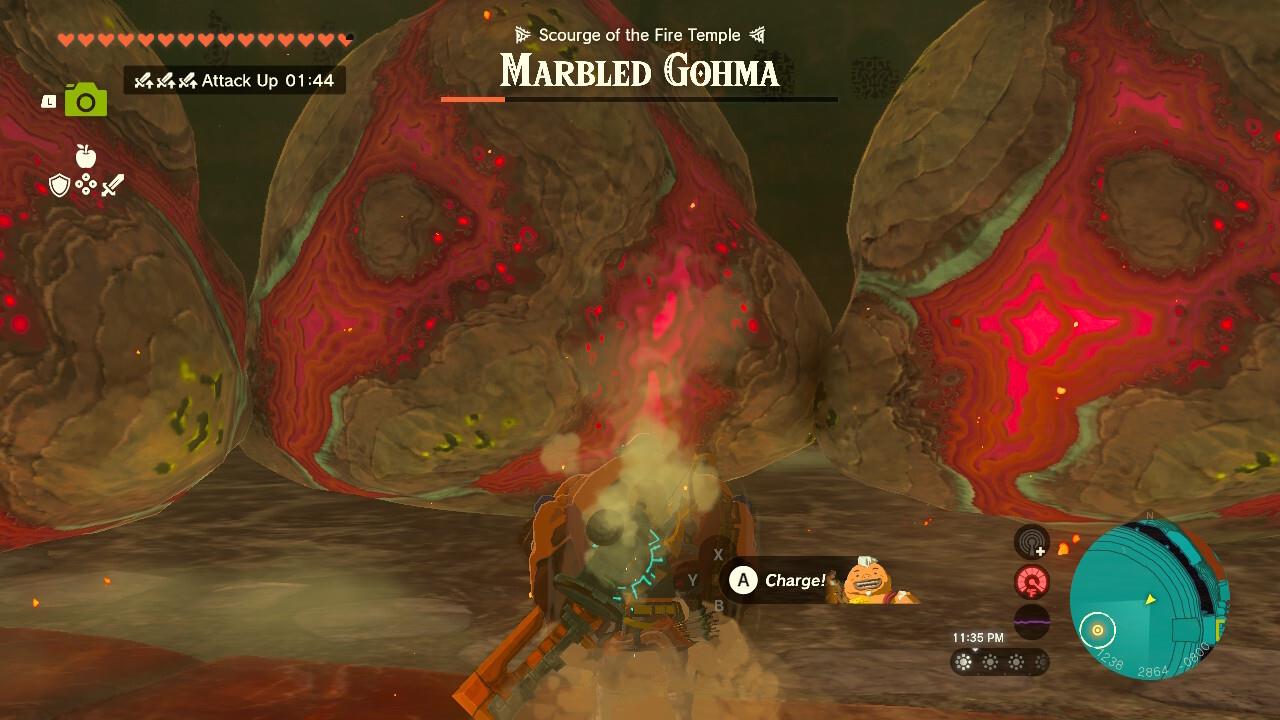
Your encounter with Marbled Ghaom occurs immediately following completion of the Eldin Fire Temple Puzzle. Throughout this dungeon segment, Link depends heavily on Yunobo’s Rolling Fireball ability, which serves dual purposes: damaging enemies and demolishing environmental barriers.
Exercise restraint during damage phases to avoid the boss retaliating with devastating counterattacks.
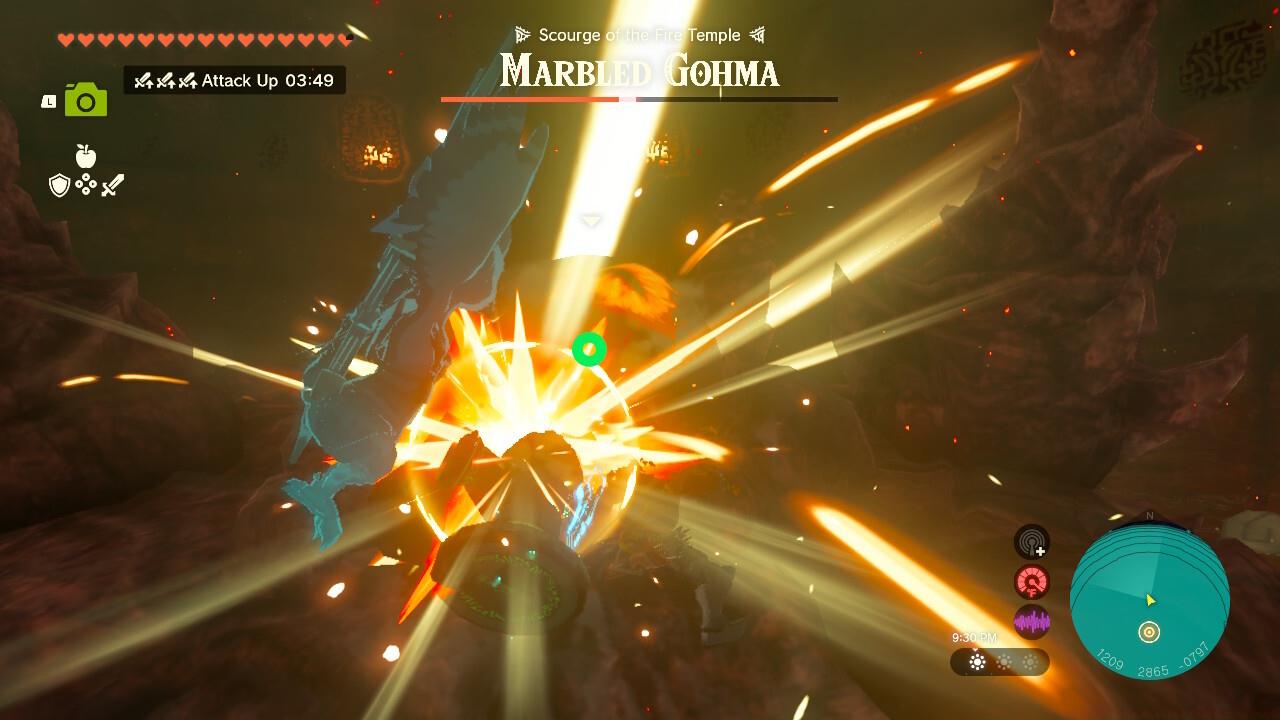
Yunobo’s special ability becomes your primary weapon throughout this engagement. The strategic approach involves activating Yunobo’s skill, then precisely targeting the boss’s limbs to fracture the protective stone covering. Executing this maneuver multiple times induces a temporary stun state, creating your damage opportunity.
Once the creature becomes immobilized, swiftly ascend its body to strike its singular ocular weakness with your melee weapon. Critical timing awareness separates successful attempts from repeated failures.
Marbled Gohma employs three distinct offensive capabilities during the initial phase:
These offensive patterns persist into the second phase, supplemented by additional mechanics requiring adapted responses.
Strategic cooldown management becomes crucial when facing enhanced phase 2 mechanics.
The confrontation intensifies significantly during the second phase as Marbled Gohma introduces compounded attack sequences. The boss now frequently combines Legdrop with simultaneous Rock Bomb deployments, creating complex avoidance scenarios.
Enhanced aggression reduces safe engagement windows, demanding precise cooldown tracking of Yunobo’s ability. Poor timing now carries substantially higher penalties, potentially resulting in rapid depletion of health resources.
Environmental factors become increasingly hazardous, with falling debris and unstable terrain limiting movement options. Advanced positioning techniques involving the arena’s structural features provide tactical advantages.
Success in this phase hinges on recognizing the subtle audio and visual cues preceding each attack combination. Developing this situational awareness dramatically improves survival rates.
Weapon selection profoundly impacts efficiency during damage phases. Two-handed weapons deliver superior per-hit damage but extend vulnerability windows, while one-handed options permit quicker disengagement.
The most prevalent error involves overextending during stun periods. Conservative damage application—typically 3-4 strikes—ensures safe withdrawal before the boss retaliates.
Strategic positioning around the arena’s circumference provides optimal sightlines for anticipating attack telegraphs while maintaining escape routes. Never position yourself in corners where mobility becomes restricted.
For players seeking to master this encounter, consider reviewing our Class Guide for character build insights that translate well to Zelda’s combat mechanics.
Advanced techniques include baiting Legdrop attacks near walls to create temporary platforms for elevated striking positions, though this requires precise execution.
Action Checklist
- Activate Yunobo’s Rolling Fireball and target leg armor repeatedly
- Recognize and evade Legdrop, Rock Bombs, and Angry Roar attacks
- Ascend stunned boss and deliver 3-4 precise strikes to its eye
- Disengage before stun expires and reset positioning
- Adapt to Phase 2 combined attacks with enhanced cooldown awareness
No reproduction without permission:SeeYouSoon Game Club » Zelda: Tears Of The Kingdom – Marbled Gohma Boss Guide Master the Marbled Gohma boss fight with strategic Yunobo tactics and phase-specific countermeasures