TL;DR
- Prepare Sundelion meals and place Travel Medallion before point of no return
- Master Flurry Rush timing against Ganondorf’s telegraphed sword attacks
- Document all boss forms for compendium completion during the battle
- Manage Gloom debuff immediately to prevent permanent heart loss
- Utilize aerial combat strategies during Demon Dragon phase for maximum damage
Conquering the ultimate challenge in Hyrule requires meticulous preparation and strategic foresight. The final confrontation with Ganondorf represents the pinnacle of combat difficulty in Tears of the Kingdom, demanding both skill and proper equipment configuration.
Veteran players will recognize this formidable adversary, but his enhanced capabilities introduce unprecedented tactical complexity. This comprehensive guide delivers actionable strategies to overcome each phase of this epic encounter. Critical story revelations ahead – proceed with caution if you wish to avoid narrative surprises.
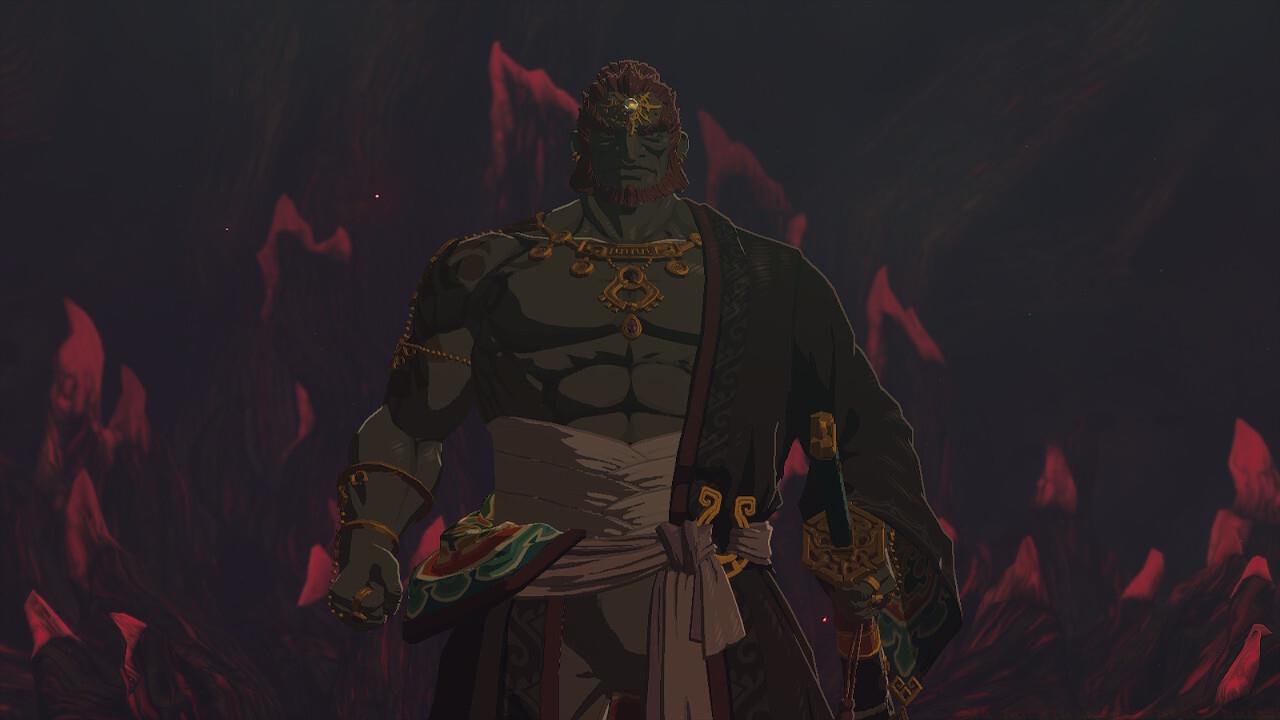
The evolved Ganondorf combatant has transcended his earlier mummified state and spectral manifestations. His current incarnation demonstrates significantly amplified power levels that will thoroughly evaluate your combat proficiency and adaptive thinking.
Every offensive maneuver from Ganondorf inflicts the debilitating Gloom affliction, permanently reducing your maximum hearts until cleansed. Stockpile Sundelion-infused recipes to neutralize this status effect when your health reserves become compromised. This multi-phase engagement unfolds across three distinct transformations with an additional transitional segment. Strategic photographers should capture each morphological stage for comprehensive compendium documentation.
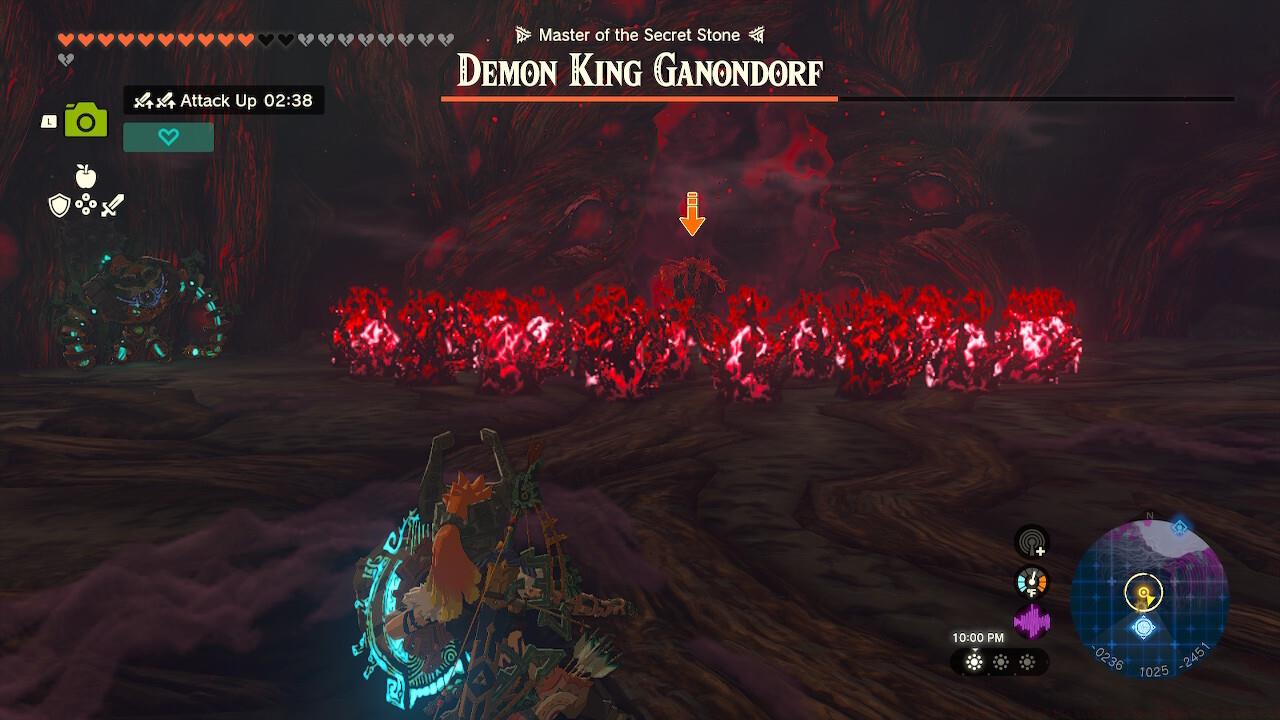
Pro Tip: Deploy a Travel Medallion in the Depths region immediately preceding the Demon King’s legion engagement. Upon completing that preliminary skirmish, you’ll automatically transport to Ganondorf’s inner sanctum where saving and fast travel functionalities become disabled. Ensure you possess all essential equipment, particularly the Master Sword, before crossing this threshold. Forgetting critical items necessitates reloading previous save data and reattempting the entire sequence.
Capture each transformation phase for your Hyrule Compendium completion.
The initial combat phase pits you against Ganondorf in his humanoid configuration, where precise timing and pattern recognition determine success. His offensive repertoire adapts based on currently equipped weapons, requiring dynamic counter-strategies.

Flurry Rush execution remains your primary damage source against evasive maneuvers.
Blade Thrust – This fundamental striking pattern interchanges with most special abilities. Its clearly telegraphed animation provides ideal Flurry Rush activation windows when properly evaded.
Terrain Slashes – Projects triple crimson energy waves across the battlefield surface. Navigate through the interstitial spaces between projections to avoid damage.
Shadow Projectiles – Launches three gloom-infused arrows in rapid sequence. Lateral movement patterns typically evade these projectiles effectively.
Advanced Tactics: Perfect dodge timing becomes crucial during this phase. Ganondorf’s attack animations feature subtle tells – watch for shoulder movements preceding sword strikes and hip rotations before projectile releases. High-level players can incorporate shield parries against certain attacks, though this requires exceptional timing precision. Consider using weapons with extended reach to maintain safe distance while still landing counterattacks.
Upon depleting his initial health bar, Ganondorf undergoes a terrifying metamorphosis into his fully demonic form. This phase introduces aerial combat elements and area-denial mechanics that test your spatial awareness.
Capitalize on extended casting animations to reposition and launch counteroffensives.
Crimson Detonation – Channels dark energy for an expansive area explosion. The prolonged activation period allows strategic repositioning to safe distances where arrow volleys become viable.
Gloom Expansion – Creates expanding circles of corrupting energy across the battlefield. Time your jumps between safe zones or utilize elevated terrain for protection.
Shadow Swarm – Summons homing projectiles that track your movement. Rapid directional changes or last-minute dodges prove most effective against these pursuing threats.
Environmental Strategy: The arena features destructible elements that can provide temporary cover. However, Ganondorf’s more powerful attacks will obliterate these barriers, so never rely on them for extended protection. This phase typically lasts 5-7 minutes for adequately prepared players, though optimized damage output can reduce this timeframe significantly.
The climactic confrontation transitions to an aerial spectacle aboard the Demon Dragon. This unique gameplay segment combines skydiving mechanics with precision targeting requirements.

Navigate through projectile barrages while maintaining offensive pressure during the descent sequence.
Inferno Orbs – The dragon launches volleys of incendiary spheres during your approach. Weave through gaps in the formation while conserving stamina for critical maneuvers.
Corrupting Breath – Exhales massive gloom clouds that obscure vision and damage simultaneously. Ascend above or dive below these horizontal barriers to maintain visual contact with primary targets.
Target Priority System: Focus your attacks on the glowing weak points that appear along the dragon’s spine. The Master Sword achieves maximum efficacy during this segment, with charged attacks dealing substantially increased damage to these vulnerable zones.
Common Mistake: Many players exhaust their stamina too early in this phase, leaving them vulnerable during critical evasion requirements. Manage your stamina pool strategically, using gliding techniques to conserve energy between attack opportunities.
Beyond fundamental mechanics, several advanced strategies can significantly improve your performance while avoiding frequently encountered errors that lead to unnecessary failures.
Perfect Dodge Mastery: The 0.3-second activation window for Flurry Rush requires precise timing. Practice against lesser enemies in the Depths to refine this timing before attempting the final confrontation.
Resource Conservation: While Sundelion meals remain essential, avoid consuming them prematurely. Wait until you’ve accumulated 3-4 gloom-afflicted hearts before cleansing to maximize efficiency. For players struggling with Conquest-style combat scenarios, our Class Guide offers transferable tactical principles that apply to this encounter.
Camera Management: During intense combat sequences, camera angles can become problematic. Regularly recenter your camera behind Link to maintain optimal situational awareness.
Equipment Optimization: The Master Sword should be your primary weapon, but backup options with high durability prove valuable. Consider weapons that complement your chosen approach from our Weapons Unlock guide principles. Weapons with beam emission capabilities work exceptionally well during certain phases.
Progression Tracking: Unlike Assignments in other games, this encounter doesn’t permit mid-battle adjustments. Ensure your loadout aligns with your combat style before committing to the point of no return. For comprehensive strategic planning, consult our Complete Guide for additional gaming insights.
Action Checklist
- Craft 5-7 Sundelion meals with additional heart restoration components
- Place Travel Medallion in Depths before Demon King’s Army battle
- Practice Flurry Rush timing against Lynels for 15-20 minutes
- Document each transformation phase with camera rune during battle
- Master aerial evasion patterns against dragon fireballs
- Conserve stamina during final phase by alternating gliding and diving
No reproduction without permission:SeeYouSoon Game Club » Zelda: Tears Of The Kingdom – How To Beat The Final Boss Master the ultimate showdown with Ganondorf using advanced combat tactics and strategic preparation in Zelda: Tears of the Kingdom