TL;DR
- Activate three power generators in any order to enable the Wonder Weapon quest
- Defeat Uber Klaus between rounds 8-11 to obtain the essential Stabilizer Chip
- Free Klaus from Ashwood jail and complete the symbol puzzle sequence
- Use stun grenades and upgraded weapons for efficient mini-boss takedowns
- Coordinate with teammates for optimal resource management and timing
GameSpot may receive revenue from affiliate and advertising partnerships for sharing this content and from purchases through links.
The Zombies experience evolves dramatically in Call of Duty: Black Ops 7 with the introduction of Ashes of the Damned, featuring the formidable Necrofluid Gauntlet as its signature Wonder Weapon. This unique claw-like apparatus delivers devastating offensive capabilities while simultaneously draining health from enemies to sustain your survival. Our comprehensive walkthrough provides detailed strategies for securing this game-changing equipment during your Ashes of the Damned Zombies matches.
For those seeking additional Easter eggs, we’ve prepared a separate guide detailing how to activate the hidden musical track within this map.
Critical preparatory advice: Ensure either you or a teammate in your cooperative session equips stun grenades before initiating the match. This tactical choice significantly conserves both time and valuable salvage resources throughout the quest.
Successfully obtaining the Necrofluid Gauntlet requires activating three distinct power generators scattered throughout the map. These energy sources serve as the foundational requirement for initiating the Wonder Weapon acquisition process.
Generator activation sequence flexibility allows you to approach locations in your preferred order. Follow the initial mission indicators provided for enhancing Ol’ Tessie’s capabilities. You have the option to begin at either Blackwater or Vandorn Farm. After energizing the generator at your initial destination, proceed to Ashwood. Once the Ashwood generator is operational, return to complete the remaining location you haven’t yet activated.
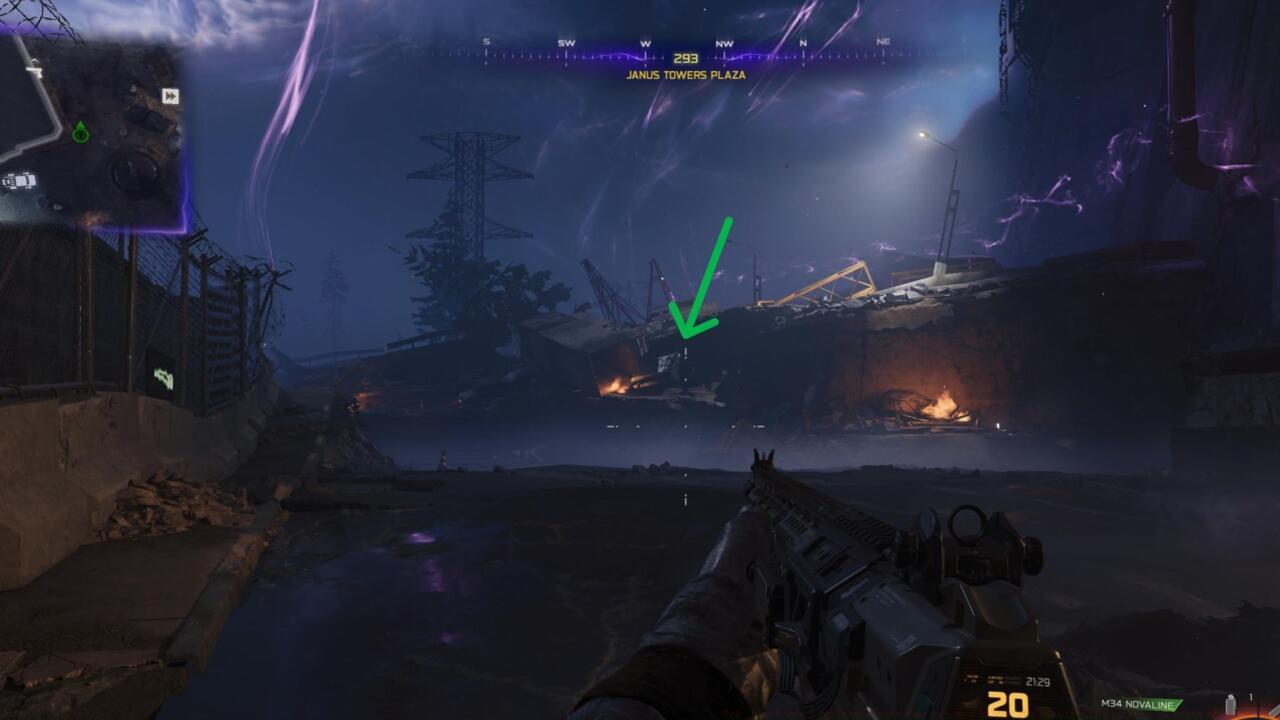
Following complete map energization, return to your starting position at Janus Towers to summon the formidable Uber Klaus. This recurring mini-boss adversary, familiar from Black Ops 6’s The Reckoning map, presents substantial combat challenges, particularly during initial rounds. Prioritize acquiring fundamental perks and enhancing your primary firearm before engaging this powerful opponent.
Uber Klaus materialization occurs when departing from Janus Towers and proceeding toward the wrecked, burning shipping container positioned on the roadway’s right flank. This encounter can trigger as soon as rounds 8 through 11, depending on your progression speed.
Your primary objective involves eliminating Uber Klaus through sustained combat. Secure the Stabilizer Chip that drops upon his defeat, as this component proves essential for subsequent stages of the Wonder Weapon acquisition process.
Lore implications suggest the original Klaus character from Black Ops Cold War has remained confined within the Dark Aether dimension since that game’s conclusion. Your mission now involves liberating him within the Ashes of the Damned environment. Transport the acquired Stabilizer Chip to Ashwood and access the doorway leading to the detention facility. The jail structure constitutes a compact edifice situated adjacent to the Vulture Aid perk location.
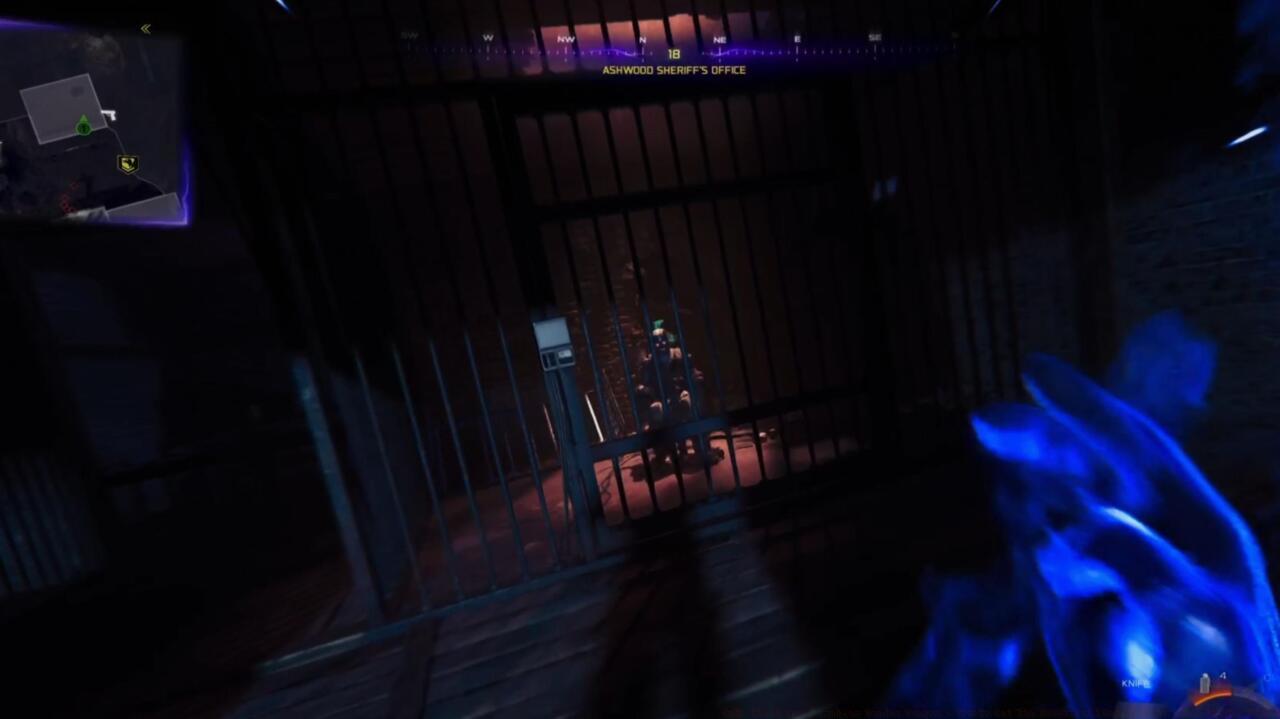
Upon reaching the detention area, you’ll discover Klaus imprisoned behind bars. The liberation process requires precise interaction sequences and environmental manipulation to successfully free this character from confinement.
Following Klaus’s release, you must direct him to specific locations for scanning procedures. This involves commanding Klaus to investigate designated areas where he’ll perform essential diagnostic functions critical to advancing the quest.
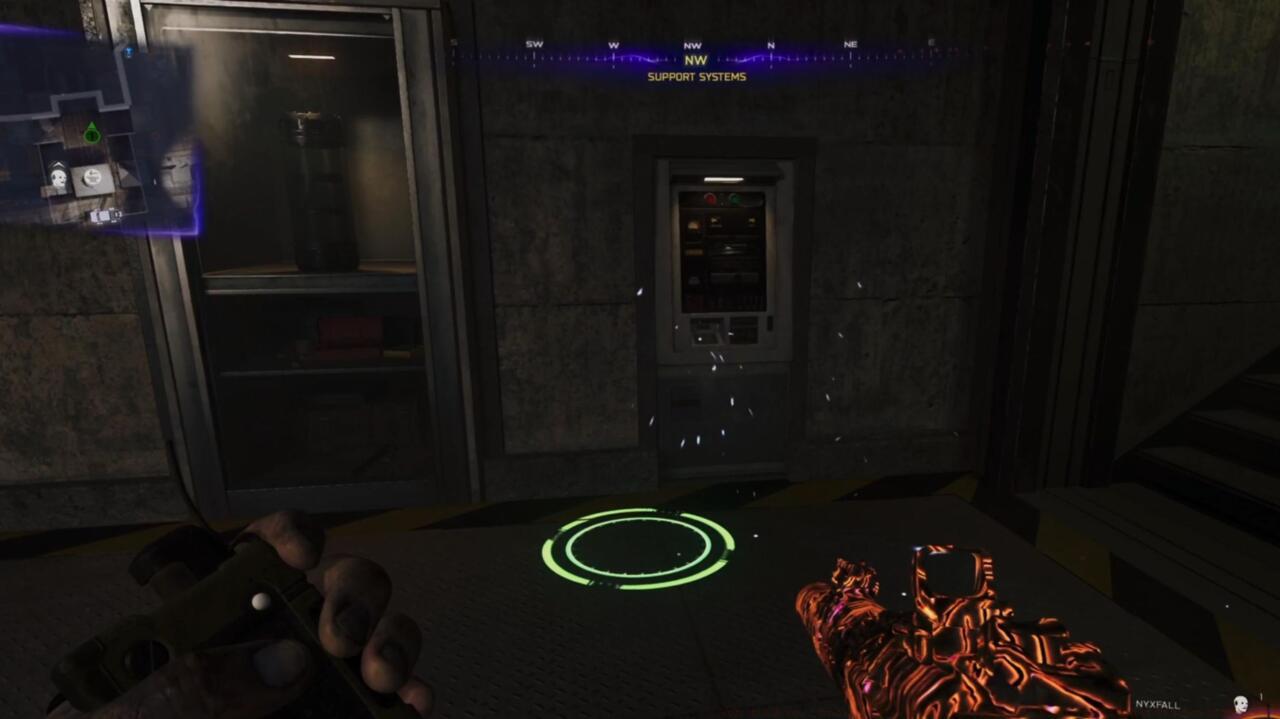
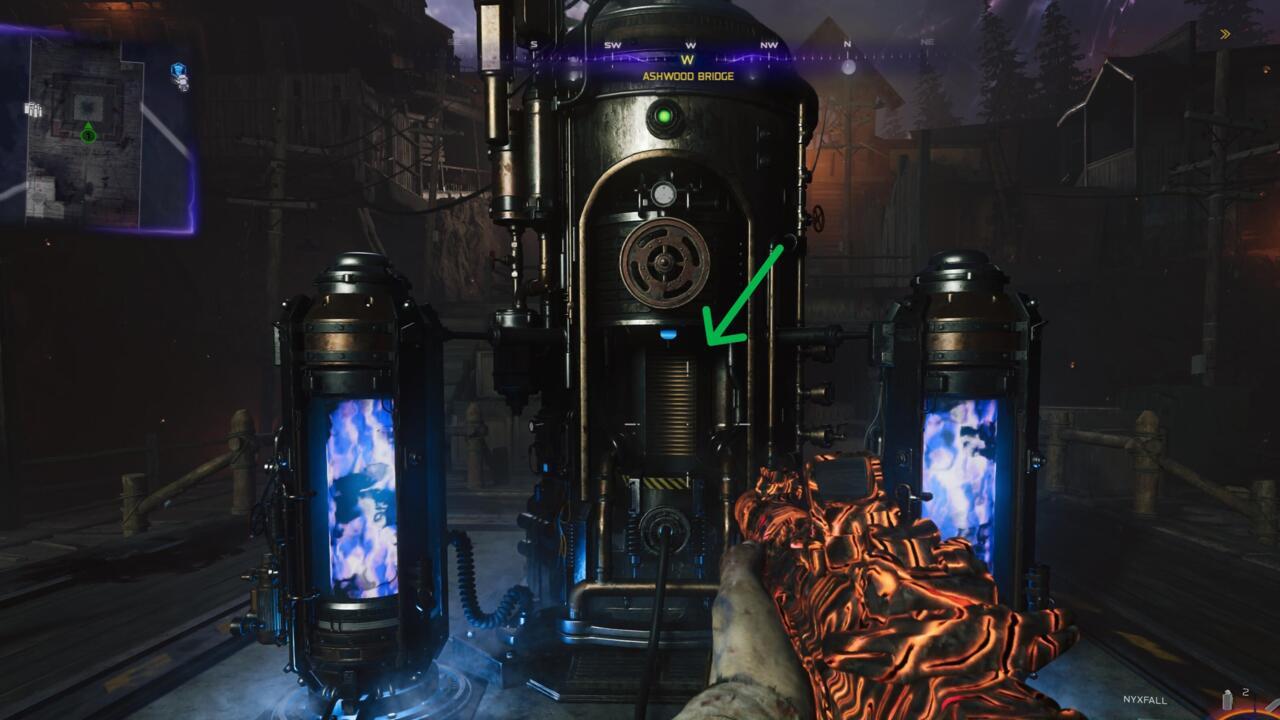
The subsequent phase involves charging the specialized canister device. This requires inserting the canister into appropriate generator slots and maintaining its energy accumulation through defensive maneuvers against zombie assaults.
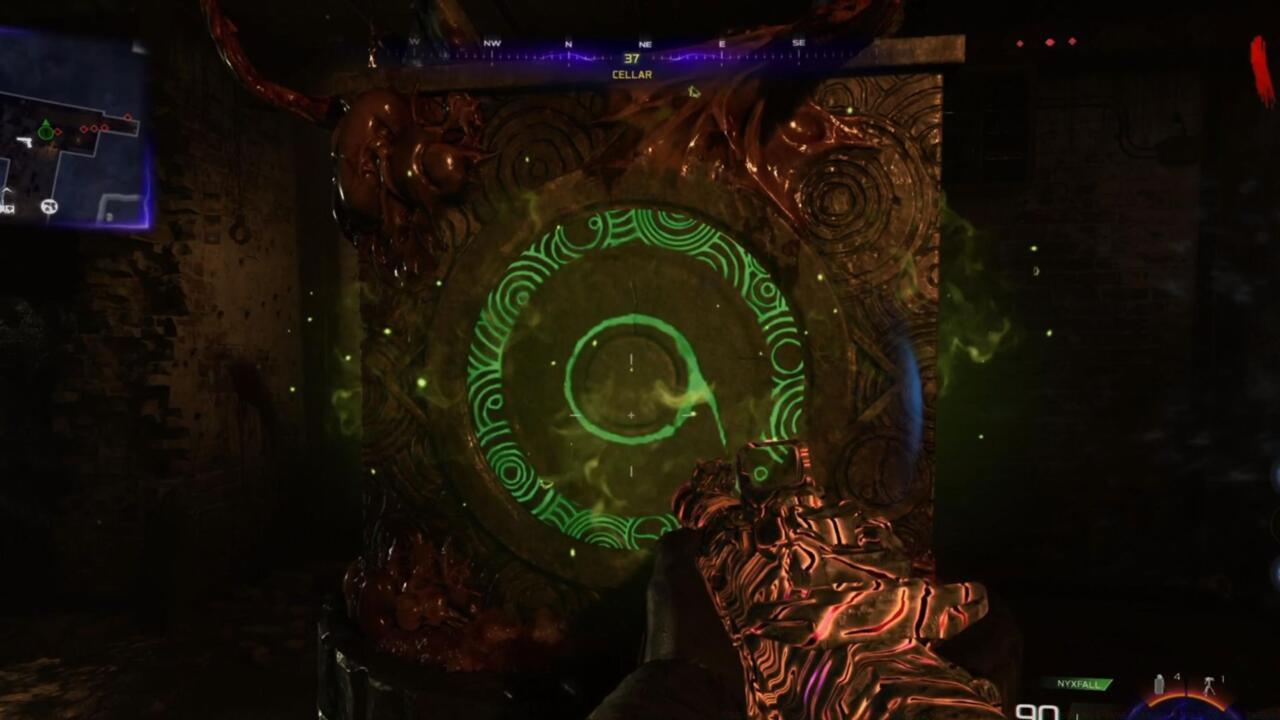
Symbol acquisition represents the next critical step. You must locate and memorize specific symbols displayed on rooftop structures throughout the map. These symbols form the foundation of the final puzzle sequence.

The concluding puzzle requires accurate symbol input on the designated cube interface. Precise sequence entry activates the final mechanism for Wonder Weapon deployment.
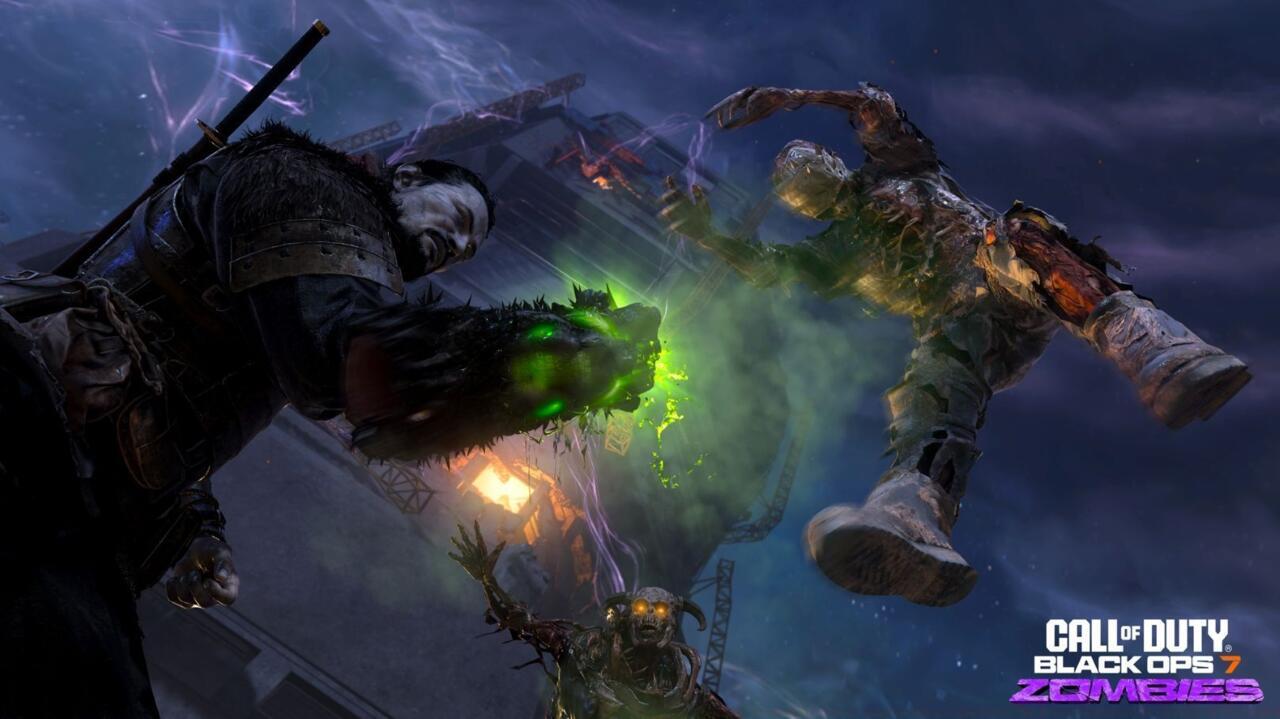
Upon successful puzzle completion, you may finally claim the formidable Necrofluid Gauntlet. This powerful weapon dramatically enhances your offensive capabilities while providing sustainable health regeneration through successful attacks.
For optimal performance during the Uber Klaus confrontation, consider these advanced combat techniques. Deploy stun grenades strategically to create temporary crowd control windows, allowing concentrated damage on the mini-boss. Weapon selection proves crucial – prioritize firearms with high damage-per-second metrics and consider upgraded weapon configurations for maximum efficiency.
Common execution errors include attempting the quest too early without proper equipment, mismanaging salvage resources, and inadequate perk preparation. Avoid these pitfalls by ensuring you’ve acquired at least three fundamental perks and upgraded your primary weapon to at least Pack-a-Punch level one before engaging Uber Klaus.
Time optimization strategies suggest completing the initial generator activations within the first five rounds. This scheduling allows sufficient preparation time before Uber Klaus spawns between rounds 8-11. Coordinate with teammates in cooperative sessions to divide responsibilities – while one player handles generator activation, others can focus on point accumulation and defensive positioning.
The Necrofluid Gauntlet’s combat mechanics deserve special attention. This Wonder Weapon functions through dual offensive and defensive capabilities – each successful strike damages enemies while simultaneously transferring health to the wielder. Master its unique attack patterns to maximize both damage output and survivability during high-round attempts.
Advanced players should consider integrating this Wonder Weapon acquisition into broader strategic approaches. Understanding class specialization synergies can dramatically enhance the Gauntlet’s effectiveness when combined with appropriate perk combinations and tactical equipment.
For those seeking comprehensive gameplay guidance, our complete strategy compendium offers additional insights into advanced Zombies mechanics and Easter egg discoveries.
Action Checklist
- Equip stun grenades and prepare basic perks before match start
- Activate three power generators at Blackwater, Vandorn Farm, and Ashwood
- Return to Janus Towers and spawn Uber Klaus near burning container
- Defeat Uber Klaus and collect the dropped Stabilizer Chip
- Transport Stabilizer Chip to Ashwood jail near Vulture Aid perk
- Free Klaus, complete scanning procedure, and charge the canister
- Memorize rooftop symbols and input correct sequence on puzzle cube
- Claim Necrofluid Gauntlet and master its health-draining mechanics
No reproduction without permission:SeeYouSoon Game Club » CoD: Black Ops 7 Zombies Wonder Weapon – How To Get The Necrofluid Gauntlet In Ashes Of The Damned Complete guide to unlocking the powerful Necrofluid Gauntlet Wonder Weapon in Black Ops 7 Zombies