TL;DR
- Locate the specific sand pit beneath ‘Palu Wasteland’ text on your map despite sandstorm interference
- Prepare elemental weapons (fire, ice, electricity) to effectively combat Gibdo enemies in the ruins
- Follow the sword-wielding statue’s directional guidance to navigate the complex prison layout
- Master timing-based platforming across collapsing blocks to activate critical switches
- Complete the shrine in approximately 15-20 minutes with proper preparation and execution
Discovering the elusive Chichim Shrine requires precise navigation through the treacherous Gerudo Desert. This comprehensive guide provides detailed strategies to locate the hidden entrance and overcome the challenging Ancient Prison Ruins puzzle.
While many shrines in The Legend of Zelda: Tears of the Kingdom offer straightforward access, the Chichim Shrine presents a unique challenge by being completely concealed beneath the desert sands. This hidden sanctuary, coupled with its intricate “Ancient Prison Ruins” challenge, demands careful exploration and problem-solving skills to uncover and complete successfully.
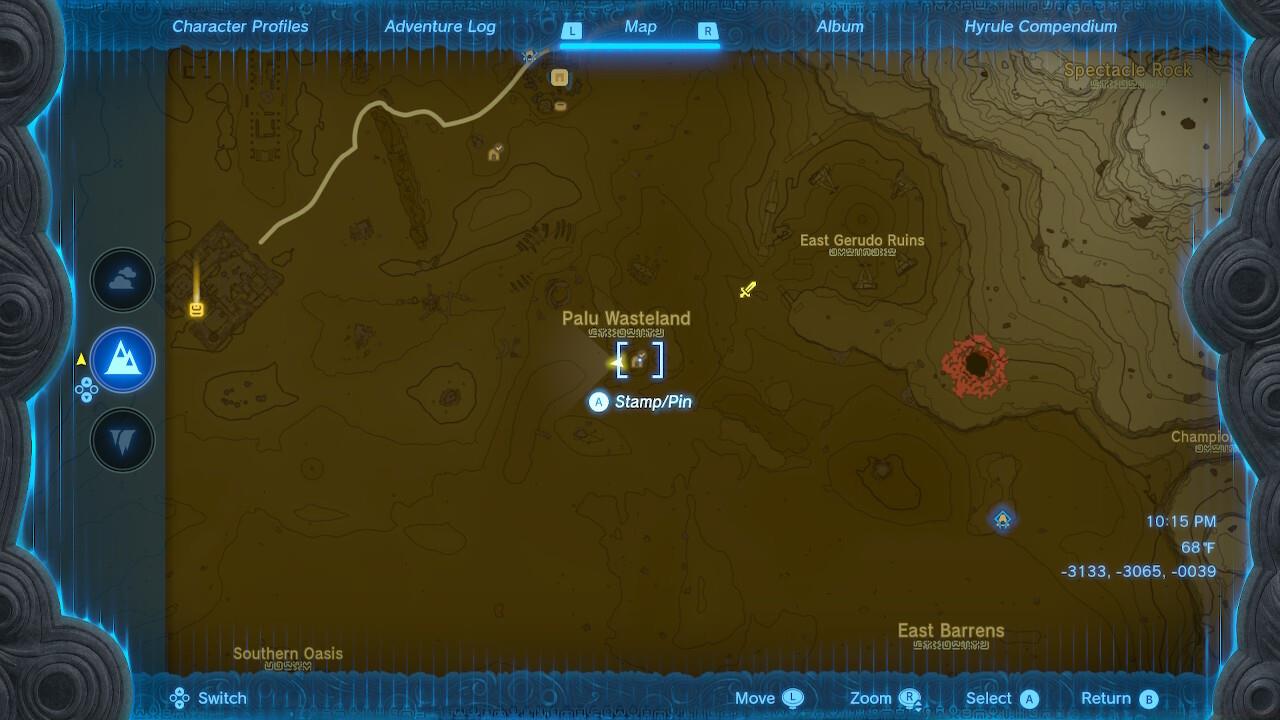
Pinpoint the exact sand pit entrance by aligning with the ‘Palu Wasteland’ text marker on your map interface.
To access the shrine, you’ll need to locate and descend into a specific sand depression within the Gerudo Desert region. Multiple such pits exist, but your target is positioned directly below the cartographic text indicating Palu Wasteland, marked by a distinctive circular indicator. This location sits within the massive sandstorm affecting the area, which will disable your map functionality when approaching. For optimal navigation, establish a direct bearing from outside the storm perimeter and maintain that trajectory.
Pro Tip: Before entering the sandstorm area, place a custom map marker at the target location while your map still functions, providing visual guidance despite the interface disruption.
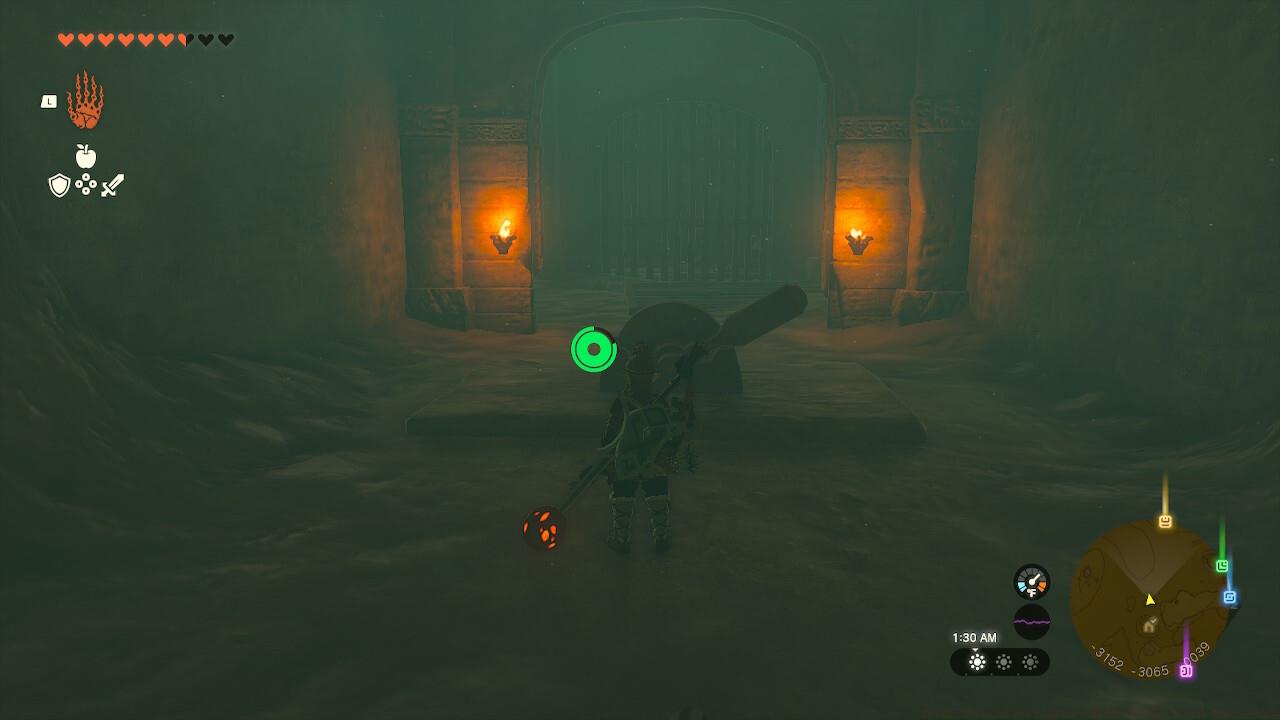
This intricate environmental puzzle demands systematic switch activation and strategic combat encounters to progress through the underground complex.
Once you’ve located and entered the correct sand pit, you’ll find yourself within the Ancient Prison Ruins. Here, you must utilize the Ultrahand ability to manipulate various mechanisms while defending against Gibdo adversaries. While Gibdos don’t possess extreme durability, they require elemental-inflicted damage—whether fire-based, ice-imbued, or electrically-charged—to effectively neutralize their defenses and defeat them.
Systematic switch activation forms the core mechanic of the Ancient Prison Ruins challenge sequence.
Combat Strategy: Always carry at least two elemental weapons or fuse materials to ensure you can handle multiple Gibdo encounters without being caught unprepared.
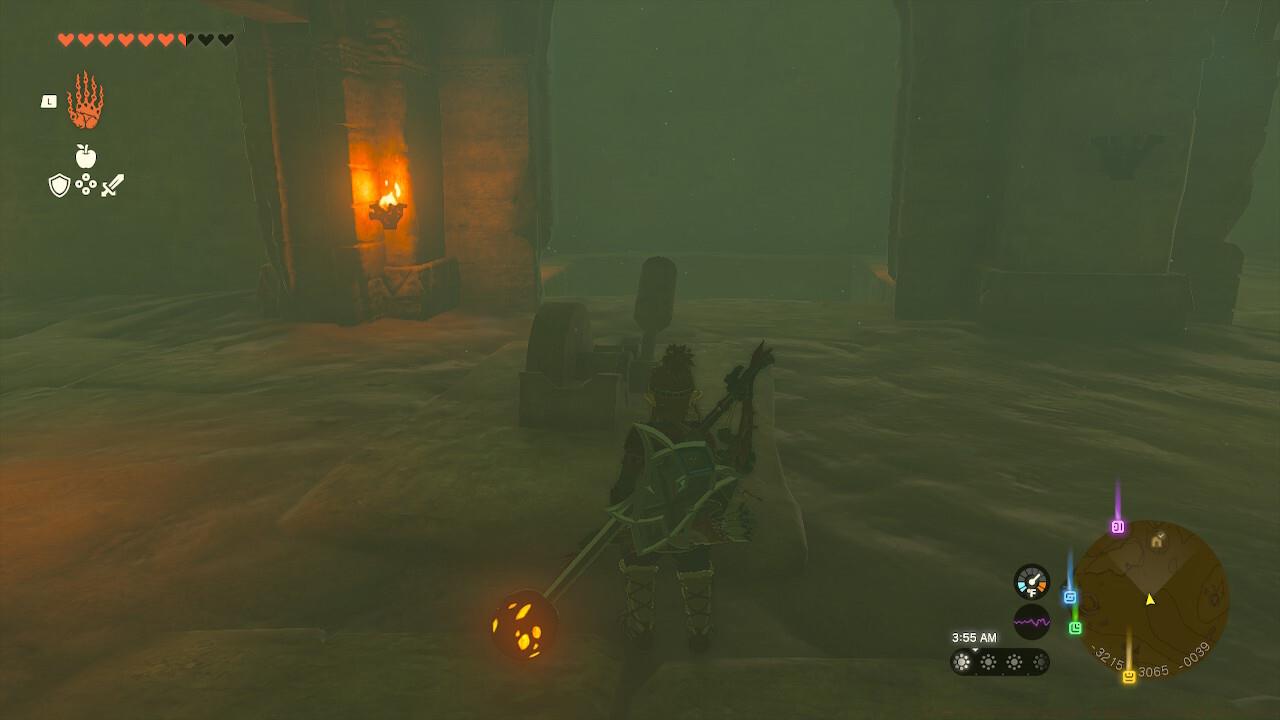
After successfully opening the initial doorway, proceed along the primary passageway until encountering a distinctive statue depicting a female figure brandishing a sword. Follow the directional indication provided by the statue’s pointing gesture until reaching the subsequent switch mechanism.
This particular switch mechanism provides access to subterranean areas within the prison complex.
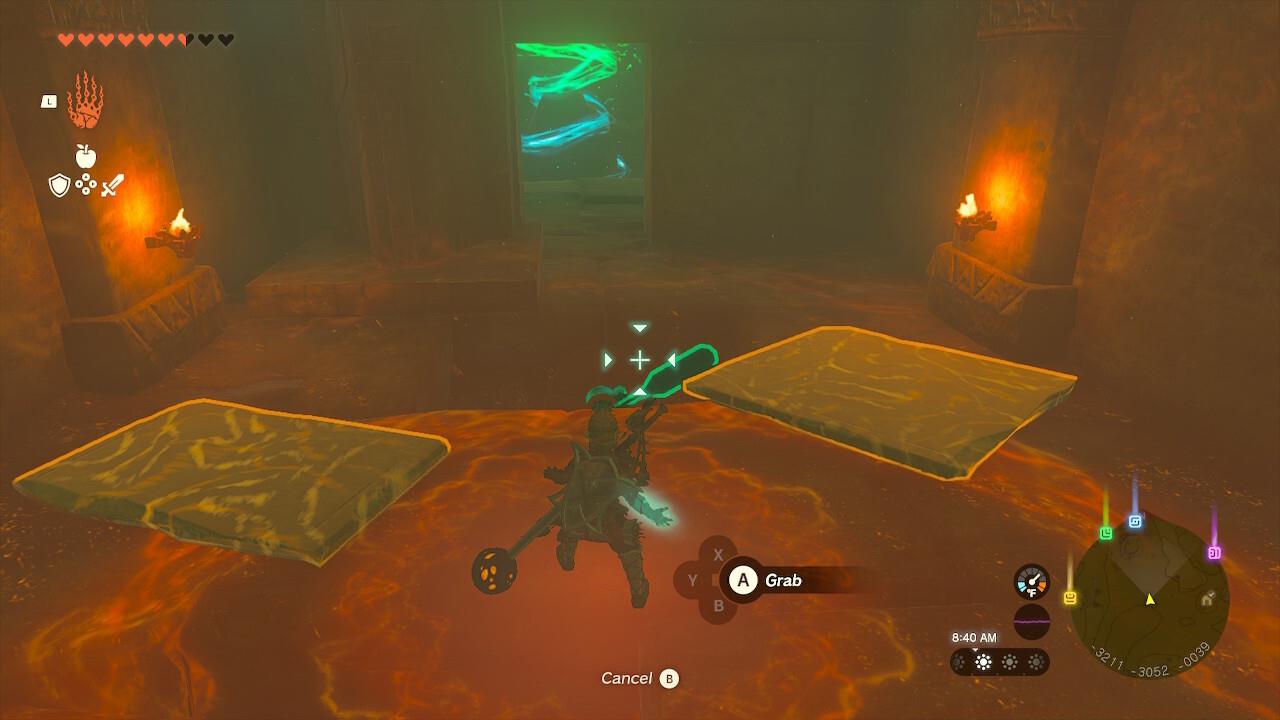
Activating this switch will unveil a passageway to your right, allowing descent to a lower level. Traverse this section until reaching structural blocks that facilitate return to the prison’s main elevation, then ascend. You’ll discover a switch positioned across two platforms that collapse upon weight application. Execute a rapid traversal and activate the switch to unlock a gateway returning to the statue area.
Strategic switch activation opens new pathways and reveals previously inaccessible areas of the prison.
Prioritize crossing to activate the distant switch before descending into the lower chamber.
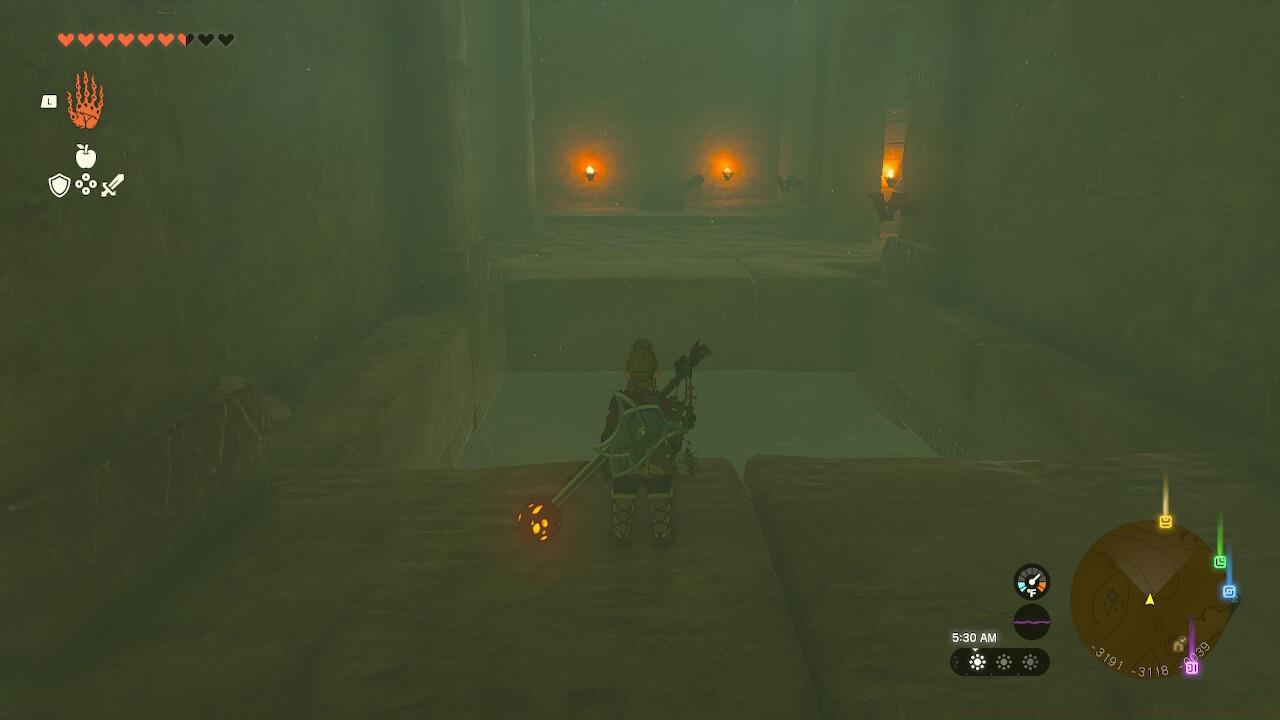
Timing and precision are crucial when navigating collapsing platforms to reach critical switches.
Platforming Technique: Use a running start and time your jumps between the collapsing blocks—waiting too long will cause the platforms to fall, potentially requiring you to restart this section.
The concluding switch mechanism is concealed beneath the flooring, positioned directly before the shrine’s entrance location.
Optimal Equipment Loadout: Beyond elemental weapons, bring climbing gear and stamina-restoring items. The vertical navigation and timed sequences demand adequate stamina reserves. Consider cooking endurance-boosting meals before attempting this shrine.
Time Management: Allocate approximately 15-20 minutes for complete shrine completion if properly equipped. Rushing through puzzles often leads to mistakes that cost more time than careful execution.
Common Pitfalls to Avoid: Many players underestimate the Gibdo encounters and enter with insufficient elemental capabilities. Others fail to properly time the collapsing block sequence, requiring multiple attempts. Plan your route and conserve resources for the final challenges.
Advanced Strategy: For experienced players, consider sequence breaking by using advanced movement techniques to bypass certain sections, though this requires precise execution and thorough game knowledge.
Action Checklist
- Mark the sand pit location on your map before entering the sandstorm area
- Equip at least two elemental weapons for Gibdo encounters
- Navigate through sandstorm using established bearing to locate entrance
- Follow statue guidance and activate sequential switches
- Execute timed platforming across collapsing blocks to reach final switch
No reproduction without permission:SeeYouSoon Game Club » Zelda: Tears Of The Kingdom – Hidden Gerudo Desert Shrine Guide Master the hidden Chichim Shrine with expert navigation tips and combat strategies for the Ancient Prison Ruins