TL;DR
- Riogok Shrine features Force Transfer puzzles requiring Ultrahand ability mastery
- Strategic gear placement and statue activation opens progression pathways
- Hidden Mighty Construct Bow requires creative plank manipulation techniques
- Combining Ascend and Rewind abilities provides alternative puzzle solutions
- Proper positioning and timing prevents common mechanical failures
Successfully navigating the Riogok Shrine demands understanding its strategic placement within Hyrule’s landscape. This shrine presents unique Force Transfer challenges that test your mechanical problem-solving skills.
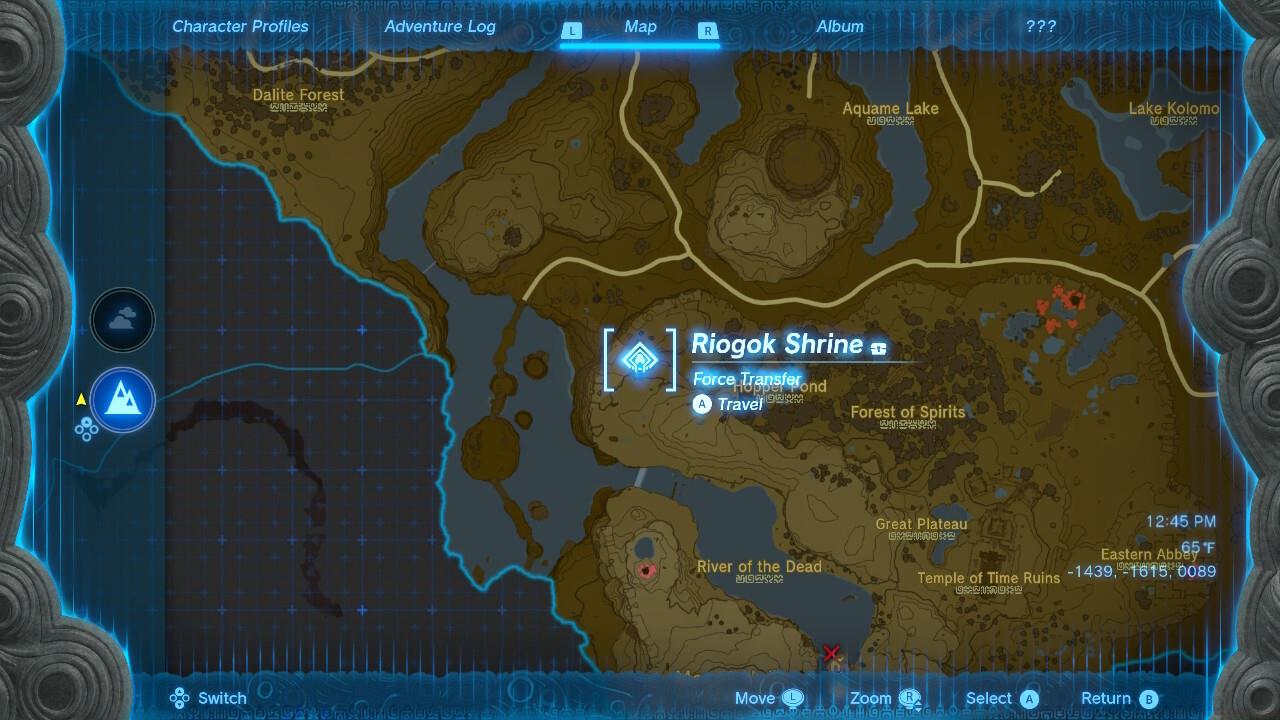
The Riogok Shrine occupies territory west of Hopper Pond in Central Hyrule, making it accessible relatively early in your adventure.
Before entering, ensure you’ve mastered the Ultrahand ability fundamentals. Many players underestimate the precision required for optimal gear placement, which can lead to frustrating repetitions. Having a versatile weapon selection proves valuable for quick statue activation sequences.
Upon entering the shrine’s initial chamber, immediately scan your environment for interactive elements. To your right rests a wooden plank, while directly ahead awaits the primary gear mechanism that controls access forward.
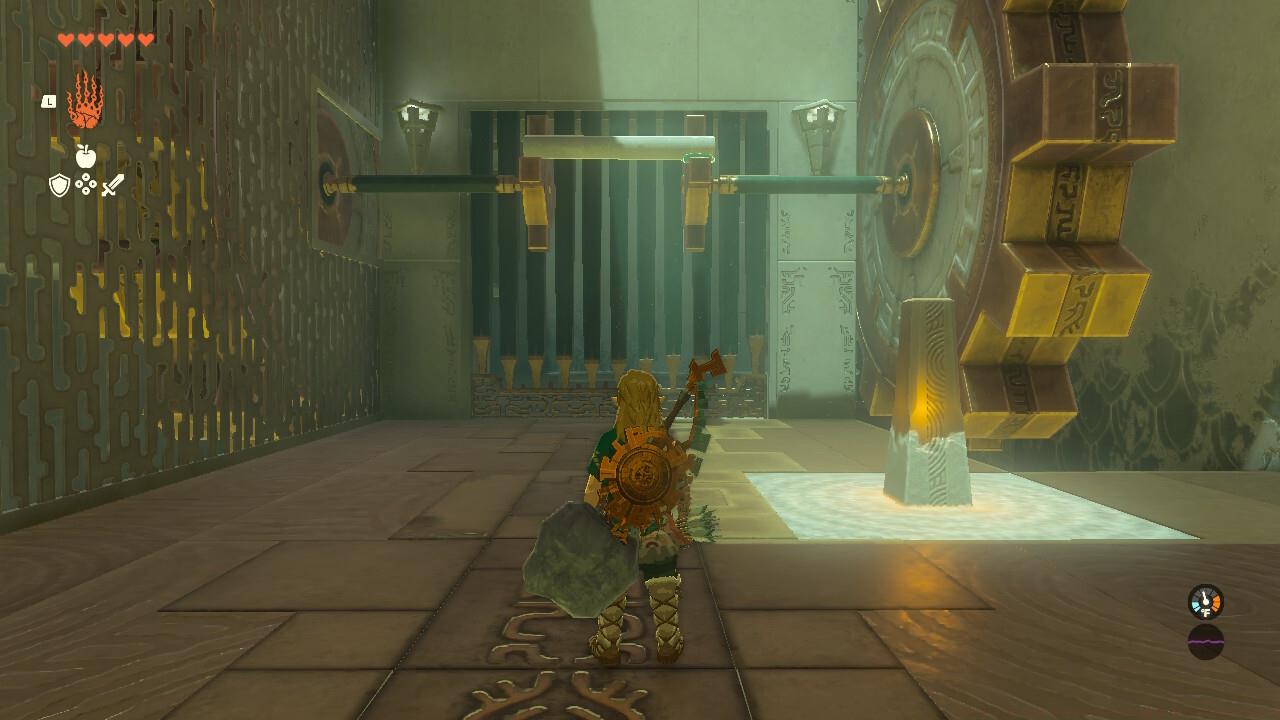
Proper plank attachment between both gears creates the mechanical connection needed for gate activation.
Execute the Ultrahand ability to connect the wooden plank securely between both gear mechanisms. Precision matters here – ensure both connection points show solid attachment indicators. Once established, target the small statue positioned to the right with any weapon strike. This action triggers the gear rotation, subsequently raising the obstructing gate.
Pro tip: Position yourself at an angle that provides clear visibility of both gear connection points simultaneously. Many failures occur from poorly angled placements that appear correct but lack proper mechanical alignment.
Progressing to the subsequent chamber reveals your opportunity to secure valuable loot. The Mighty Construct Bow rests concealed on an elevated ledge in the room’s rear right quadrant, requiring inventive retrieval methods.
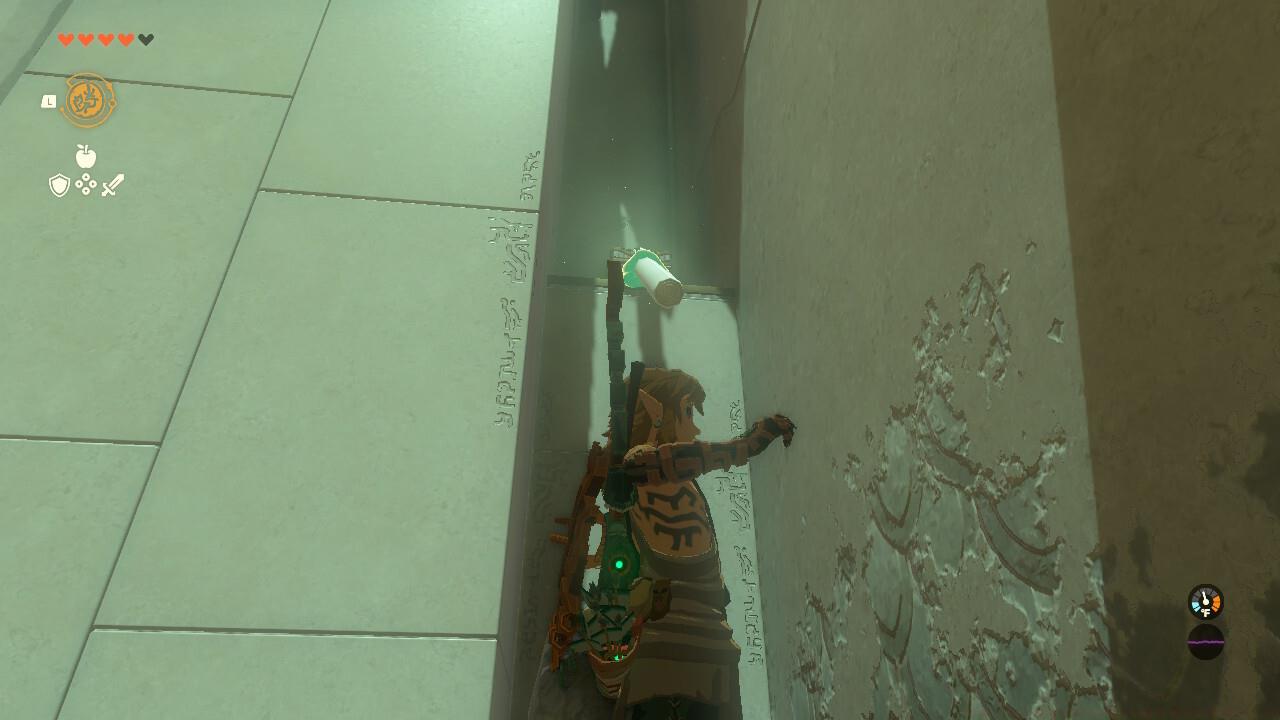
Strategic plank attachment to the chest enables controlled descent for easy acquisition.
Employ your Ultrahand capability to manipulate the available wooden plank, elevating it to chest level. Rather than attempting precarious climbing maneuvers, attach the plank directly to the chest container itself. This creates a secure connection allowing you to gently lower the prize to accessible ground level.
Advanced technique: For players seeking efficiency, consider using the Ascend ability through the platform once positioned correctly, combined with Recall if needed for precision adjustment. This shrine exemplifies how Tears of the Kingdom’s ability synergy creates multiple solution pathways.
Seasoned shrine explorers should note several optimization opportunities within Riogok’s challenges. The gear mechanism responds best to firm, decisive strikes rather than hesitant attacks – commit to your actions for consistent results.
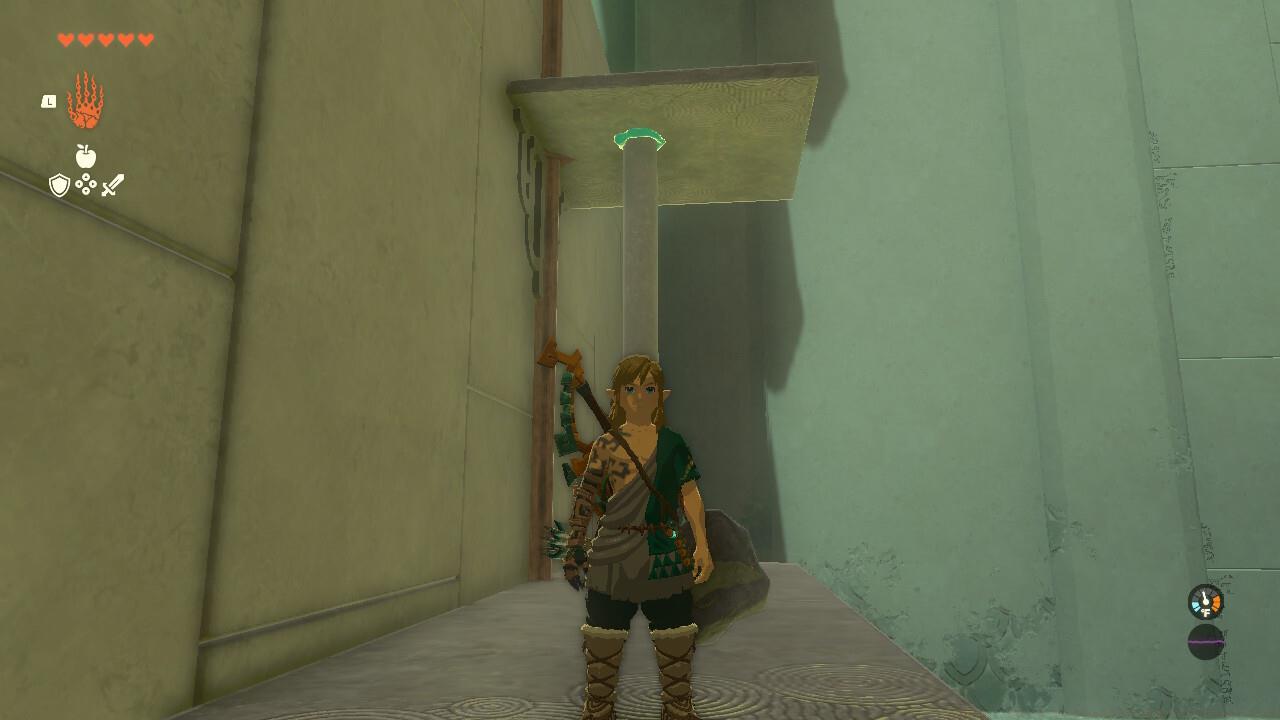
Combining Ultrahand with Ascend and Rewind abilities provides elegant solutions to vertical challenges.
Avoid the common error of positioning the plank at awkward angles that strain the mechanical connections. The optimal placement creates a straight, firm bridge between gear centers. If the gate fails to open, reassess your connection points rather than repeating the same approach.
Time investment: First-time completions typically require 5-7 minutes, while optimized runs can achieve under 3 minutes. The Mighty Construct Bow significantly enhances your ranged combat capabilities, making the chest retrieval well worth the minor time extension.
This shrine perfectly demonstrates how mastering core mechanics translates to success across Hyrule’s challenges. As you progress, you’ll find these skills invaluable for more complex game progression obstacles.
Action Checklist
- Locate shrine west of Hopper Pond in Central Hyrule
- Scan initial chamber for plank and gear mechanisms
- Use Ultrahand to create secure plank bridge between gears
- Strike right-side statue firmly with any weapon
- Retrieve hidden chest using plank attachment technique
- Combine Ascend and Rewind for alternative puzzle solutions
No reproduction without permission:SeeYouSoon Game Club » Zelda: Tears Of The Kingdom – Riogok Shrine Puzzle Guide Master the Riogok Shrine's Force Transfer puzzles with expert strategies and hidden chest locations