TL;DR
- Master damage type weaknesses and positioning for optimal turn-based combat efficiency
- Unlock Benten Pawn in Chapter 4 as your primary economic hub for selling items
- Complete substories like ‘Baby Don’t Cry’ for substantial early-game funding
- Utilize Hamakita Park’s insect collection for consistent income generation
- Prioritize gear upgrades and bond levels to prepare for challenging chapter transitions
Yakuza: Like a Dragon introduces a fresh turn-based combat system while maintaining the series’ signature depth and complexity. New players should understand that the initial chapters serve as an extended tutorial phase, with true exploration beginning in Chapter 4 when the massive Yokohama map fully opens up. This transition from Tokyo’s Kamurocho to Isezaki Ijincho marks the point where strategic planning becomes essential for success.
Your protagonist, Kasuga Ichiban, starts with minimal resources, creating an authentic underdog narrative that requires smart economic decisions. The shift from action combat to strategic turn-based battles demands adjustment, particularly in understanding positioning, damage types, and enemy weaknesses. Early financial struggles are intentional design elements that teach resource management fundamentals.
Many players underestimate the importance of establishing economic foundations during Chapters 3-4. Without proper funding strategies, you’ll struggle to afford essential gear upgrades needed for the difficulty spike in later chapters. Proper preparation during this critical window determines your success through the mid-game content.
The transition to turn-based combat doesn’t diminish the series’ signature intensity—it simply requires different strategic approaches. Early encounters may seem straightforward, but mastering the damage type system is crucial for efficient battles. Enemies display specific vulnerabilities to bash, slash, or pierce physical attacks, plus elemental weaknesses to fire, water, or electric damage. Identifying and exploiting these weaknesses can reduce battle duration by 30-40%.
Positioning mechanics introduce tactical depth many players overlook. When characters attack from distance against grouped enemies, they risk interruption from adjacent foes. Area-of-effect skills (marked as “Enemy Area” in menus) become exponentially more effective when targeting tightly clustered opponents. The density of enemy grouping directly impacts AOE damage output.
Advanced combat optimization involves managing knockdown states strategically. Downed enemies always take critical damage from basic attacks but remain immune to skill-based damage bonuses. This creates optimal sequencing: use MP-consuming skills to create knockdowns, then follow with MP-free normal attacks for maximum damage efficiency. Hesitation at the command menu allows downed foes to recover, wasting critical damage opportunities.
Common combat mistakes include wasting MP on already-downed enemies, ignoring positional advantages, and failing to prioritize high-threat targets. Experienced players recommend mapping enemy weaknesses early and creating mental attack priority lists for different encounter types.
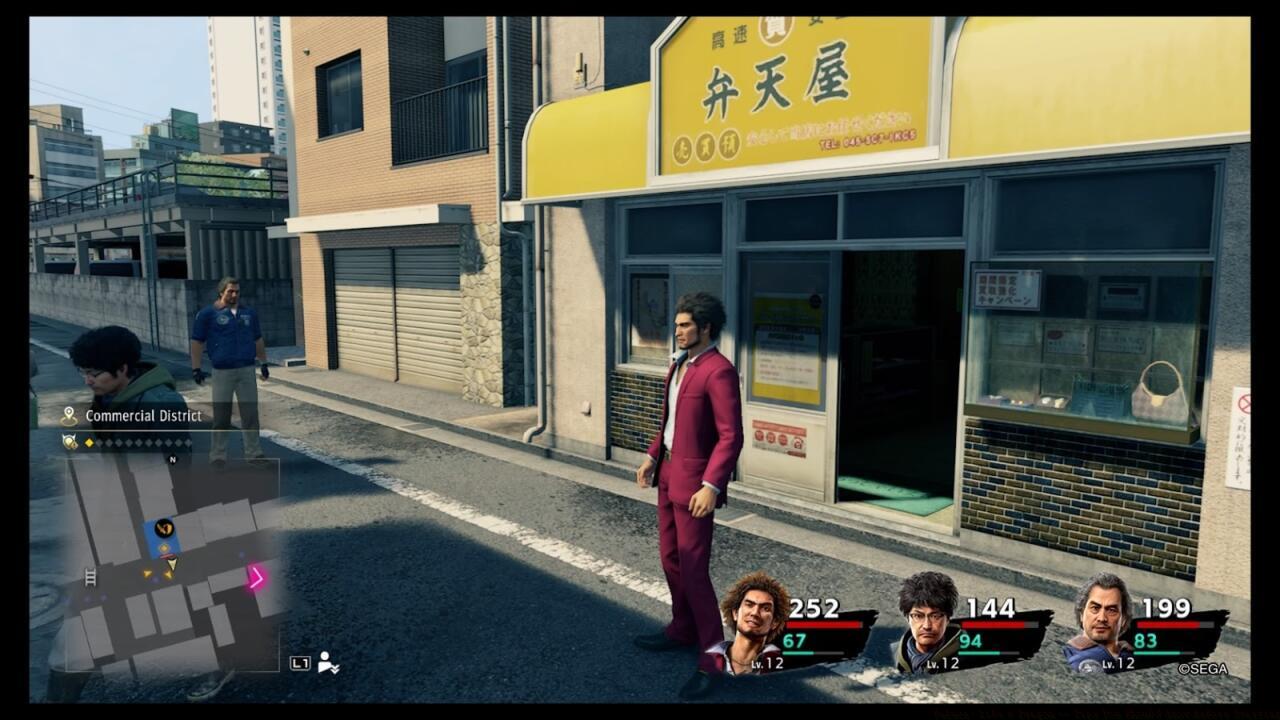
Chapter 4 represents your economic turning point, where exploration potential expands but financial constraints remain tight. The Benten Pawn establishment in the commercial district becomes your primary revenue stream, but requires specific activation steps many players miss.
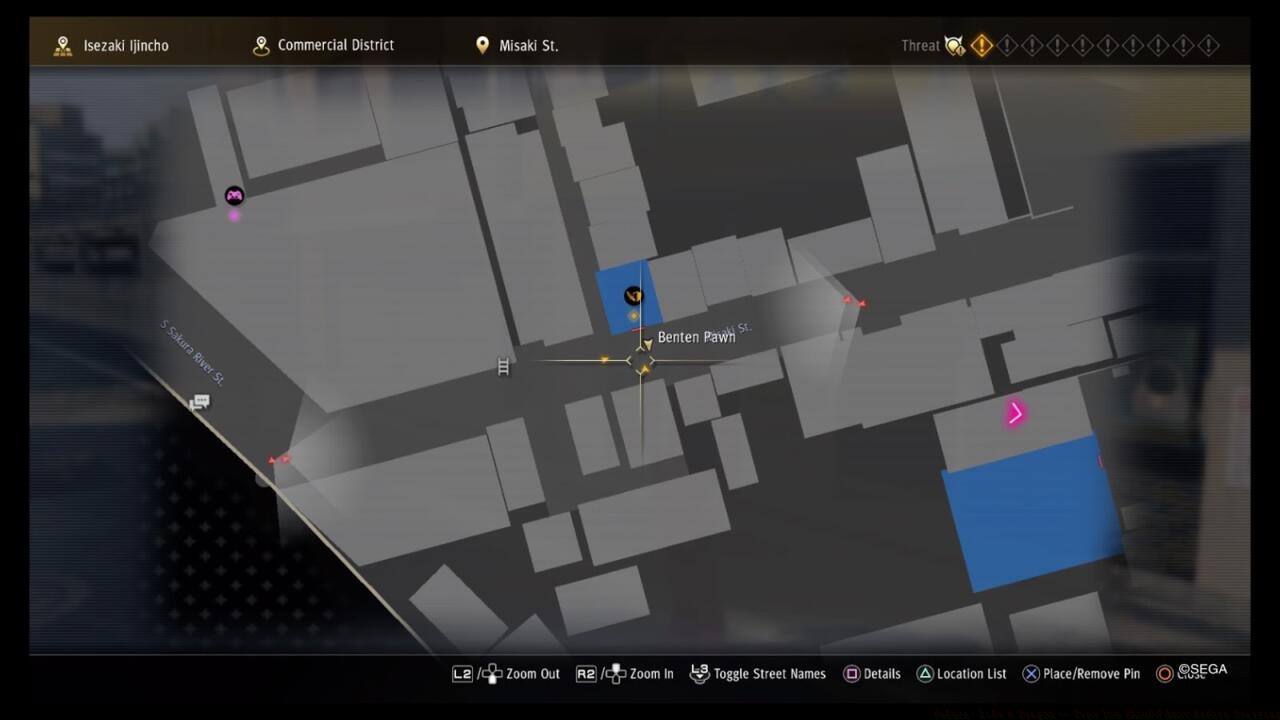
Benten Pawn serves as your economic hub for selling valuable discoveries and unused equipment.
Initial discovery reveals the shop blocked by debris, requiring a return visit later in the chapter to trigger the unlocking sequence. After a brief combat encounter, this location becomes permanently available, providing essential early-game funding through item liquidation.
Substories offer the most substantial early financial rewards, with “Baby Don’t Cry” near Otohime Land providing 20,000 yen after completing the mandatory Poundmates storyline. This single reward can fund multiple weapon upgrades and armor purchases, significantly boosting combat effectiveness.
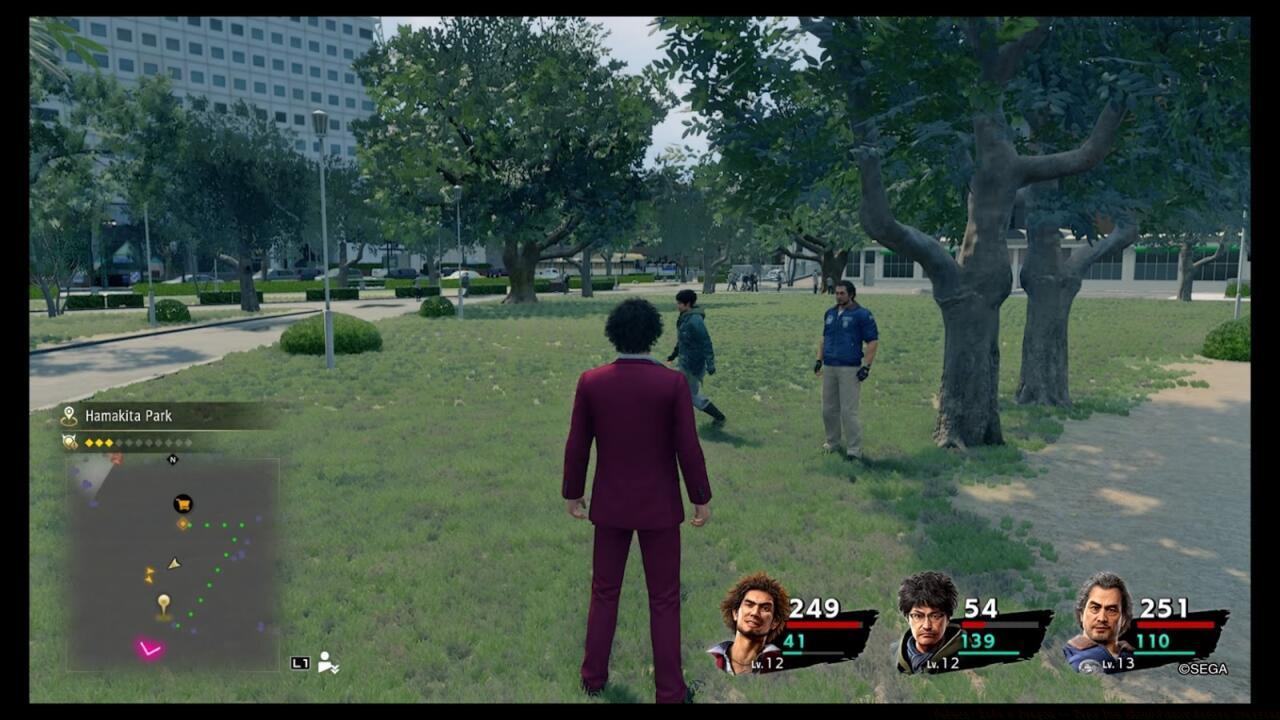
Hamakita Park’s insect population provides consistent, renewable income through rare beetle and scorpion specimens.
When substory completion still leaves funding gaps, Hamakita Park’s northeastern fields offer valuable insect collecting opportunities. High-value specimens like beetles and scorpions fetch 1,000+ yen each at the pawnshop, making brief collecting sessions profitable for filling specific gear purchase needs.
Proper gear management separates struggling players from those who smoothly progress through challenging content. Early weapon selection should prioritize damage type coverage and stat bonuses that complement your party composition. Don’t underestimate basic gear available at Benten Pawn—these items provide crucial stat boosts for upcoming boss encounters.
Regular equipment upgrades ensure your party maintains combat effectiveness against escalating enemy challenges.
The Romance Workshop becomes your primary upgrade facility once unlocked, allowing weapon enhancement and customization. Upgrade material requirements escalate quickly, so plan enhancement paths based on your primary damage dealers and tank characters.
Armor selection should balance defensive stats with special effect considerations. Some early-game armor pieces provide status resistance or bonus effects that outweigh raw stat improvements.
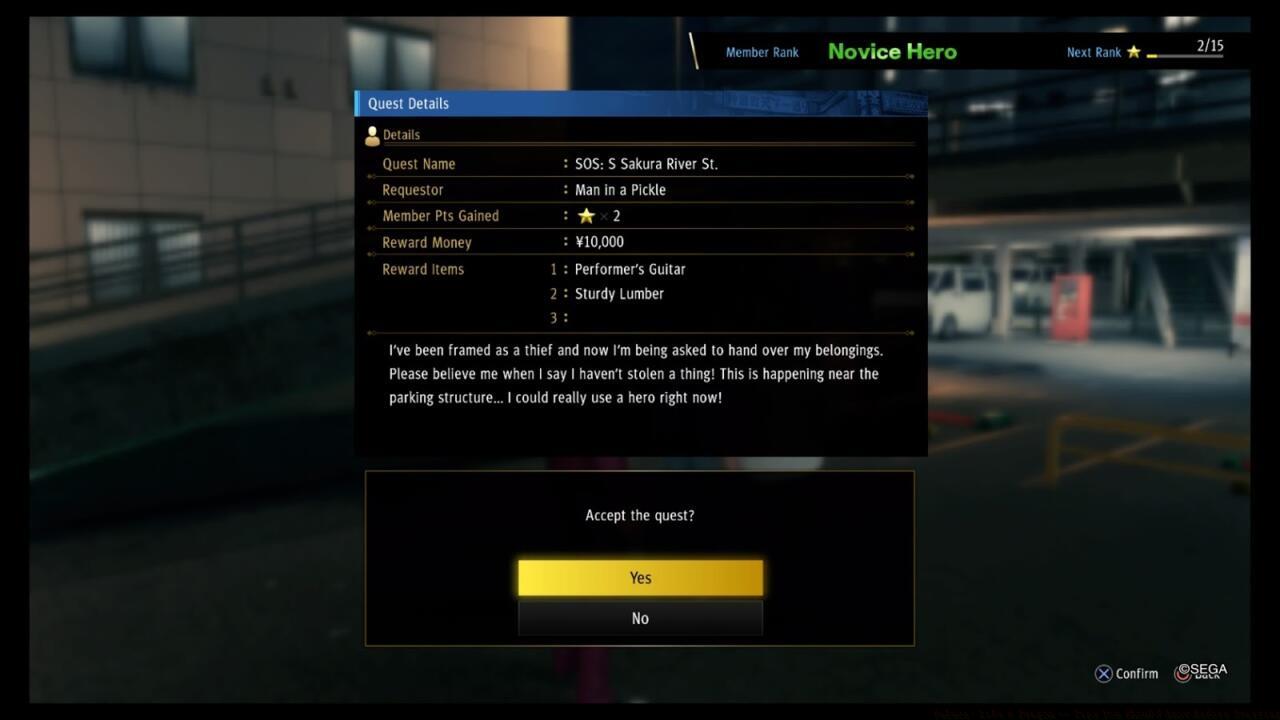
SOS substories deliver immediate cash rewards without requiring return trips, making them highly efficient funding sources.
Common gear mistakes include overspending on marginal upgrades, ignoring accessory slots, and failing to match equipment to specific upcoming challenges. Research boss weaknesses before major encounters to optimize gear selection.
Job system experimentation becomes available mid-game, but early specialization in default roles often proves more effective than premature switching. Each job features unique skill trees and stat growth patterns that require significant investment to become viable.
Taxi fast-travel locations accumulate throughout Chapter 5, significantly reducing traversal time across the expansive map.
Bond level management represents one of the most overlooked progression systems. Party members require regular interaction at Survive bar to advance relationship thresholds once bond points reach specific levels.
Bond level “uncapping” occurs through specific bar conversations that unlock new combat synergies and character development opportunities.
Chapter 6 introduces substantial difficulty increases that punish underprepared parties. Preparation should include weapon upgrades to at least +3, comprehensive armor sets, and stockpiled healing items. The economic foundations you establish in Chapters 4-5 directly determine your Chapter 6 experience quality.
Advanced players recommend establishing daily income routines combining substory progression, insect collection, and treasure hunting. This consistent revenue stream ensures you can afford emergency purchases and opportunity-based upgrades as they arise.
Action Checklist
- Master damage type weaknesses: test bash, slash, pierce and fire, water, electric elements
- Unlock Benten Pawn by returning after initial discovery cutscene
- Complete ‘Baby Don’t Cry’ substory for 20,000 yen funding
- Establish insect collection routine at Hamakita Park for consistent income
- Upgrade primary weapons to +3 before Chapter 6
No reproduction without permission:SeeYouSoon Game Club » Yakuza: Like A Dragon — Tips You Should Know Before Starting Essential early-game strategies for Yakuza: Like a Dragon covering combat, economy, and progression optimization