TL;DR
- Shi No Numa features 6 key areas with randomized perk spawns except the fixed starting location
- Vanguard rebrands classic perks with new names but maintains similar core functionality
- Base perks are free – only tier upgrades require points, making early collection crucial
- Strategic perk acquisition order significantly impacts survival and progression efficiency
- Advanced players should prioritize perk combinations based on their weapon and playstyle
Navigate the enhanced Shi No Numa map with confidence by mastering its unique perk distribution mechanics. This classic Zombies experience returns in Call of Duty: Vanguard Season 4 with strategic enhancements that reward intelligent planning.
Season 4: Mercenaries of Fortune revitalizes this iconic location, blending nostalgic layout with modern gameplay systems. Understanding the perk fountain placement strategy becomes essential for maximizing your survival potential against the undead hordes.
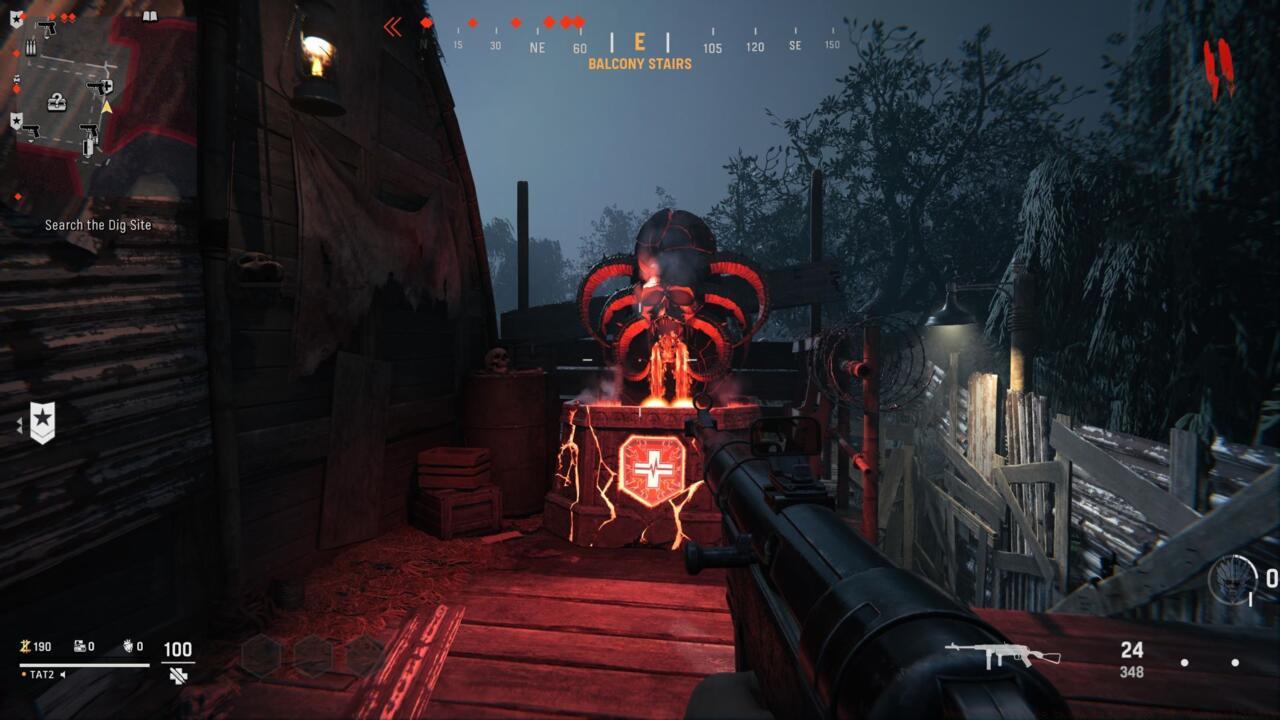
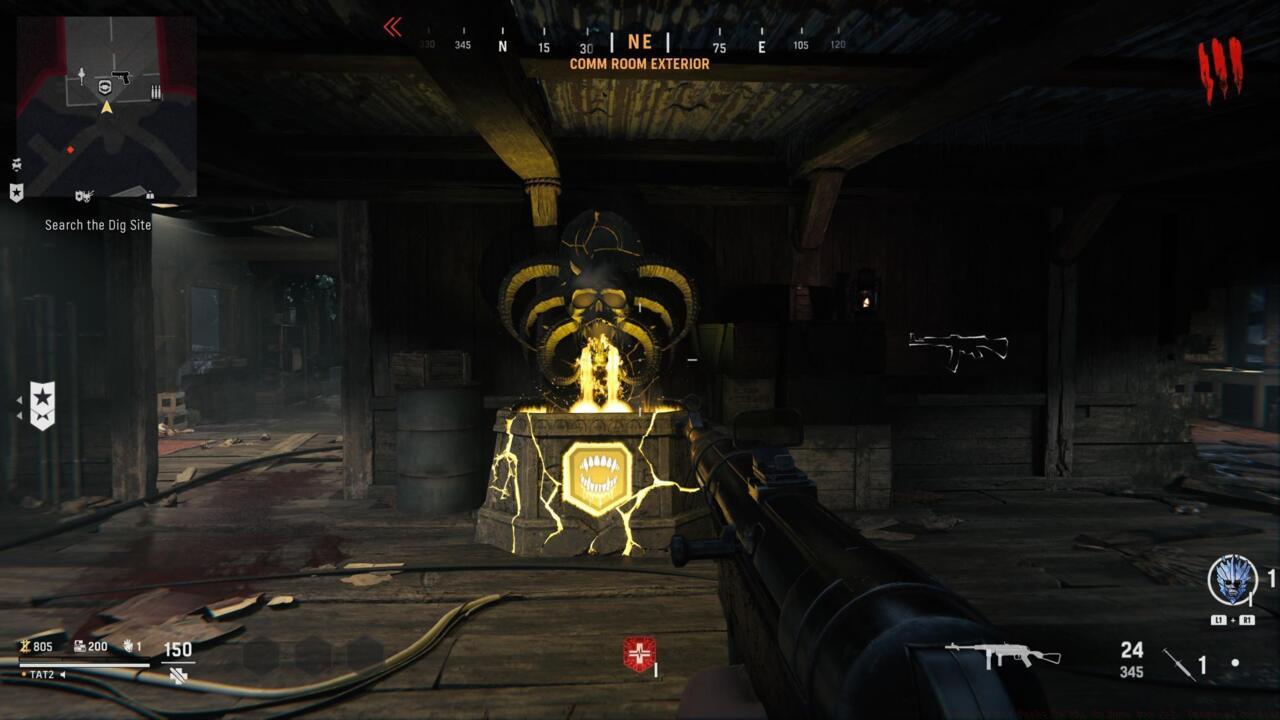
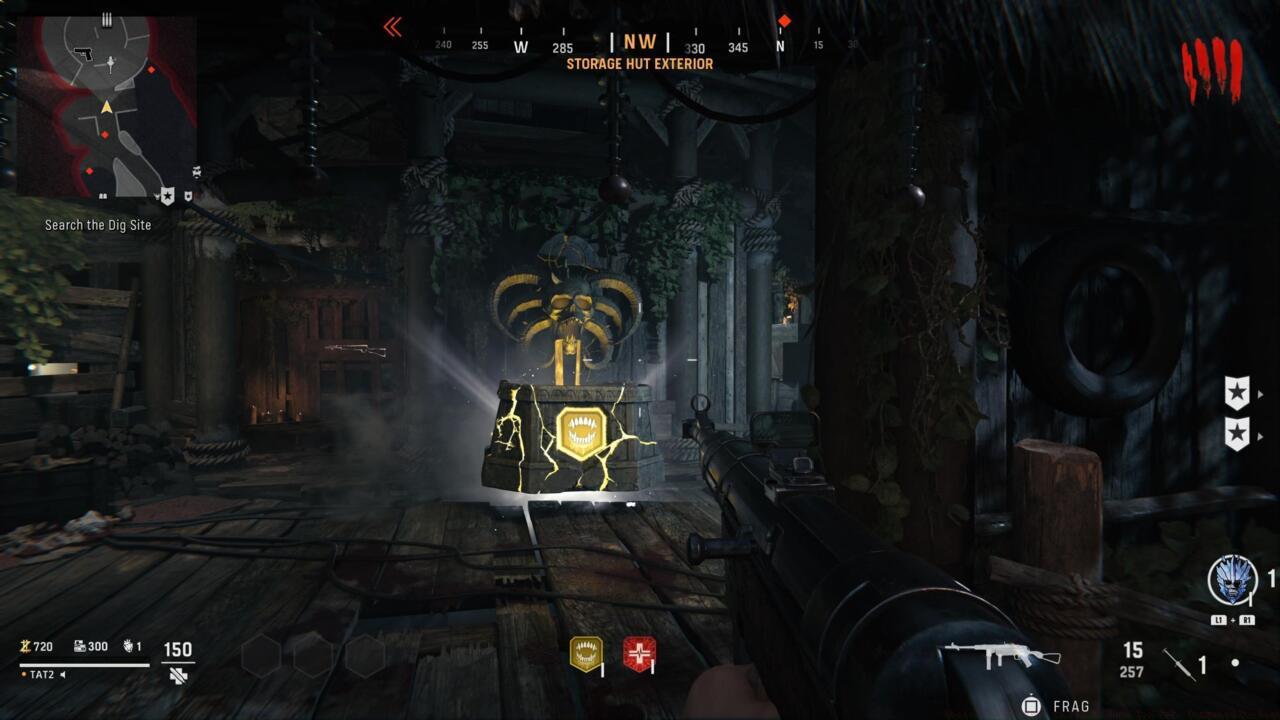
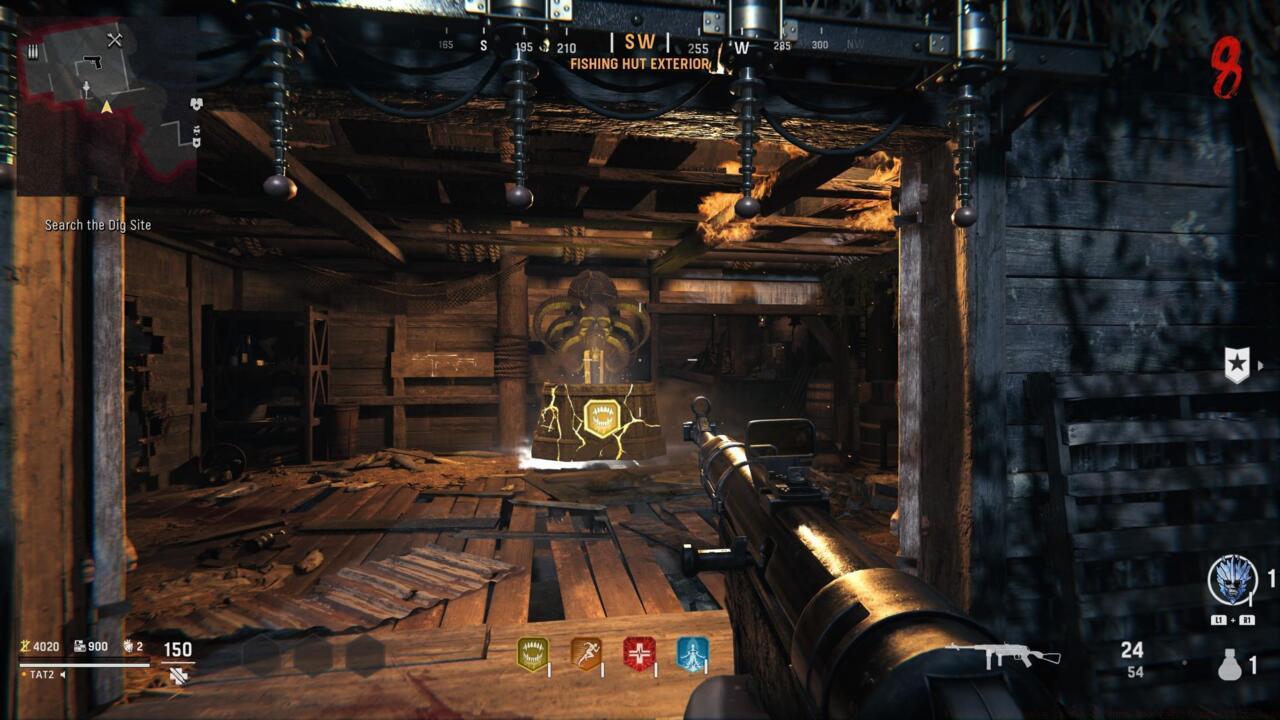
Perk fountains distribute across six primary map sectors: Doctor’s Quarters, Fishing Hut, Comm Room, Storage Hut, Dig Site, and the initial Main Hut zone. Unlike the original version, only your starting perk remains fixed – subsequent locations rotate randomly between matches while preventing duplicate appearances. This system ensures variety while maintaining strategic depth for experienced players.
CRITICAL STRATEGY: Immediate perk collection upon unlocking provides significant advantage since Vanguard’s Zombies mode offers base perks without cost. Your financial investment focuses exclusively on upgrading tiers, making early acquisition a zero-risk, high-reward tactic.
- Fiendish Fortitude: This health-boosting perk serves as Vanguard’s iteration of legendary Juggernog, increasing your survivability threshold against zombie attacks. Essential for players favoring aggressive playstyles or those progressing to higher rounds where damage escalates dramatically.
- Diabolical Damage: Functioning as the spiritual successor to Double Tap Root Beer, this enhancement amplifies critical strike damage. Particularly effective when paired with high-precision weapons or during boss encounters.
- Demonic Frenzy: Vanguard’s interpretation of Speed Cola dramatically improves reload velocity. This becomes increasingly valuable with slow-reloading weapons like LMGs or sniper rifles where downtime creates vulnerability windows.
- Aethereal Haste: Mirroring the mobility benefits of Stamin-Up, this acceleration perk enhances movement speed for better positioning, escape capability, and map navigation efficiency.
- Venomous Vigor: Drawing inspiration from Black Ops Cold War’s health regeneration mechanics, this perk accelerates your recovery rate between engagements. Important distinction: Unlike traditional Quick Revive, this provides no self-revive capability or faster teammate revival – exclusively focusing on health regeneration speed.
Advanced Synergy Tip: Combine Diabolical Damage with precision weapons for maximum effect, while pairing Fiendish Fortitude with Aethereal Haste creates an excellent survival combination for kiting strategies.
Mastering Shi No Numa’s layout requires understanding both fixed and variable perk placements across its distinct zones.
Main Hut Perk Location
Your guaranteed starting perk fountain positioned near the initial spawn area – perfect for establishing early game foundation.
Western sector perk spot with randomized assignment – frequently features mobility or damage-oriented perks.
Northern storage zone fountain offering varied benefits – watch for defensive perks appearing here.
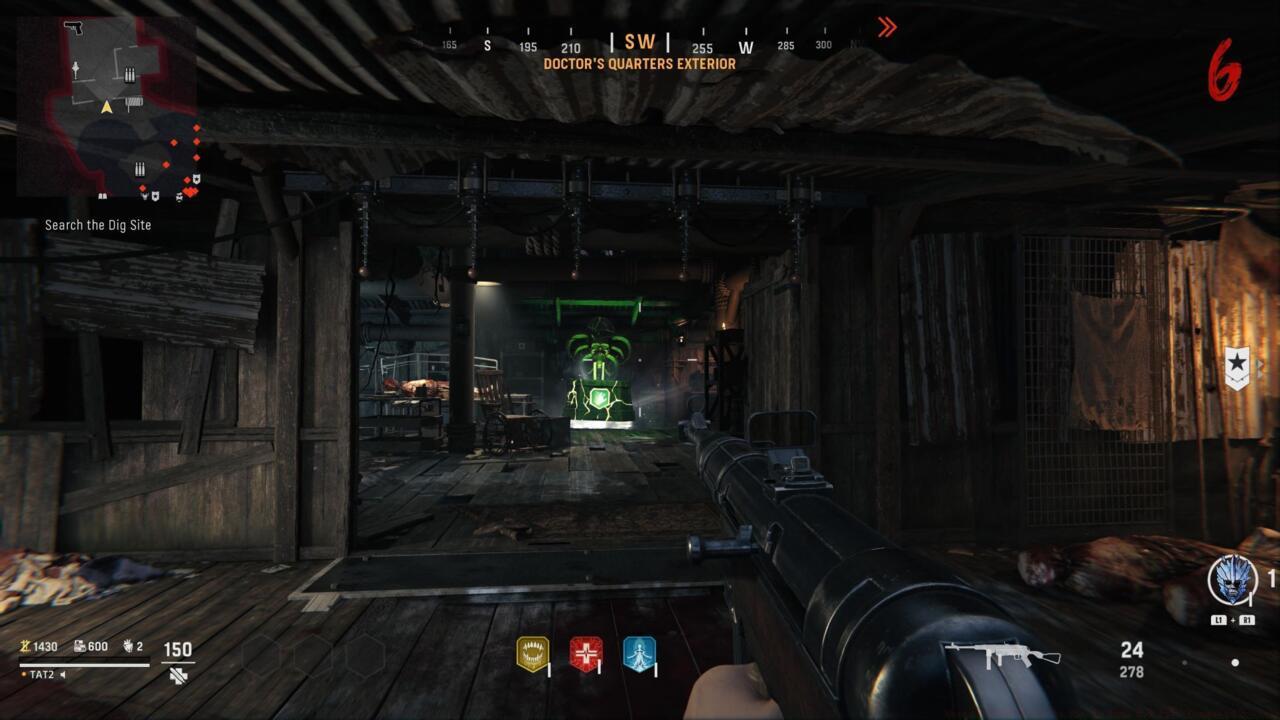
Medical area fountain often hosting survival-focused perks like health or regeneration enhancements.
Eastern waterfront location with multiple potential spawn points – excellent for late-game perk collection routes.
Navigation Strategy: Develop efficient looping paths connecting 3-4 perk zones based on your current objective needs and point accumulation status.
Transform your Shi No Numa performance by implementing professional-grade tactics while avoiding novice mistakes that undermine progression efficiency.
Early Game Optimization: Immediately secure your fixed Main Hut perk, then prioritize opening 1-2 additional zones based on immediate needs. Defensive players should hunt for Fiendish Fortitude, while aggressive styles benefit from Diabolical Damage.
Mid-to-Late Game Planning: Once established, methodically unlock remaining zones while monitoring perk randomization. Avoid spending points on tier upgrades until essential perks are secured unless facing immediate survival threats.
Common Rookie Mistakes:
- Delaying perk collection despite zero base cost
- Over-investing in tier upgrades before securing multiple base perks
- Ignoring perk synergies that complement your weapon selections
- Failing to adapt route planning based on randomized perk placements
Advanced Cost Management: Since base perks require no financial investment, strategically allocate points between perk acquisition, weapon upgrades, and tactical equipment. For comprehensive loadout strategies, consult our Weapons Unlock guide covering optimal point expenditure.
Pro Tip: Veteran players should memorize zone connections to create efficient patrol routes that pass multiple potential perk locations while training zombies effectively.
Action Checklist
- Immediately collect your fixed Main Hut perk upon spawning
- Unlock 1-2 additional zones based on immediate perk needs
- Document randomized perk placements each match to identify patterns
- Prioritize perk combinations that synergize with your weapon choices
- Invest in tier upgrades only after securing essential base perks
No reproduction without permission:SeeYouSoon Game Club » Where To Get Perks In Shi No Numa For CoD: Vanguard Zombies Master Shi No Numa's perk system with location maps, strategy tips, and advanced optimization techniques