TL;DR
- Stray contains 27 total memories, with 5 automatically obtained through story progression
- The Slums and Midtown chapters contain the most collectible memories at 7 and 6 respectively
- B-12 collects glowing blue energy orbs that restore its lost memories and backstory
- Use environmental scanning and backtracking to find easily missed memory locations
- Complete memory collection unlocks special achievements and deeper narrative understanding
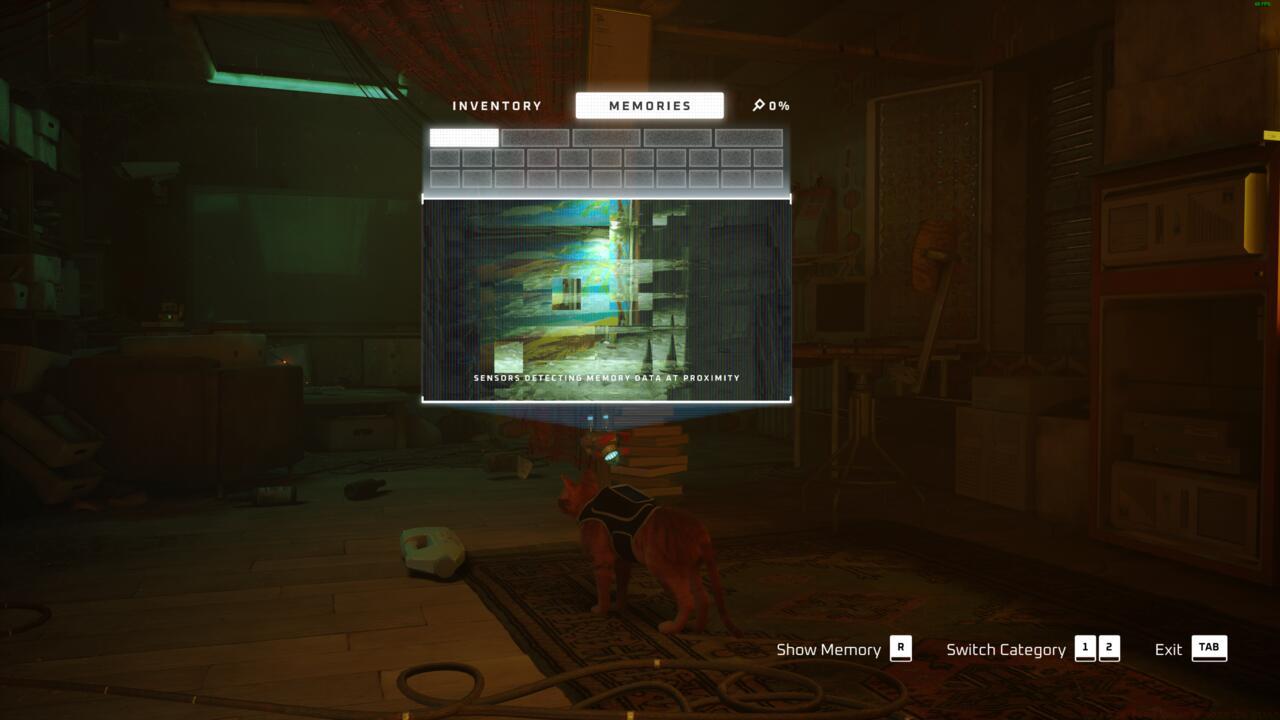
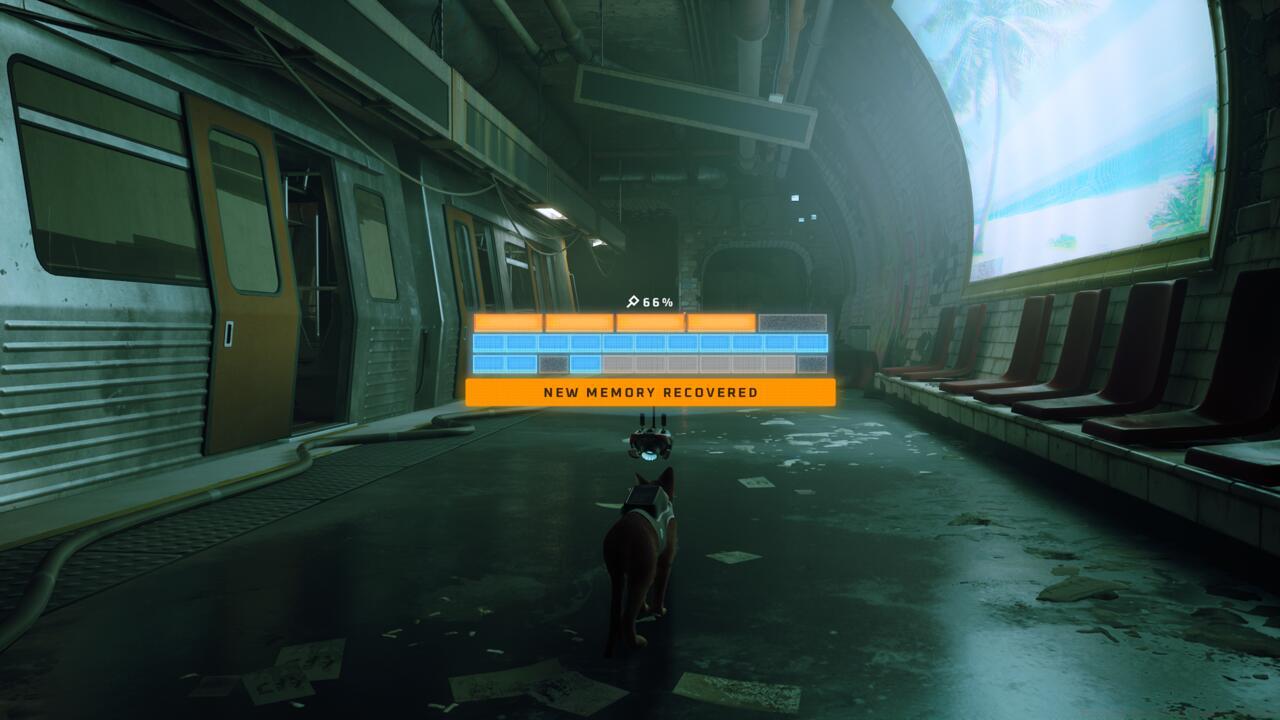
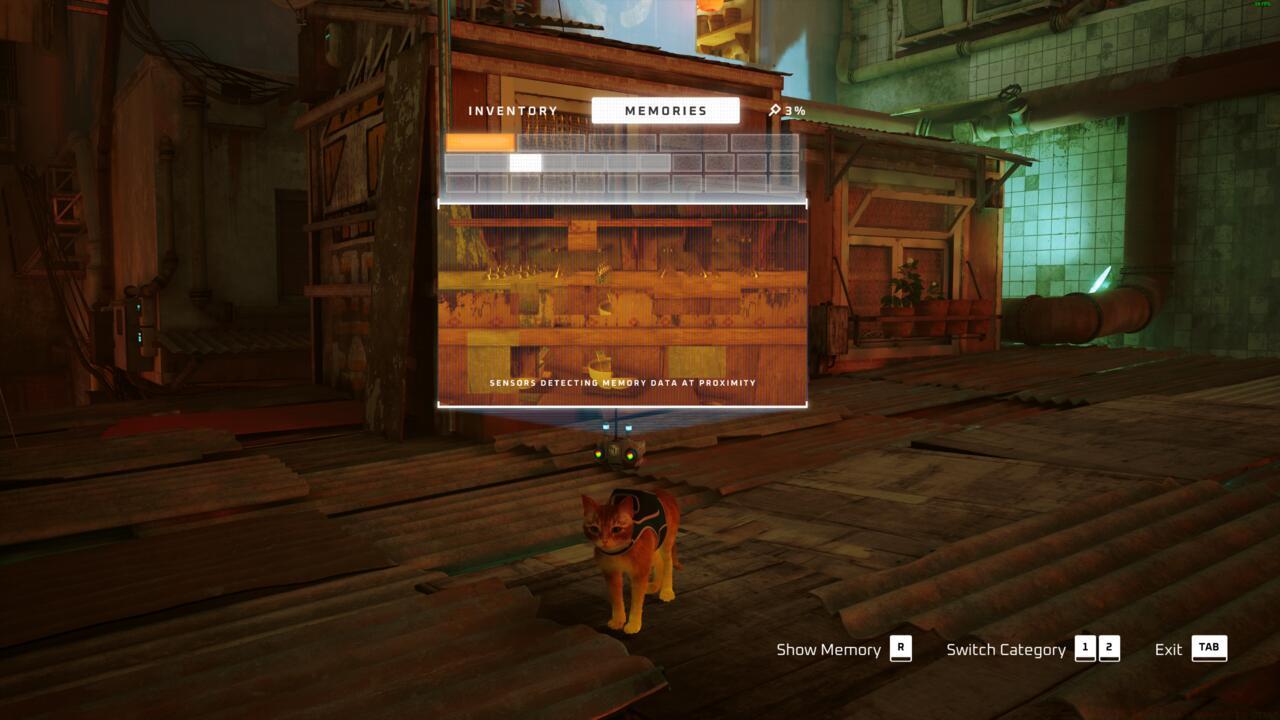
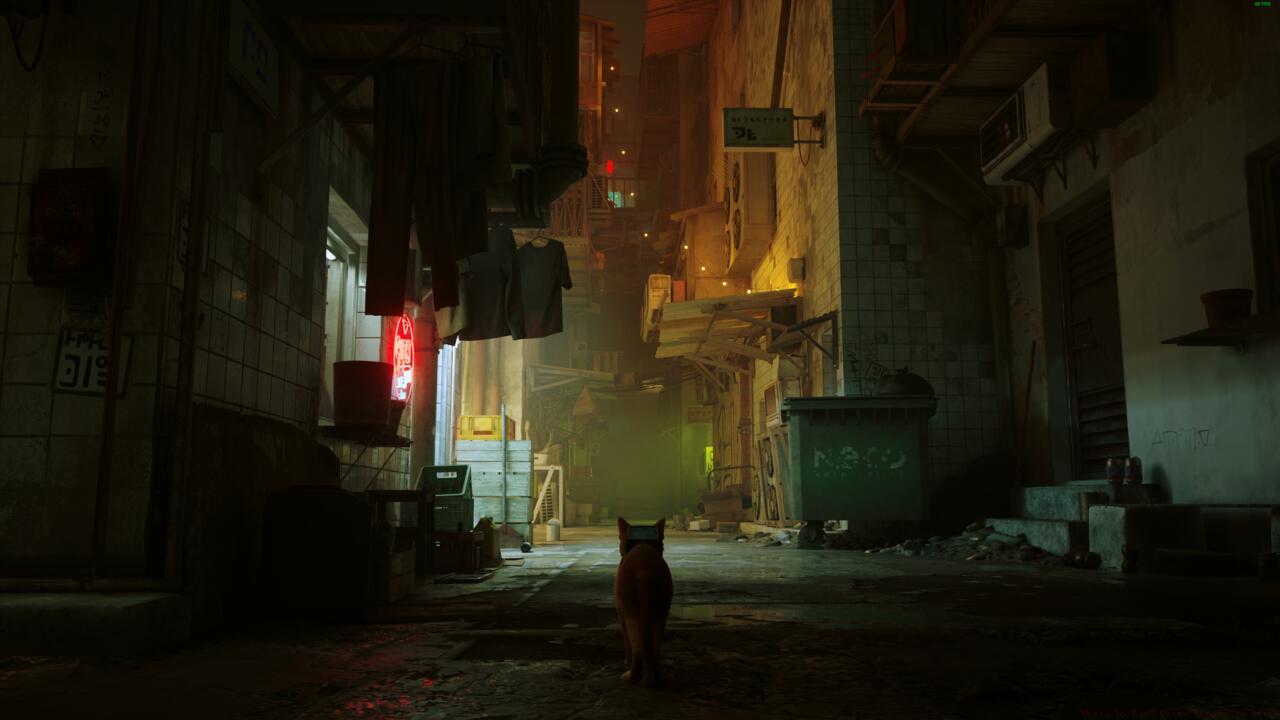
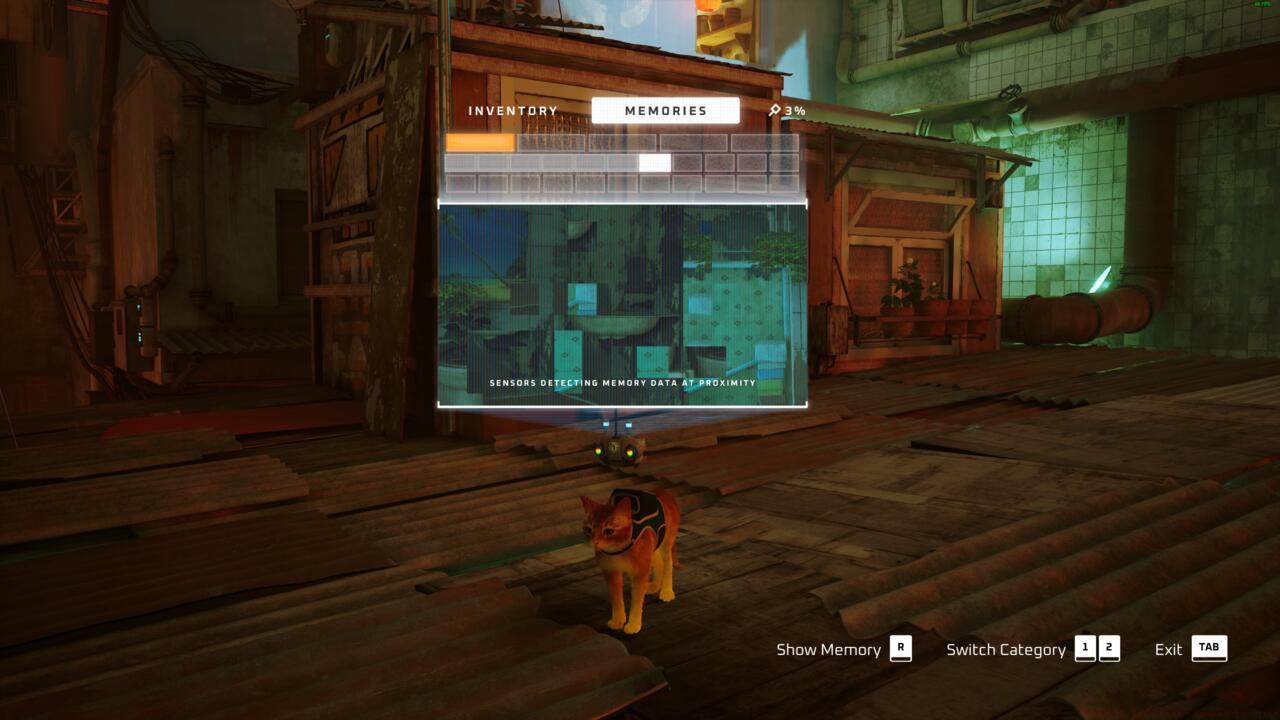
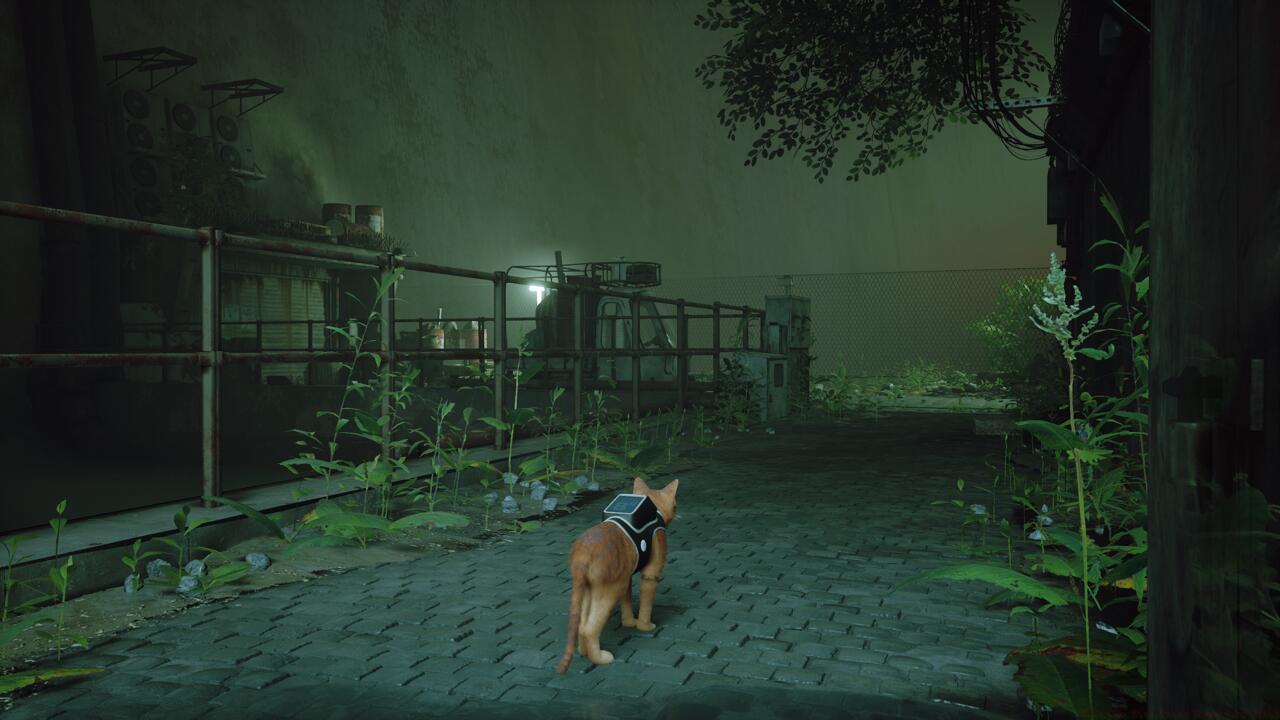
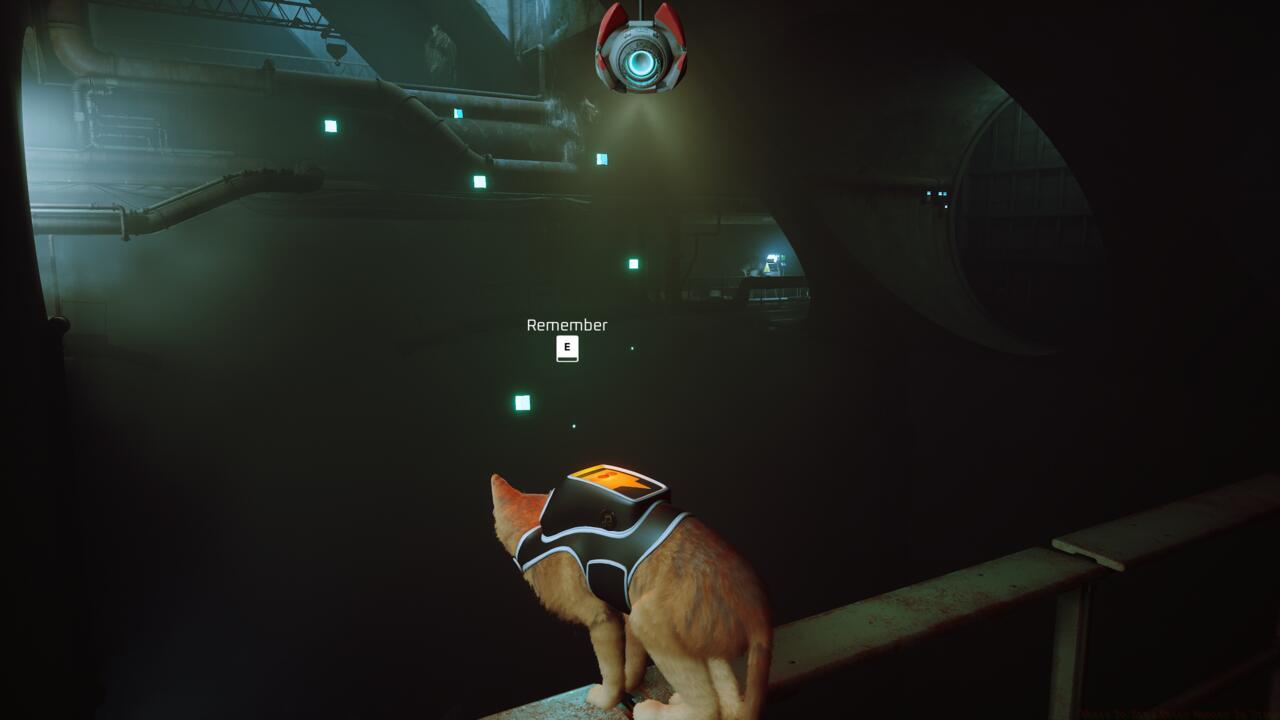
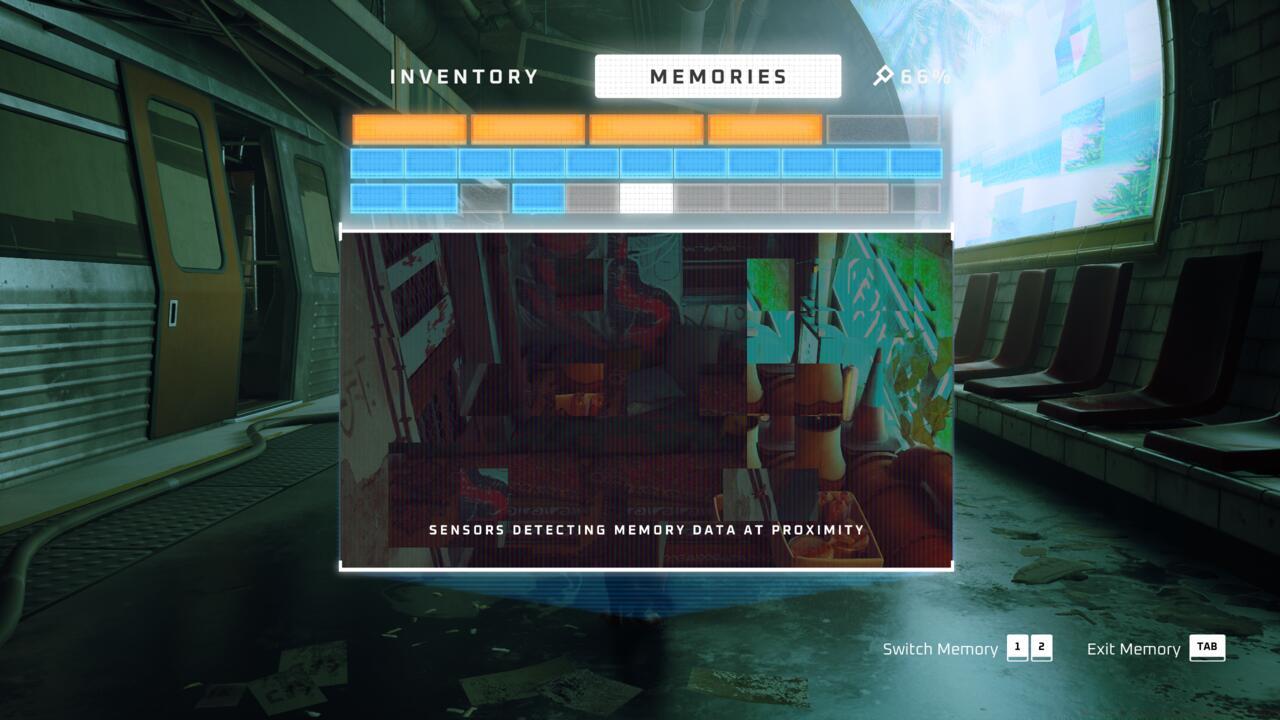
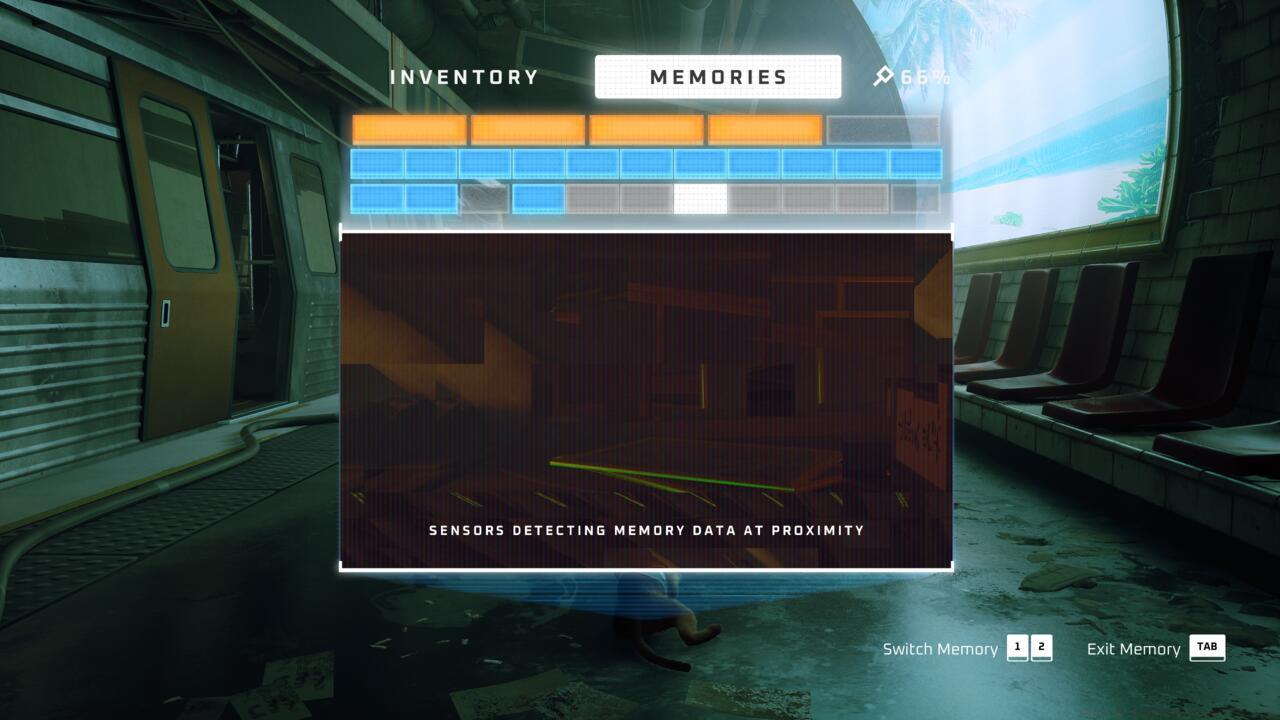
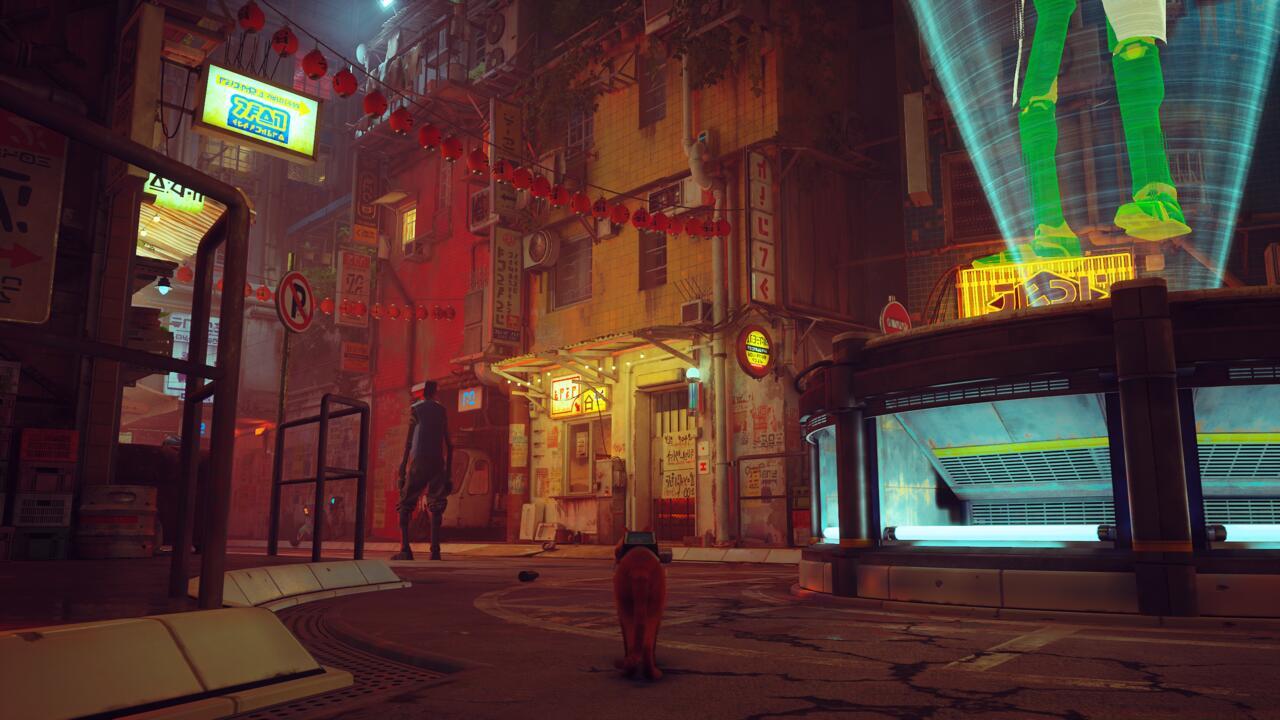
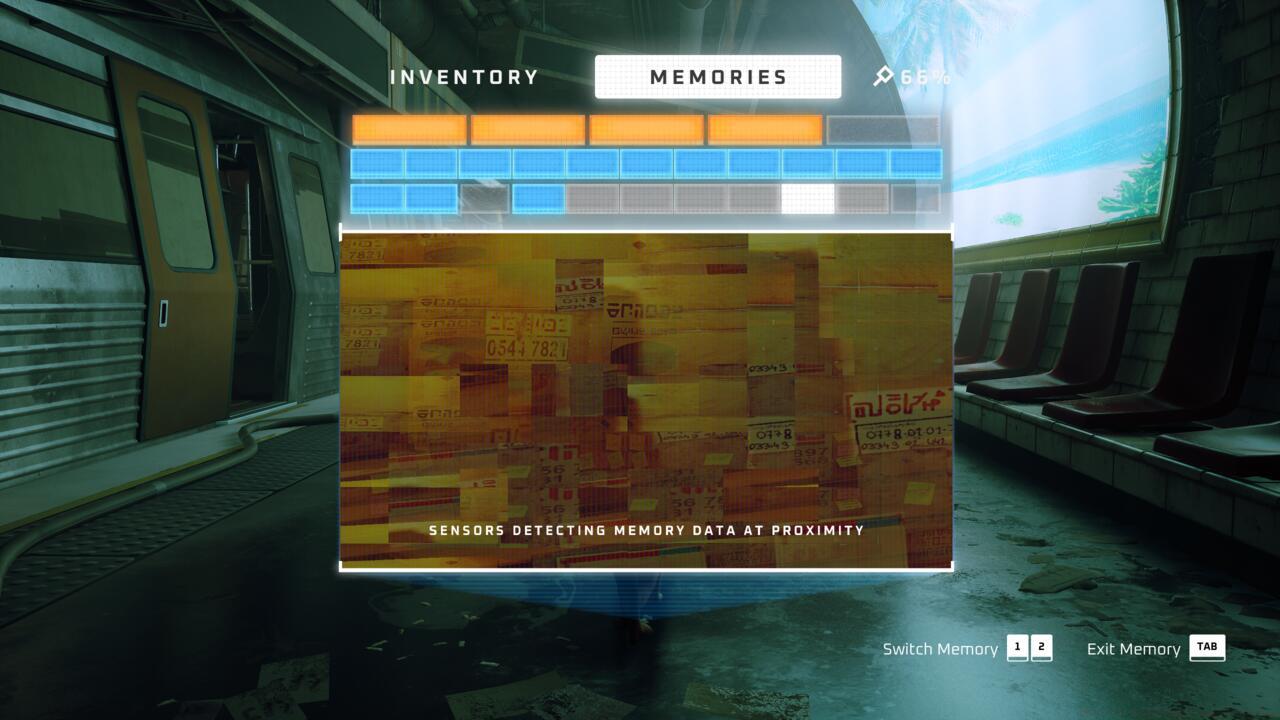
Mastering memory collection in Stray requires understanding the core mechanics behind B-12’s memory recovery system. As you navigate the cyberpunk world as your feline protagonist, you’ll encounter glowing blue energy clusters that represent fragments of B-12’s forgotten past.
These luminous data fragments serve dual purposes: they advance the narrative while providing crucial backstory about the world before the robot inhabitants. B-12, your drone companion, automatically gathers these energy signatures when you approach them, with visual and audio cues confirming successful collection. Of the 27 total memory fragments scattered throughout the game, five are guaranteed through mandatory story progression, ensuring all players uncover key plot elements.
Strategic exploration becomes essential for the remaining 22 memories, which require thorough environmental investigation and sometimes specific interaction sequences. Unlike weapon systems in games like BF6 Weapons Unlock, memory collection relies on observation and exploration rather than combat proficiency.
- Memory 01 – Initial Awakening Sequence
- Memory 02 – First B-12 Encounter
- Memory 03 – Communication Established
- Memory 04 – Key Story Revelation
- Memory 05 – Plot Climax Memory
These five narrative-critical memories cannot be missed as they trigger during essential story milestones. Memory 01 activates during your initial separation from your cat family, while Memory 05 occurs during the dramatic conclusion sequence. Each automatically obtained memory provides foundational understanding of the game’s overarching narrative, similar to how understanding Class Guide fundamentals in tactical shooters establishes core gameplay knowledge.
- Memory 06 – Behind Morusque the Musician
- Memory 07 – Guardian Hideout Upper Level
- Memory 08 – Seamus’ Apartment Balcony
- Memory 09 – Rooftop Clothing Lines
- Memory 10 – Hidden Alleyway Behind Barrels
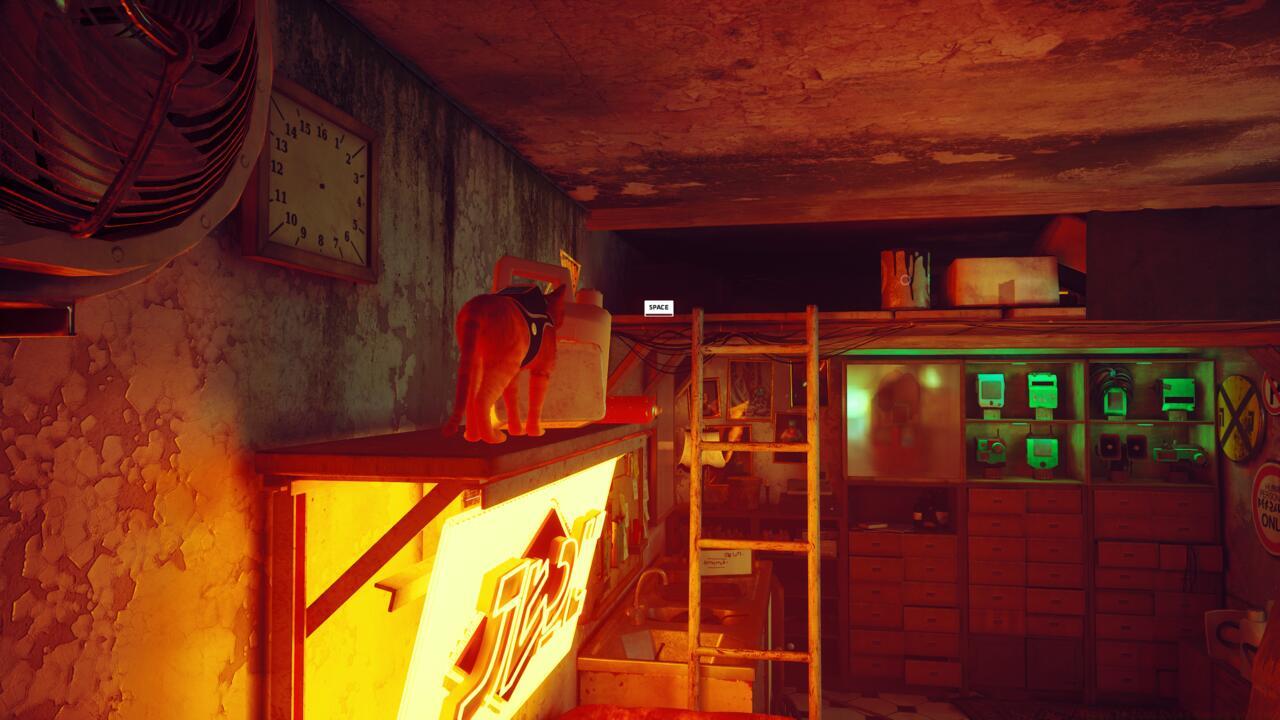
- Memory 11 – Electronics Shop Back Room
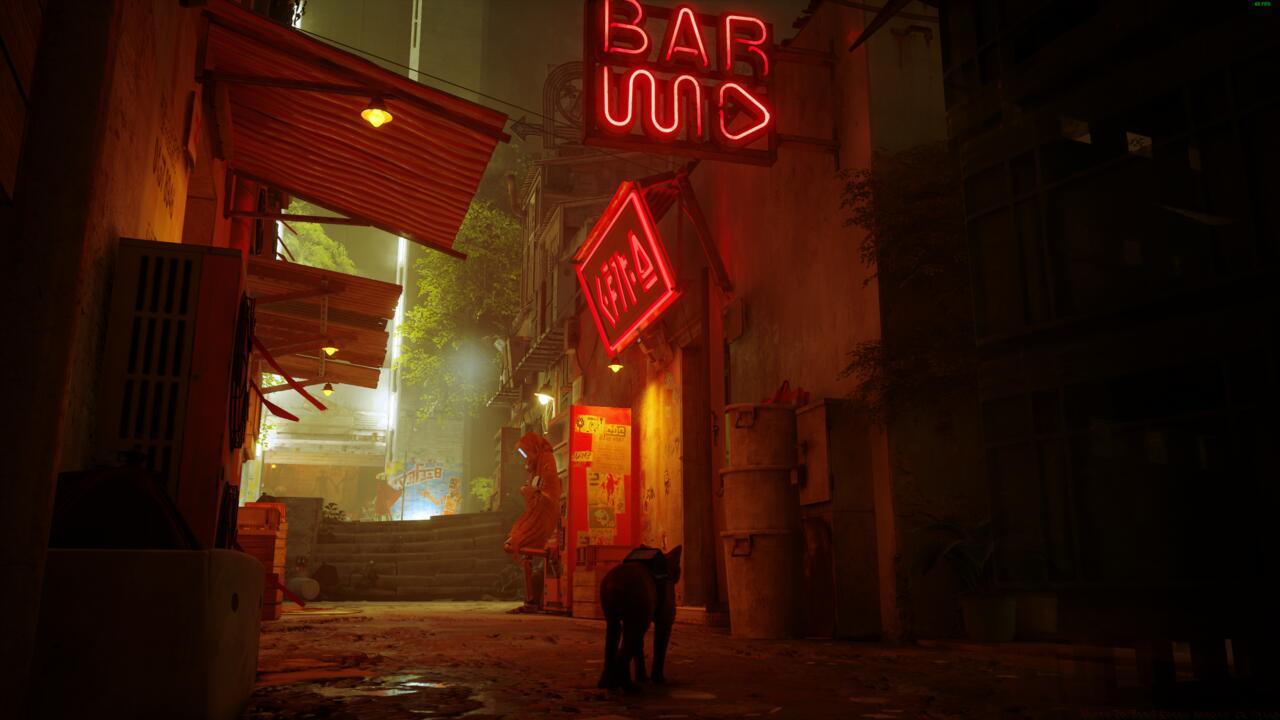
- Memory 12 – Dufer Bar Upper Floor
- Memory 13 – Zurk Nest Clearing
- Memory 14 – Before Final Jump Sequence
- Memory 15 – Post-Puzzle Solution Area
- Memory 16 – Before Elevator Descent
- Memory 17 – Control Room After Security Disabled
- Memory 18 – Waterway Maintenance Tunnel
- Memory 19 – Before Zurk Swarm Escape
- Memory 20 – Central Tree Upper Platforms
- Memory 21 – Nightclub Backstage Area
- Memory 22 – Factory Production Line
- Memory 23 – Residential Block Rooftop
- Memory 24 – Jail Cell After Prisoner Release
- Memory 25 – Library Archives Section
- Memory 26 – Final Pre-Climax Location
The Slums chapter offers the highest concentration of optional memories, with seven scattered throughout the vertical environment. Midtown follows closely with six memories that often require solving minor environmental puzzles or completing side interactions. Common collection mistakes include missing the rooftop clothing lines in Slums (Memory 09) and overlooking the library archives in Midtown (Memory 25).
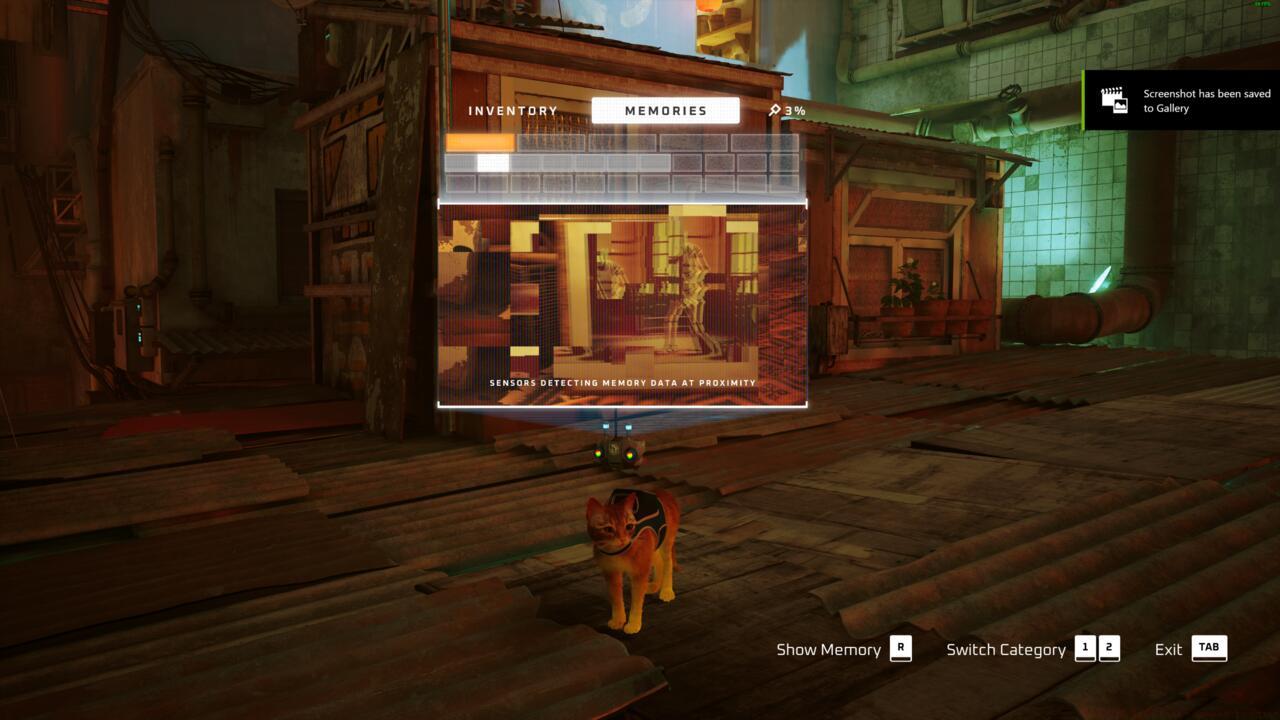
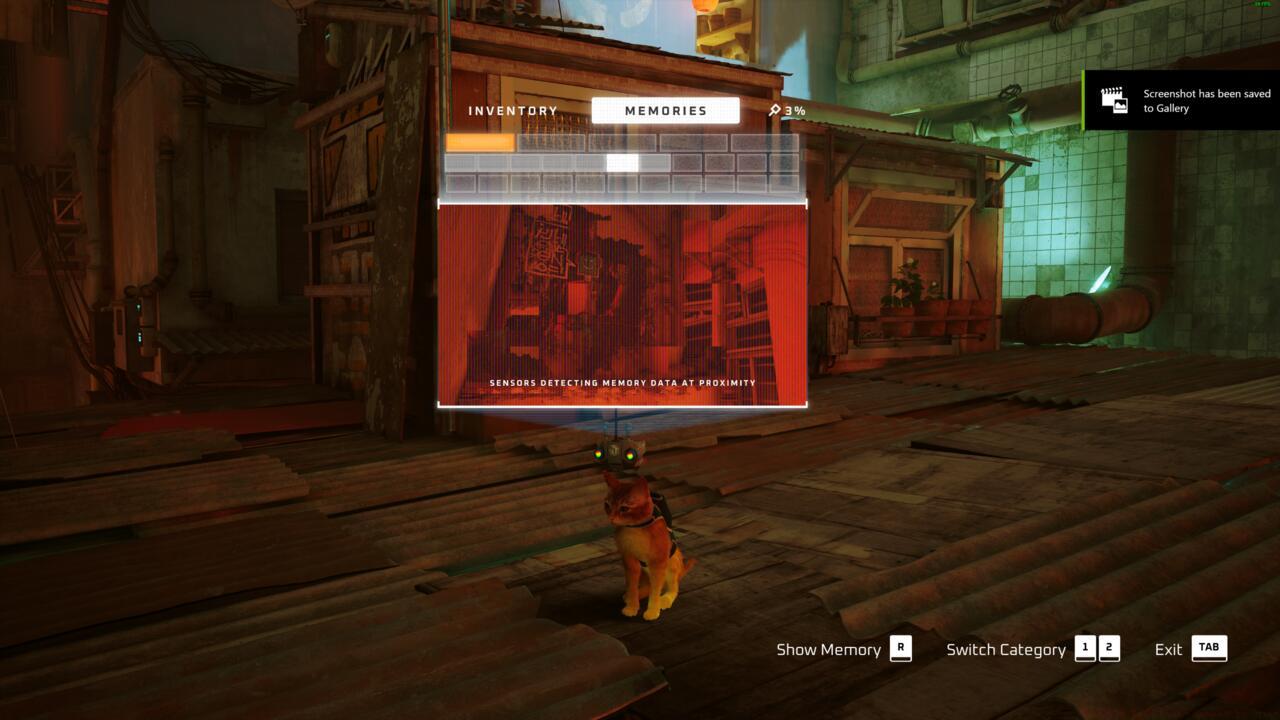
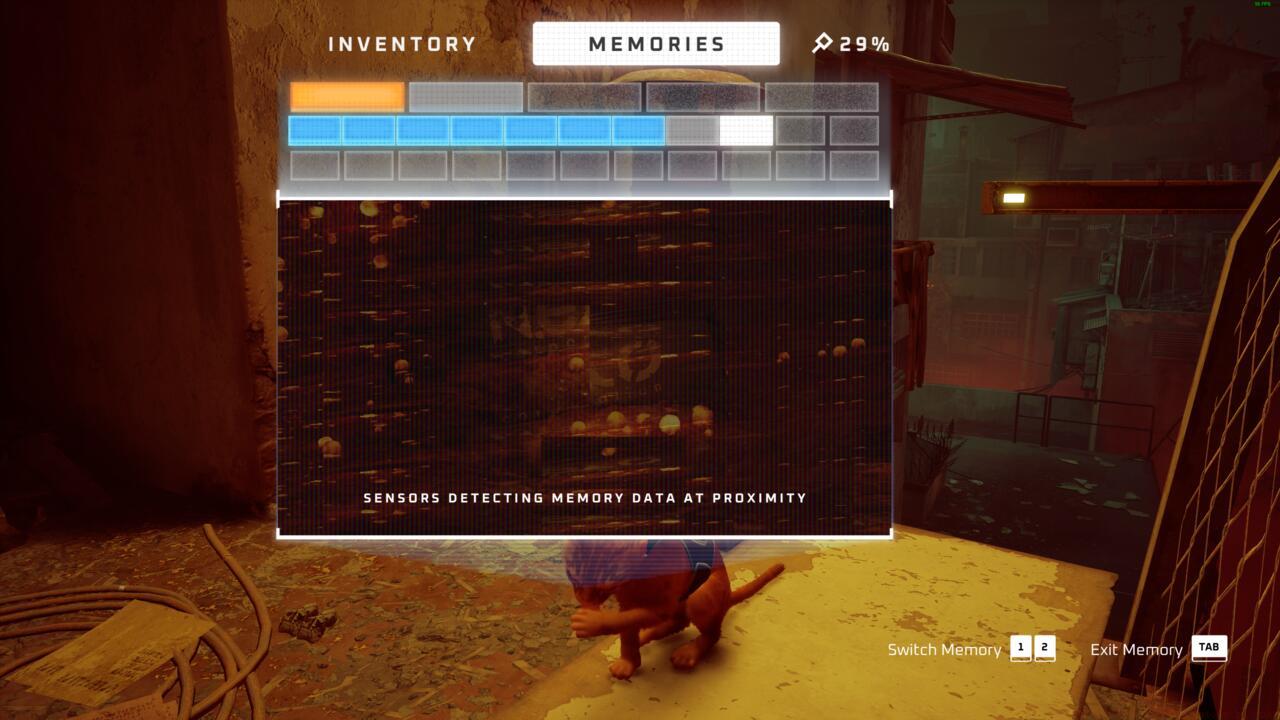
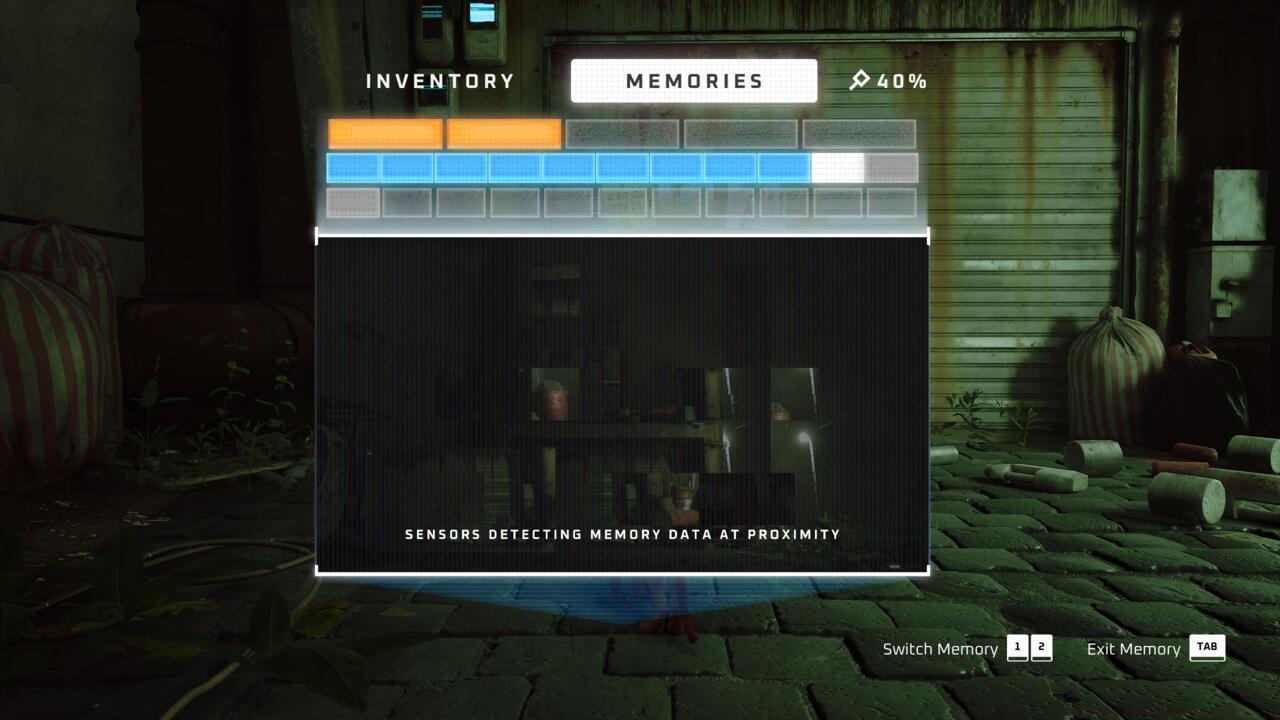
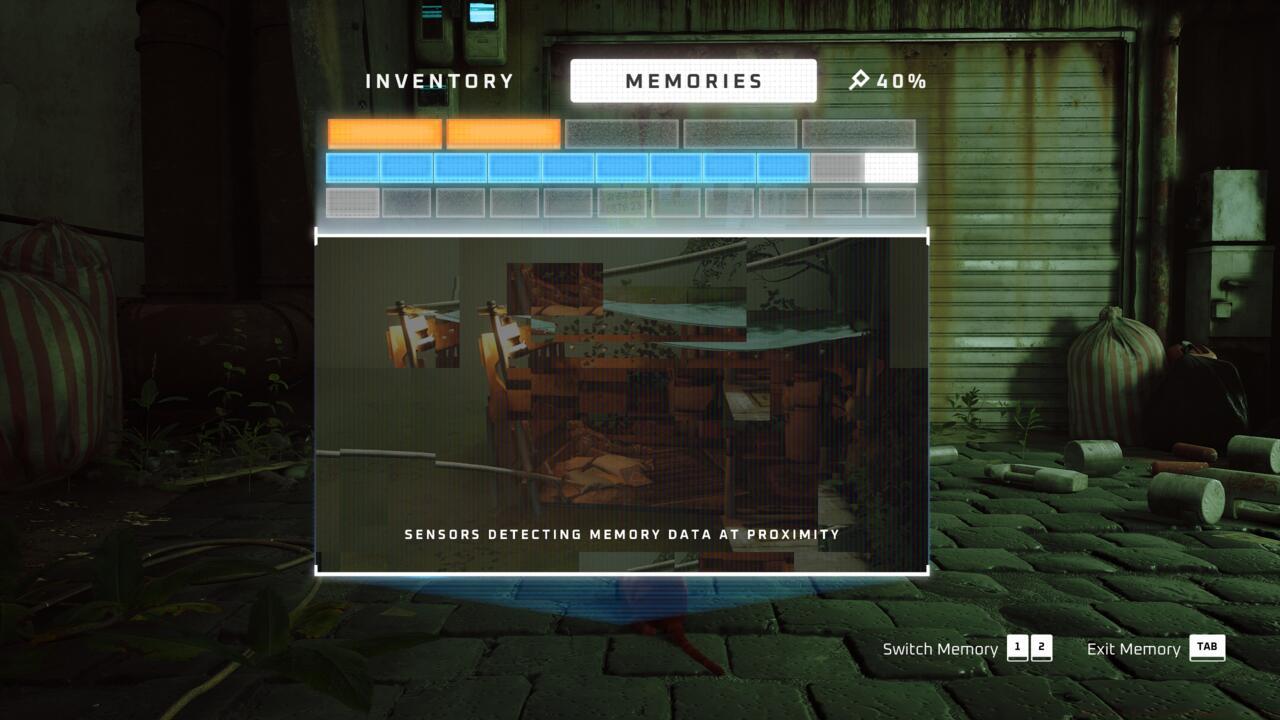
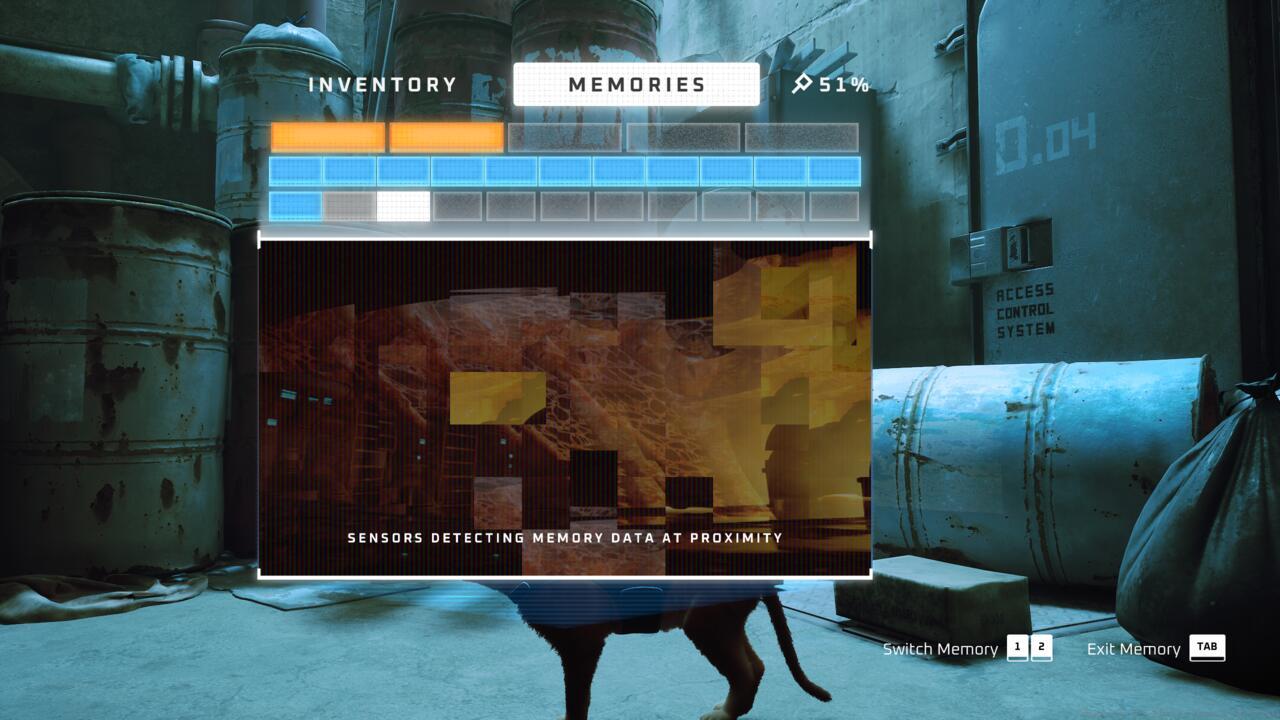
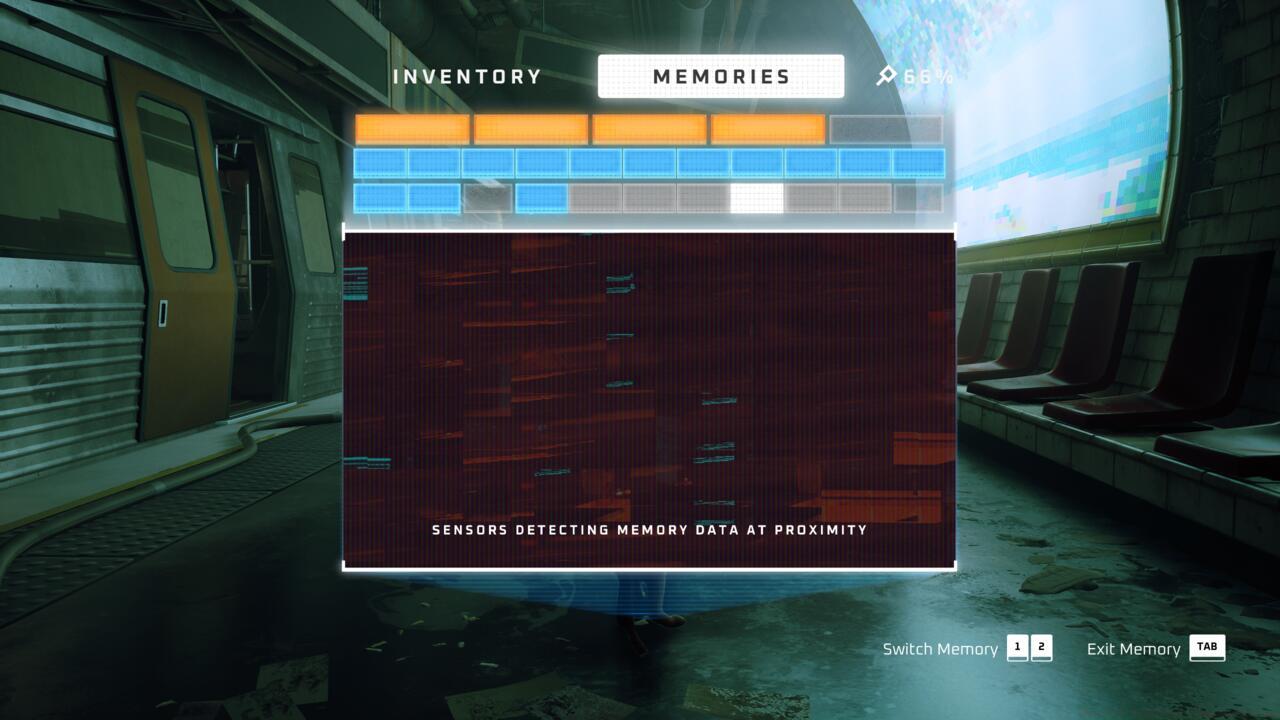
Optimizing your memory hunting requires systematic approaches beyond simple exploration. Begin each chapter with a thorough perimeter sweep before investigating interior spaces, as many memories are placed in transitional areas between major locations. Use B-12’s scanner function frequently – the interface provides subtle hints when memories are nearby.
Time investment varies by chapter: Slums typically requires 45-60 minutes for complete collection, while Rooftops can be cleared in 15-20 minutes. The most frequently missed memories tend to be those requiring backtracking after story progression, particularly in Dead End and Sewers chapters where linear progression discourages exploration.
Completion rewards include the ‘I Remember!’ achievement/trophy and expanded narrative context that enhances emotional payoff during the finale. This comprehensive approach to game completion mirrors the strategic planning needed for mastering Complete Guide elements in complex multiplayer titles.
Chapter Select functionality becomes available after completing the main storyline, ensuring no memories are permanently missable. However, you’ll need to replay entire chapters to collect any overlooked memories, as progress resets when using this feature.
Memory collection serves dual purposes: advancing B-12’s backstory while providing valuable context about the game’s world. Each memory contributes to understanding the city’s history and the fate of its inhabitants.
Pro Tip: Consider completing memory collection during your initial playthrough to minimize backtracking. The emotional payoff from uncovering the complete narrative makes the effort worthwhile.
Memory 01
This foundational memory unlocks automatically during early story progression. Immediately after encountering B-12 within The Flat area, proceed outside and utilize the bucket mechanism to traverse the lengthy rope section.

Upon reaching the opposite side, you’ll discover a detailed mural depicting a sandy coastal scene. B-12 will then retrieve the postcard artifact, successfully completing your first memory acquisition.
Memory 02
This narrative memory activates automatically following the transceiver repair sequence. After establishing the connection, B-12 experiences a recollection about the city’s original architectural purpose, thereby unlocking this memory segment.

Memory 03
Progress through the main storyline automatically grants this memory. Following your narrow escape from the pursuing Zurks near the ocular device, upon safely reaching Antvillage, locate the memory positioned directly across the bridge structure.
Memory 04
This story-integrated memory unlocks during transit sequences. After ascending through Antvillage and utilizing the pipeline to access the subway system, B-12 will elaborate on transportation infrastructure, consequently activating Memory 04.
Memory 05
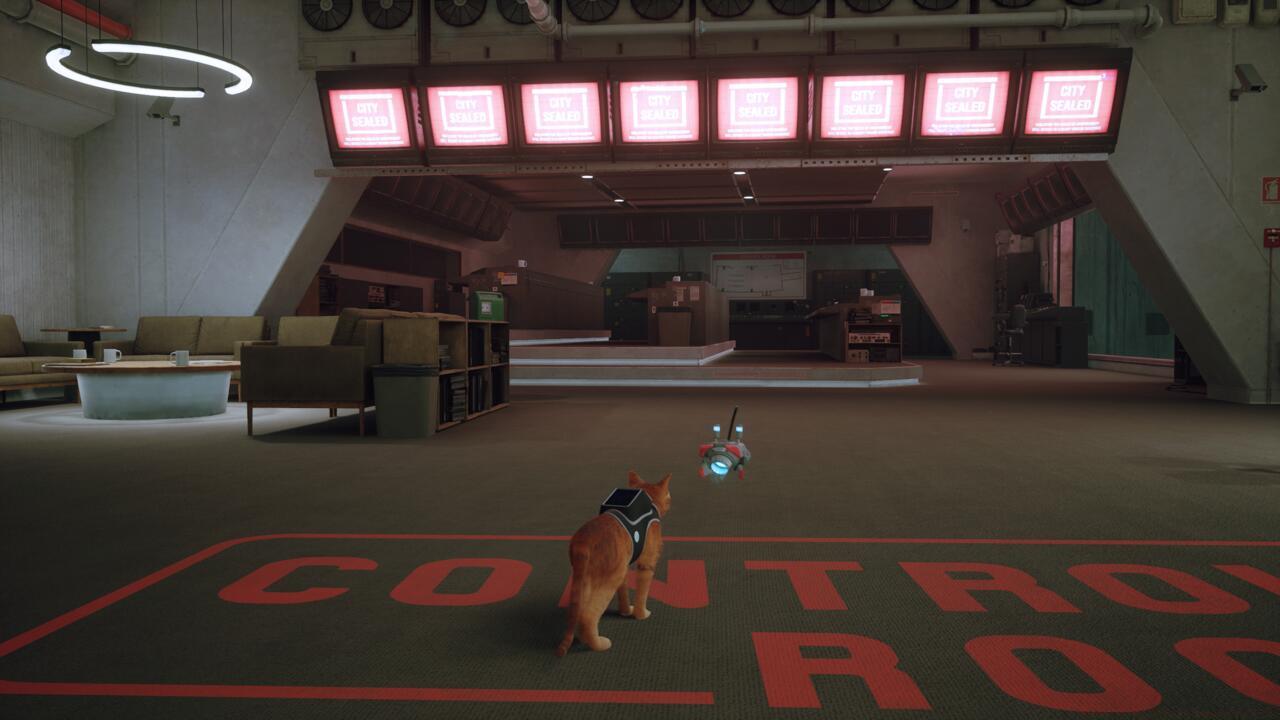
Automatic acquisition occurs during Control Room chapter progression. Travel from the Subway terminal to the elevated exterior area near the Sealed City entrance.
Following successful assistance with B-12’s security bypass, entry into the Control Room becomes possible, where this memory becomes available.
Memory 06

Following your initial encounter with Guardian, previously hidden citizens emerge throughout the Safe Zone. Descend the staircase from Guardian’s position to locate a functional vending machine.
Scale the adjacent storage crates and continue ascending to rooftop level. Traverse the structural gap to reach the Chroma Green signed building, then proceed upward until accessing the angled rooftop section containing a deactivated robot and the target memory.
Navigation Tip: The initial crate sequence requires precise jumping – take your time to avoid falling. The slanted roof provides excellent camouflage for this memory location.
Memory 07
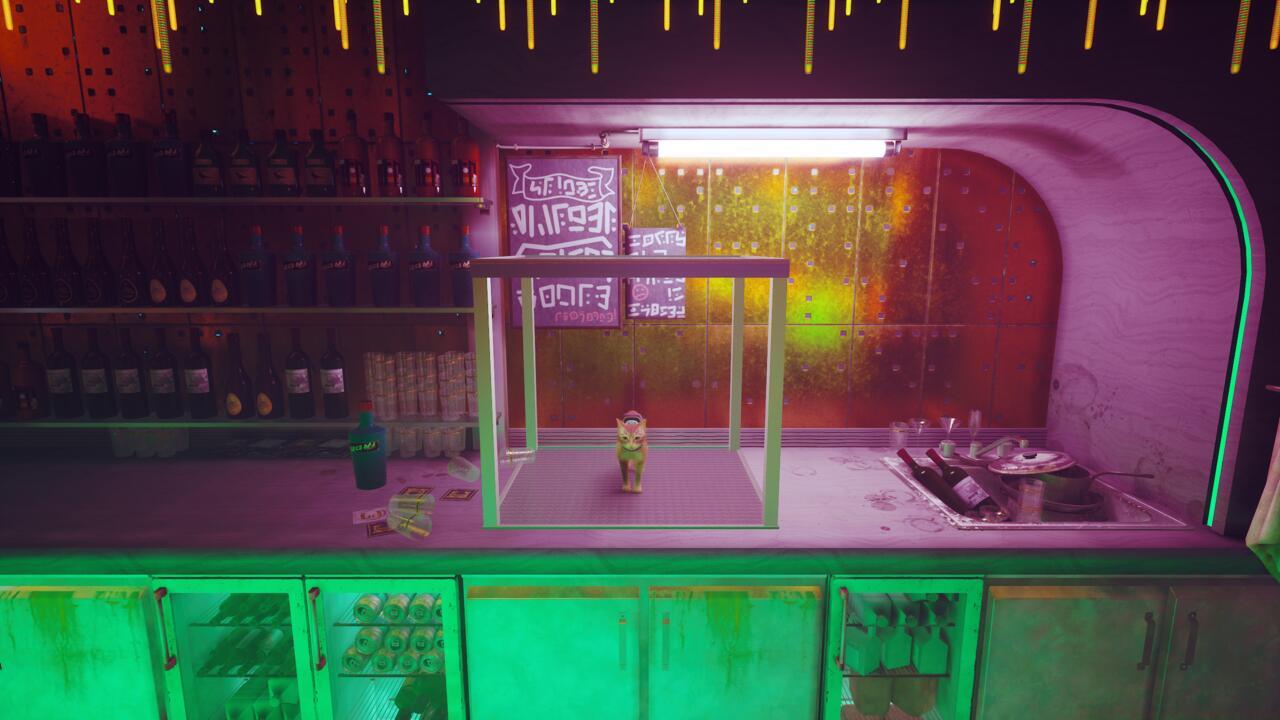
Memory 07 requires economic acquisition from The Market establishment, situated down the stairway to Guardian’s right.
Acquisition demands trading three Energy Drink Cans, obtainable by interacting with vending machines distributed across The Slums district.
Once possessing three cans, return to examine the concealed object at The Market. Present the Energy Drink Cans to the merchant, enabling picture inspection to secure the memory.
Memory 08
Locate this memory within Dufer Bar’s upper level along The Slums’ primary thoroughfare. The establishment occupies the space separating Guardian from Elliot Programming.
Enter Dufer Bar, then ascend the left staircase. Upon reaching the upper platform, execute a right turn to discover a distinctive plant specimen. Examine it thoroughly to acquire the memory.

Memory 09

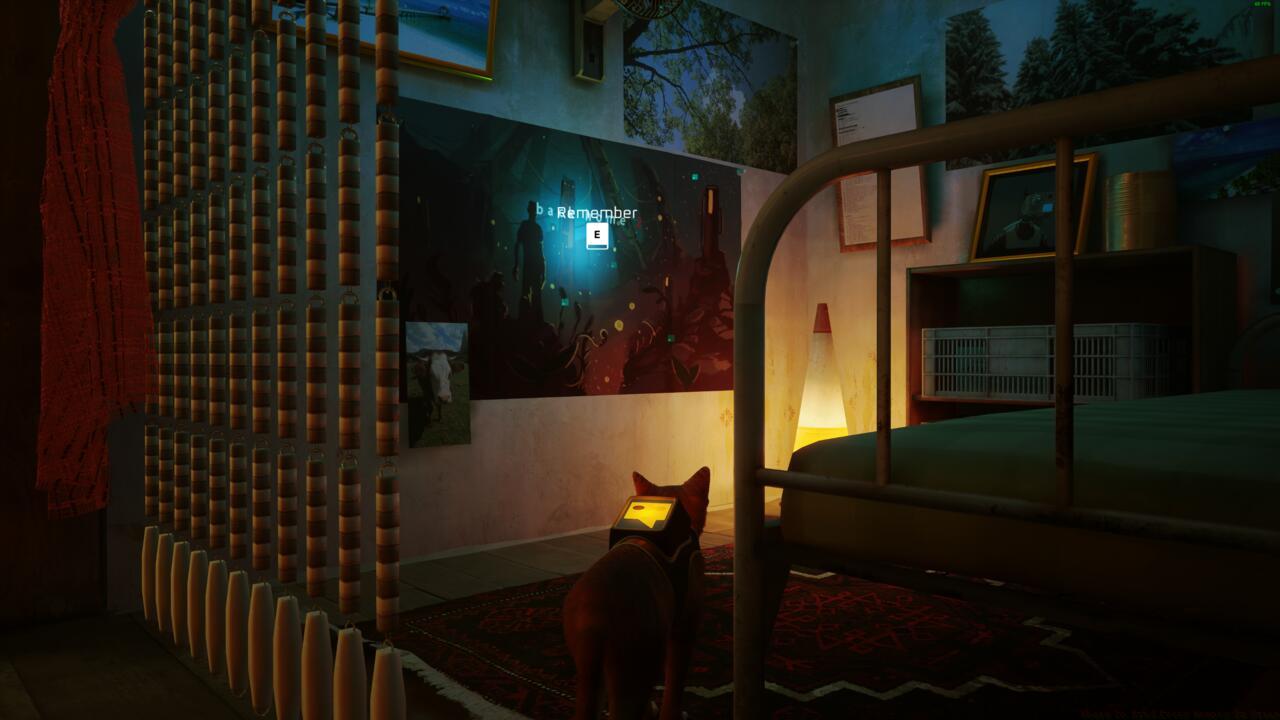
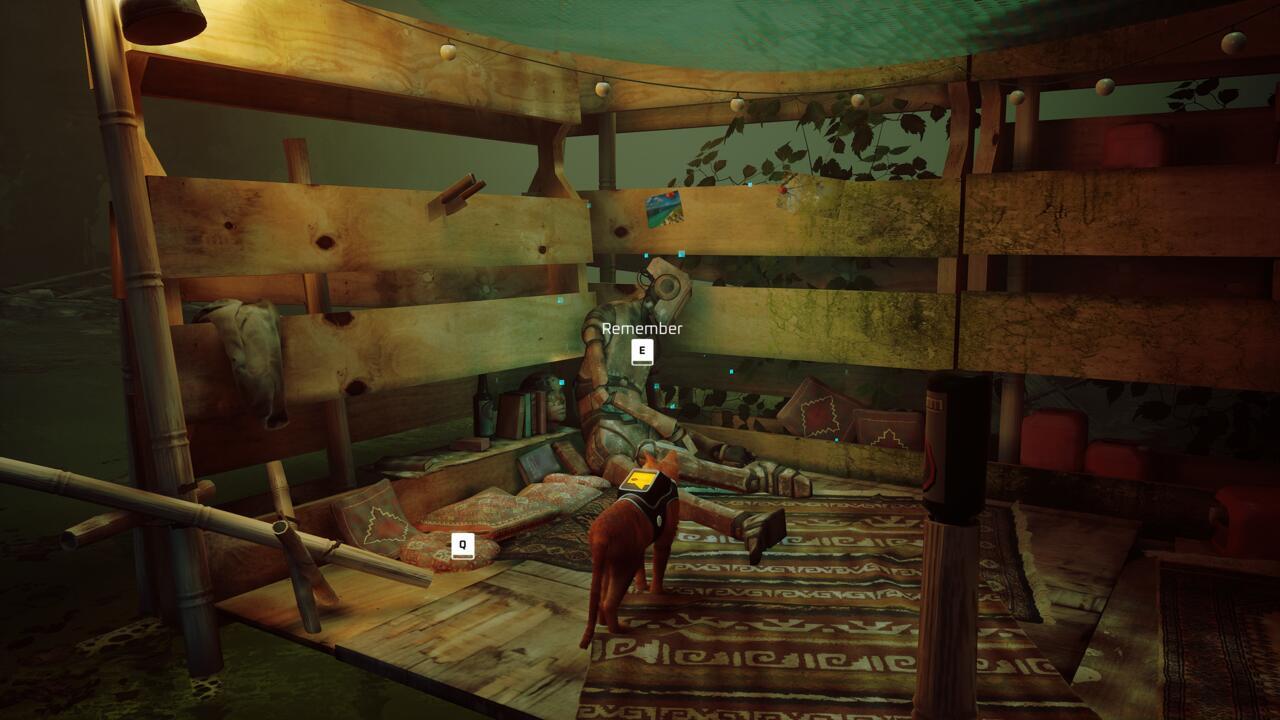
Memory 09 resides within Momo’s residential flat, positioned atop the central tower structure near the orange illuminated signage.

After gaining Momo’s flat access, proceed beyond Momo through the decorative bead curtain into the sleeping quarters, then navigate leftward.
Memory 10

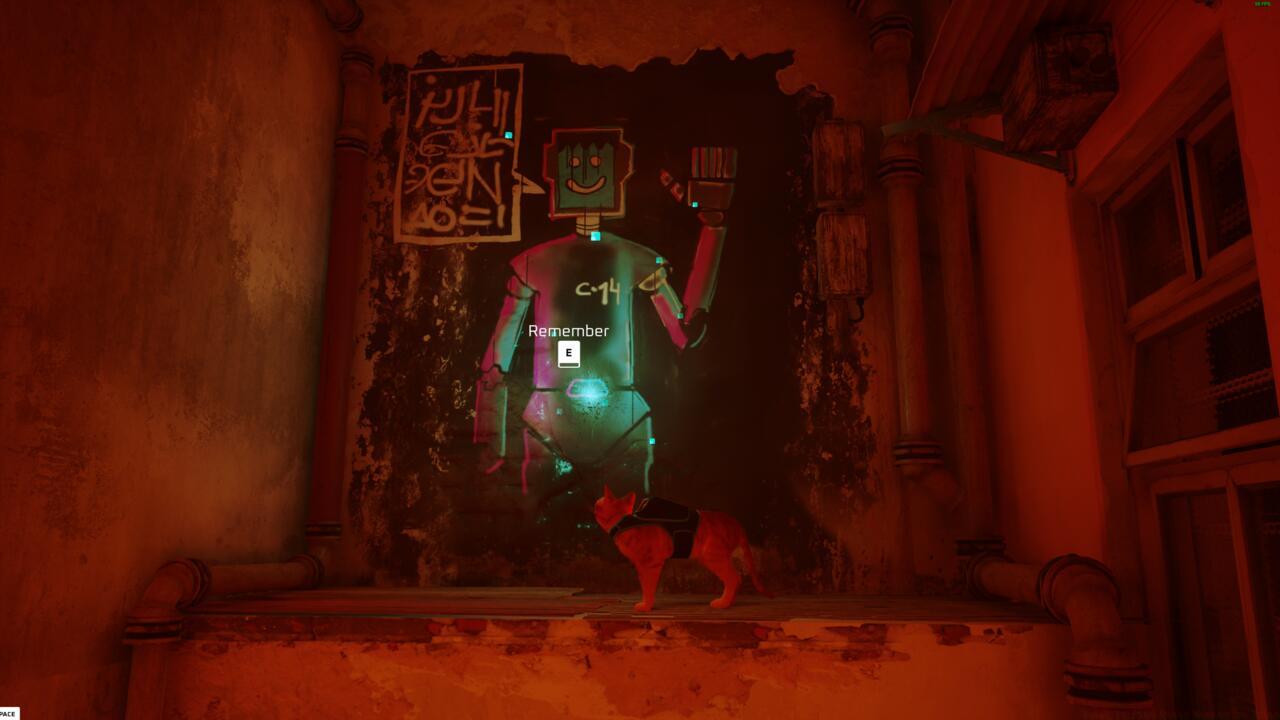
Position this memory within the alleyway containing Kosmo’s commercial establishment. While oriented toward Guardian, reverse direction and descend the staircase, then execute a right turn before reaching Dufer Bar.
Follow the alley’s leftward curvature, then proceed to the terminal point and ascend the stair structure.
Thoroughly examine the wall surface to obtain the memory artifact.

Memory 11
This memory occupies a ledge position within the alley immediately left of Morusque, the musical robot accepting Sheet Music contributions.
Ascend utilizing dumpster containers and architectural ledges for access, or conveniently collect it during descent from Notebook 02 location.
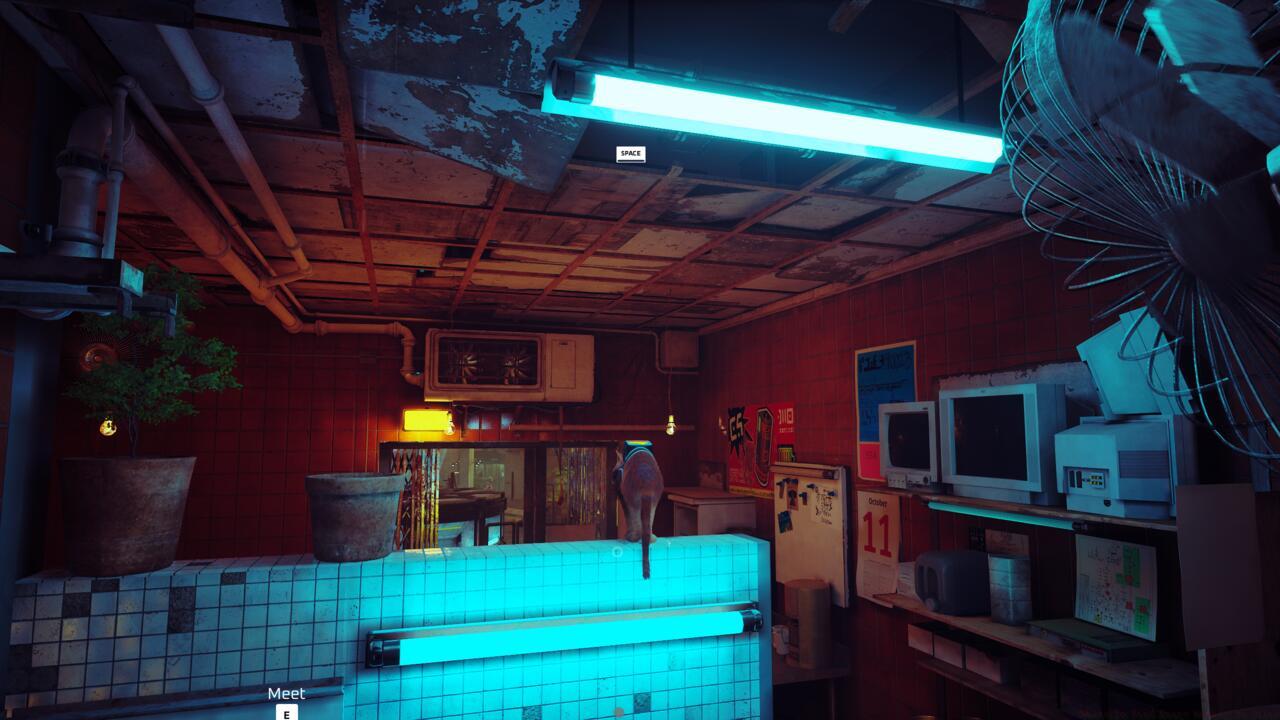
Memory 12
Locate this memory inside Elliot Programming. Peruse the door-mounted notice to enable knocking capability.
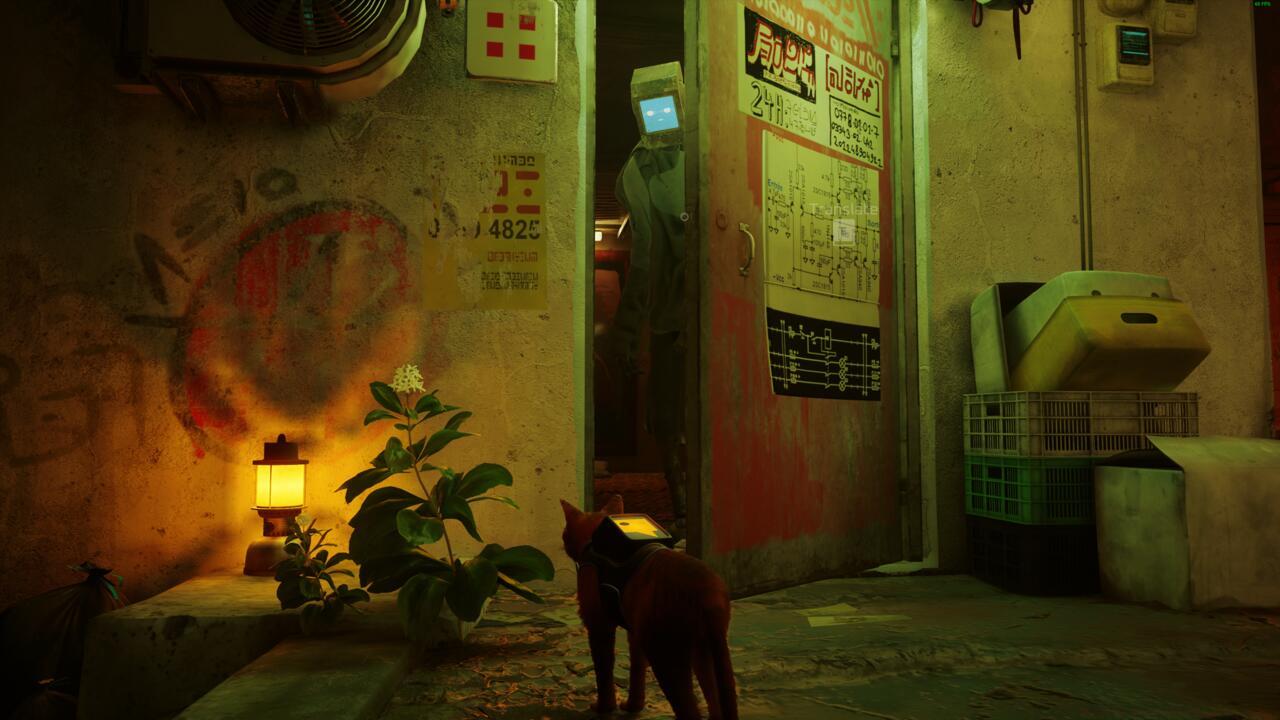
Scratch persistently at the surface until Nestor responds by opening the entrance. Quickly traverse the doorway before closure and navigate to the room’s opposite side to locate the staircase.
Ascend to the upper level and turn leftward to discover a cultivated tree. Conduct detailed inspection to secure the memory.

Rooftops Memories
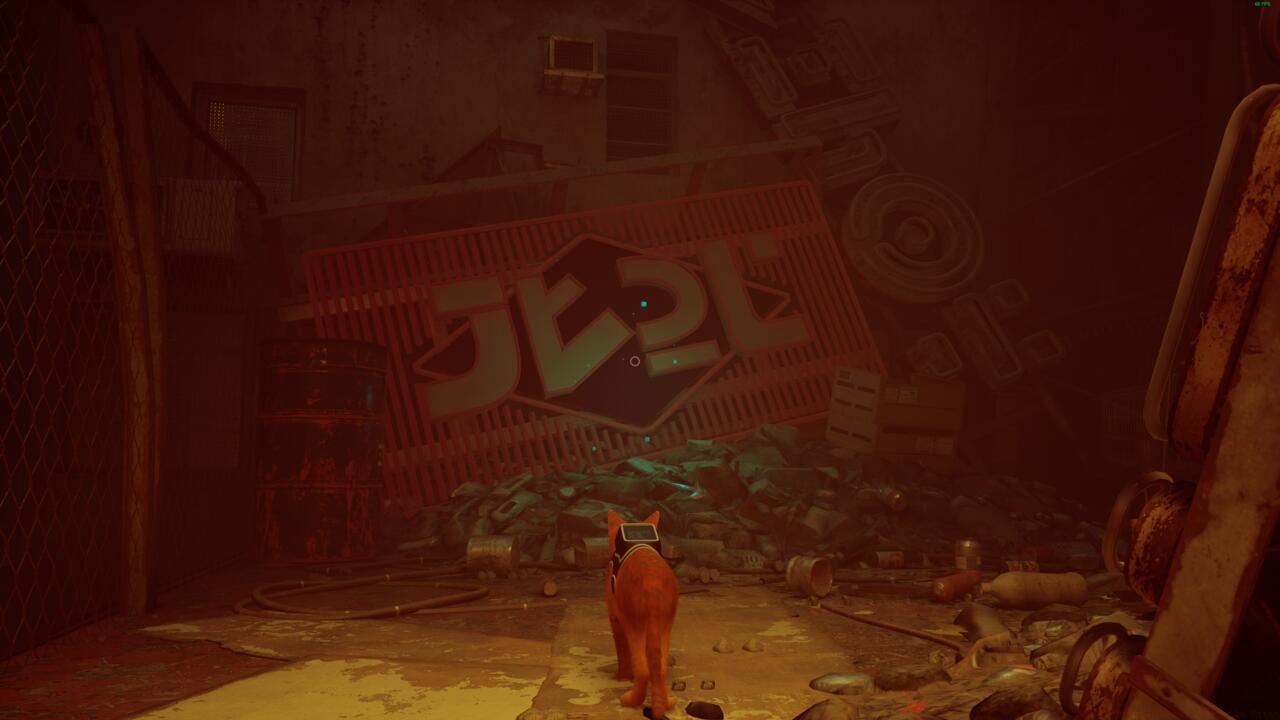
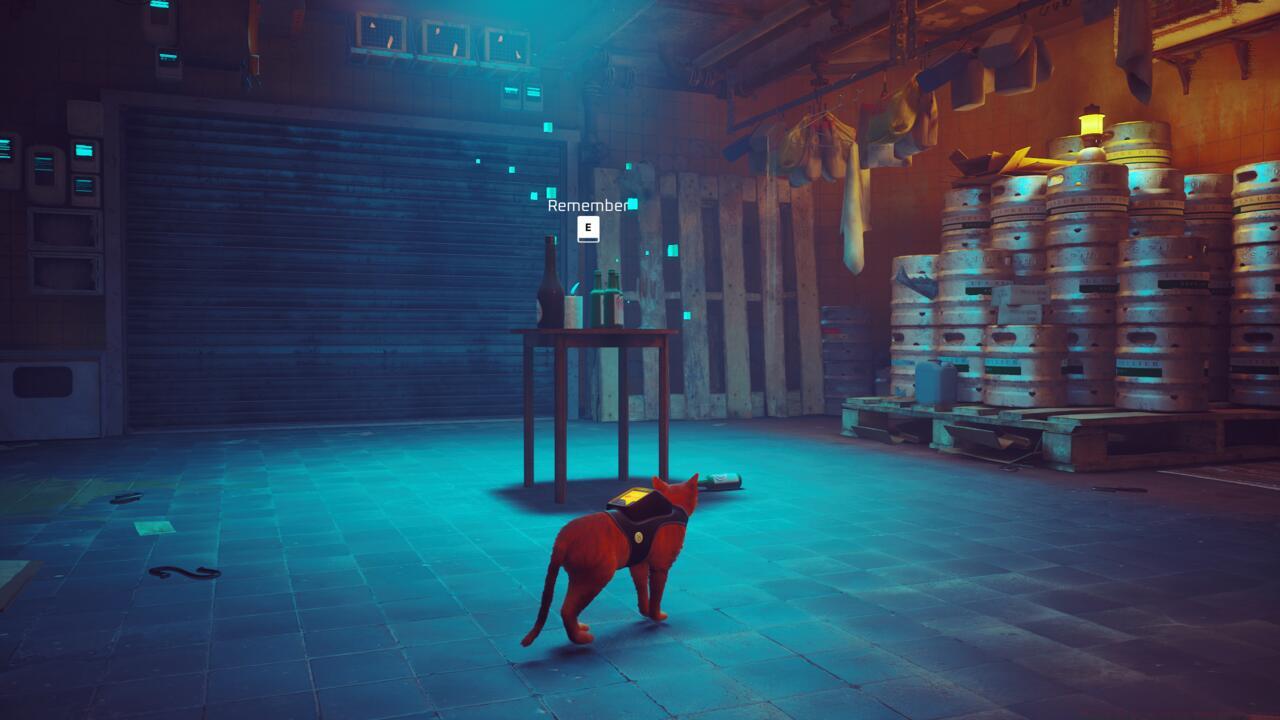
Memory 13
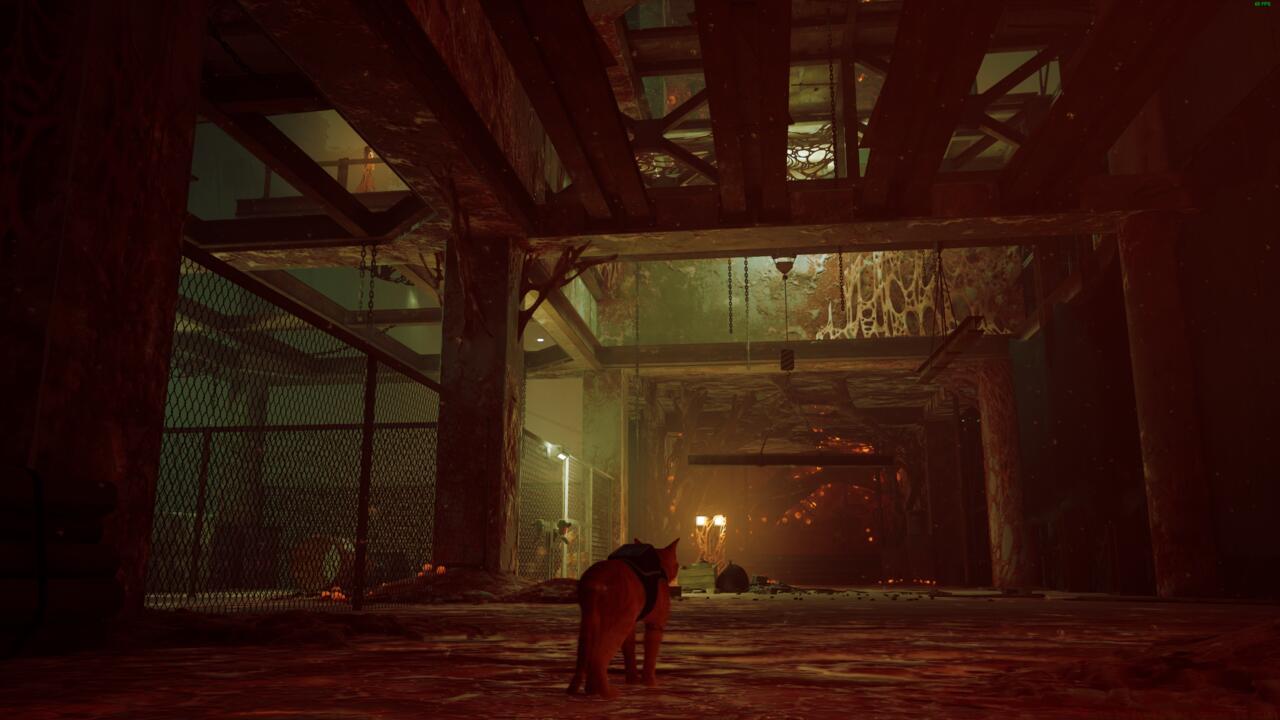
Memory 13 occupies the primary pathway during The Rooftops’ initial segment. After navigating past the second Zurk cluster, where crossing a suspended I-beam becomes possible, ascend to the elevated platform where this illuminated signage rests against a wall section amid debris accumulation. Examine thoroughly to acquire the memory.
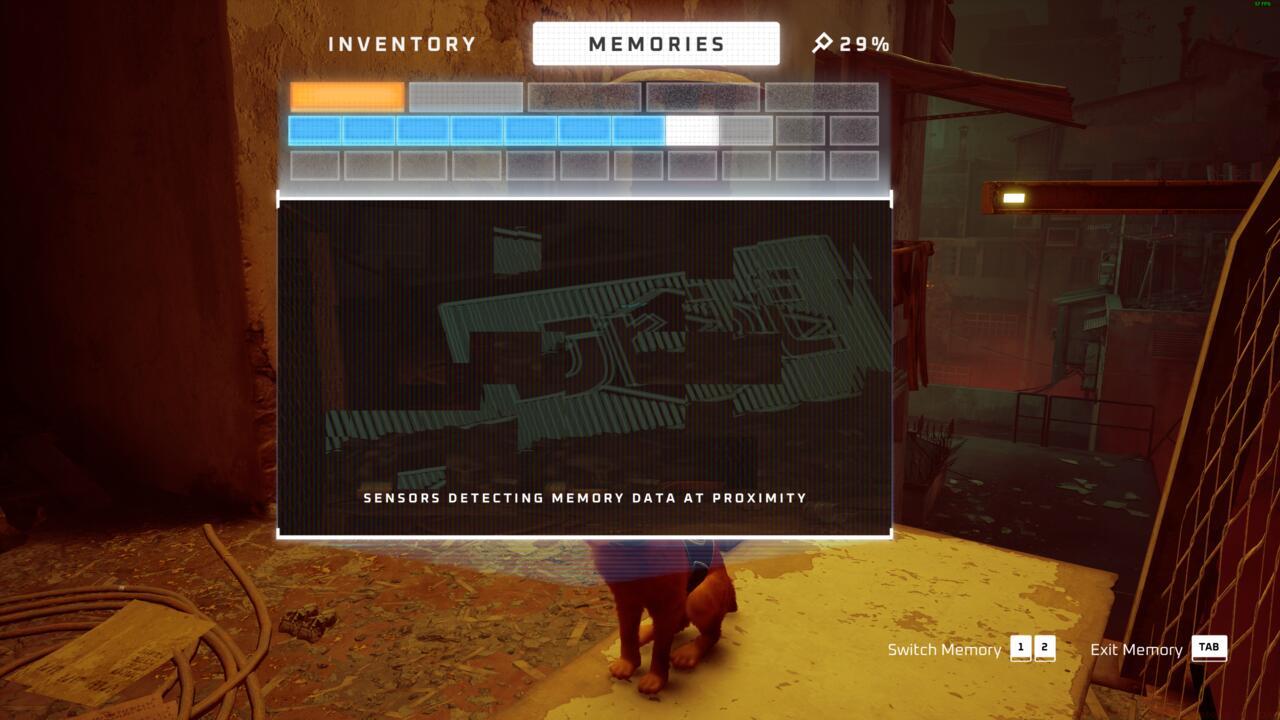
Memory 14
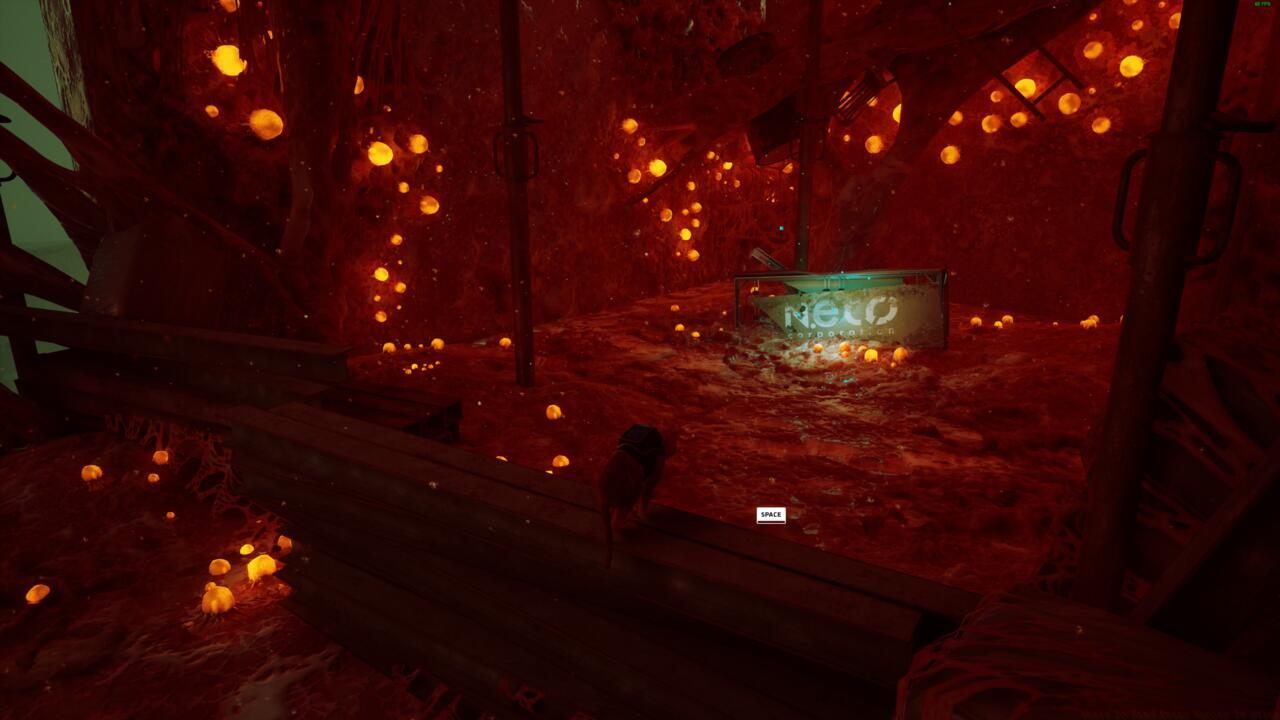
Memory 14 resides along the main route during The Rooftops’ secondary section. After scaling the Zurk-populated tower structure and attaining the third tier, you’ll encounter a hackable gate containing a rolling barrel mechanism and internal Zurk swarm.
Before gate activation, bypass the fenced enclosure, proceed beyond the hanging I-beam, and ascend the terminal ledge to discover a Neco Corporation placard, then inspect it to secure the memory.
Dead End Memories
Memory 15
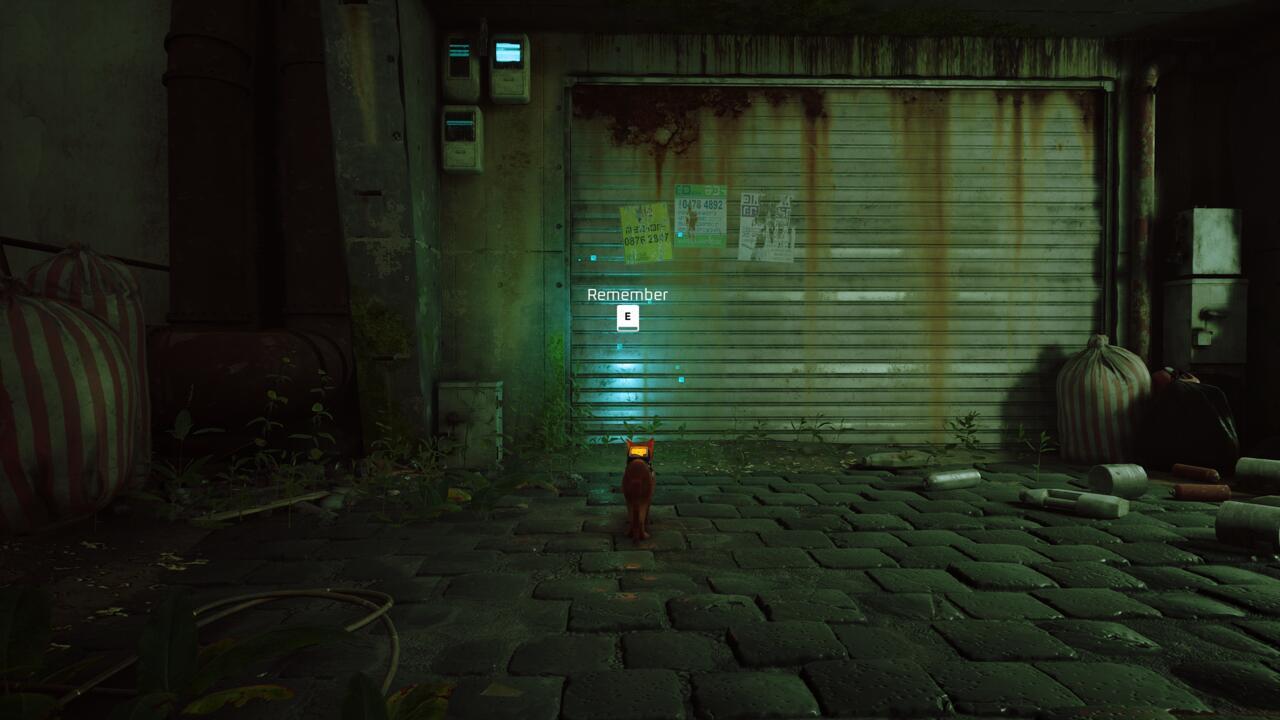
Memory 15 positions itself immediately following Outsider badge acquisition and Dead End entry. After traversing the gate independently, cross the compact bridge and turn left.
Advance to the roadway terminus and examine the substantial sliding door mechanism to obtain the memory.
Memory 16
Memory 16 becomes accessible following the intense pursuit sequence. After being ejected from the transport cart and sustaining injury, scale the piping network to access the subsequent level, then proceed directly to the road’s terminal point.
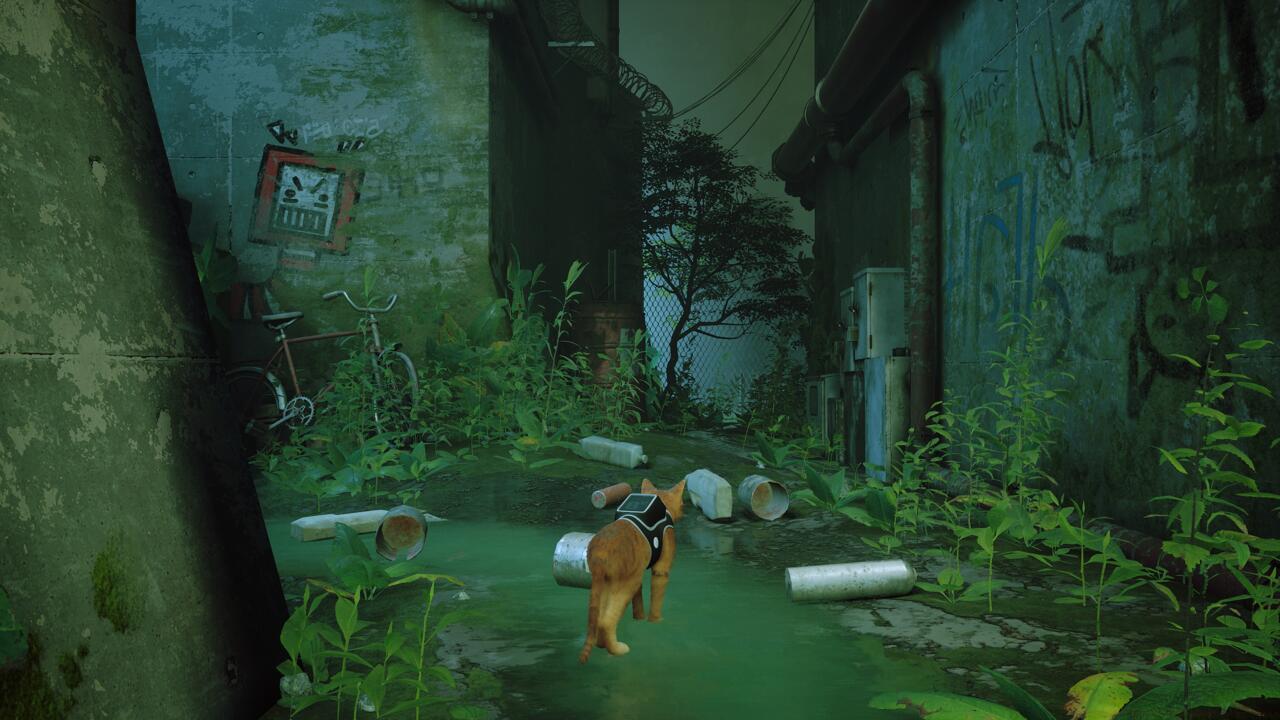
Navigate through the separated chain-link fencing section and turn right to locate a robotic entity. Conduct inspection to acquire the memory.
Memory 17
Memory 17 resides within Doc’s residential quarters in the Dead End zone. After leaping through the window aperture and conversing with him, dismount the work surface and approach the mannequin figure. Examine it thoroughly to secure the memory.

Sewers Memories
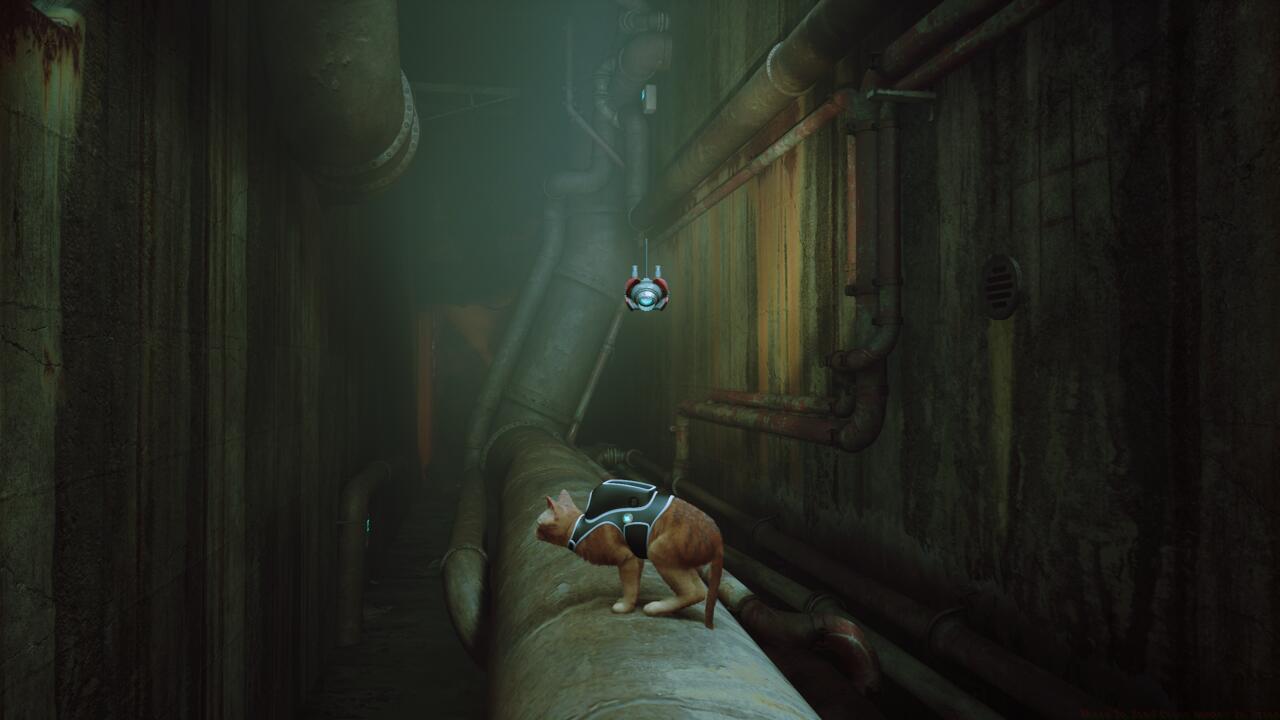
Memory 18
Memory 18 can be acquired within The Sewers complex. After Momo activates the gate mechanism and you must proceed solo, ascend onto the walkway and turn left. Follow the corridor’s rightward curvature, then take the initial left passage.
Here you’ll encounter a compact Zurk pod cluster. Eliminate both pods and emerging Zurks utilizing your UV illumination device, then enter the left-positioned pipe conduit.
Traverse through to the opposite terminus, then leap across to the railing structure and examine the luminous emission to secure the memory.
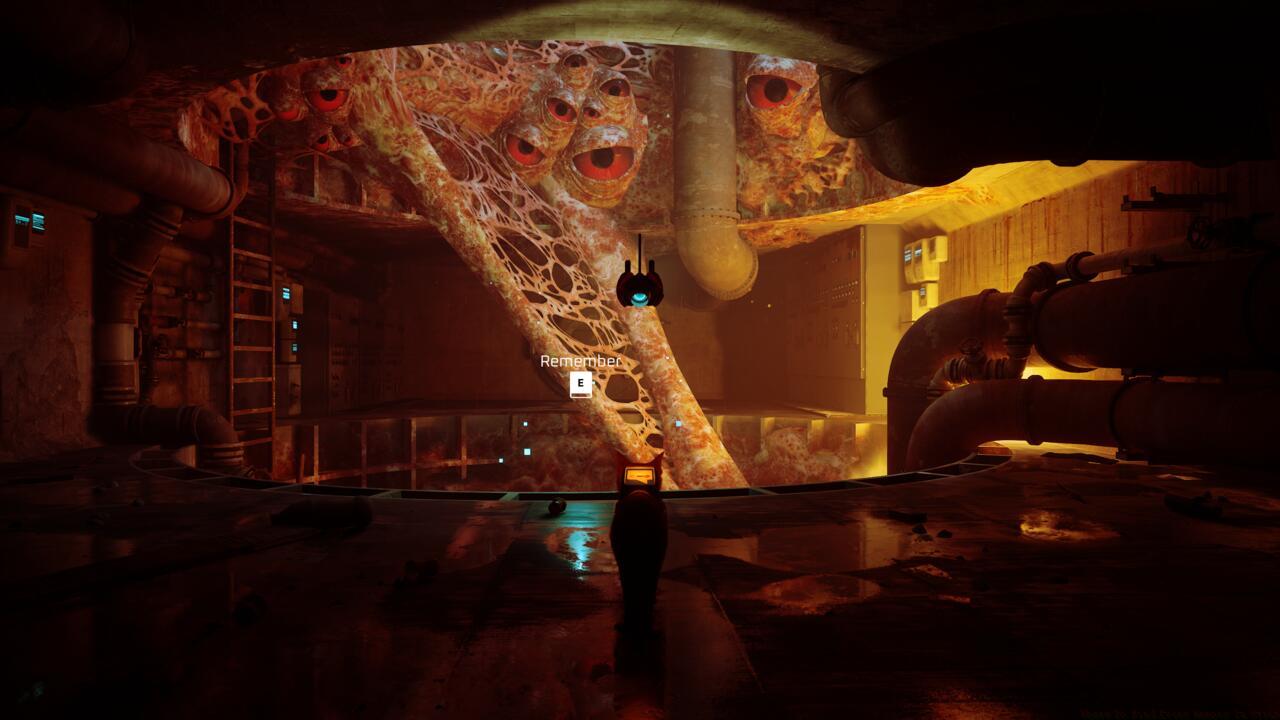
Memory 19
Memory 19 positions itself within The Sewers network. After sprinting through zones containing hatching pods, descend onto a pipe section to continue advancement.
Execute a left turn and scale the side-positioned containers to access an overhead pipe, then proceed through it to locate the memory, adjacent to a Zurk nest featuring multiple ocular sensors.
Antvillage Memories
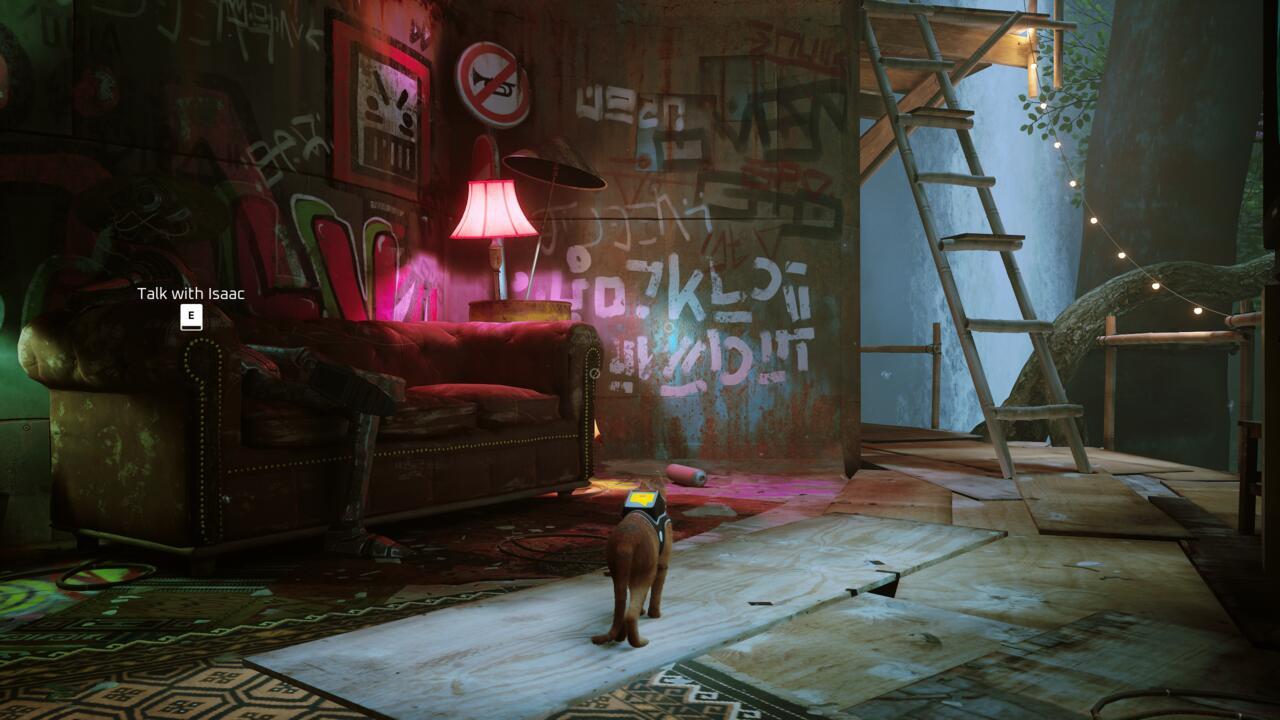
Memory 20
Memory 20 situates itself within Antvillage’s basal level. Locate Isaac, positioned upon the couch at the arboreal city’s lowest stratum, then turn right to discover the memory mounted on the wall surface.
Midtown Memories
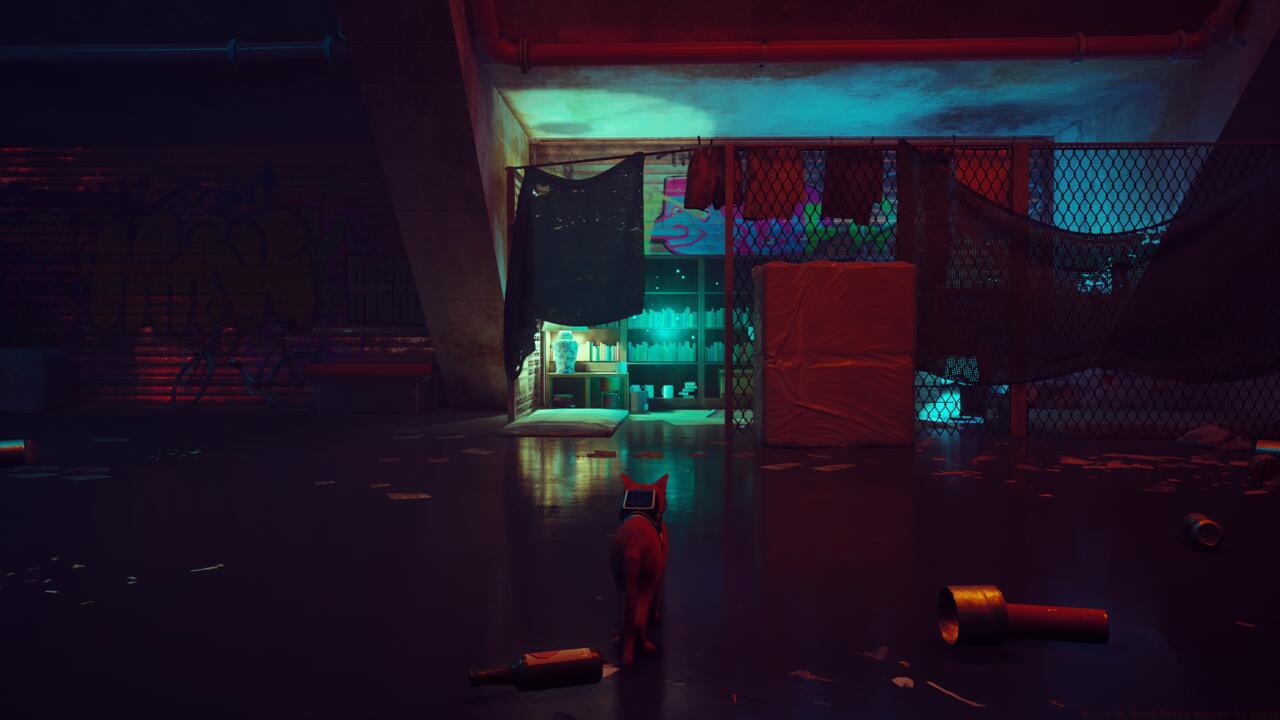
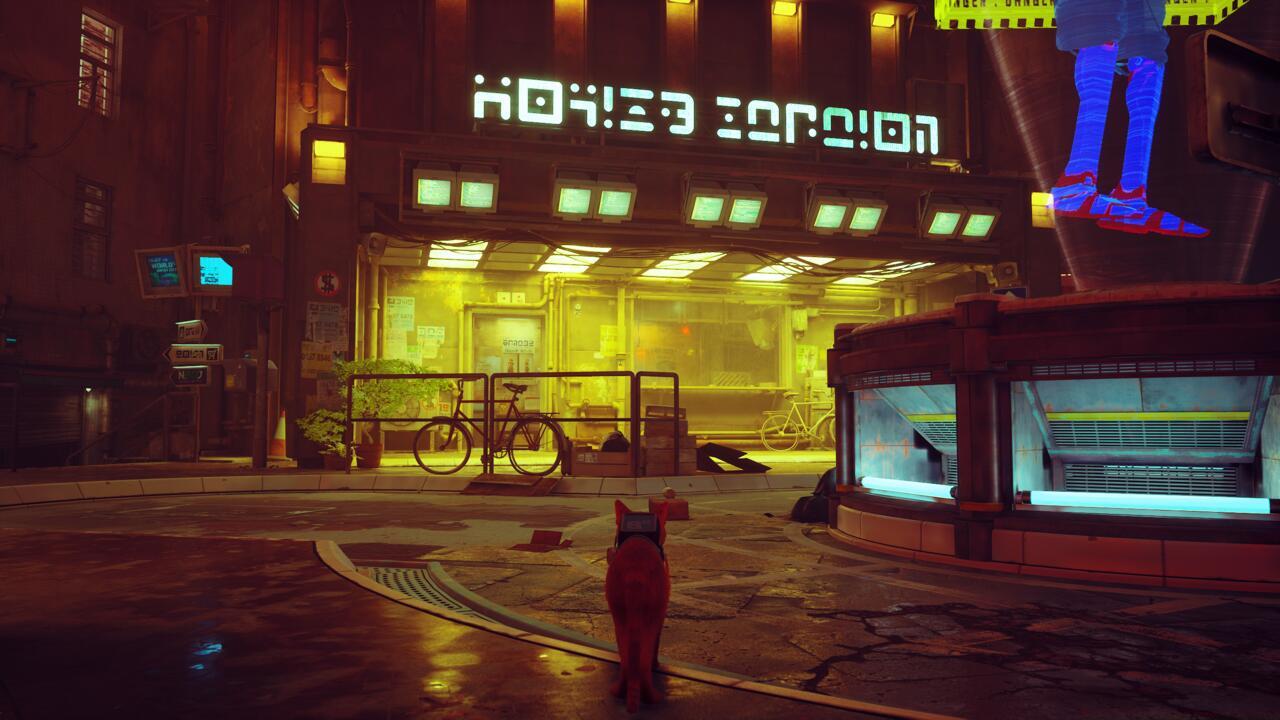
Memory 21
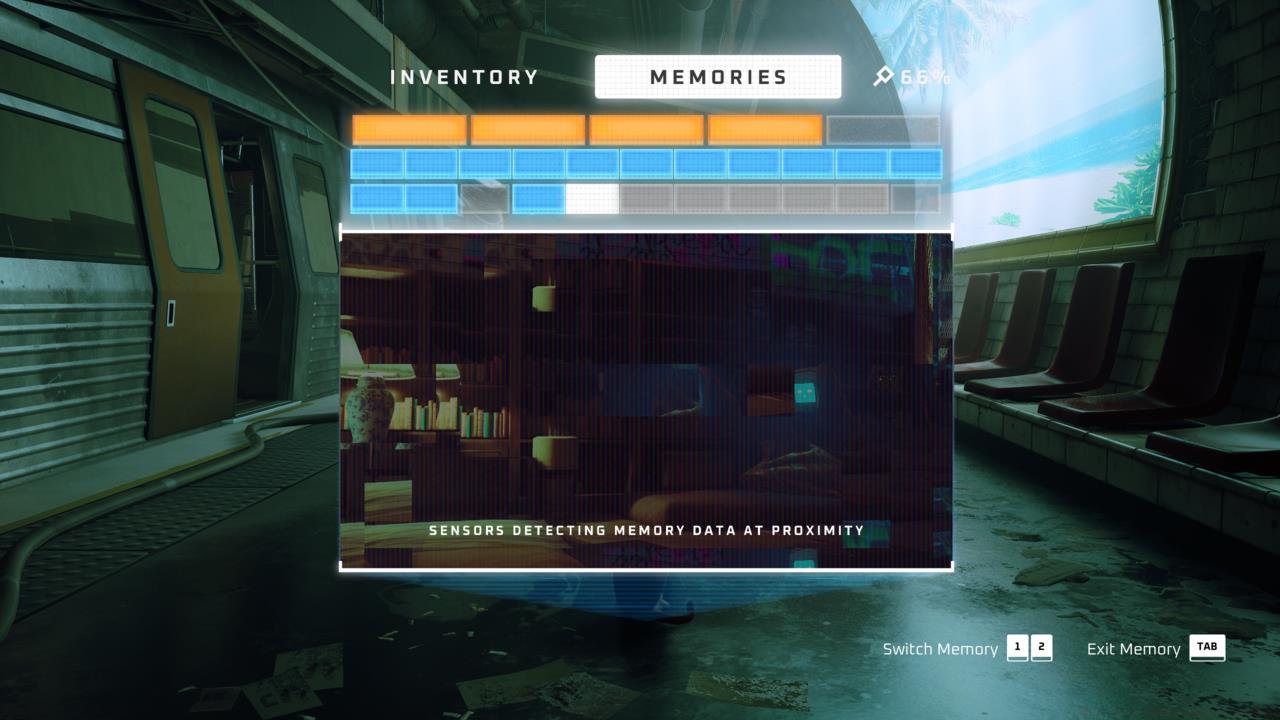
Memory 21 occupies Midtown’s urban landscape. After ascending the staircase adjacent to the train infrastructure, pass through the chain-link fencing and turn right to discover a compact library facility and robotic companion.
Conduct thorough examination of the library collection to acquire the memory.
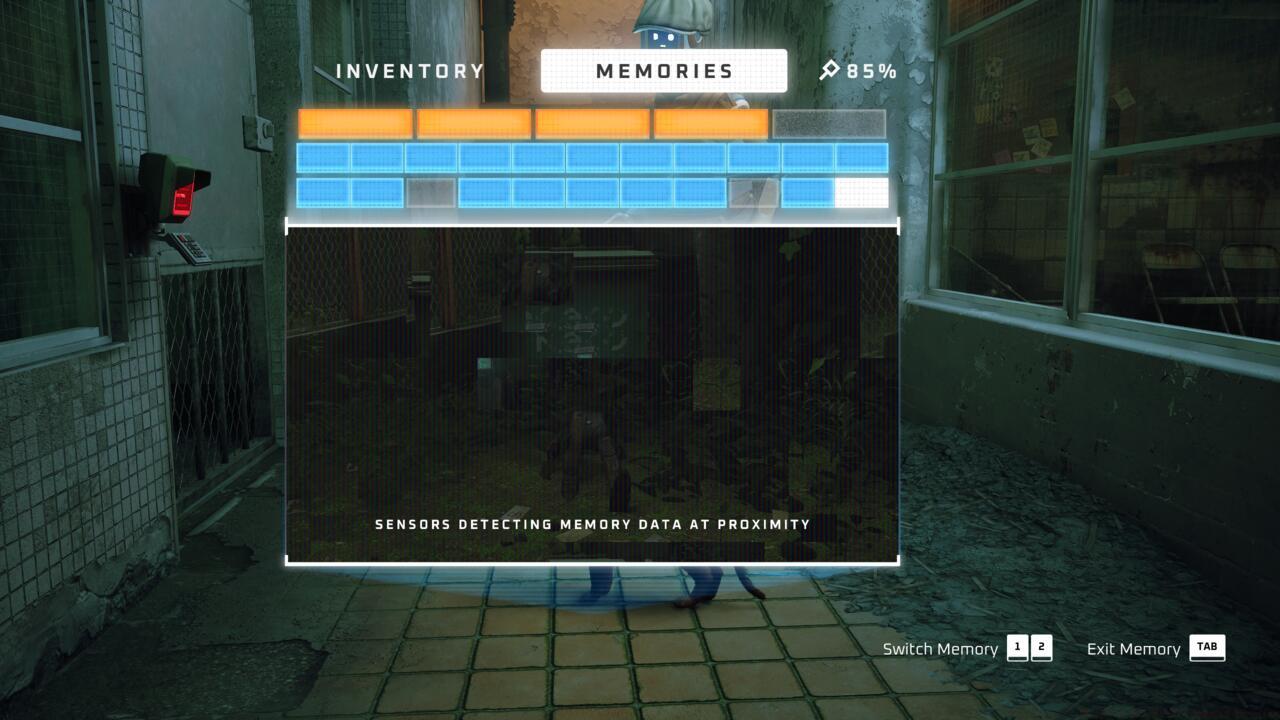
Memory 22
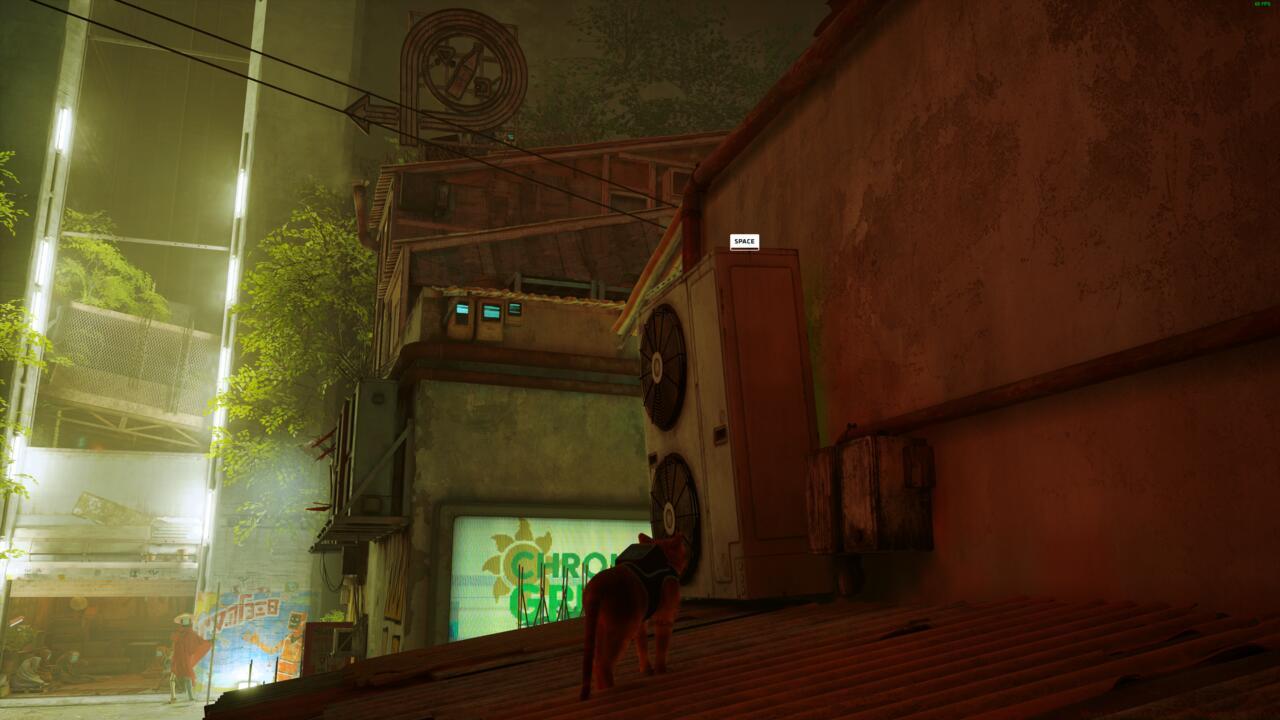
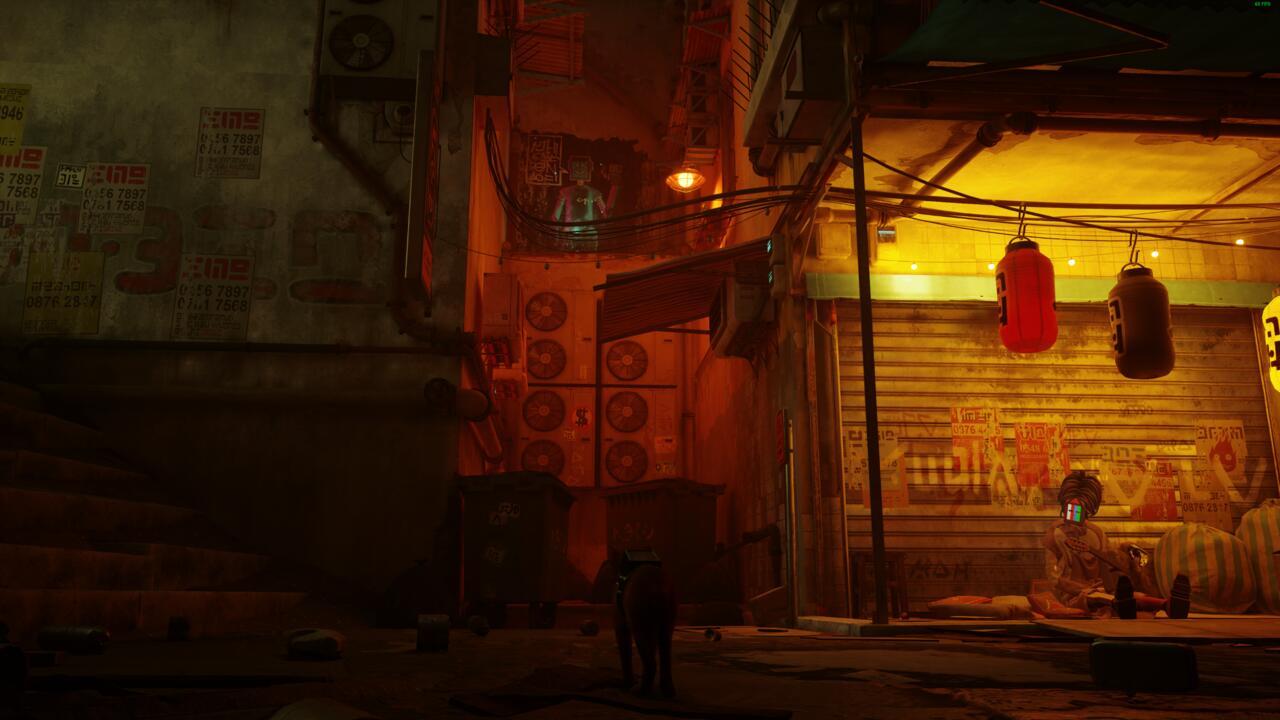
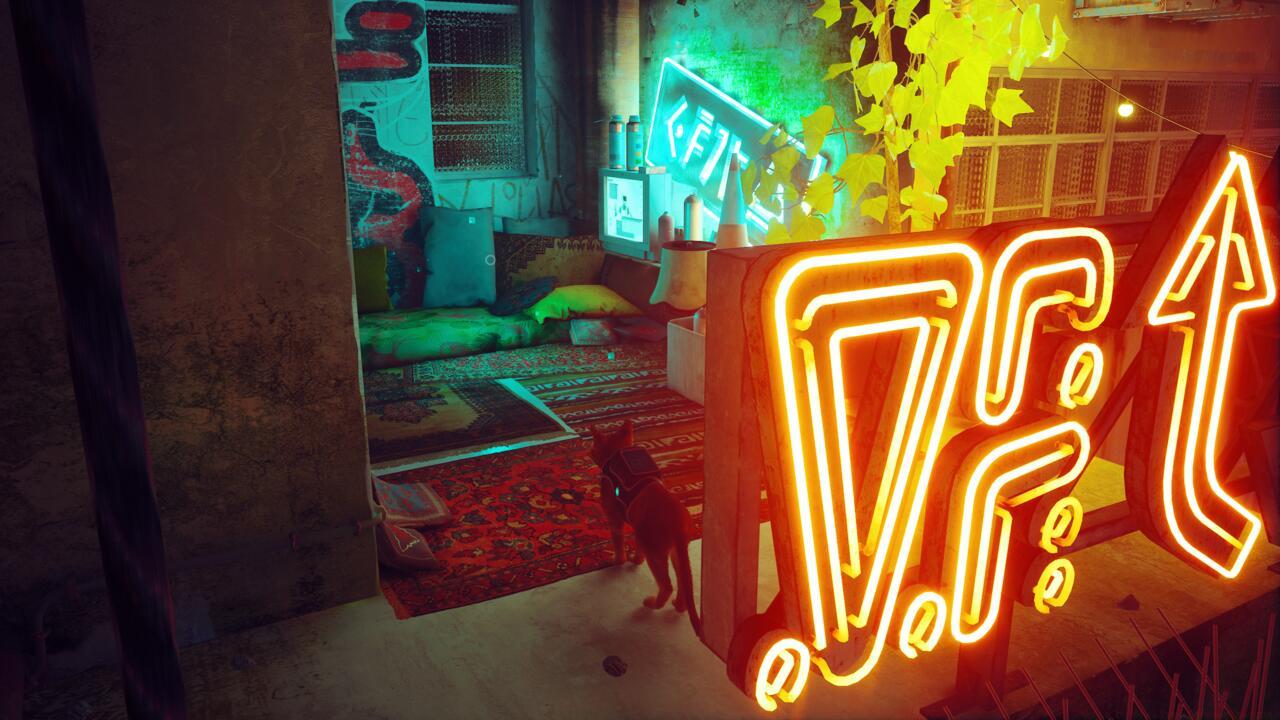
Memory 22 can be located in Midtown, within the alleyway behind the nightclub establishment featuring external Bouncer presence. Circumnavigate to the rear section, where a sweeping robot operates, then scale the building’s external air conditioning apparatus near the blue neon illumination.
Ascend leftward toward the illuminated orange signage, where you’ll discover a secluded alcove. Examine the rear seating arrangement thoroughly to secure the memory.
Memory 23
Memory 23 can be found in Midtown, within a compact barbershop establishment proximate to the substantial holographic display and wig retail outlet.
Either leap through the shop’s service window, or compress through the front door’s chain-link barrier, then ascend the left-side shelving units. Jump to the ceiling-adjacent aperture, then crawl rightward to locate the memory.
Memory 24
Memory 24 positions itself within Midtown’s burger restaurant near the hologram projection, directly opposite the barbershop containing Memory 23.
Enter the establishment and proceed rearward. Ascend onto the counter surfaces, then leap upward to the ledge supporting potted vegetation. Enthusiastically displace them, then orient the camera upward and ascend into the damaged ceiling section to locate the memory.
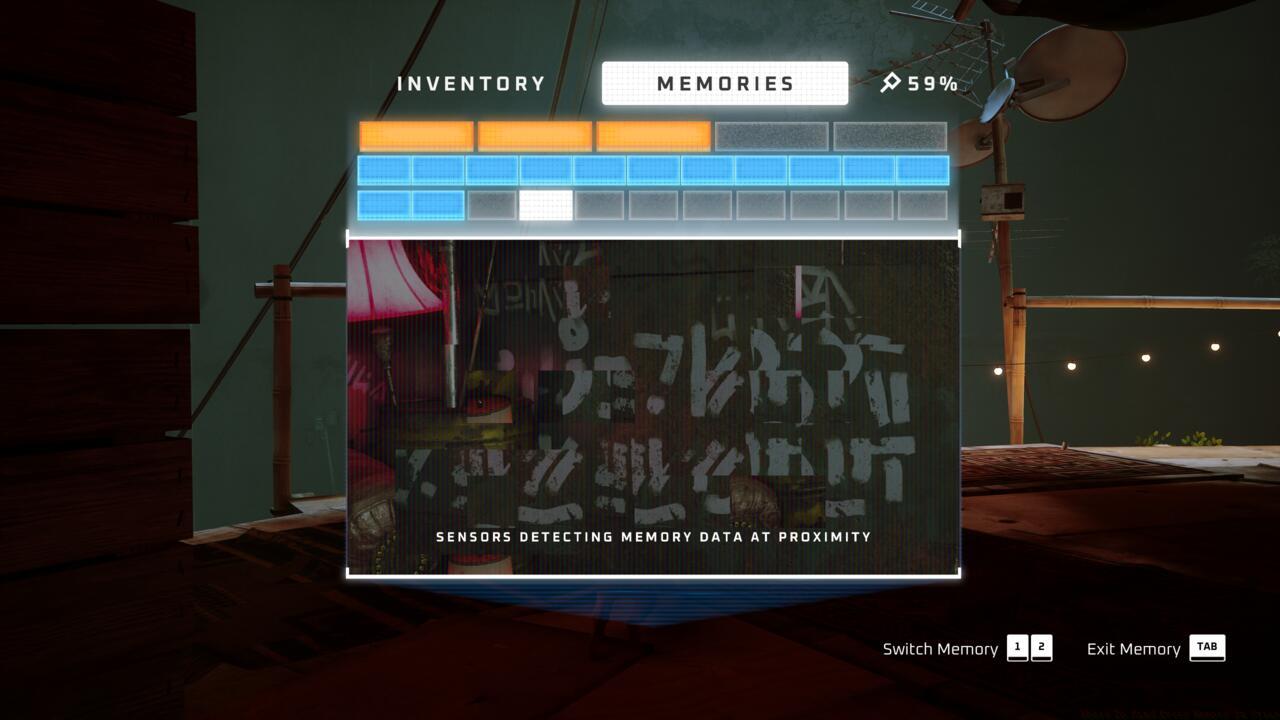
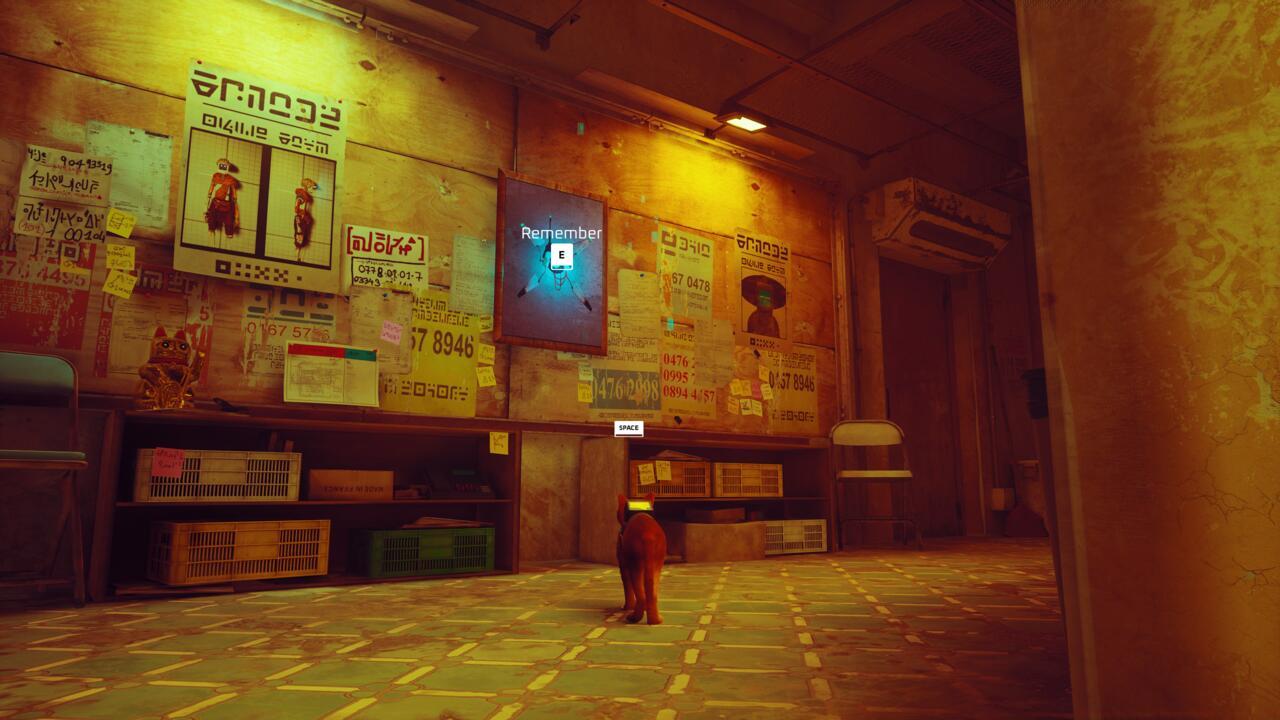
Memory 25
Memory 25 becomes accessible within Midtown following battery retrieval from the restricted zone, though collection becomes impossible after concluding the Nightclub sequence.
Rather than returning to the Residence for Clementine, re-enter the urban center. Near the holographic projection, locate an office space containing conversing police officers.
Previously inaccessible, the doorway now permits entry. Proceed inside to discover a Sentinel portrait. Examine it thoroughly to secure the memory.
Memory 26
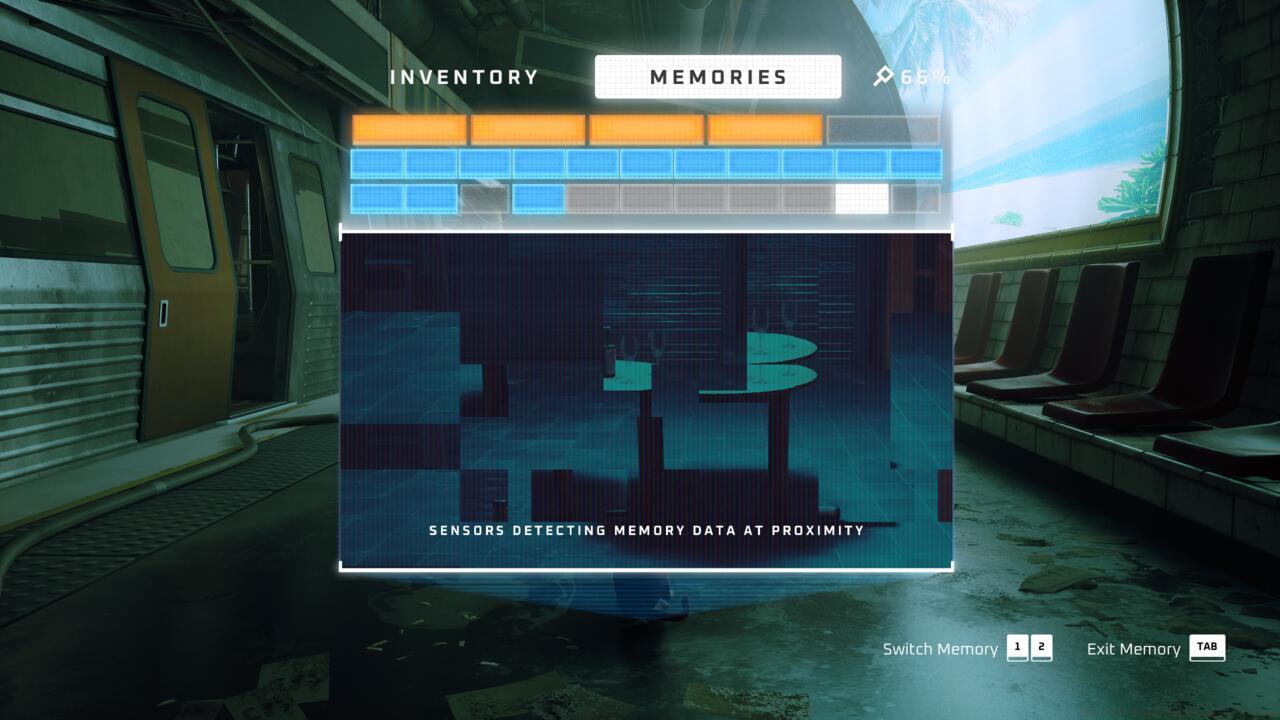
Memory 26 situates itself within Midtown’s Nightclub venue. After securing the battery and decoding Clementine’s documentation, it becomes apparent she departed for the Nightclub accompanied by Blazer.
Return to the Nightclub establishment, then navigate to the rear alleyway positioned rightward. Scale the wall-mounted air conditioning units opposite the club, then circumnavigate rightward.
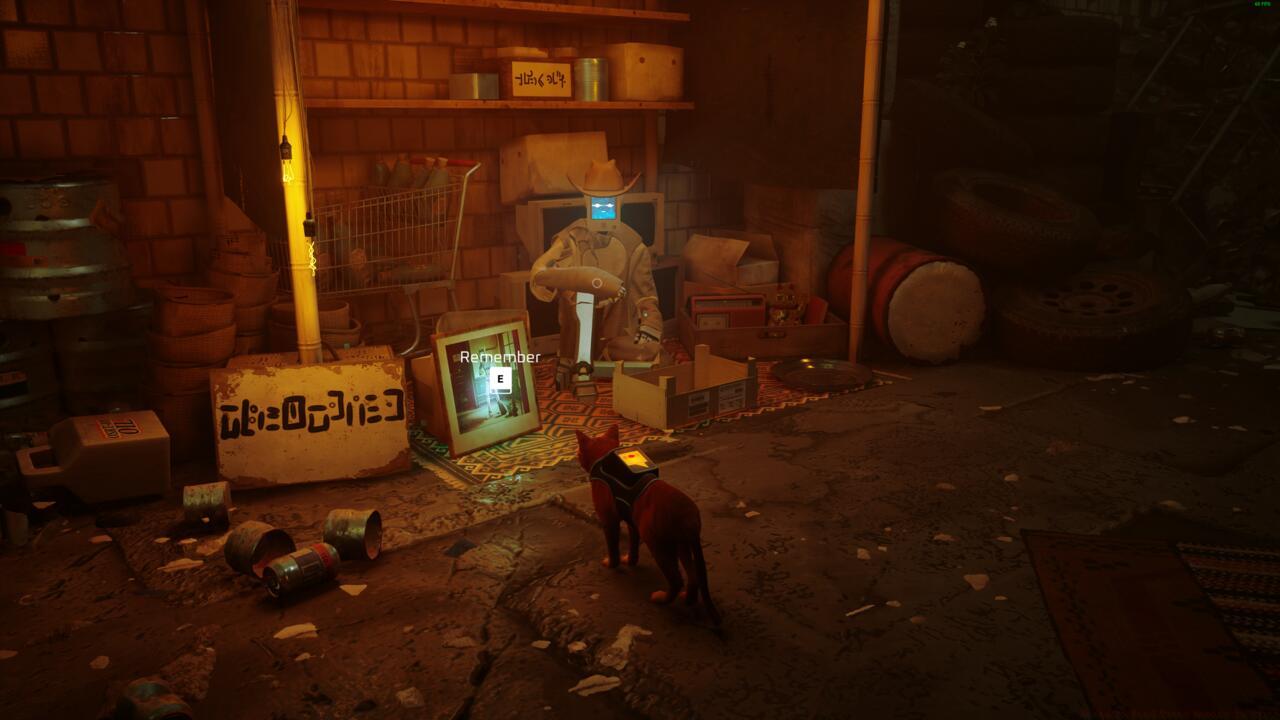
Pass the purple-coated cowboy robot, then traverse the railing system to access the Nightclub building’s external wall surface.
Execute a right turn and communicate with the window-positioned robot to gain entry. Descend and approach the bar counter, then position yourself upon the dumbwaiter mechanism to access the sub-level area, where you’ll discover a beverage-laden table within a storage chamber. Examine it thoroughly to secure the memory.
Jail Memories
Memory 27
Memory 27 positions itself within the Jail facility. After reuniting with B-12, activating Clementine’s gate mechanism, and confining a Sentinel within a cell, proceed through Clementine’s unlocked gate and turn right to locate a robotic entity.
Conduct detailed inspection to acquire the ultimate manually-collected memory.
Completion Strategy: For optimal efficiency, consider collecting Memories 25 and 26 during the same Midtown visit before progressing to the Jail sequence. This prevents unnecessary backtracking through previously completed areas.
The emotional narrative payoff from uncovering all 27 memories significantly enhances the gaming experience, providing deeper insight into the world’s history and character motivations.
Stray’s memory collection system offers player-friendly mechanics that eliminate permanent missable content through its chapter select functionality. While you cannot permanently lock yourself out of any memories, retrieving overlooked collectibles demands replaying entire chapters from beginning to end. This design encourages thorough exploration during initial playthroughs to minimize backtracking.
The game’s progression tracking ensures that previously collected memories remain in your inventory when revisiting chapters. However, this system requires strategic planning – focusing on area completion before advancing prevents unnecessary repetition. Many players benefit from methodical exploration patterns rather than rushing through narrative segments.
Pro tip: Complete each zone systematically before triggering major story transitions. This approach reduces the need for chapter replays and creates a more fluid gaming experience while ensuring comprehensive memory acquisition.
Memory acquisition in Stray follows carefully scripted narrative milestones, with the first five memories automatically granted during critical story progression points. Memory 01 unlocks immediately after your initial encounter with B-12 in The Flat, triggering when you examine the beach mural postcard across the rope bridge.
The second memory activates upon repairing and connecting the transceiver device, revealing B-12’s recovered knowledge about the city’s original purpose. This pattern continues through Memory 03, obtained after surviving the Zurk pursuit and discovering the Antvillage settlement.
Transportation systems become the focus for Memory 04, acquired when B-12 explains the subway network after your Antvillage ascent. Memory 05 follows naturally during the Control Room sequence, where assisting B-12 with security protocols yields another automatic collection.
Common mistake: Players often rush through these story segments without ensuring they’ve triggered the memory acquisition. Always wait for the visual and audio confirmation cues before progressing to subsequent areas.
Memory 06 represents the game’s first truly hidden collectible, requiring deliberate exploration beyond main objectives. After your encounter with Guardian triggers the Safe Zone’s population emergence, locate the vending machine down the staircase from this pivotal character.
The collection route involves ascending crates adjacent to the machine, progressing upward to rooftop levels, and executing a precision jump to the Chroma Green-signatured structure. Continue climbing until reaching the slanted roof section where a deceased robot holds this elusive memory.
Memory 07 introduces Stray’s trading economy, available for purchase at The Market located down the stairs to Guardian’s right. The acquisition cost is three Energy Drink Cans, discoverable by interacting with vending machines distributed throughout The Slums area.
Optimization tip: Systematically check every vending machine during your initial Slums exploration rather than backtracking later. This saves approximately 15-20 minutes compared to dedicated collection runs.
Efficient memory hunting demands strategic chapter management and resource foresight. When utilizing chapter select for missed collectibles, plan route efficiency by grouping multiple objectives within single replay sessions.
Vending machine interactions follow predictable patterns – approach from consistent angles and use rhythmic button inputs for improved success rates. Energy Drink Cans spawn at fixed locations, making systematic collection far more reliable than random searching.
For Memory 06’s rooftop sequence, master the game’s platforming mechanics through practiced jump timing. The slanted roof section particularly benefits from approach angle adjustments to ensure clean landings.
Advanced technique: Complete optional memories during natural story progression rather than as separate objectives. This integrated approach typically reduces total completion time by 25-30% compared to post-game cleanup.
Time estimates: A focused memory collection run takes 2-3 hours for experienced players, while comprehensive first-time completion averages 4-5 hours with thorough exploration.
To secure Memory 23, navigate toward the illuminated orange signage on your left and explore the compact alcove behind the seating arrangement. Thorough examination of this rear area will yield the collectible memory fragment.
This specific memory artifact resides within Midtown’s barbershop establishment, conveniently positioned adjacent to the prominent holographic display and neighboring wig retailer.
Gain entry either by vaulting through the service window or carefully maneuvering through the chain-link barrier on the main entrance. Once inside, ascend the shelving units to your left, then execute a precise jump toward the narrow opening near the ceiling. Navigate through this confined space by crawling rightward to discover the concealed Memory collectible.
Memory 24 awaits discovery within Midtown’s compact burger establishment, situated in proximity to the holographic projection and directly opposite the barbershop containing Memory 23.
Penetrate the restaurant interior and proceed toward the rear section. Execute a series of controlled hops onto the service counters, then perform an upward leap to reach the elevated ledge supporting potted vegetation. Clear these obstacles efficiently, then reorient your camera viewpoint upward and ascend through the damaged ceiling portion to locate the Memory artifact.
Memory 25 becomes accessible in Midtown exclusively after acquiring the battery component from the restricted sector. Critical timing note: this collectible becomes permanently unavailable upon completion of the Nightclub narrative sequence.
Rather than immediately returning to the Residence for your rendezvous with Clementine, redirect your course back toward the urban center. Adjacent to the holographic display, identify the police precinct where officers are engaged in conversation.
Previously inaccessible due to locked entry, this doorway now permits access. Enter the interior space and locate the Sentinel photographic evidence. Conduct detailed inspection to secure the Memory.
Memory 26 is strategically positioned within Midtown’s Nightclub venue. Following battery acquisition and decryption of Clementine’s intelligence documents, you’ll uncover her relocation to the Nightclub accompanied by Blazer.
Return to the Nightclub perimeter, then circumnavigate to the right-side alleyway. Scale the wall-mounted air conditioning apparatus positioned opposite the club entrance, then continue your rightward traversal. Navigate past the distinctive cowboy automaton adorned in violet outerwear, then carefully cross the guardrail system to achieve the Nightclub building’s external wall access.
For optimal memory collection efficiency, prioritize Memory 25 immediately after battery retrieval since it becomes missable. Many players inadvertently lock themselves out of this collectible by progressing too quickly through the Nightclub sequence. The police office door provides no visual indication of its temporary accessibility window.
When approaching Memory 23, the chain-link entry method typically proves faster than the window vault, saving approximately 15-20 seconds. For Memory 24, ensure you clear all potted plants completely as partial removal may obstruct your camera angle and ceiling access.
The Nightclub exterior route for Memory 26 requires precise jumping between air conditioning units – misjudging distances can result in frustrating falls requiring complete route repetition. Consider consulting our Complete Guide for broader contextual strategies that complement these memory collection techniques.
Action Checklist
- Complete main story to automatically collect 5 essential memories
- Methodically explore Slums chapter – check behind buildings and upper levels
- Use chapter select to revisit missed locations after completing the game
- Focus on Midtown’s puzzle-based memories requiring environmental interaction
- Verify collection via pause menu memory gallery before final chapter
- Complete initial playthrough focusing on story progression while noting missed memory locations
- Utilize Chapter Select to revisit specific areas for memory collection
- Collect Energy Drink Cans from vending machines for Memory 7 acquisition
- Focus on time-sensitive Midtown memories (25-26) before Nightclub sequence completion
- Practice platforming sequences for Rooftops memories to minimize frustration
- Utilize chapter select post-completion for any missed memories
- Collect Energy Drink Cans systematically during initial Slums exploration
- Execute Memory 06 rooftop route after Guardian encounter
- Trade three Energy Drink Cans at The Market for Memory 07
- Verify memory acquisition through pause menu before chapter transitions
- Collect Memory 25 immediately after battery acquisition, before Nightclub sequence
- Use chain-link entry for Memory 23 barbershop access
- Clear all potted plants completely when collecting Memory 24
- Practice precise jumps between AC units for Memory 26 exterior route
- Reference weapon loadouts from our Weapons Unlock guide for optimal memory hunting
No reproduction without permission:SeeYouSoon Game Club » Where To Find Every Memory In Stray