Complete guide to navigating Subnautica’s Lost River with essential gear, coordinates, and survival strategies
Essential Preparation: Gear Up for the Deep Dive
Venturing into Subnautica’s Lost River demands meticulous preparation beyond basic underwater gear. This treacherous biome sits at crushing depths where inadequate equipment can spell instant disaster. Your survival hinges on bringing the right tools and understanding the environmental challenges ahead.
Your primary vehicle requirement is a fully upgraded Seamoth equipped with a Depth Module Mk III. Without this critical upgrade, your submarine will implode around 900 meters depth, well before reaching the Lost River’s entrance zones. Consider installing the Perimeter Defense System to deter aggressive fauna, and ensure you have spare power cells for extended exploration.
Personal gear should include a high-capacity oxygen tank, ultra-glide fins for rapid movement, and a Seaglide for emergency propulsion. The repair tool proves essential for addressing hull damage from environmental hazards and hostile creatures. Pack nutrient blocks and filtered water for sustained energy, along with multiple medkits for biological contamination or injury treatment.
Also read: Is it worth playing Subnautica in 2025?
Northern Route: The Direct Approach
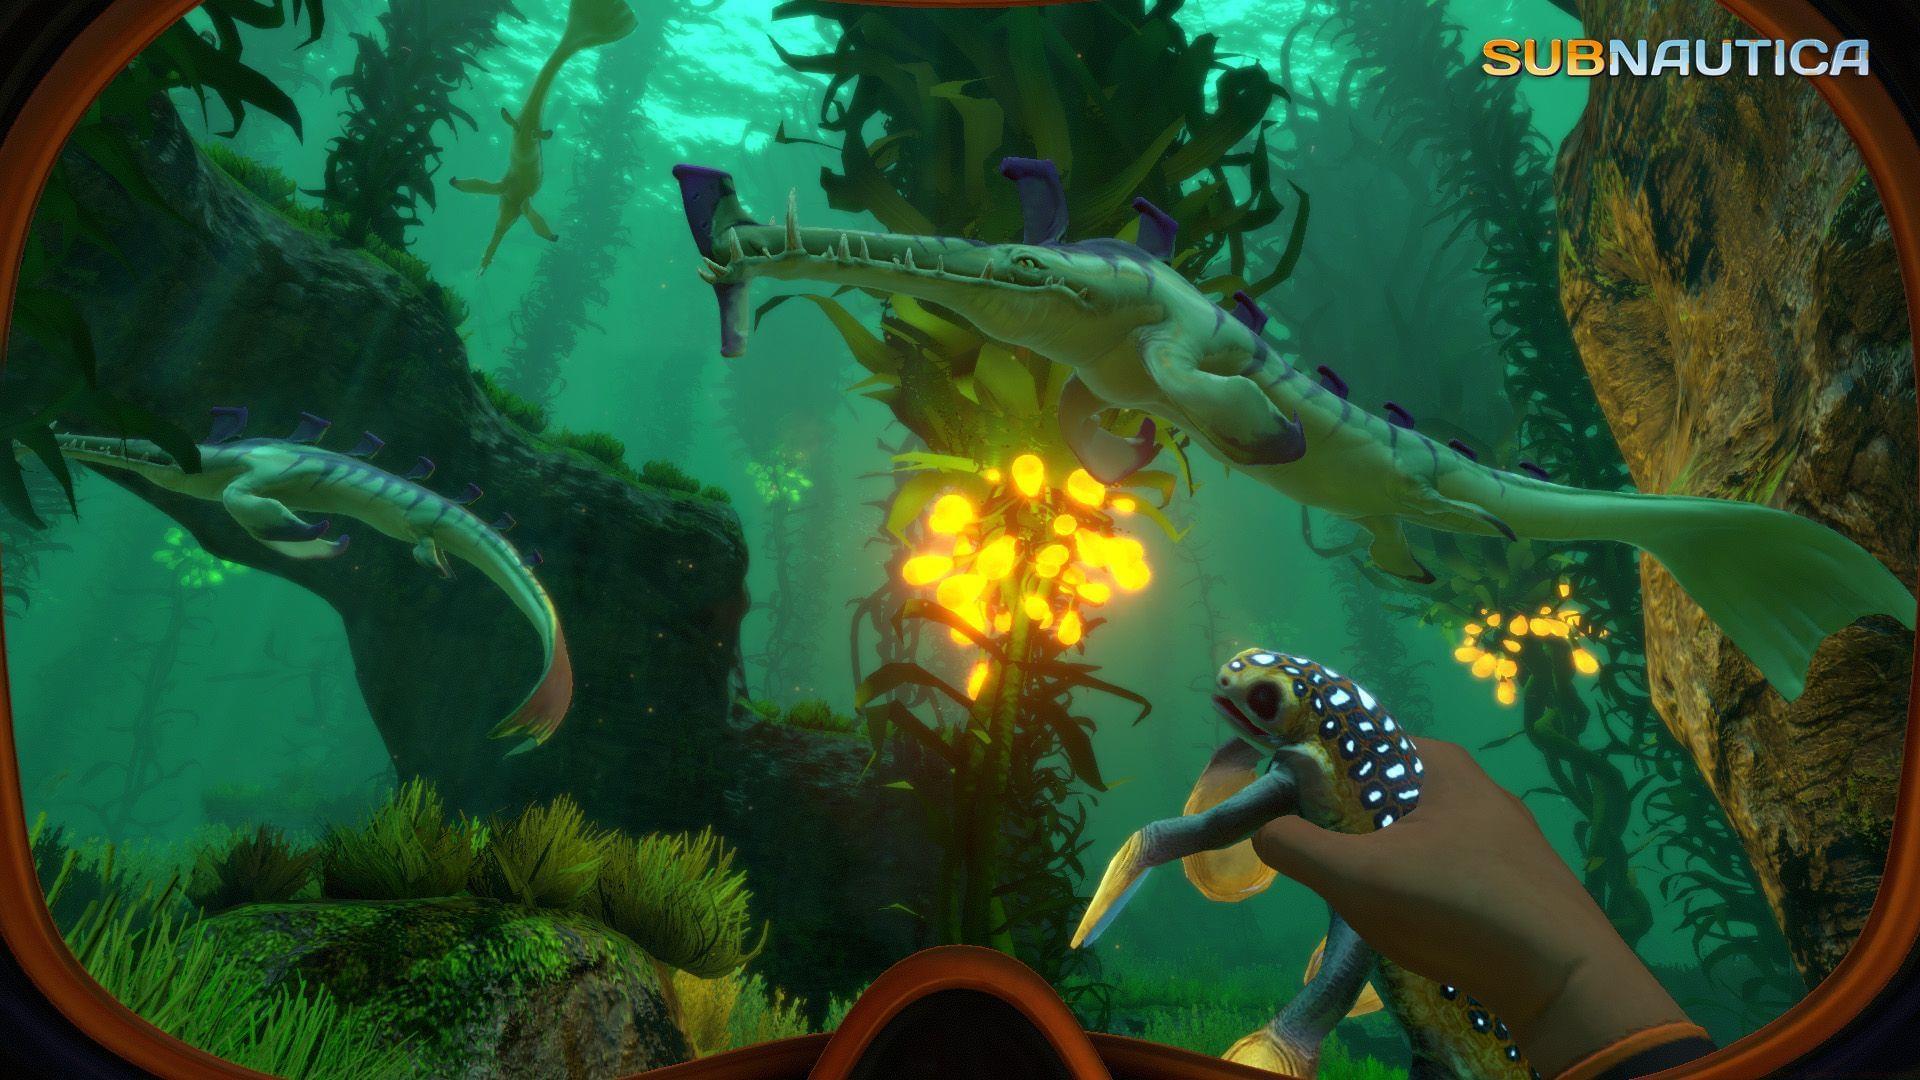
The northern access point provides the most reliable entry for first-time explorers. Begin your journey near the Safe Shallows biome where the prominent coral tubes breach the surface adjacent to the kelp forests. These natural landmarks serve as perfect orientation points for initial navigation.
Set your coordinates to (-36, 0.3, -38) and maintain a steady course between north and northwest directions. This heading will guide you across the Grassy Plateaus, characterized by their red grass and occasional sand sharks. Remain vigilant for the massive geological formation that marks the transition to deeper territories.
As you descend past the rock barrier, you’ll encounter a dramatic depth increase. Follow this downward slope until reaching coordinates (-578, -433, 1257), where a distinctive tree-root structure emerges from the seabed. This organic landmark signals your arrival at the Lost River’s threshold. The northern path’s straightforward progression makes it ideal for establishing supply routes and initial base construction.
Southern Route: The Challenging Path
Southern access presents greater navigation challenges but offers alternative entry points for experienced players. From the coral tube starting location, navigate approximately two clicks southwest toward coordinates (-74, 2, -163). This positions you within the Deep Grand Reef region, known for its warpers and crab squids.
Identification of the entrance requires spotting natural cave openings resembling geological nostrils along the ocean floor. These formations often blend with surrounding terrain, so methodical scanning proves essential. Once located, descend into these apertures while maintaining a bearing between north and northeast orientations.
The subsequent cave network winds through narrow passages and sudden drops. Successful navigation depends on careful maneuvering and constant depth monitoring. You’ll know you’ve reached the Lost River when the environment transforms—the water adopts a distinctive green bioluminescence, background music shifts to more ominous tones, and the temperature changes noticeably. Initial disorientation is normal but subsides as you acclimate to the eerie atmosphere.
Check out: Subnautica developer is making another game in the franchise
Advanced Navigation Strategies
Seasoned explorers develop sophisticated techniques for consistent Lost River navigation. Establish beacon markers at both entrance points to create reliable return paths. The northern route’s predictability makes it perfect for resource hauling, while the southern approach offers quicker access to certain mineral deposits once mastered.
Environmental awareness provides critical navigation cues. The green brine rivers within the Lost River create distinctive chemical currents that affect vehicle handling. Ghost leviathans patrol specific zones, particularly near the Bone Fields and Tree Cove areas—learning their patrol patterns prevents unexpected encounters.
Always monitor your oxygen levels and power reserves more conservatively than in shallower biomes. The long return journey demands adequate energy margins. Consider establishing small outpost bases with power cell chargers at strategic points along both routes. These waystations provide emergency shelter and resource stockpiling options for extended expeditions.
Advanced players should experiment with Cyclops submarine navigation through the larger passages, though this requires precise piloting skills. The reward includes massive cargo capacity for transporting rare materials like nickel ore and crystalline sulfur back to your main base.
No reproduction without permission:SeeYouSoon Game Club » Where is the Lost River in Subnautica? Complete guide to navigating Subnautica's Lost River with essential gear, coordinates, and survival strategies