TL;DR
- The harp requires power activation via a lever found after progressing through the biome
- Musical notation from a nearby book reveals the specific five-note sequence with spacing
- Raised pins represent notes while lowered positions create essential rhythmic pauses
- Proper execution creates a bridge across the river with valuable rewards
- Timing precision and visual confirmation ensure successful puzzle completion
Navigating the intricate harp mechanism in Yaesha’s Forbidden Grove presents one of Remnant II’s most engaging environmental challenges. This musical puzzle blocks progression across a significant river gap, requiring both exploration and precise execution.
When adventurers first encounter this massive stringed apparatus, immediate attempts to solve it prove futile. The device remains inactive until players complete specific progression milestones within the biome. Understanding this gating mechanism prevents wasted effort and directs focus toward necessary preparatory steps.
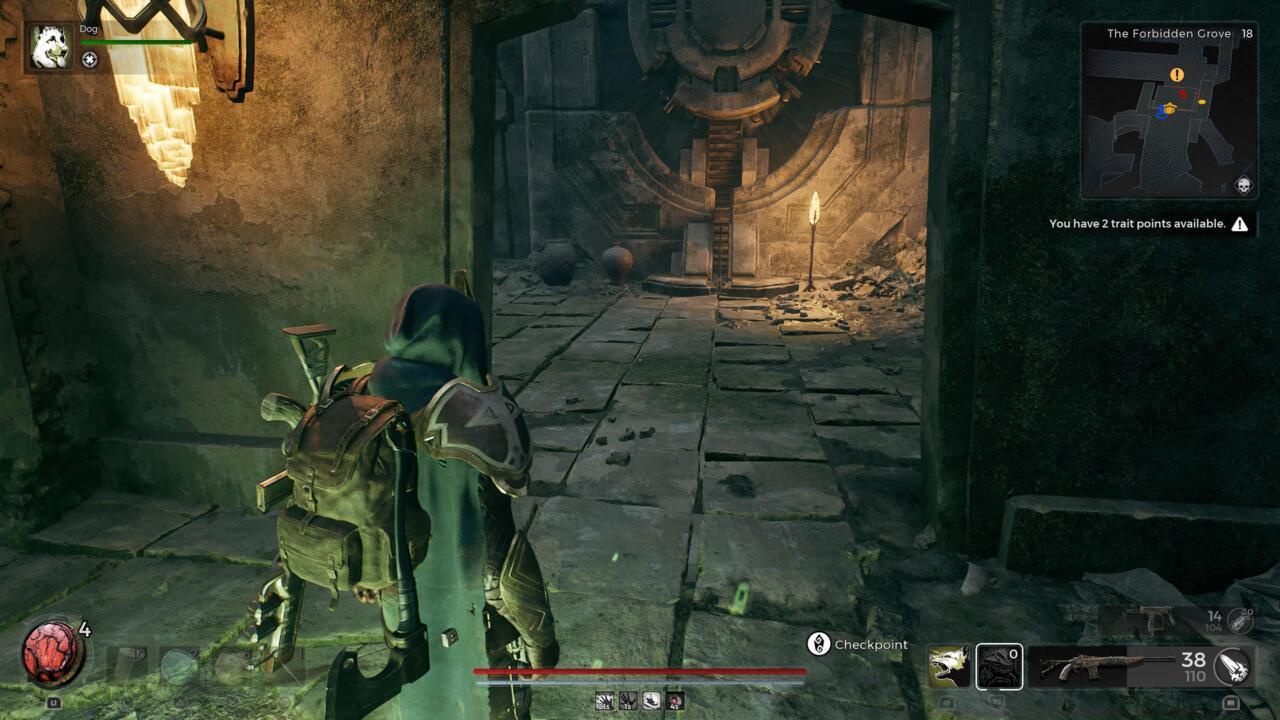
Activating this power lever represents the initial phase of solving the musical conundrum.
Seasoned explorers recognize that such elaborate puzzles often require power sources discovered through biome progression. This design encourages thorough exploration and combat engagement before puzzle-solving attempts.
Progressing through The Forbidden Grove demands strategic navigation from the World Stone vicinity. Ascend the adjacent staircase system until reaching the transitional doorway leading deeper into Yaesha’s wilderness.
Combat encounters along this route may include multiple enemy types, requiring adaptable tactics similar to those discussed in our Class Guide for optimal performance. The path eventually circles back to reveal previously inaccessible sections of the grove.
Within this newly accessible area, locate the activation lever positioned near the World Stone chamber. Engaging this mechanism energizes the harp’s functionality while simultaneously unlocking a convenient shortcut route back to the central rest point.
Utilize this opportunity to refresh health and ammunition at the World Stone before attempting the musical sequence. This preparatory step mirrors the strategic planning emphasized in our Complete Guide for thorough mission execution.
Following power activation, examine the instructional tome located within the lever room. This volume contains the essential melodic pattern required for successful harp operation.
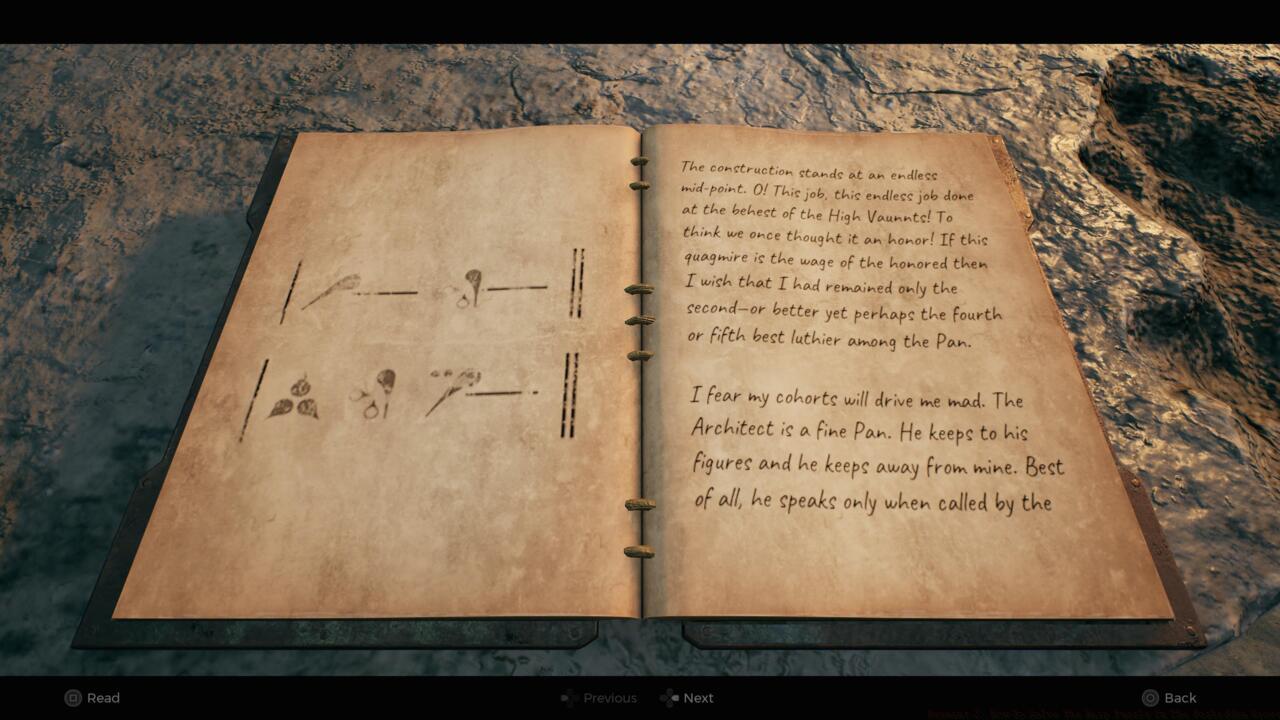
The musical manuscript displays both note sequences and critical spacing indicators for proper execution.
The documentation provides visual and textual clues regarding the five-note progression and the necessary pauses between activations. Understanding that raised pins produce tones while depressed positions create silences is fundamental to accurate performance.
For players preferring independent puzzle-solving, the book offers sufficient information to deduce the correct sequence through careful observation and experimentation.
Return to the now-powered harp mechanism prepared to input the decoded musical sequence. The interface consists of multiple pin positions that must be strategically elevated or lowered to replicate the prescribed melody.
Successful execution requires raising exactly five pins in the precise order documented, with careful attention to the spacing between activated notes. These pauses are equally critical as the notes themselves for triggering the puzzle’s completion mechanism.
This visual reference demonstrates the exact pin configuration needed, though perspective limitations may complicate direct replication.
For enhanced precision, follow this written sequence: activate pin, pause, activate pin, extended pause, activate three pins in immediate succession. This pattern creates the rhythmic cadence necessary for activation.
Each correct input produces audible and visual feedback confirming proper execution. Completion triggers the formation of an energy bridge across the previously impassable river gap.
Many players encounter difficulties with timing precision during their initial attempts. The most common error involves rushing the sequence without observing the necessary pauses between note activations.
Optimize your approach by counting silently between pin adjustments: one count for short pauses, three counts for extended breaks. This mental timing technique significantly improves success rates.
Advanced explorers should note that successful puzzle completion often yields valuable rewards, including equipment upgrades and crafting materials. These acquisitions complement the arsenal development strategies covered in our Weapons Unlock guide for comprehensive character progression.
If the mechanism fails to activate despite correct input, verify the power lever remains engaged and ensure no pins are stuck in intermediate positions.
Completion typically requires 2-4 minutes for most players, though mastery reduces this to under 60 seconds. The bridge remains active permanently once formed, allowing repeated crossing.
Action Checklist
- Progress through biome until discovering power lever in new grove section
- Activate lever to power harp mechanism and unlock shortcut
- Examine musical book for note sequence and spacing instructions
- Input five-note sequence with precise timing: note-pause-note-long pause-three rapid notes
- Cross newly formed energy bridge to access previously unreachable areas
No reproduction without permission:SeeYouSoon Game Club » Remnant 2: How To Solve The Harp Puzzle In The Forbidden Grove Master the Forbidden Grove harp puzzle with expert timing, spacing, and troubleshooting strategies