TL;DR
- Find the randomized symbol book first – it spawns near the puzzle area
- Match the book’s symbol to four specific blankets covering coffins
- Note the symbols above the matching coffins for dial input
- Input symbols in any order to unlock the reward chamber
- Complete puzzle typically takes 10-15 minutes with proper strategy
Symbol recognition forms the foundation of solving this intricate Remnant II challenge. The Lament dial puzzle represents one of Yaesha’s most demanding environmental tests, requiring keen observation rather than combat prowess.
Remnant II masterfully blends intense combat encounters with cerebral environmental puzzles that demand analytical thinking. The Lament’s dial mechanism stands out as particularly challenging, testing players’ pattern recognition and deduction skills. When encountering the coffin arrangement with overhead symbols, understanding the spatial relationships becomes crucial for success.
Upon reaching the Lament’s puzzle chamber, you’ll discover multiple coffins arranged systematically, each marked with distinct symbolic identifiers above them. Every coffin contains a shrouded figure covered by patterned blankets. The central dial apparatus—technically designated as a plinth in game terminology—displays the complete set of symbols matching those positioned above the individual coffins.
Your primary objective involves thoroughly scouring The Lament to locate a crucial reference book that spawns in predetermined but randomized locations. This essential item typically appears within reasonable proximity to the main puzzle area, though its exact placement varies between game instances.
When discovering the book, examine its initial page carefully—you’ll notice it features a unique symbol that doesn’t correspond with any displayed above the coffins. This distinctive marker serves as your decoding key for the entire puzzle sequence.
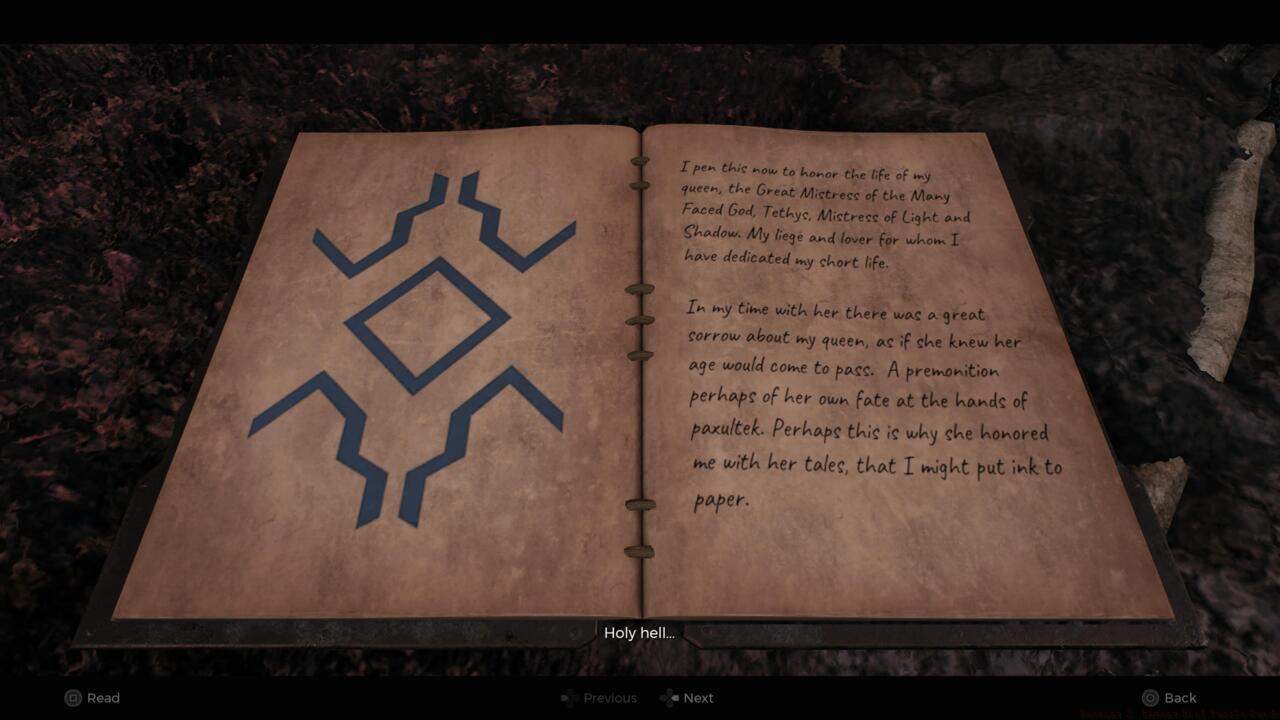
The symbol designs and color schemes within this reference material are completely randomized across different playthroughs, meaning you must physically locate the book to determine which specific symbol activates in your current game session. During our testing, we encountered a blue diamond configuration with radiating corner lines (visible in the accompanying visual reference), though your version will likely present an entirely different symbolic pattern.
Consult your game’s specific book symbol, as visual references from other playthroughs won’t match your required solution.
Pro tip: The book typically spawns within 2-3 rooms of the puzzle chamber. Check side alcoves, elevated platforms, and behind decorative elements systematically. Average discovery time ranges from 3-5 minutes with methodical searching.
After identifying your game’s unique reference symbol, return to the coffin array with this visual key firmly in mind. The core challenge involves locating precisely four blankets that display the exact symbol shown in your book, then memorizing the corresponding overhead symbols for those specific coffins.
Once you’ve successfully identified all four required symbols, approach the central dial interface. Crucially, you can input these symbols in absolutely any sequence—the order doesn’t impact puzzle resolution. After correctly placing all symbols into the dial mechanism, the sealed doorway ahead will unlock, revealing access to a valuable equipment reward.
In our playthrough, this reward manifested as a Blood Ring accessory, though evidence suggests the specific item may be randomized. We’ll provide definitive confirmation regarding reward consistency as additional data becomes available through community testing.
Common mistake: Players often confuse similar-looking symbols or miss one blanket inspection, requiring backtracking. Methodically check each coffin and mark completed inspections mentally to avoid repetition.
For experienced players seeking optimization, employ systematic search patterns: begin from the dial and work outward in concentric circles, or divide the chamber into quadrants for thorough coverage. Advanced strategy reduces completion time to under 10 minutes consistently.
The puzzle’s randomization system ensures each playthrough presents a fresh challenge, though the core mechanics remain consistent. Understanding the relationship between blanket patterns and overhead symbols represents the key insight needed for efficient solving.
Remnant II contains numerous similarly demanding environmental puzzles beyond The Lament. For comprehensive guidance on other challenging game elements, consult our Complete Guide covering advanced gameplay mechanics and progression systems.
Additional optimization: If struggling with symbol recognition, adjust your display settings for better clarity. Some symbols incorporate subtle details that become clearer with brightness adjustments or colorblind-friendly settings.
Action Checklist
- Thoroughly search The Lament area for the symbol reference book
- Memorize the unique symbol displayed on the book’s first page
- Inspect all coffin blankets to find four matching the book symbol
- Note the overhead symbols for coffins with matching blankets
- Input the four symbols into the dial in any sequence
No reproduction without permission:SeeYouSoon Game Club » Remnant 2: Lament Dial Puzzle Guide Master the Lament dial puzzle in Remnant II with our comprehensive symbol-solving guide and expert strategies