TL;DR
- Use the four lava pillars strategically rather than direct combat
- Lure the boss to the center before activating pillars for maximum damage
- Ignore minions completely and focus on environmental mechanics
- Maintain constant movement to avoid both boss attacks and lava flows
- Coordinate pillar rotations for continuous damage cycles
Confronting the Redstone Monstrosity represents one of Minecraft Dungeons’ most demanding combat encounters, requiring strategic thinking rather than brute force. This formidable mechanical construct serves as the climax of the Fiery Forge mission, presenting a significant difficulty spike that tests both player skill and tactical awareness.
The Redstone Monstrosity stands as an engineering marvel crafted by Pillager forces deep within the volcanic chambers of the Fiery Forge. Originally intended as a devastating weapon for the Arch-Illager’s arsenal, this mechanical terror becomes fully operational just as adventurers arrive to disrupt its completion. Consequently, you face a pristine, technologically advanced war machine straight from the manufacturing process, demanding sophisticated combat approaches rather than straightforward aggression.
Before engaging this mechanical menace, ensure you’ve mastered Minecraft Dungeons’ enchantment mechanics and reviewed essential gameplay systems. For comprehensive preparation, consult our Complete Guide to understand core game principles that apply across all challenging encounters.
Many players initially approach this confrontation with overwhelming force, only to discover the hard way that conventional tactics prove disastrously ineffective. My first attempt involved aggressive arrow barrages, carefully chained artifact combinations, and close-quarters combat with a fire-enchanted greataxe—all culminating in near-instant defeat from a single devastating blow.
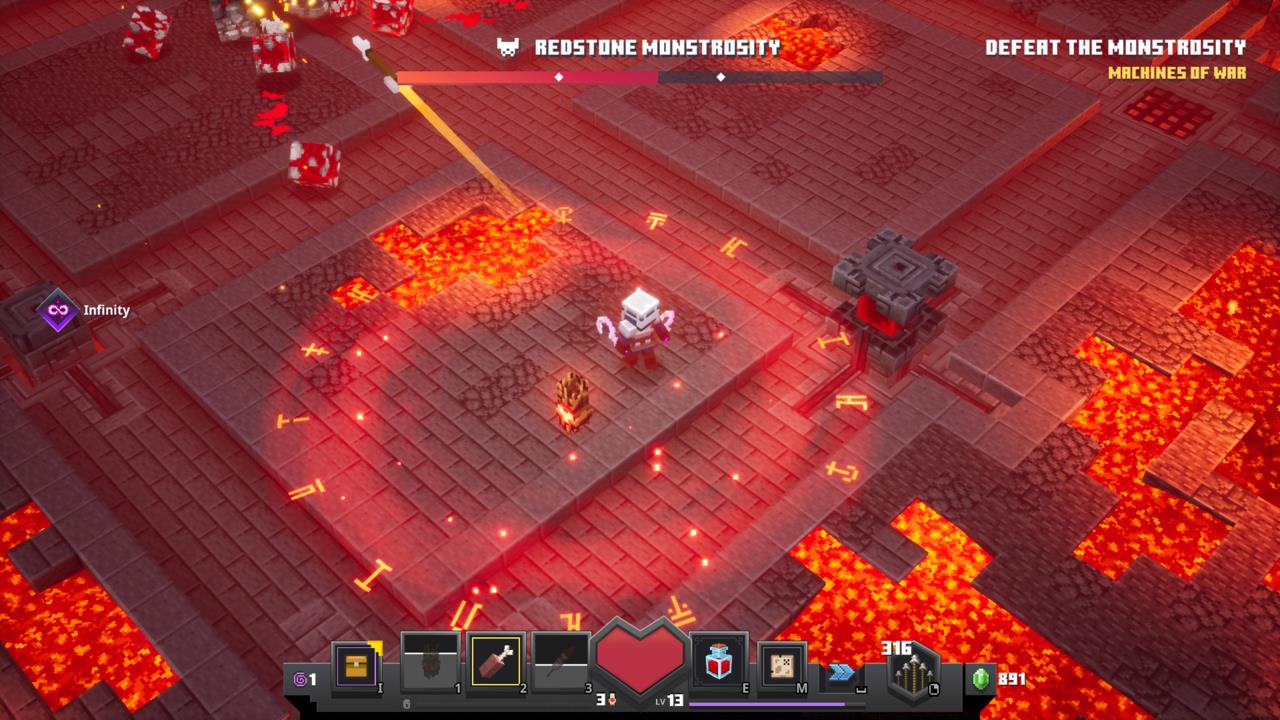
The arena’s architectural design holds the key to victory. Careful observation reveals four strategically positioned pillars arranged in cardinal directions around the central platform. These activation points control timed lava eruptions that channel through precisely engineered floor conduits, all converging at the map’s epicenter where the boss typically positions itself.
Optimal execution involves entering the combat zone while disregarding lesser enemies entirely, strategically maneuvering the mechanical behemoth toward the central convergence point, then rapidly engaging a pillar mechanism while ensuring personal safety from the impending magma discharge. Proper timing inflicts substantial damage while the pillar rotation system allows continuous cycling—by the time you activate the final pillar, the initial one has reset, creating an endless damage loop.
Successful Redstone Monstrosity encounters demand precise movement coordination and spatial awareness. The instinct to confront a stone-and-technology construct with maximum force seems logical but proves counterproductive—the true solution involves weaponizing its birthplace against it, forcing the mechanical terror to succumb to the very inferno that forged its existence.
Critical to success is understanding the boss’s attack patterns and movement behavior. The Redstone Monstrosity employs sweeping arm strikes, ground-pounding shockwaves, and occasional energy discharges that create hazardous zones. Position yourself at medium range to maintain reaction time while keeping the boss centered for pillar activations.
Minion management represents a common pitfall—lesser Redstone Golems spawn periodically but should be completely ignored. Their damage output is negligible compared to the main threat, and engaging them wastes precious time while the primary enemy remains active. For optimal class selection that complements this strategy, explore our Class Guide for specialized builds.
Movement rhythm proves essential: activate a pillar, immediately reposition to avoid the lava flow, assess the boss’s location, then prepare for the next activation. This dance-like pattern continues until victory, with careful attention to environmental hazards and attack telegraphing.
Equipment choices significantly impact your success probability against this mechanical adversary. Prioritize mobility-enhancing armor with cooldown reduction properties to facilitate rapid pillar activations and artifact usage. Weapons with area-effect capabilities help manage accidental minion aggro while maintaining focus on the primary objective.
Artifact selection should emphasize survival and mobility over pure damage output. The Death Cap Mushroom provides crucial attack speed and movement bonuses for faster pillar interactions, while the Ghost Cloak offers emergency repositioning when caught in dangerous situations.
Enchantment strategy should focus on sustainability—leeching, radiance, or protection enchantments outperform pure damage modifiers in this encounter. Since environmental mechanics deliver the primary damage source, your survival becomes the determining factor for victory.
For players struggling with equipment optimization, our Weapons Unlock guide provides detailed analysis of optimal gear combinations for challenging boss encounters.
Advanced tactics involve timing artifact usage with pillar activations—deploying a Death Cap Mushroom just before engaging a pillar ensures rapid activation and swift escape from the impending lava flow. This coordinated approach transforms an overwhelming challenge into a manageable, systematic dismantling process.
Action Checklist
- Enter arena and immediately ignore all minions
- Lure boss to center using careful positioning
- Activate nearest pillar and immediately evade lava path
- Rotate through all four pillars systematically
- Maintain movement rhythm: activate, reposition, reassess
- Repeat cycle until mechanical construct is defeated
No reproduction without permission:SeeYouSoon Game Club » Minecraft Dungeons Redstone Monstrosity Boss Guide: Tips For Beating The Fiery Golem Master the Fiery Forge boss with strategic pillar mechanics and proven combat tactics