Master the Cobra Unit section with expert strategies, boss tactics, and stealth approaches in Metal Gear Solid Delta
Cave Navigation & The Pain Encounter
The Cobra Unit sequence in Metal Gear Solid Delta represents one of the most challenging segments, beginning with your confrontation with Ocelot and culminating in battles against multiple elite Cobra operatives. This comprehensive guide provides advanced strategies to navigate these dangerous encounters while maximizing your resource collection and combat efficiency.
Following the Ocelot engagement, you’ll awaken within an extensive subterranean network requiring careful navigation. The thermal vision goggles become essential here – activate them immediately to map the environment and identify safe pathways. Pro tip: Scan walls systematically to detect hidden supply caches containing vital food resources that restore stamina.
Progress through the winding tunnels until locating crawl spaces leading to waterfall chambers. These areas typically contain Torches, batteries, and ammunition reserves. Advanced players should explore every side passage along waterfall walls, as these often conceal rare items. Exit via the marked tunnel while maintaining awareness of your objective marker’s direction.
Transitioning from the Cave Branch to Chyornaya Peschera Cave introduces a more linear route. The Torch provides adequate illumination here, but conserve battery life by using it intermittently. Upon reaching the illuminated underground cavern, prepare for the Hornet swarm cutscene signaling The Pain’s arrival.
Engaging The Pain requires strategic positioning in the water with rock formations providing essential cover. Time your underwater submersions precisely to avoid hornet assaults, then emerge to deliver targeted shots during attack cooldowns. Critical strategy: Aim for his exposed areas during vulnerability windows rather than spraying bullets randomly. Repeat this tactical cycle while minimizing damage exposure to secure victory.
Post-defeat, the disappearing hornets reveal a new pathway. Navigate this opening to advance to the next challenging segment of your mission.
Stealth Operations: Ponizovje Regions
The subsequent tunnel network features a single path illuminated by your objective marker. Follow this guidance to trigger an essential cutscene while gathering all available resources. Critical warning: This area contains explosive mines – deploy your Mine Detector immediately and move cautiously to avoid catastrophic detonations.
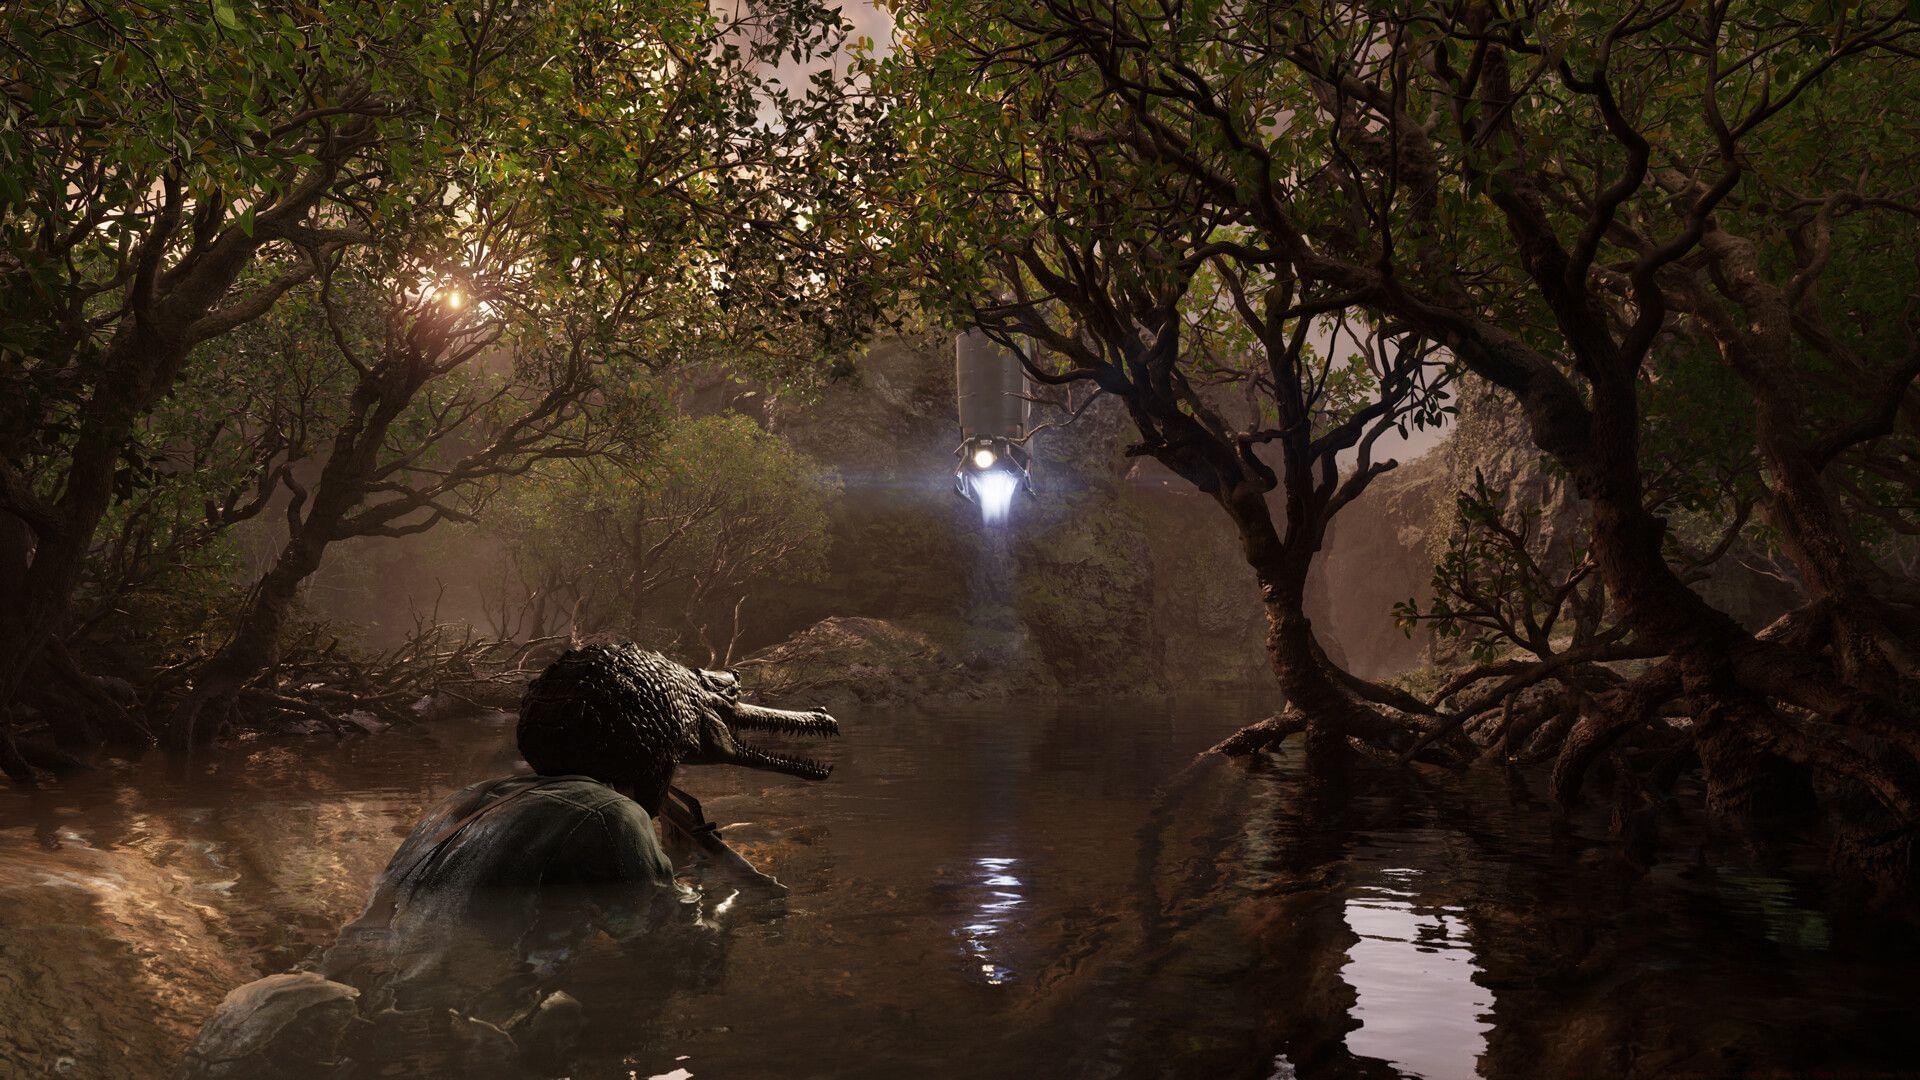
Descend from the cave into shallow waters, then navigate beneath stone formations to emerge in Ponizovje South. This mangrove environment demands superior stealth execution with multiple patrol routes. Swimming provides temporary concealment but isn’t sustainable throughout – instead, study guard light patterns and move during their back-turned moments.
The mangrove transition leads to a bifurcated canyon path. Select the western route rather than proceeding straight ahead to maintain optimal positioning.
Emerging from Ponizovje South water introduces Ponizovje West with additional guard contingents. Employ aquatic stealth approaches toward dock areas, eliminating isolated guards quietly to facilitate comprehensive looting operations. This location contains game-changing equipment including Suppressors, the Dragunov Sniper Rifle, ammunition, and grenades. After thorough exploration, return to your original route and select the northern path from Ponizovje South.
Common mistake: Players often rush through these areas missing the Dragunov, which becomes crucial for later sniper engagements. Take time to methodically clear each zone.
Warehouse Infiltration & The End Decision
The subsequent cutscene reveals Snake observing Volgin and Sokolov outside the warehouse facility, with Ocelot and The Boss making significant appearances while discussing The Pain’s defeat.
This presents a pivotal strategic decision: Using your sniper rifle to eliminate The End while he’s wheelchair-bound bypasses his dedicated boss encounter but forfeits valuable rewards and triggers maximum alert status. This high-risk approach demands immediate extraction planning and superior combat skills to survive the resulting confrontation.
Alternative strategy: Neutralizing perimeter guards prompts The End’s retreat inside the warehouse, allowing methodical infiltration via the small access tunnel. This approach preserves the full boss experience with associated rewards while maintaining lower alert levels.
The warehouse offers extensive supply opportunities. Clear ground-level guards first, then systematically search for medical supplies and tactical equipment. Advanced tactic: The upper-level guard possesses heightened awareness – use suppressed weapons or melee takedowns to avoid detection during interior engagements.
After securing the area and addressing injuries, exit through the interior double doors into a heavily trapped forest region. Thermal goggles become essential here for identifying tripwires and pressure plates. Navigate obstacles meticulously while following your compass marker to reach the next mission stage.
Pro tip: Mark trapped areas mentally or with temporary waypoints to create safe return routes if needed later.
Graniny Gorki Lab Infiltration
Reaching Graniny Gorki Lab’s perimeter reveals electrified fencing with patrol units. Locate the compromised western fence section for crawling access to the inner compound.
The interior wall area introduces heightened security. Use eastern truck formations for concealment while analyzing patrol routes. Crawl toward the marked “10” doorway for facility access.
This laboratory section requires disguise strategy: Remove all facial camouflage and equip Scientist Camo from your inventory. This transformation allows nearly unrestricted movement among personnel. Navigate to the descending staircase while maintaining your disguised appearance.
Descend stairs, neutralize the solitary guard, and access the computer room. Evade suspicion while progressing to the terminal white-door room triggering the Granin encounter cutscene.
Extraction requires retracing your route to the 1F Lab while maintaining scientist disguise. Use staircases and crawl spaces to exit the facility, then navigate back through the electrified fence toward Graniny route.
Advanced infiltration tip: Time your movements with scientist NPC patterns to appear as part of regular laboratory activity.
Final Cobra Boss Battles
Returning through Graniny triggers The Fear boss confrontation. Begin immediately by healing all accumulated injuries and restoring stamina to maximum capacity.
Defeating The Fear demands thermal goggles activation for tracking his arboreal movements. This agile opponent utilizes advanced camouflage and rapid positional changes, making target acquisition challenging. Use tree cover defensively while anticipating his attack patterns. Success requires precision shooting during his brief stationary moments.
After victory, return to the warehouse following your objective marker. Eliminate remaining guards and use secondary staircases to exit via the secured gate.
Eva’s communication reveals Sokolov’s Shagohod completion. Progress through Svyatogornyj South via the marked exit route.
Svyatogornyj West contains numerous guards requiring stealth elimination or pattern avoidance. The northern exit provides optimal extraction. Study patrol rotations for undetected passage opportunities.
The End’s dedicated boss fight begins upon reaching the main arena. This prolonged engagement tests patience and observation skills. The boss relocates constantly when detecting approach, necessitating slow, methodical advancement.
Thermal goggles provide critical targeting assistance here. The End utilizes limited hiding locations – memorize these spots and approach from concealed angles. Drain his health systematically through precise shooting.
Victory enables progression through Sokrovenno North to the Krasnogorje Tunnel, concluding the challenging Cobra Unit sequence.
Expert tactic: Use directional sound cues to pinpoint The End’s position between thermal scans to conserve battery power.
No reproduction without permission:SeeYouSoon Game Club » Metal Gear Solid Delta walkthrough: How to complete Cobra Unit Master the Cobra Unit section with expert strategies, boss tactics, and stealth approaches in Metal Gear Solid Delta