Master the brutal Roaring Knight secret boss with optimized strategies, equipment setups, and advanced combat techniques
Introduction: Understanding the Challenge
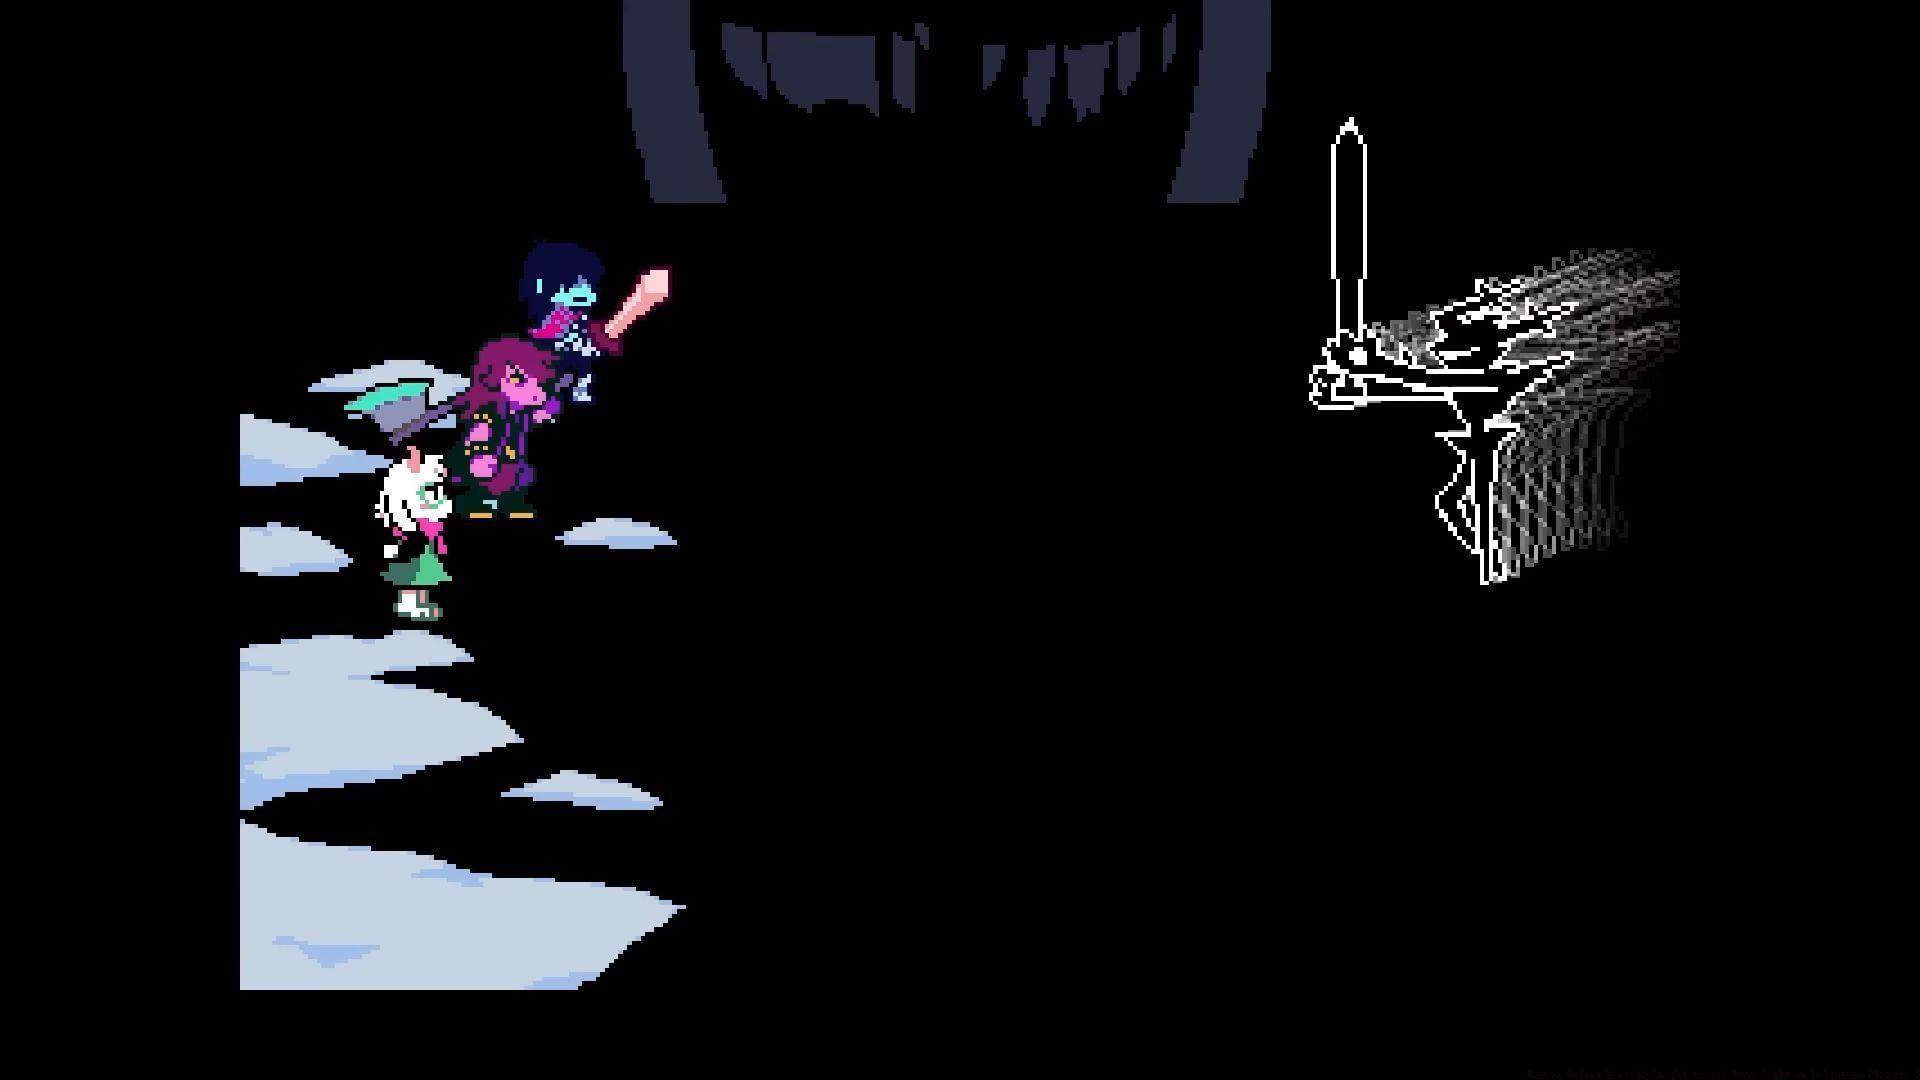
The Roaring Knight in Deltarune Chapter 3 represents one of the most demanding optional encounters in the entire series. This brutal secret boss emerges following the Teena confrontation during the chapter’s climax, presenting players with a genuine skill check rather than a gimmick-based puzzle battle. Proper preparation, precise equipment selection, and flawless execution become absolute necessities for survival. Attempting this encounter without the Shadow Mantle typically results in party annihilation within just a few combat turns due to the overwhelming damage output.
Understanding the fight’s design philosophy is crucial – this encounter tests your mastery of game mechanics rather than offering a traditional RPG experience. Each attack pattern demands specific countermeasures, and there’s minimal room for improvisation once the battle commences.
Essential Equipment and Party Setup
Optimal gear configuration forms the foundation for any successful Roaring Knight attempt. The recommended loadout maximizes survival potential while maintaining adequate damage output:
This equipment distribution establishes clear combat roles: Susie operates as the primary damage dealer and frontline tank utilizing the Shadow Mantle’s defensive properties and Toxic Axe’s consistent damage. Kris provides secondary damage output and status effect application with the Saber10, while Ralsei focuses exclusively on support through healing and buff management. The Twin Ribbon accessories on both Kris and Ralsei significantly enhance their survivability against area-of-effect attacks.
For players seeking alternative setups, consider swapping Ralsei’s Flex Scarf for a second Twin Ribbon if healing consistency proves challenging. The Jevilstail on Susie provides crucial evasion bonuses that can create additional survival windows during the fight’s most intense phases.
Combat Breakdown and Attack Patterns
The Roaring Knight employs a predictable but punishing attack rotation that demands precise reaction timing and spatial awareness. Mastering each pattern’s counterplay determines success or failure:
Advanced players should note that damage during the Swords’ Dance attack phase still counts toward the 25% threshold, making strategic damage trading a viable option for speedrunners.
Advanced Strategies and Common Pitfalls
Beyond basic pattern recognition, several advanced techniques significantly improve success rates while common mistakes frequently lead to unnecessary failures:
Optimization Strategies:
Common Mistakes to Avoid:
Advanced Technique: Skilled players can manipulate the boss’s AI by maintaining specific positioning, sometimes forcing more basic slash attacks and fewer dangerous pattern combinations.
Obtaining the Shadow Mantle
Acquiring the Shadow Mantle requires completing a specific sequence of challenges throughout Deltarune Chapter 3. This essential item cannot be skipped if you intend to conquer the Roaring Knight:
Note: These instructions provide a condensed overview of Shadow Mantle acquisition procedures rather than a comprehensive, detailed walkthrough.
Also read — Deltarune: How to get the Ice Key in Chapter 3
The Shadow Mantle mini-boss itself presents a substantial challenge – focus on pattern recognition and consistent damage application rather than aggressive play. This preparatory fight excellent practice for the main Roaring Knight encounter.
Rewards and Completion
Successfully defeating the Roaring Knight in Deltarune Chapter 3 grants significant rewards:
Victory against this optional boss typically yields exclusive equipment, achievement unlocks, and progression tokens that enhance subsequent gameplay experiences. The satisfaction of conquering one of Deltarune’s most challenging encounters represents its own reward for dedicated players.
This comprehensive guide provides everything needed to overcome the Roaring Knight secret boss in Deltarune Chapter 3. With proper preparation, equipment optimization, and pattern mastery, this formidable foe becomes manageable despite its initial intimidation factor.
No reproduction without permission:SeeYouSoon Game Club » How to defeat Roaring Knight secret boss fight in Deltarune Chapter 3 Master the brutal Roaring Knight secret boss with optimized strategies, equipment setups, and advanced combat techniques