Master the Ironeye’s Remembrance questline in Elden Ring Nightreign with our detailed walkthrough, boss strategies, and reward analysis.
Introduction: The Value of Ironeye’s Remembrance
Embarking on Ironeye’s Remembrance quest in Elden Ring Nightreign is essential for acquiring powerful, class-specific relics that significantly enhance your Nightfarer capabilities. Unlike more straightforward narratives, this questline embodies FromSoftware’s signature opaque storytelling, requiring you to piece together objectives across multiple expedition runs. This guide provides the clear roadmap needed to navigate its complexities and secure its unique rewards.
Phase 1: Initiating the Quest & The First Memory
To begin, you must complete several expeditions while actively playing as the Ironeye character. Upon unlocking Chapter Four in his Journal, locate and press the ‘Begin Remembrance’ button at the chapter’s end. This action transports you into the first memory sequence, indicated by a fog-filled screen.
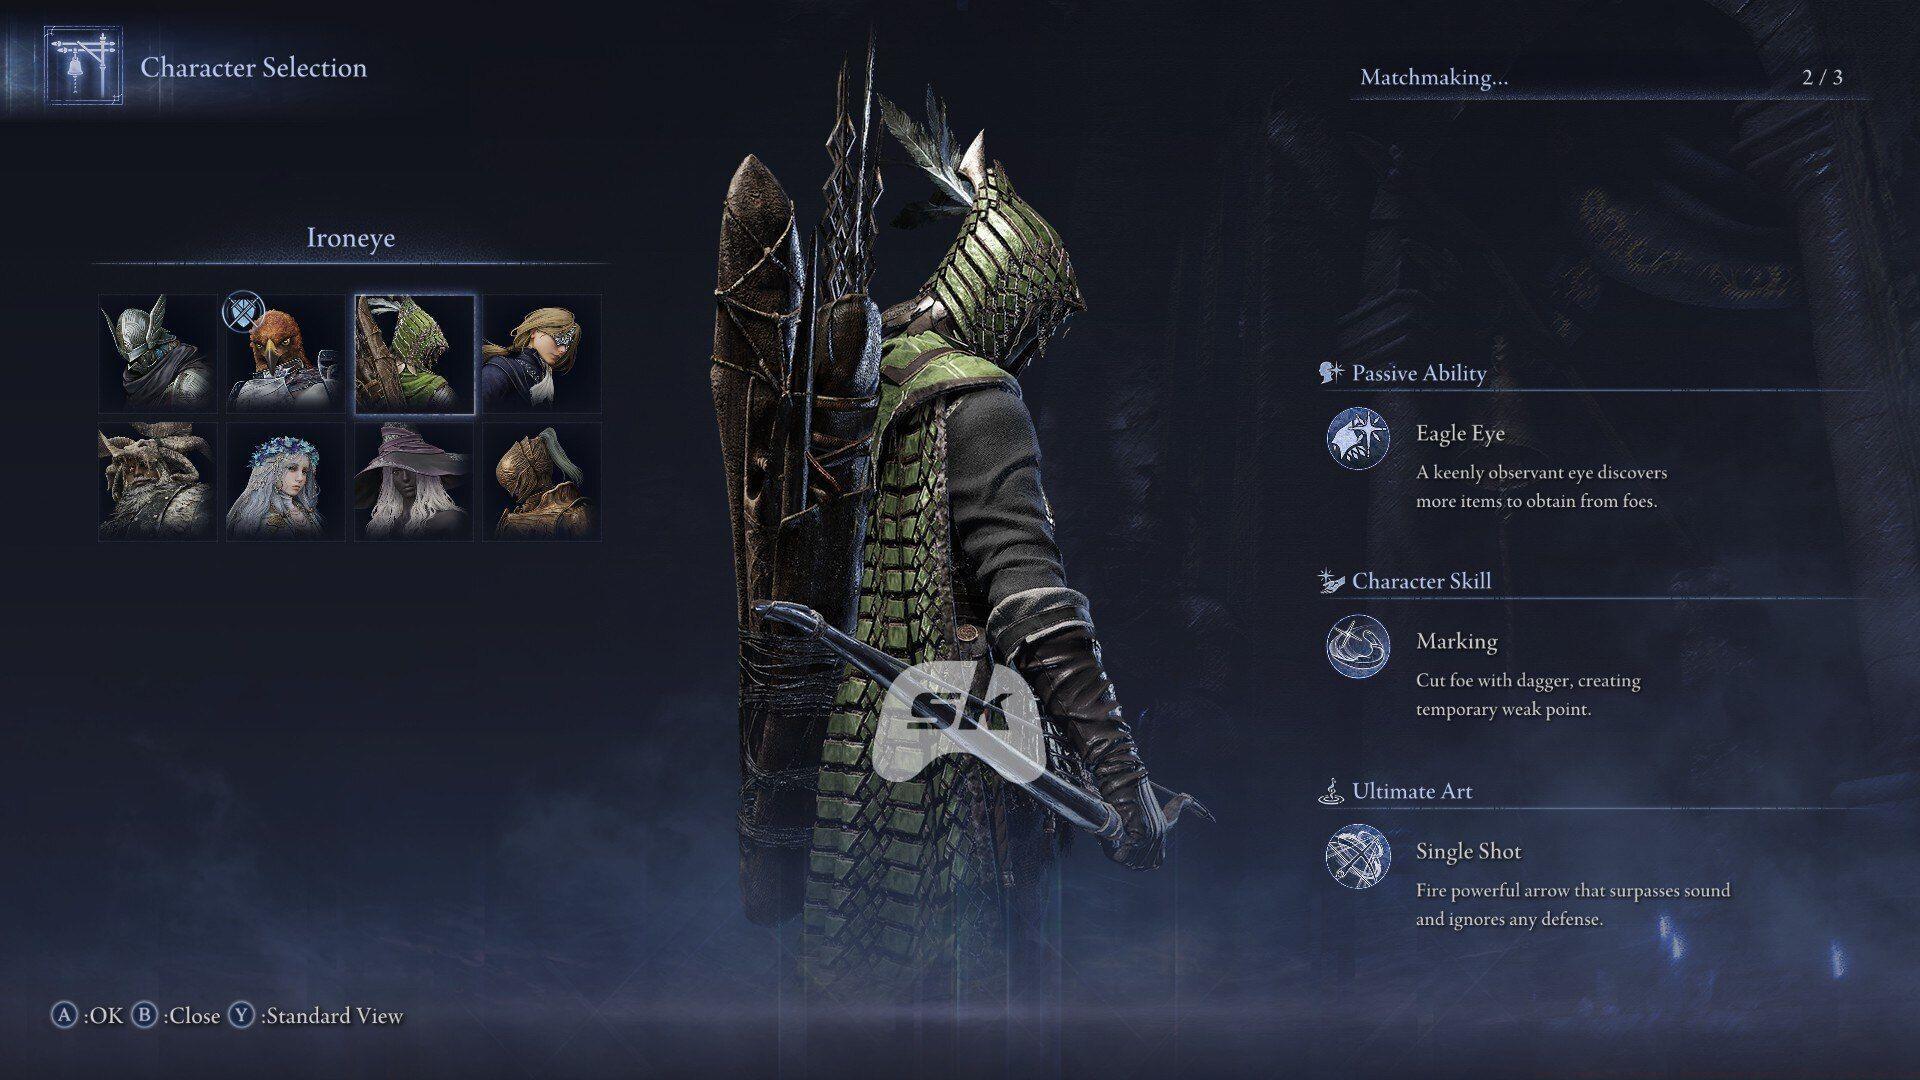
Also read: How to change characters in Elden Ring Nightreign
Your initial objective is to locate the white-cloaked Priestess in the western wing. From the room with the Jar Merchant, descend the stairs and interact with her. Select “About the traitor” and then “Accept task” to receive the mission to hunt down a fellow Night Huntsman.
Confronting the Mimic Huntsman
With the first memory active, launch an Expedition (solo or co-op) to Limveld. A red tracker will mark your target in the western perimeter. Navigate to an area with three poles, then look right to find lower ground with distinctive blue trees. Here, you’ll duel a mimic version of Ironeye.
Combat Strategy: The Night Huntsman mimic shares your move set, favoring agility and ranged arrow attacks. It wields a dagger for punishing close-range combos. A effective tactic is to bait its dagger flurry, dodge backward, and counter with your own arrows. Stay mobile to avoid the pots it throws. Pro Tip: Using terrain for cover can break its targeting and create openings for safe shots.
Victory yields the key item “Traitor’s Letter” and 30,000 Runes. The Letter persists regardless of the Expedition’s final outcome.
Completing the First Memory & Rewards
Return to the Priestess and deliver the Traitor’s Letter. A string of light will appear to her east; entering it concludes the first memory. Your rewards for this phase are substantial: the Ironeye’s Chalice Vessel, the Cracked Sealing Wax Relic, and Chapter Five of the Journal. The Chalice Vessel typically provides a unique buff to arrow damage or stamina regeneration, making it immediately valuable for continued play.
Phase 2: Unlocking and Navigating the Second Memory
To access the next chapter, complete an Expedition where you defeat any Nightlord. Afterwards, open the Journal to Chapter Six and click ‘Begin Remembrance’ once more.
In this memory, return to the Priestess’s location but stop after descending the stairs. A previously sealed tomb entrance will now be open. Inside, you’ll find the Priestess guarding the traitor. The traitor will request execution, but reveals he cannot be killed conventionally. He proposes a deal: bring him the “Edge of Order” weapon, and he will divulge a secret. This updates your journal with a new personal objective: Defeat the Darkdrift Knight.
Boss Fight: Darkdrift Knight Fulghor
Travel to the Roundtable Hold and from the Commence Expedition menu, select the Darkdrift Knight from the Targets tab. At the expedition’s climax, you face Fulghor, Champion of the Nightglow.
Preparation & Recommended Strategy: This is a major difficulty spike. Strongly consider using co-op summons or teaming up with friends. Fulghor is weak to Sacred affinity damage, so equipping weapons or spells with this attribute is crucial. One of his most lethal attacks involves raising his spear to summon ground spikes. The optimal counter is to sprint towards him during the wind-up to deal damage and interrupt the slam. Common Mistake: Rolling away often leaves you vulnerable to the full spike AoE.
At 50% health, Fulghor enters a second phase, gaining an elongated arm reminiscent of Iudex Gundyr. His combos become more erratic. Utilize the invincibility frames (iframes) at the start of your dodge or certain abilities to avoid grabs and sweeping attacks.
Resolving the Second Memory
Upon defeating Fulghor, you obtain the Edge of Order. Return to the tomb and use the weapon to execute the traitor, who will then reveal his secret. Converse with the Priestess afterwards and step into the light to her right to finish this memory sequence.
Phase 3: The Finale and Post-Game Requirements
The concluding act of Ironeye’s Remembrance is gated behind endgame progress. You must first defeat the final boss of Elden Ring Nightreign. After this victory, survey the landscape for an eerily empty replica of the Roundtable Hold.
Enter this structure, bypass the main hall, and locate a solitary corpse. Interact with it, choose the “Clench dagger” option, and confirm with “Yes” when prompted about wielding the blade. This triggers a unique cutscene, awarding you the final Memory Fragment and the ultimate Remembrance item, cementing the quest’s completion.
Optimization Tip: Before tackling the final boss, ensure your build is fully optimized. The Remembrance item you receive is often used to craft a powerful weapon or spell, so plan your character’s endgame loadout accordingly.
No reproduction without permission:SeeYouSoon Game Club » How to complete Ironeye’s Remembrance quest in Elden Ring Nightreign Master the Ironeye's Remembrance questline in Elden Ring Nightreign with our detailed walkthrough, boss strategies, and reward analysis.