TL;DR
- The rescue is a hidden objective not marked on your map during ‘Play It Safe’ mission
- Cyberware like Reinforced Tendons or Fortified Ankles enables direct jump-back approach
- Without cyberware, navigate through enemy-filled corridors using the neon cross landmark
- Saving Takemura affects later story interactions and available mission paths
- Proper preparation before this mission ensures smoother rescue operation execution
Cyberpunk 2077 conceals one of its most impactful narrative decisions within the ‘Play It Safe’ mission—a rescue opportunity many players overlook entirely. This guide reveals the mechanics behind saving Goro Takemura and why this choice matters for your playthrough.
Important: This walkthrough contains significant story spoilers for Cyberpunk 2077’s second act. Proceed with caution if you wish to avoid plot revelations!
During Act 2’s escalating narrative, protagonist V’s situation becomes increasingly dire after acquiring the biochip containing Johnny Silverhand’s consciousness. Your investigation into removing this lethal implant leads to collaboration with Goro Takemura, an ex-Arasaka security specialist whose expertise proves invaluable.
Your partnership with Takemura involves extensive joint operations against corporate adversaries, but reaches a crisis during ‘Play It Safe.’ When Arasaka forces ambush your meeting location, structural collapse separates V from Takemura, creating a pivotal—though poorly signaled—decision moment: prioritize self-preservation through escape or undertake a dangerous rescue mission against overwhelming opposition.
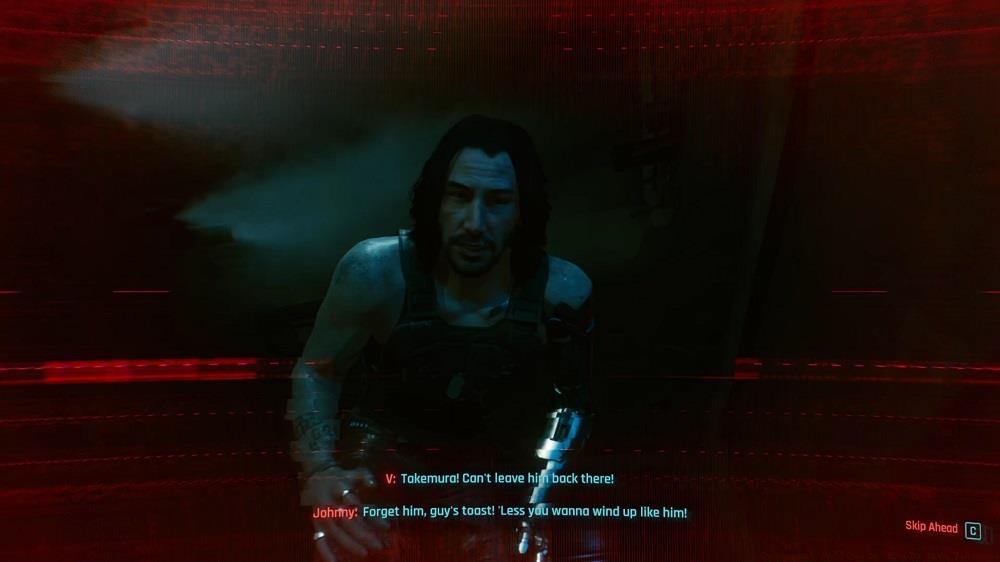
Following your encounter with Hanako Arasaka, Takemura’s hideout becomes targeted by Arasaka assault teams. The initial confrontation triggers an explosion that demolishes the floor beneath V, dropping you to a lower level. While Johnny Silverhand urges immediate evacuation, V’s dialogue hints at the rescue possibility.
Receive the newest gaming updates, critical analyses, and exclusive offers delivered directly to your email from Monday through Friday.
Despite character commentary, returning to assist Takemura constitutes an unmarked objective absent from your navigation interface. Following the displayed escape route inevitably abandons Takemura to his attackers.
The most efficient retrieval method involves ascending through the collapse point directly. Players equipped with Reinforced Tendons cyberware (enabling double-jump capability) or Fortified Ankles (providing charged jump functionality) can leap back upward into the combat zone where Takemura fights for survival.
Strategic preparation before this mission proves crucial—consider visiting Ripperdocs in Watson or Westbrook to install these mobility enhancements. The double-jump option offers superior maneuverability for this specific scenario, allowing precise positioning during the ascent.
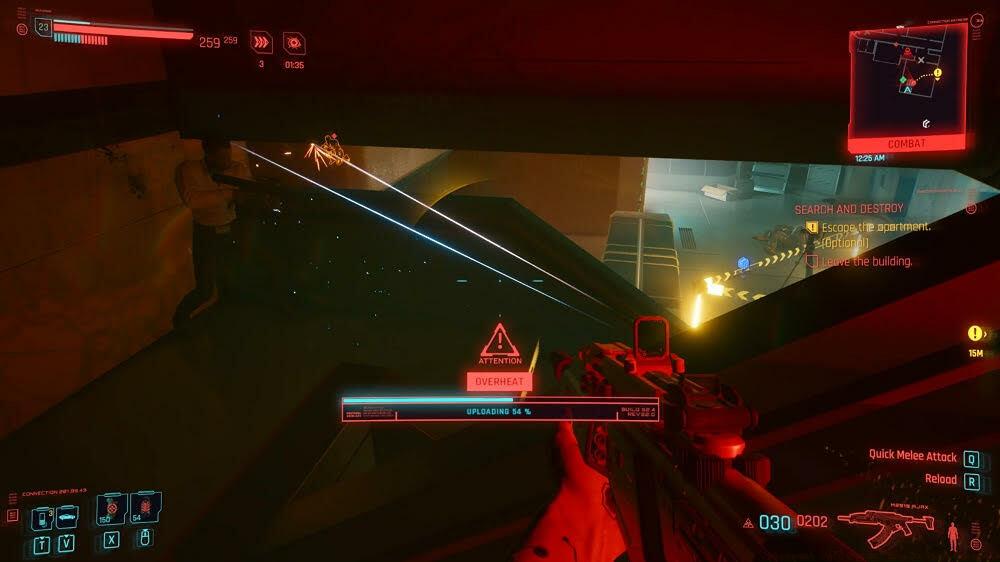
Without specialized leg augmentations, players must navigate through hostile territory to reach Takemura. Upon reaching the collapse area, identify the illuminated neon cross signage on the wall structure.
Beneath this marker lies an access passage permitting crawling progression. Follow this corridor system while watching for stairwell access points leading back to the upper level, remaining vigilant against Arasaka security personnel patrolling these areas.
Combat efficiency becomes paramount during this approach. Stealth-oriented builds should utilize optical camouflage and quickhacks to disable enemies silently, while combat-focused characters benefit from area-denial weapons like shotguns or smart weapons that track targets automatically.
Time management during this sequence requires careful attention—delayed rescues increase Takemura’s vulnerability. Average completion for the alternative route spans 5-7 minutes depending on combat proficiency and enemy engagement strategies.
Understanding enemy spawn patterns enhances rescue efficiency. Arasaka troops typically appear in waves from specific entry points, allowing strategic positioning to control engagement pacing.
Successful extraction of Takemura yields significant narrative dividends, including expanded dialogue options, additional mission availability, and altered character interactions during later game segments.
For comprehensive Cyberpunk 2077 assistance, explore our complete game analysis, plus fundamental gameplay strategies, character development and specialization guide, relationship options directory, origin story implications, and Night City economic optimization methods for enhanced gameplay.
Common rescue failures often stem from inadequate preparation or misinterpreting the minimap guidance. Many players mistakenly believe the escape route represents the only available path, unaware of the vertical return possibility or alternative navigation routes through the building’s interior.
Advanced players should consider difficulty scaling—on higher difficulty settings, the enemy density increases substantially, necessitating more sophisticated approach strategies. Weapon loadouts featuring crowd-control capabilities prove particularly effective during these challenging scenarios.
Action Checklist
- Acquire Reinforced Tendons or Fortified Ankles cyberware before starting ‘Play It Safe’ mission
- During building collapse, ignore Johnny’s escape suggestions and minimap directions
- Use double-jump or charged jump to ascend through collapse hole if cyberware equipped
- Without cyberware, locate neon cross marker and crawl through access passage
- Engage Arasaka forces strategically using appropriate combat or stealth approaches
- Complete rescue and observe altered narrative developments in subsequent missions
No reproduction without permission:SeeYouSoon Game Club » Cyberpunk 2077 Guide: How To Save Takemura Complete guide to rescuing Takemura in Cyberpunk 2077 with hidden paths and strategic approaches