TL;DR
- Donkey Kong Bananza features 17 distinct layers with varying sublayer counts and complexity levels
- Early layers serve as tutorials while later areas offer complex multi-sublayer exploration challenges
- Strategic revisiting of completed layers is essential for maximum Banandium Gem collection
- Ancient Ruins and environmental changes create dynamic exploration opportunities throughout the game
- Proper layer navigation can reduce completion time by 30-40% compared to random exploration
Exploring the complete layer structure of Donkey Kong Bananza reveals a carefully designed progression system that balances accessibility with depth. While the game presents 17 primary layers, each offers unique structural characteristics that significantly impact your exploration approach.
The total layer count of 17 represents a deliberate design choice by the developers to create a satisfying progression curve. New players often underestimate the complexity, as initial layers like Ingot Isle provide gentle introductions with limited challenges. However, the game’s true depth emerges as you advance, with later areas featuring intricate multi-sublayer designs that demand strategic thinking and careful navigation.

What makes Donkey Kong Bananza particularly engaging is its non-linear exploration philosophy. Unlike traditional platformers that force sequential progression, this game encourages revisiting previously completed layers. This design allows players to employ newly acquired abilities to access previously unreachable Banandium Gems and secret areas. The freedom to backtrack transforms what could be a linear experience into a dynamic exploration adventure.
Layer complexity varies dramatically throughout your journey. Transition zones like The Divide serve as strategic decision points rather than traditional levels, offering limited gem collections while presenting multiple progression paths. Meanwhile, areas with Ancient Ruins introduce environmental puzzles that may only become solvable after completing specific objectives elsewhere in the game world.
Below you’ll find the comprehensive breakdown of all layers in Donkey Kong Bananza, organized to help you plan your exploration strategy effectively. Understanding the sublayer structure is crucial for efficient gem collection and progression planning.
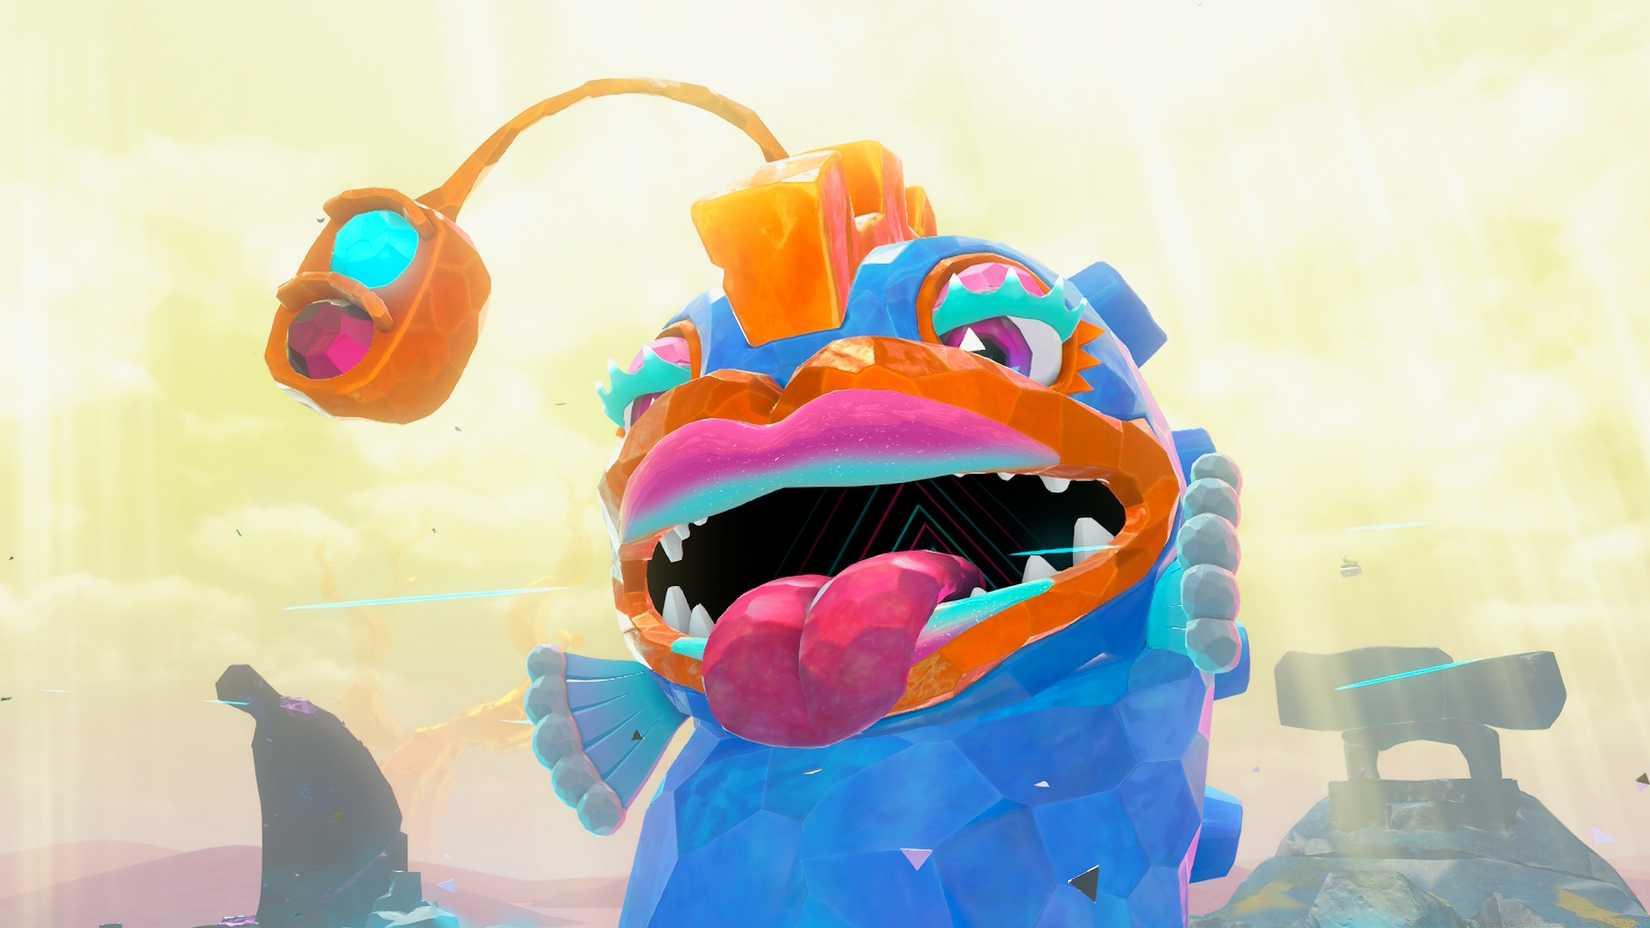
Image: Nintendo via Polygon
- Ingot Isle: Sublayer 1-10 – The tutorial area featuring gentle difficulty curves and basic mechanics introduction. Perfect for mastering fundamental movement and collection techniques.
- Lagoon Layer: Sublayer 100-102 – Introduces water mechanics with three distinct aquatic environments requiring different navigation approaches.
- Hilltop Layer: Sublayer 200 – A single expansive sublayer focusing on vertical navigation challenges and precision platforming skills.
- Canyon Layer: Sublayer 300-302 – Three interconnected canyon environments with weather mechanics that affect traversal options.
- Volcanic Core: Sublayer 400-403 – Four challenging sublayers featuring lava mechanics and temperature-based environmental puzzles.
- Cloud Kingdom: Sublayer 500-502 – Three aerial sublayers with wind mechanics and limited footing challenges.
- Crystal Caverns: Sublayer 600-604 – Five intricate underground sublayers with light-based puzzles and reflection mechanics.
- Ancient Forest: Sublayer 700-701 – Two dense woodland sublayers featuring day/night cycle variations affecting enemy behavior.
- Mechanical Fortress: Sublayer 800-803 – Four industrial sublayers with moving platform challenges and gear-based puzzles.
- Frozen Peak: Sublayer 900-902 – Three icy sublayers introducing slippery surface mechanics and temperature management.
- Desert Oasis: Sublayer 1000-1001 – Two desert sublayers with sand mechanics and mirage-based navigation challenges.
- Jungle Temple: Sublayer 1100-1103 – Four temple sublayers featuring trap mechanics and ancient artifact puzzles.
- Sky Bridge: Sublayer 1200 – Single high-altitude sublayer testing mastery of all previously learned movement skills.
- Underground River: Sublayer 1300-1302 – Three water-current based sublayers requiring precise timing and current navigation.
- Mystic Garden: Sublayer 1400-1401 – Two magical sublayers with growing mechanics and plant-based puzzles.
- Thunder Plateau: Sublayer 1500-1502 – Three storm-affected sublayers with electricity mechanics and conduction puzzles.
- Bananza Summit: Sublayer 1600 – The final challenge layer combining all mechanics for the ultimate test of skills.
Each layer’s sublayer count directly correlates with its complexity and completion time. Areas with fewer sublayers typically focus on specific mechanic mastery, while multi-sublayer zones integrate multiple gameplay systems for comprehensive challenges.
Mastering Donkey Kong Bananza requires more than just understanding the layer structure—it demands strategic exploration planning. These proven strategies will help you maximize your efficiency and enjoyment throughout the entire Banandium Gem collection journey.
Strategic Layer Revisiting is perhaps the most crucial advanced technique. Many players make the mistake of attempting to collect all gems during their initial pass through each layer. However, the game deliberately designs certain areas to be incompletable until you’ve acquired specific abilities from later layers. A more efficient approach involves making initial progress through multiple layers, then systematically revisiting earlier areas with new capabilities. This method can reduce total completion time by 30-40% compared to stubbornly attempting to 100% each layer sequentially.
Banandium Gem Collection Efficiency improves dramatically when you understand layer-specific patterns. Early layers like Ingot Isle contain gems positioned to teach fundamental collection techniques, while intermediate layers introduce environmental puzzles requiring observation and experimentation. Advanced layers often hide gems behind complex sequence breaks or mechanic combinations. Keeping a mental map of which gems require which abilities will prevent frustrating attempts at the impossible.
Common Exploration Mistakes to avoid include: attempting to collect every gem on first encounter, ignoring environmental clues about future accessibility, and underestimating the value of temporary progression. The game’s checkpoint system is generous for a reason—sometimes pushing forward to gain new abilities then returning is far more efficient than repeated attempts at current challenges.
Ancient Ruins Exploration requires particular attention to environmental storytelling. These areas often contain visual clues about mechanics you’ll encounter later or hint at solutions to puzzles in completely different layers. Documenting unusual environmental features during your initial explorations can provide crucial insights when you encounter similar patterns elsewhere.
For players looking to optimize their experience further, consider focusing on ability-acquisition progression before comprehensive collection. This progressive unlock strategy mirrors effective approaches in other exploration games and ensures you’re never wasting time on currently impossible challenges.
Action Checklist
- Complete Ingot Isle tutorial to master basic movement and gem collection mechanics
- Progress through 3-4 additional layers to acquire essential traversal abilities before extensive collecting
- Systematically revisit earlier layers with new abilities to collect previously inaccessible Banandium Gems
- Document Ancient Ruins environmental clues for solving later layer puzzles
- Tackle multi-sublayer zones using integrated mechanic approaches rather than individual skill focus
No reproduction without permission:SeeYouSoon Game Club » How many layers are in Donkey Kong Bananza? Complete guide to Donkey Kong Bananza's 17 layers with strategies for efficient exploration and gem collection