TL;DR
- City Smash requires destroying all concrete pillars AND brick walls/columns for completion
- Two Banandium Gems are time-based rewards (under 60s and 20+ seconds remaining)
- The third gem only appears after completely demolishing the entire structure
- Charged punches create chain reactions essential for meeting time requirements
- Clockwise navigation with strategic positioning maximizes destruction efficiency
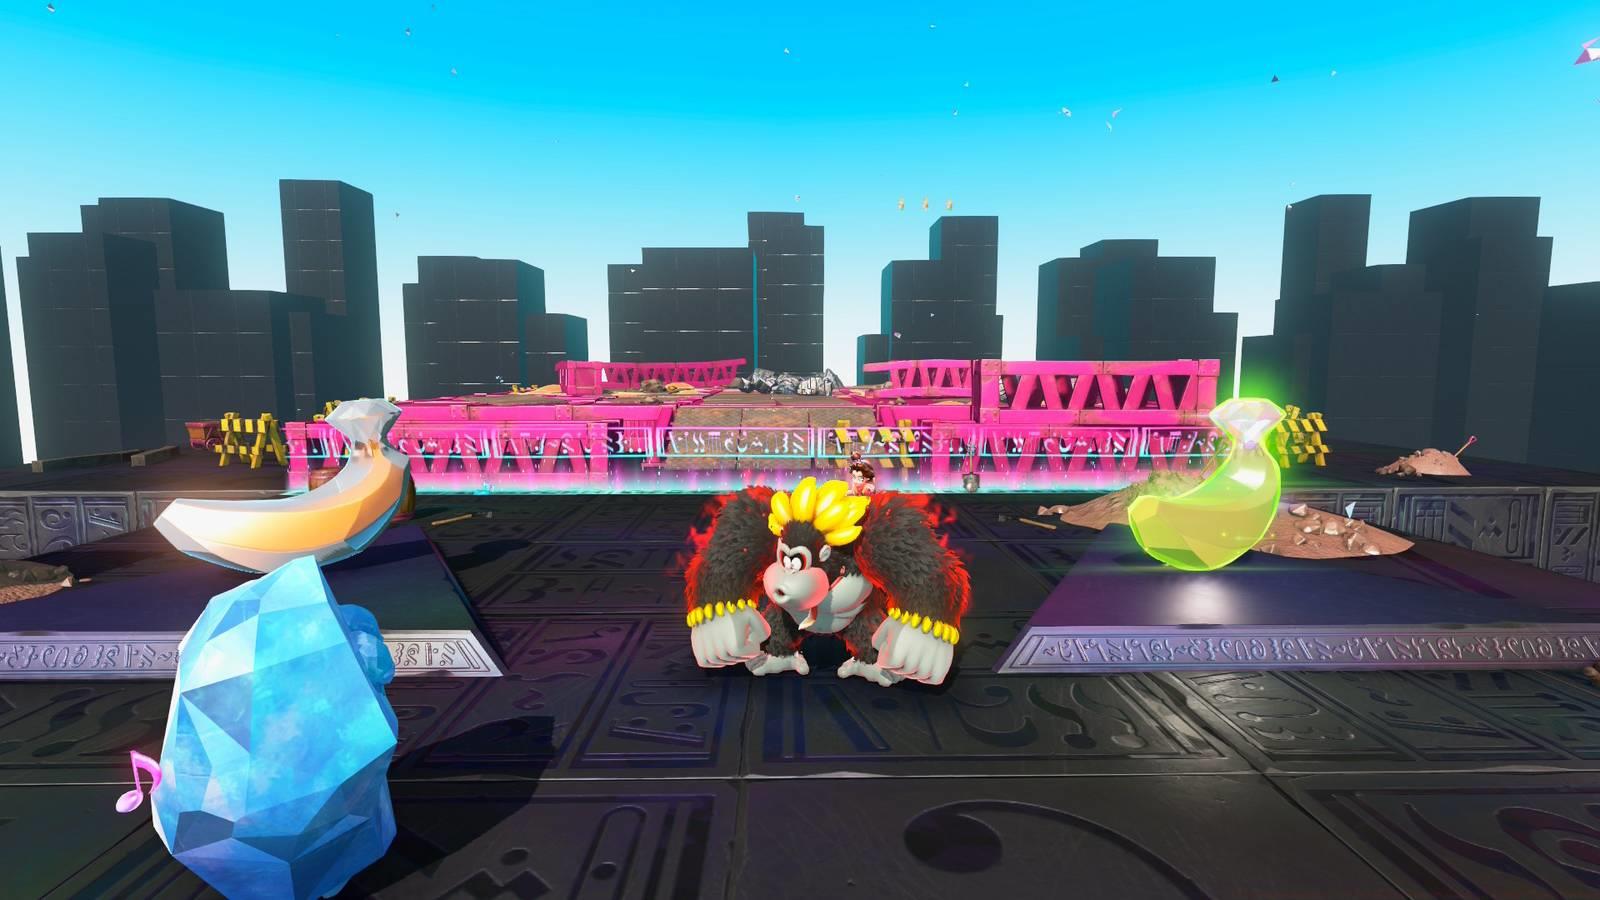
Demolish urban infrastructure with precision timing
The Kong Bananza: City Smash trial within Donkey Kong Bananza presents an initially perplexing scenario, largely because the fractone overseeing the activity provides zero guidance about objectives. While concrete destruction forms the visible component, achieving full success demands more strategic demolition. Securing all three precious Banandium Gems from this trial requires mastering timed assault patterns and understanding environmental interactions.
This comprehensive guide details proven methods for acquiring every Donkey Kong Bananza Kong Bananza: City Smash Banandium Gem. Should you require assistance with subsequent layers, consult our specialized Complete Guide for additional strategic insights.
The City Smash trial gateway resides within Longneck Plateau Village, positioned adjacent to the Getaway site and in proximity to the Teeleport gong. Transformation into Kong Bananza form constitutes mandatory entry requirements, though maintaining this powered state throughout the challenge duration eliminates concerns about gold collection for sustainability.
Before initiating the challenge, we strongly advise unlocking at minimum the foundational tier of DK’s Charge Punch alongside the Fast Charge Kong Bananza abilities. These capabilities dramatically influence success probabilities and time-based gem acquisition.
City Smash distinguishes itself from standard trials through its reward distribution methodology. Two of the three available Banandium Gems function as temporal performance bonuses—completing within 60 seconds secures one gem, while maintaining 20+ seconds remaining earns the second. The final gem remains concealed beneath structural components, only becoming accessible after successful stage completion.
The actual objective, which the fractone deliberately omits, extends beyond mere concrete pillar demolition. Players must systematically obliterate every brick wall and column throughout the structure. Achieving comprehensive destruction while preserving sufficient time necessitates consistent utilization of Kong Bananza’s charged punches during every demolition action. The charged attack propels initial targets into adjacent objects, enabling single punches to trigger cascading destruction sequences without requiring subsequent wind-up periods.
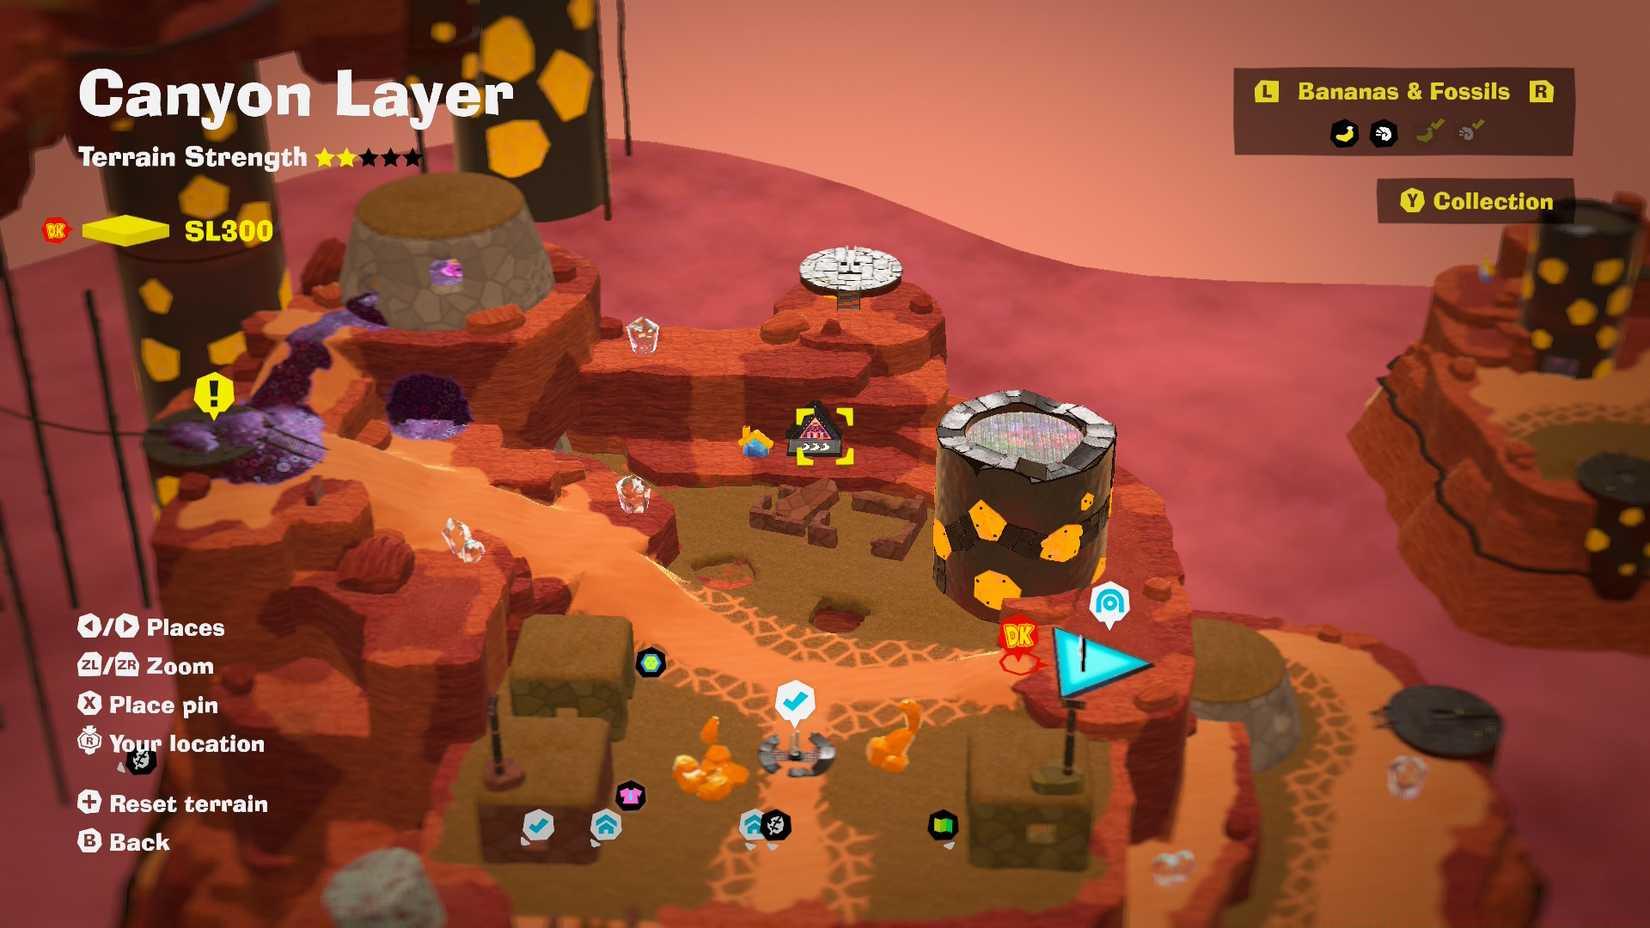
Image: Nintendo EPD/Nintendo via Polygon
Proceed through each level following clockwise navigation—initiate by turning left at commencement, then maintain rightward turns thereafter—demolishing obstacles during progression. Each floor culminates with a barrel cannon transporting players upward to repeat the process on subsequent levels.
Advanced players should note that charged punches not only accelerate destruction but also create strategic knockback effects that can hit multiple targets. The physics system in Donkey Kong Bananza allows destroyed elements to collide with and damage adjacent structures, making positioning and angle selection critical components for optimization.
Upon reaching the penultimate level (excluding the rooftop, which contains no valuable elements), the enclosure surrounding the massive concrete pillar features one accessible side adjacent to a brick column. Execute a charged strike, demolish the concrete, and complete the trial. Multiple attempts may prove necessary to achieve completion with 20+ seconds remaining, though persistent practice will establish effective charging and striking rhythms.
The third Banandium Gem materializes exclusively following comprehensive building demolition and successful stage clearance.
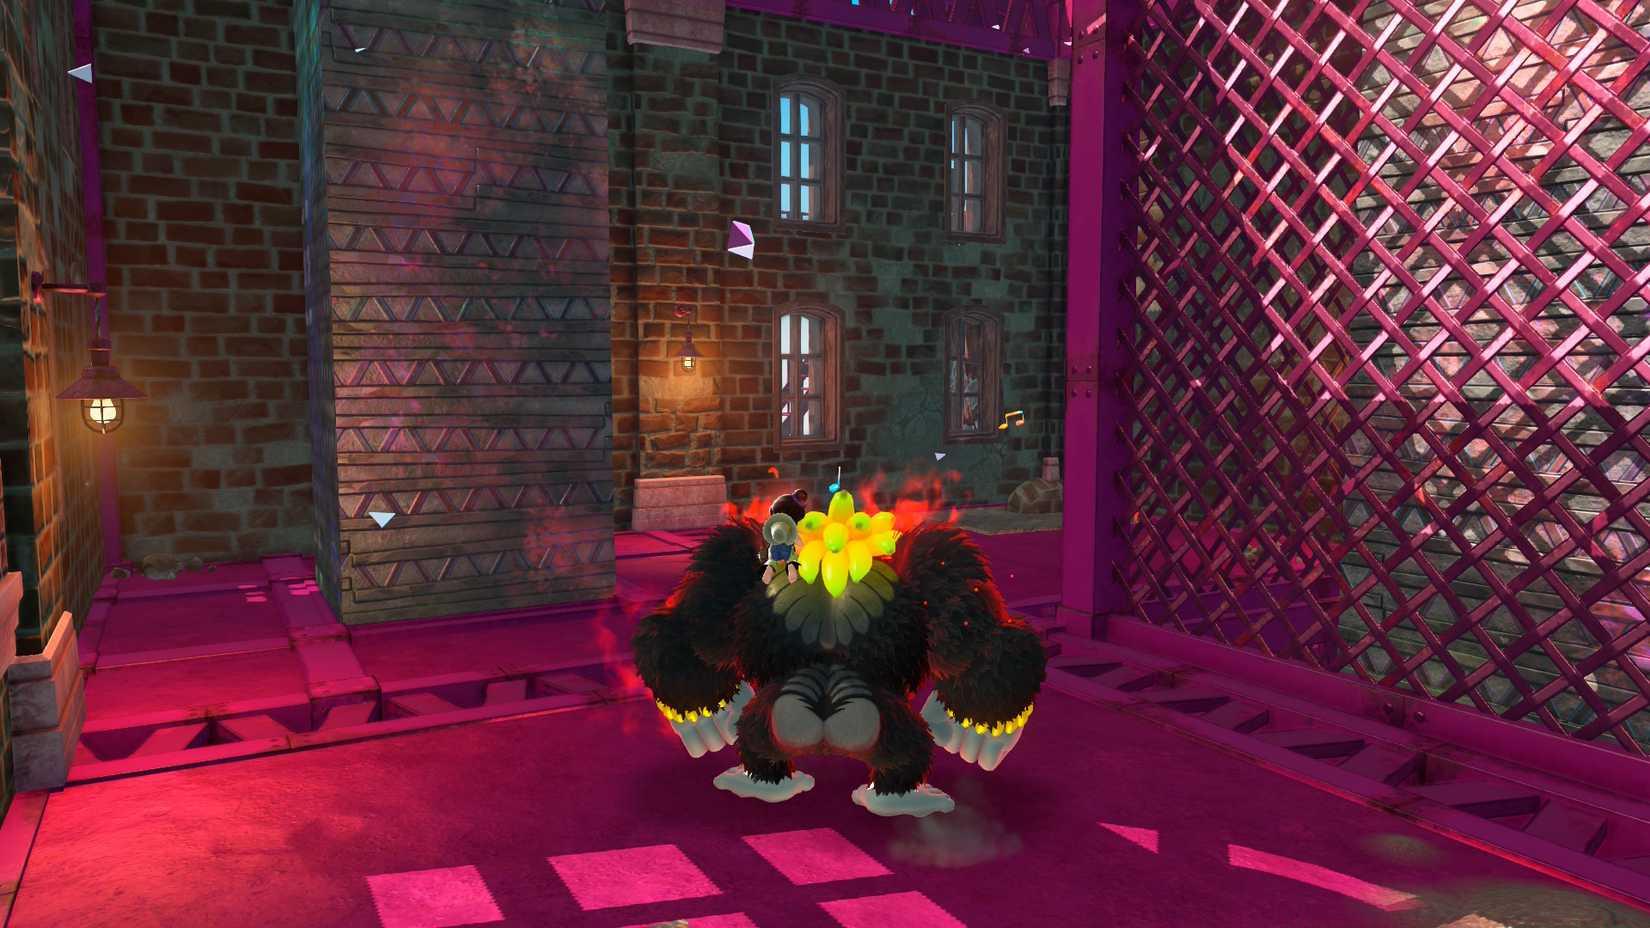
Image: Nintendo EPD/Nintendo via Polygon
Common Strategic Errors: Many players underestimate the importance of brick wall destruction, focusing excessively on concrete pillars. Others fail to utilize the chain reaction potential of charged punches, attempting individual destruction of each element. Positioning mistakes include standing too close to targets, reducing the effective knockback area, or failing to angle punches to maximize collateral damage.
Optimization Techniques: For experienced players seeking maximum efficiency, consider pre-charging punches before entering new areas and targeting structural weak points that trigger larger collapse sequences. The Weapons Unlock guide contains additional combat mechanics that may enhance your understanding of timed attack strategies.
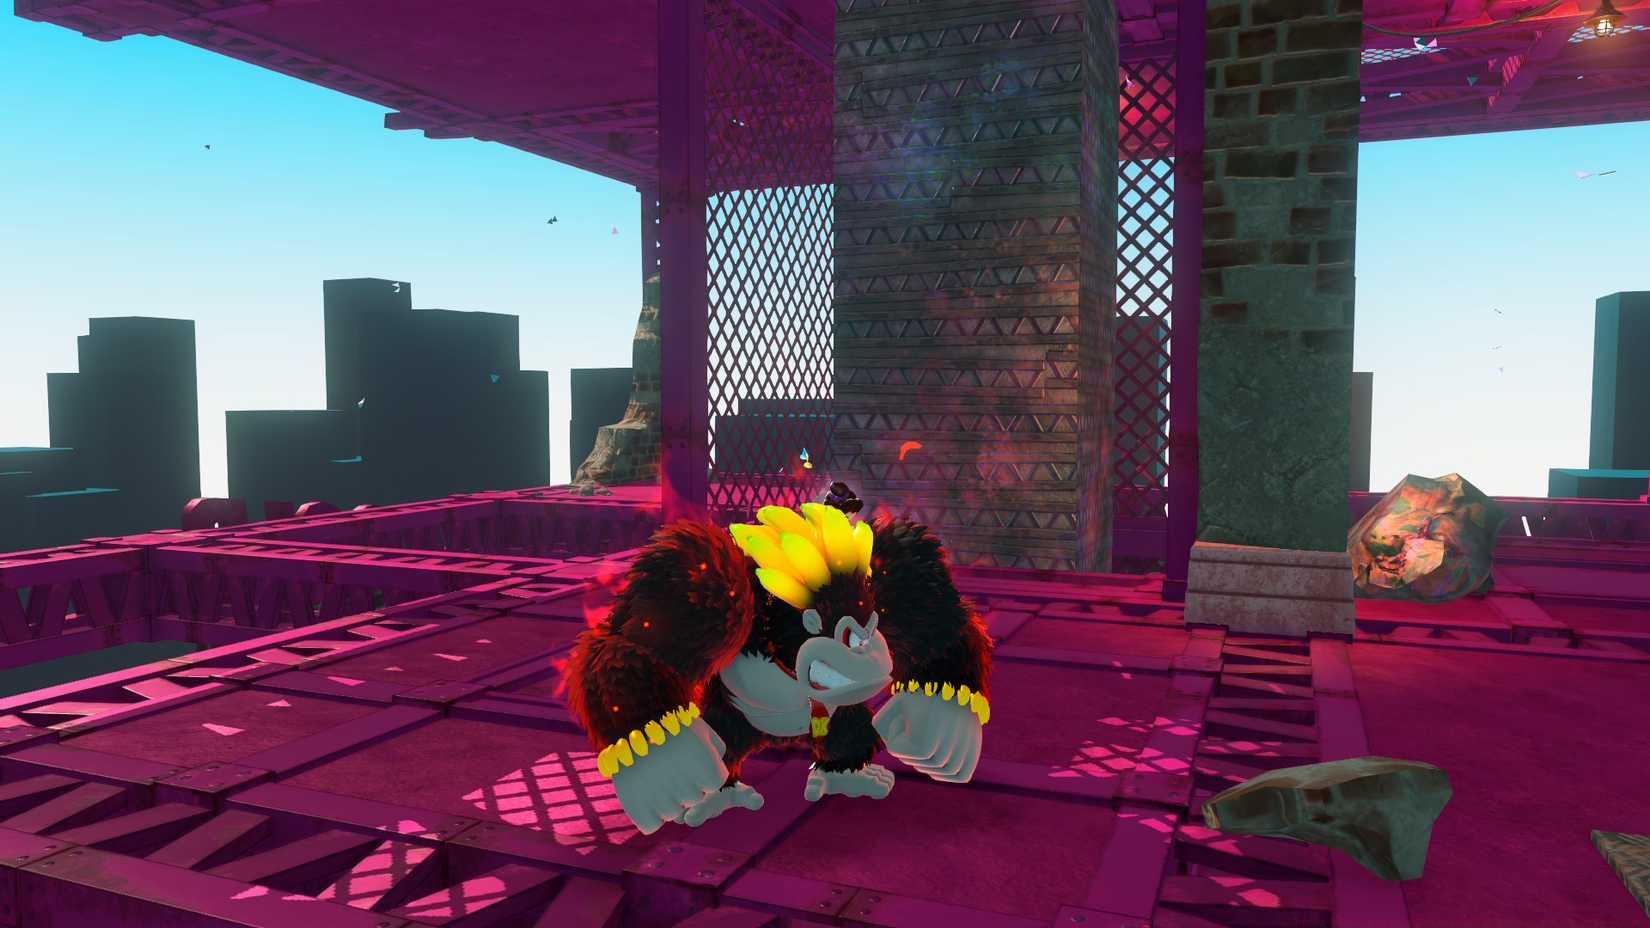
Image: Nintendo EPD/Nintendo via Polygon
Floor Navigation Protocol: Initiate each level with immediate left turns, maintaining clockwise circulation throughout. Identify cluster formations where single charged punches can eliminate multiple obstacles simultaneously. Time barrel cannon transitions to minimize movement interruptions.
Final Phase Strategy: The penultimate floor presents the critical completion sequence. Identify the unenclosed section of the massive concrete pillar’s cage structure, position yourself at optimal distance, and execute a fully charged punch toward the concrete with adjacent brick pillar alignment to maximize destruction efficiency.
Gem Collection Protocol: Remember that the hidden third Banandium Gem only manifests post-completion. Don’t waste time searching for it during the active challenge phase. Focus exclusively on demolition efficiency until the structure fully collapses, then collect your reward.
Image: Nintendo EPD/Nintendo via Polygon
Mastering City Smash requires understanding that this challenge tests both destructive capability and strategic planning under time constraints. The Class Guide provides additional character-specific strategies that may complement your demolition approach.
Action Checklist
- Acquire Charge Punch and Fast Charge abilities before attempting
- Navigate clockwise systematically through each floor
- Use charged punches exclusively for chain reaction destruction
- Complete challenge with 20+ seconds remaining for second gem
- Collect third gem after full structural demolition
No reproduction without permission:SeeYouSoon Game Club » All Kong Bananza City Smash Banandium Gems in Donkey Kong Bananza Master Kong Bananza City Smash with expert strategies for all three Banandium Gems and time-saving techniques